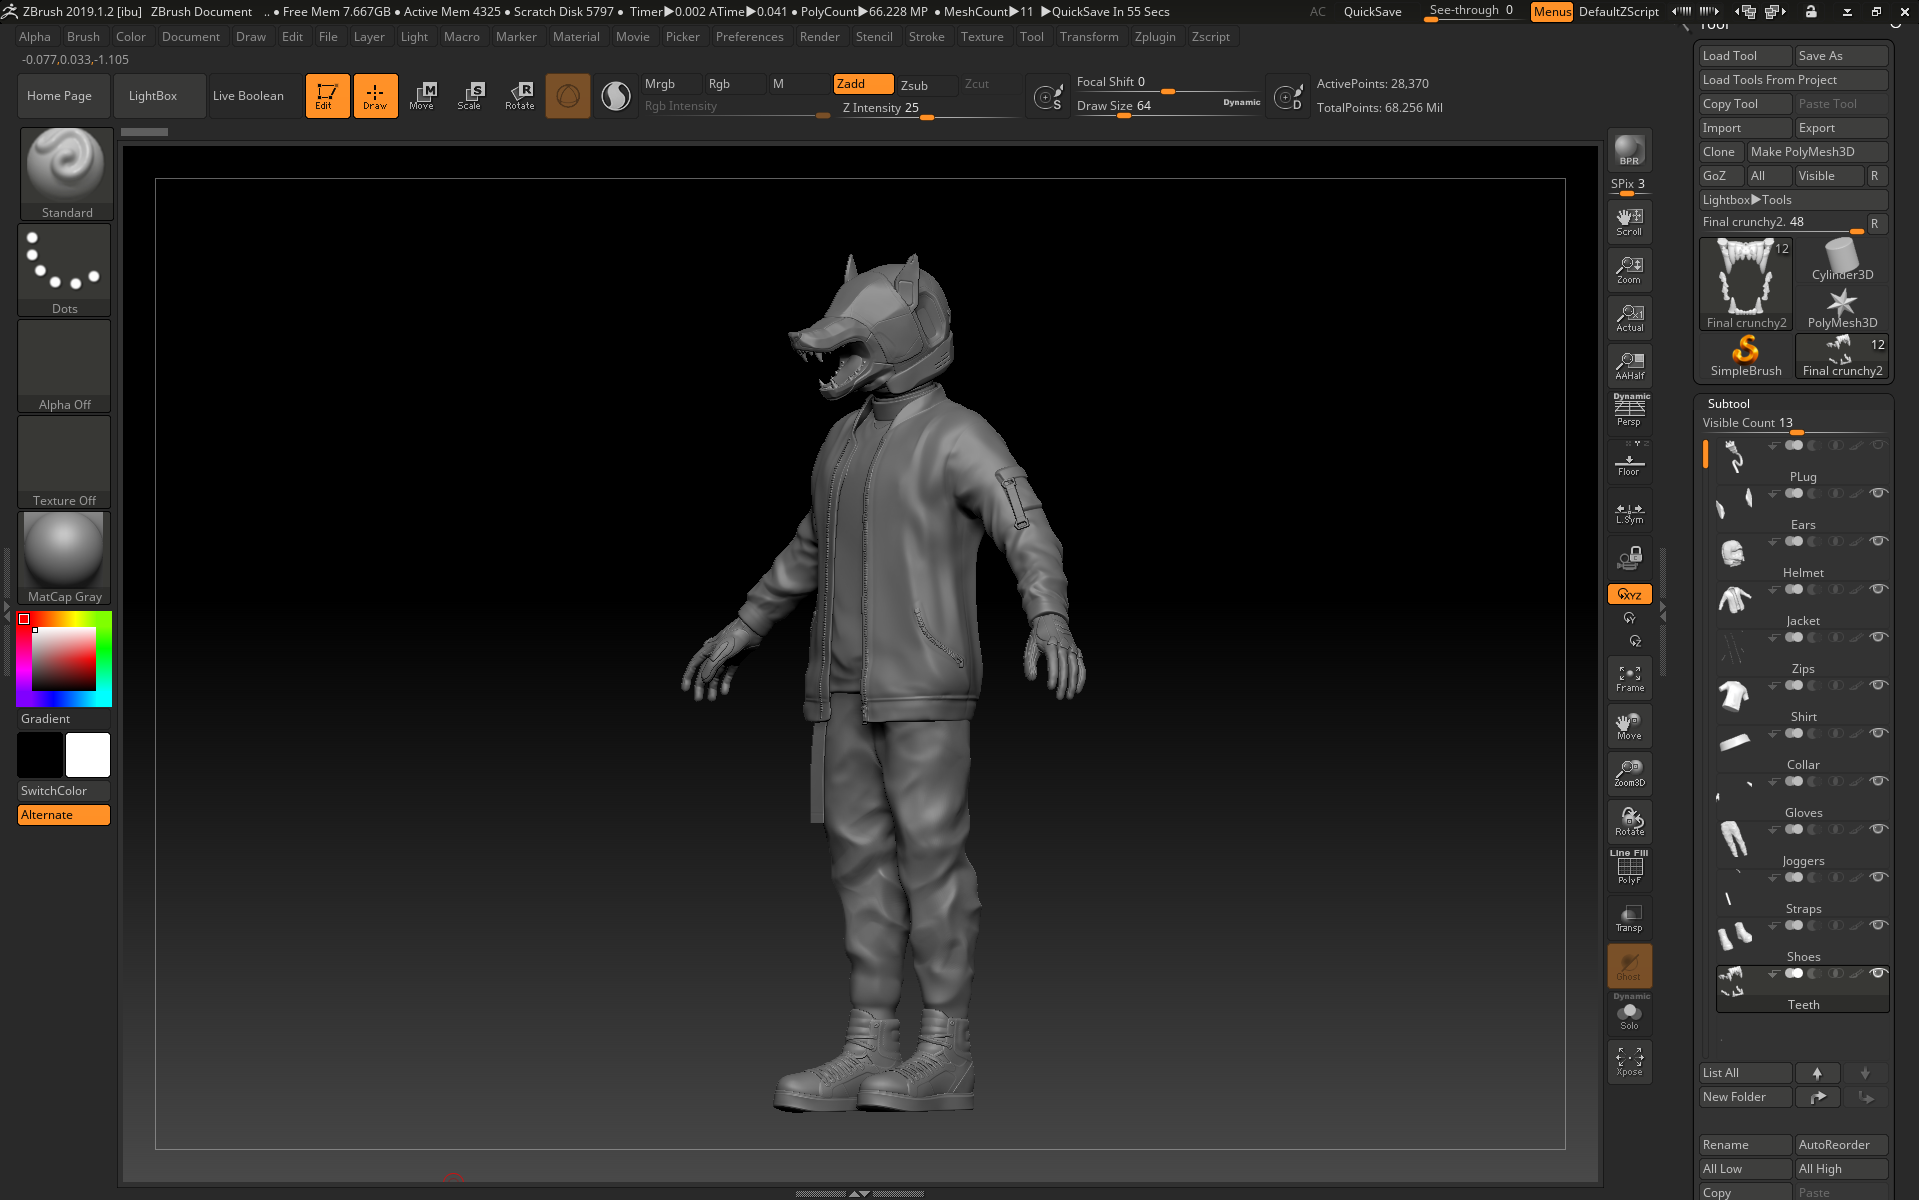
On Monday, I started working on the jacket and shirt in zbrush:
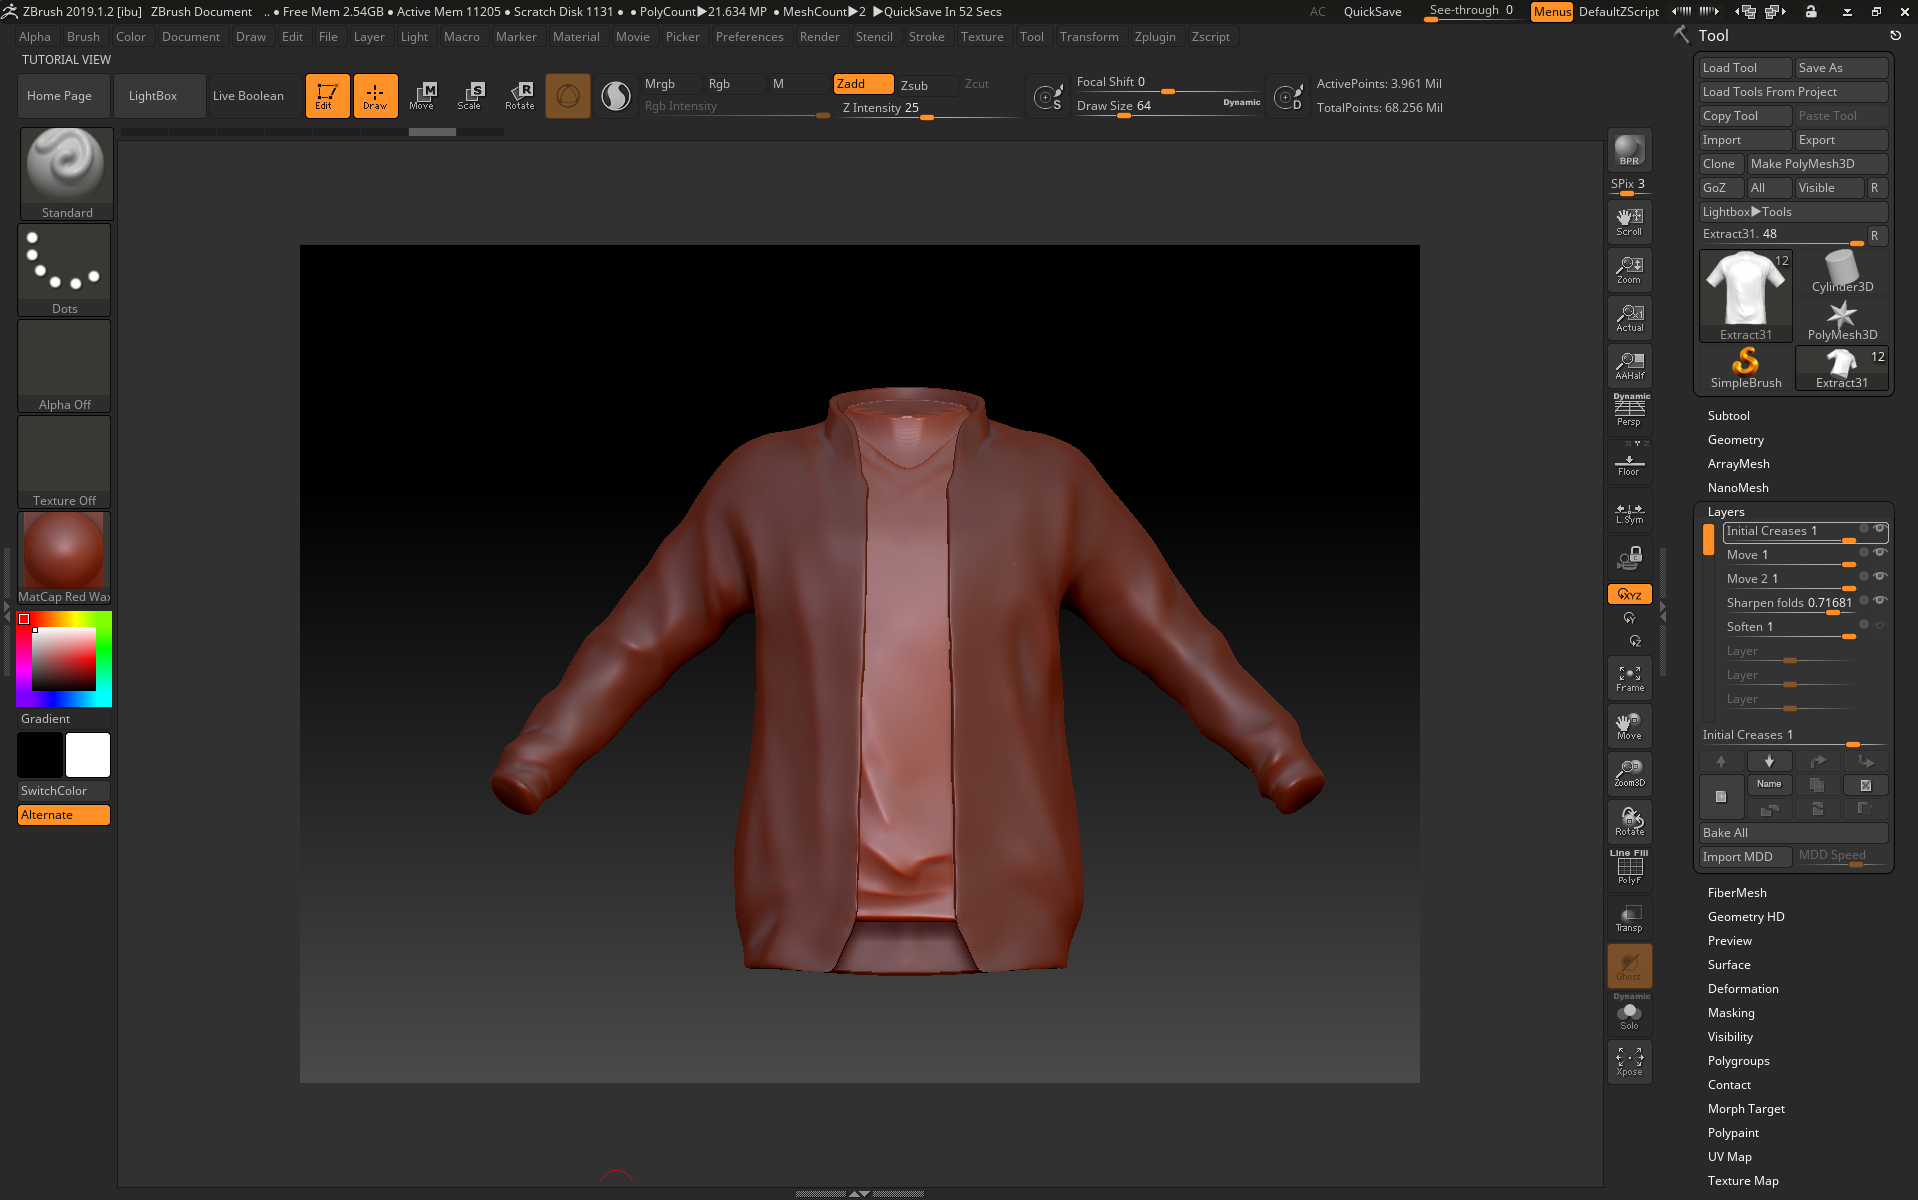
I started with the shirt by extracting it from the torso mesh, then using hpolish on both zadd and zsub modes to flatten out the shirt where it would be hanging off of the torso rather than clinging to it.
I used damstandard on zadd and zsub to create the folds, pinching and softening where needed. I also used the move tool to adjust how the shirt hangs from the body, and using the trim rect/lasso tool to close the holes on the sleeves and trunk of the clothes to make it easier for me to flatten and manipulate the edges later when combining them with the rest of the sculpt.
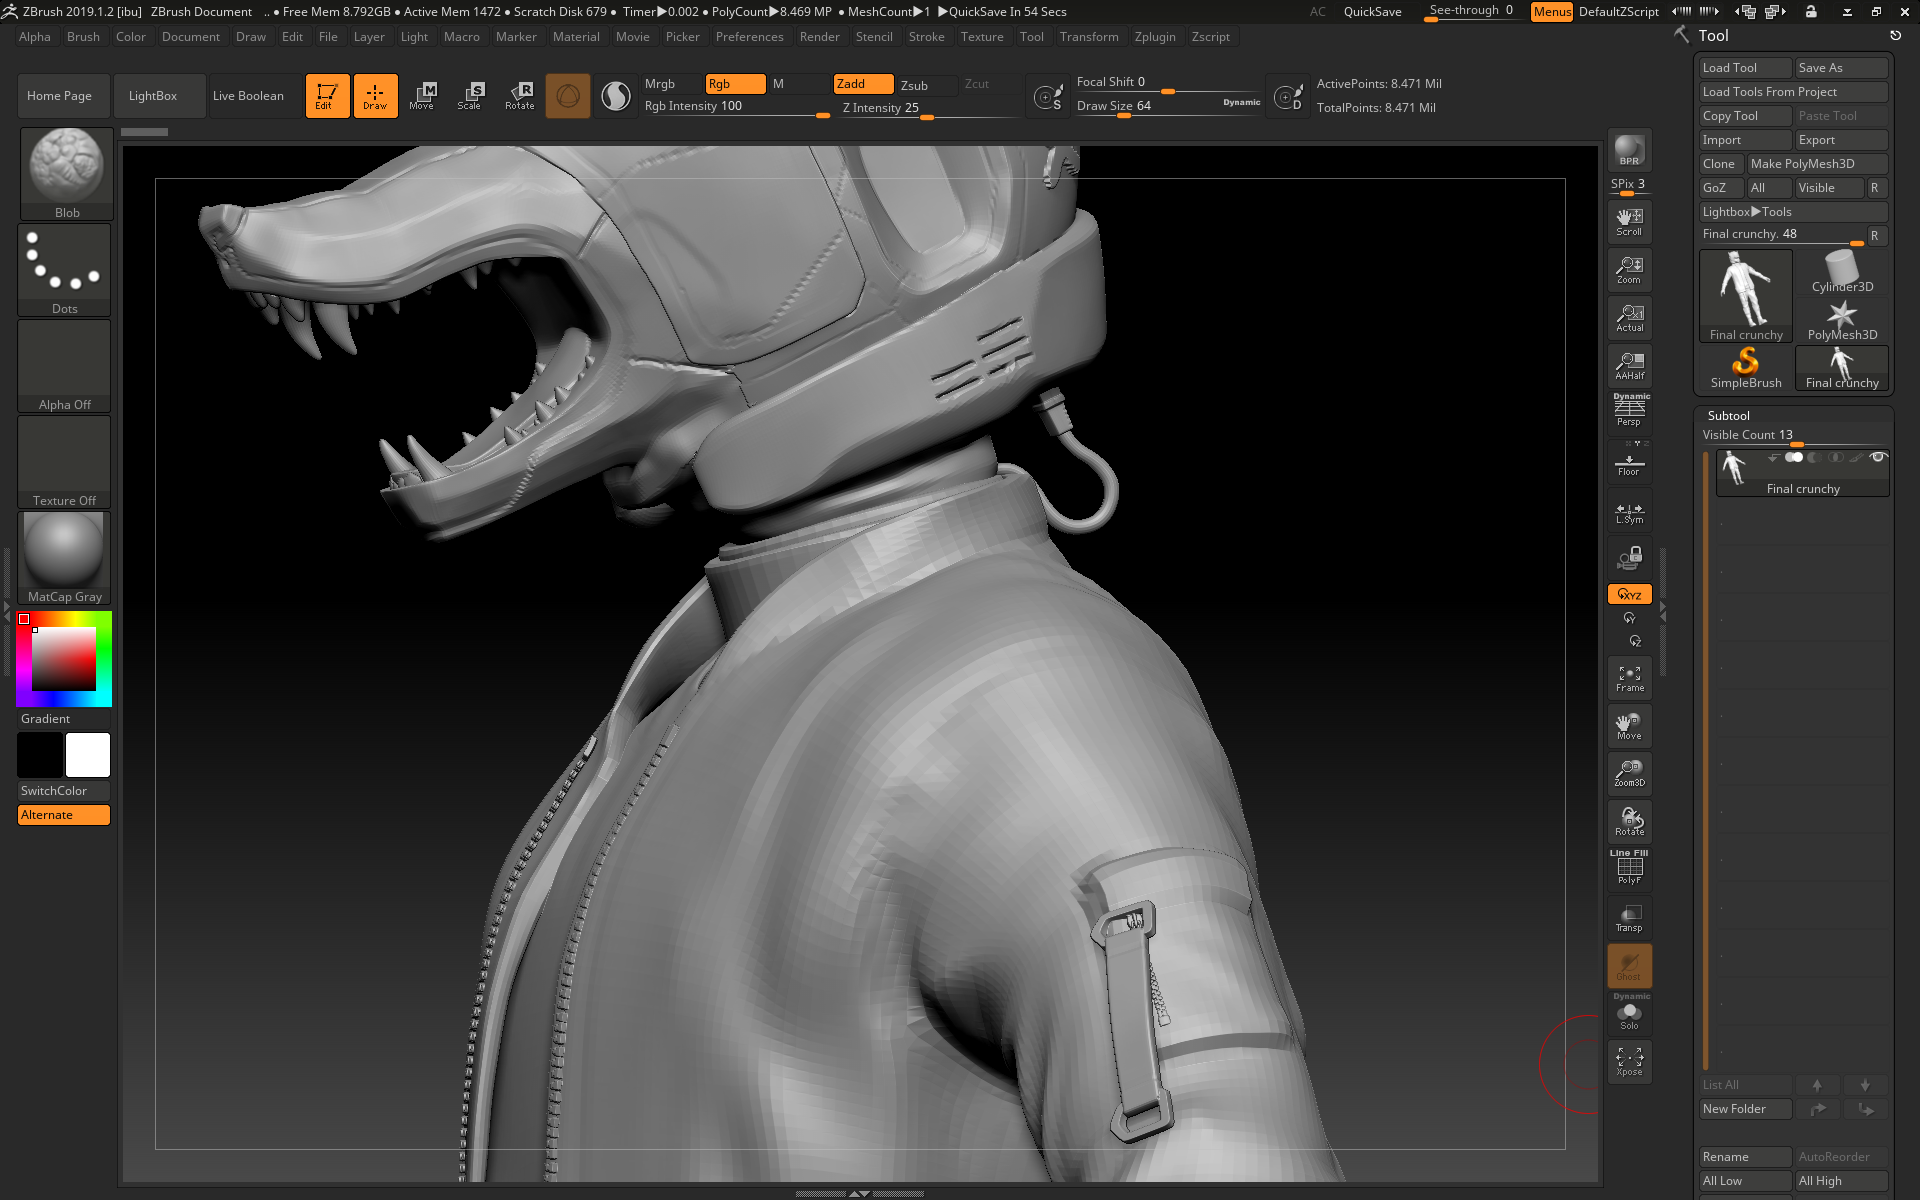
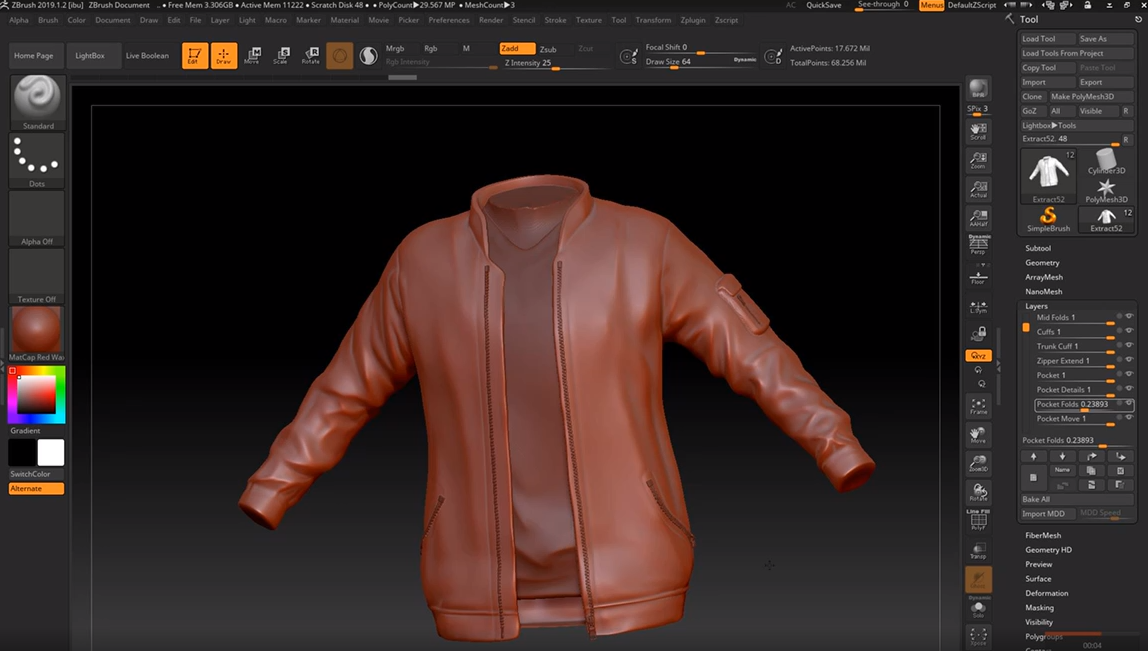
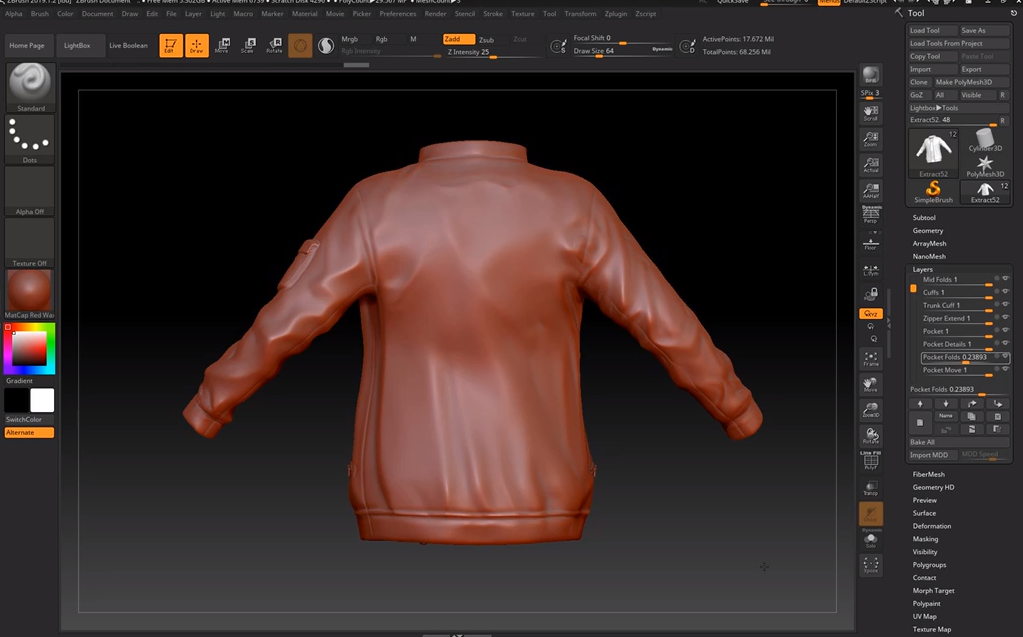
For the collar, I masked off an area, gradient-ed it a little bit and then used the move tool to drag it upwards, doing the same with the zip areas of the jacket. I then used hpolish to neaten up the edges, switching between symmetry and non symmetry mode so that I could adjust the structure of the jacket while still being able to sculpt in some asymmetrical folds (on a low subdivision layer).