Showing posts with label Project 2. Show all posts

Thursday, November 14, 2019

Helmeted Character: Week 4 Friday

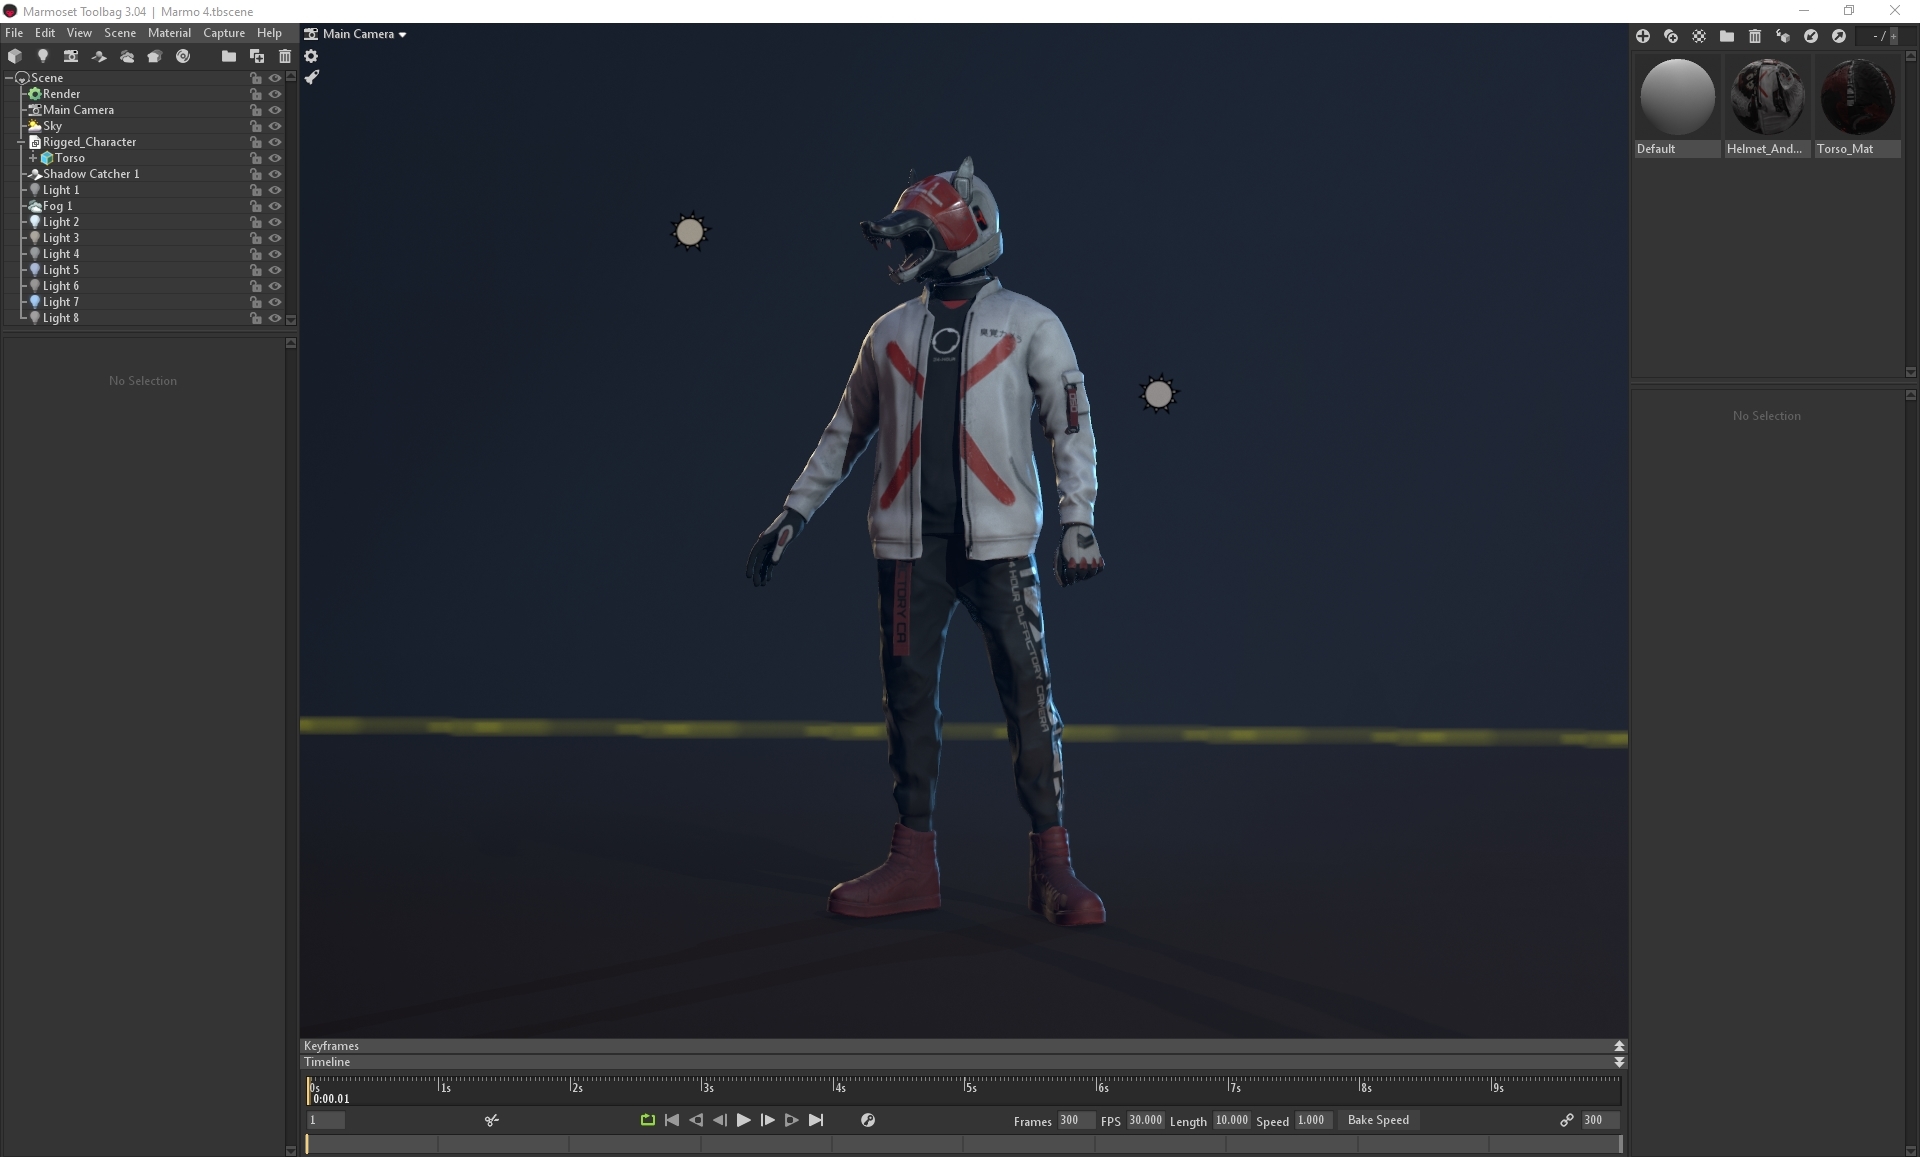
On Friday I exported the rigged mesh into marmoset and applied the textures for the final render scene. I added lighting for the main lighting, side lighting, a blue light from the sky, a reflective light from the ground and a rim light from the back, as well as fog and a shadow catcher:

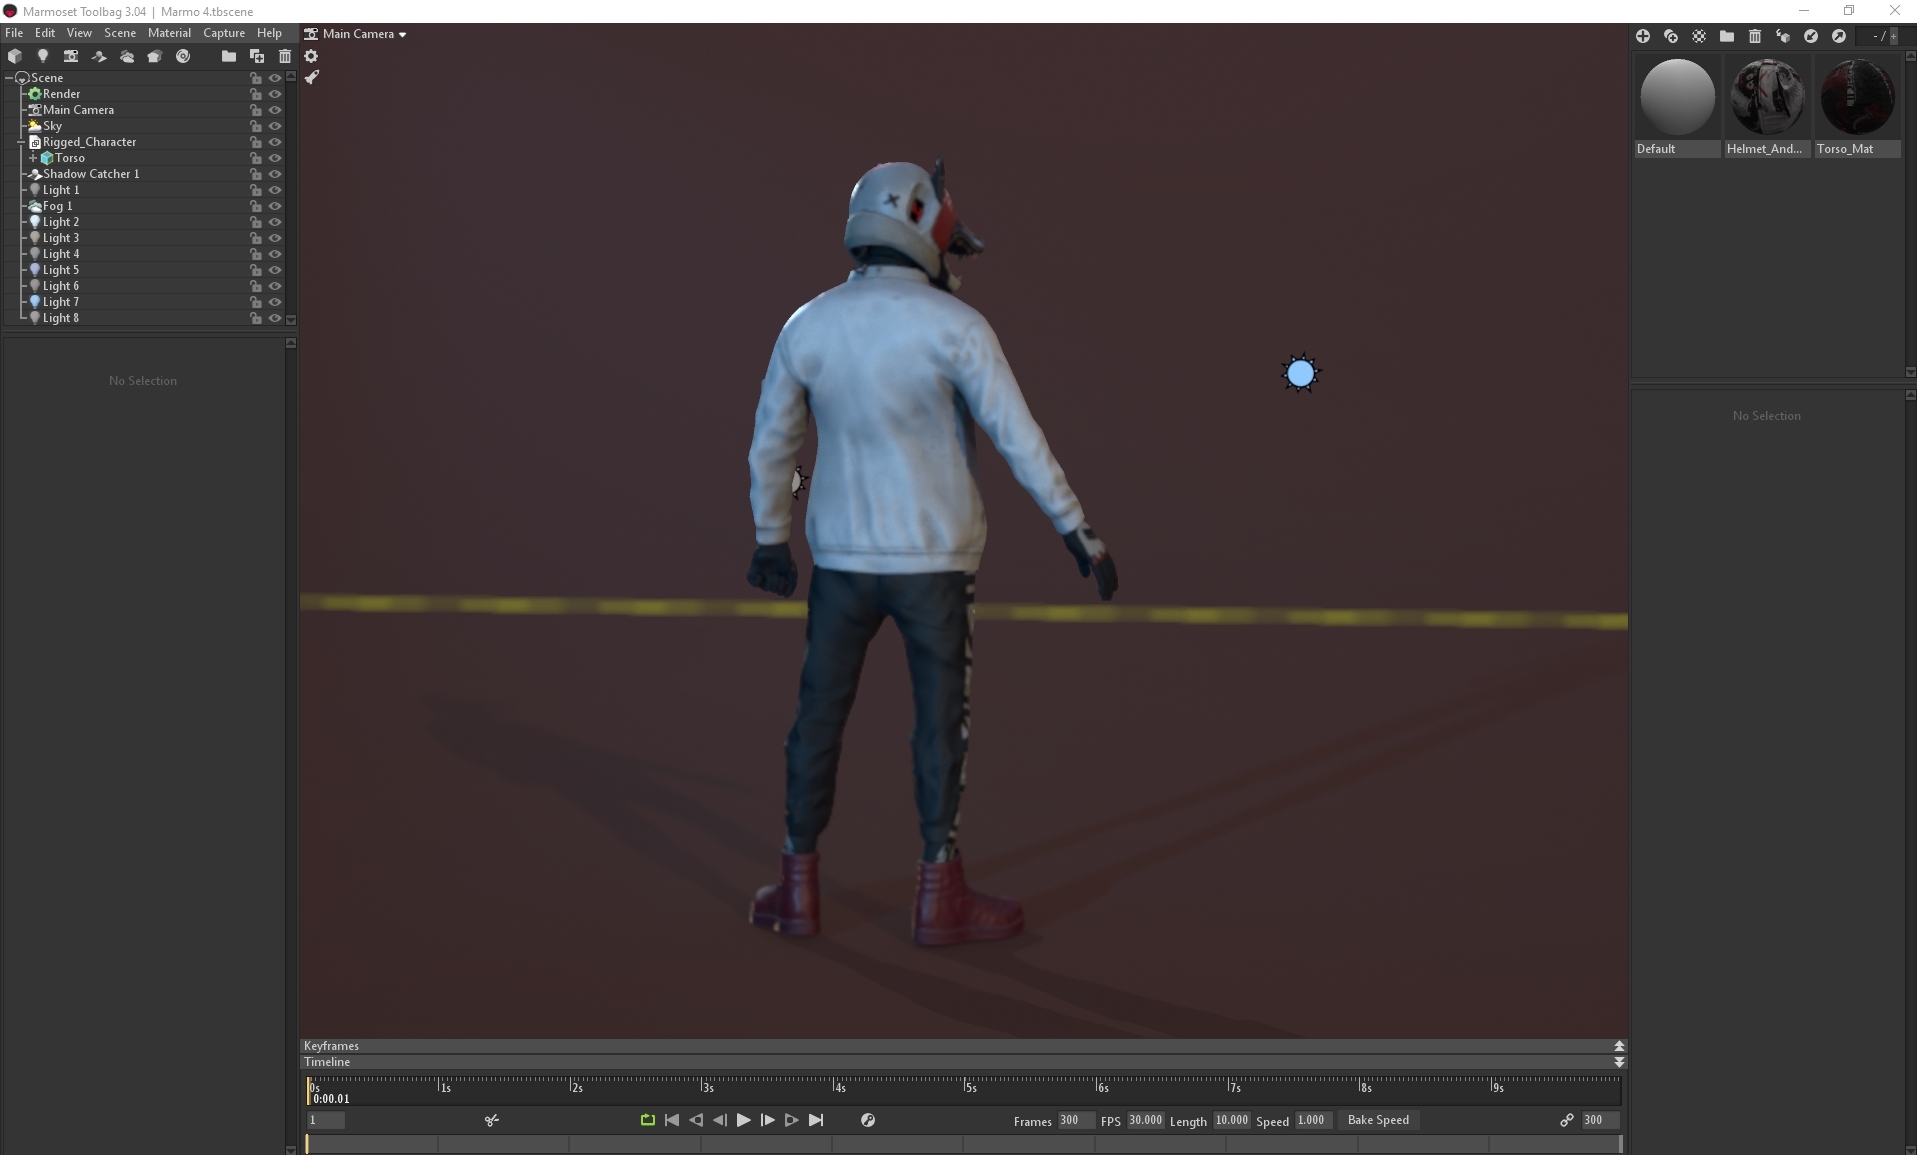
I messed around with different scene colours, in which I came to a final 2 that I was pleased with, brown and blue:

In the end, I decided on the blue, as it had more hue contrast and made the character pop more. After this, I went back to the textures and added some more edgewear and dirt, especially to the helmet and jacket, then started testing out the camera lens options, going between 35mm, 50mm and 85mm lenses to see which one gave the best effect:


Helmeted Character: Week 4 Thursday

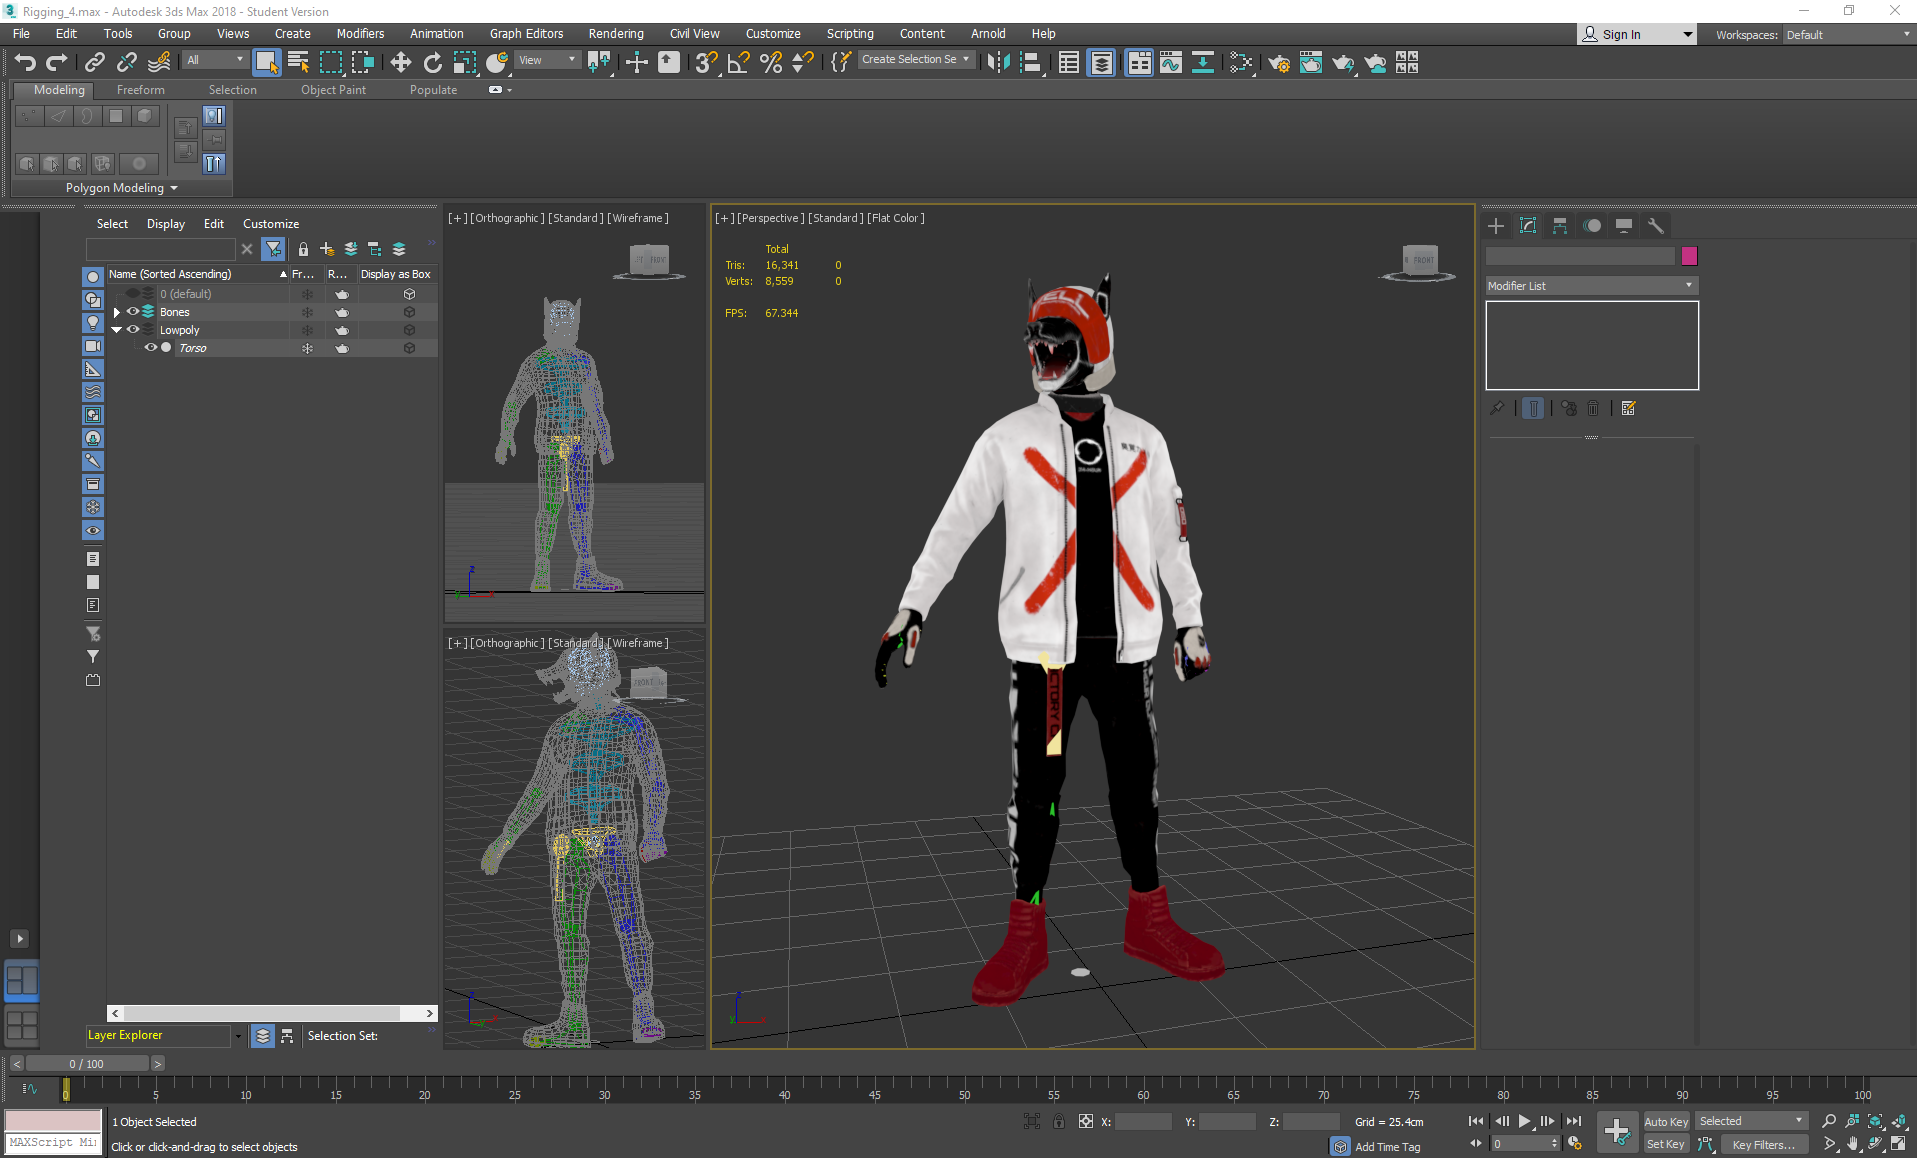
On Thursday I exported the textures as Normal maps, OcclusionRoughnessMetallic maps and Emission maps, then started on rigging the character. I had received crit from Teo that the legs seemed a little short, and luckily hadn't connected the shoes topology to the joggers, so I moved the shoes downwards a little to create longer shins, then moved some of the knee topology downwards (making sure to be on preserve UVs to avoid distorting the texture).

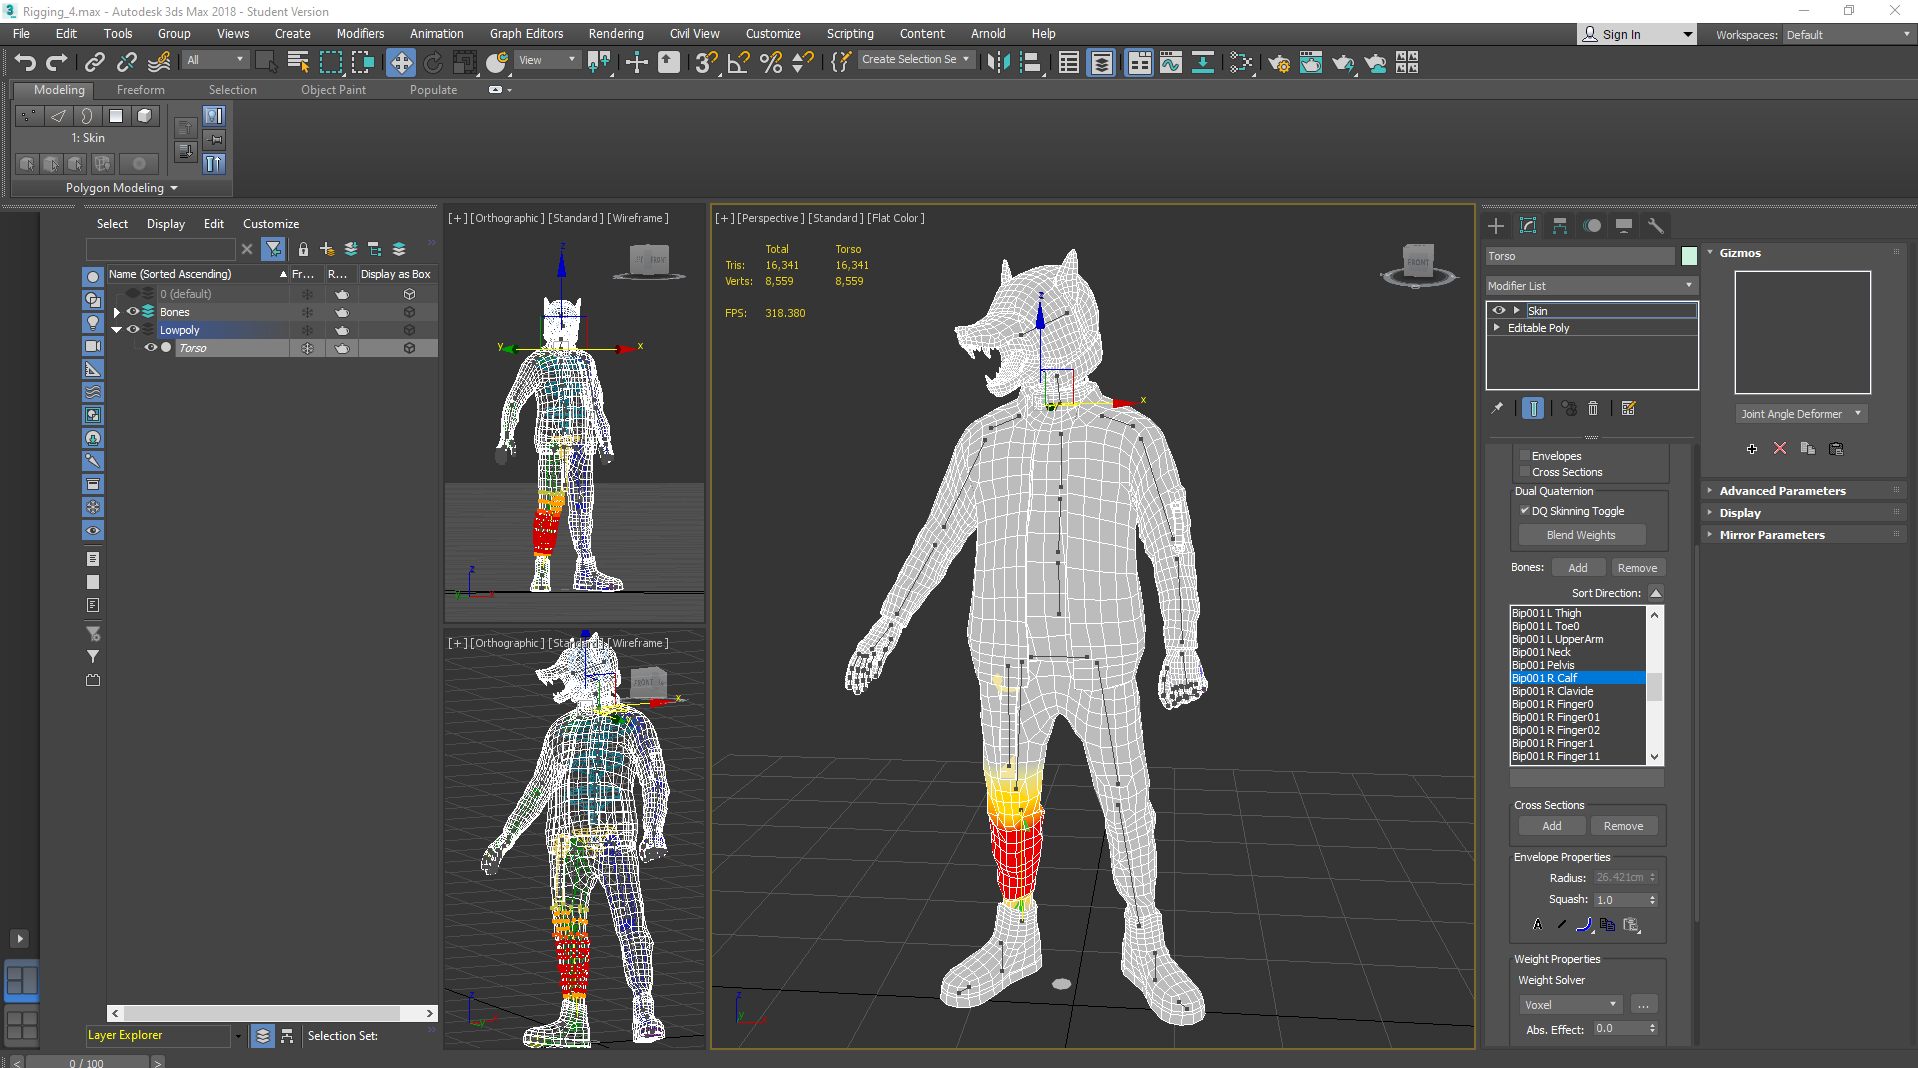
After this, I began rigging by freezing the torso and adding a biped skeleton to a bones folder, positioning the limbs and then mirroring them to save time. I used a tail bone for the strap on the joggers as it would move along with the body, as I discovered that ponytail bones move along with the head.

I applied a skin modifier to the mesh and started assigning weights systematically through the list of added bones, focusing only on one side again so that I could mirror it and then edit any errors.

After this, I left figure mode and went into animation more to pose the character somewhat based on the concept's pose- with a closed fist, wide stance and head turned to the side. I planted the feet so that they would always be on the ground and set keys whenever I moved a limb into place until I was happy with the pose, then checked to see if there were any areas in the weighting that I had missed and corrected them:

Wednesday, November 13, 2019

Helmeted Character: Week 4 Wednesday

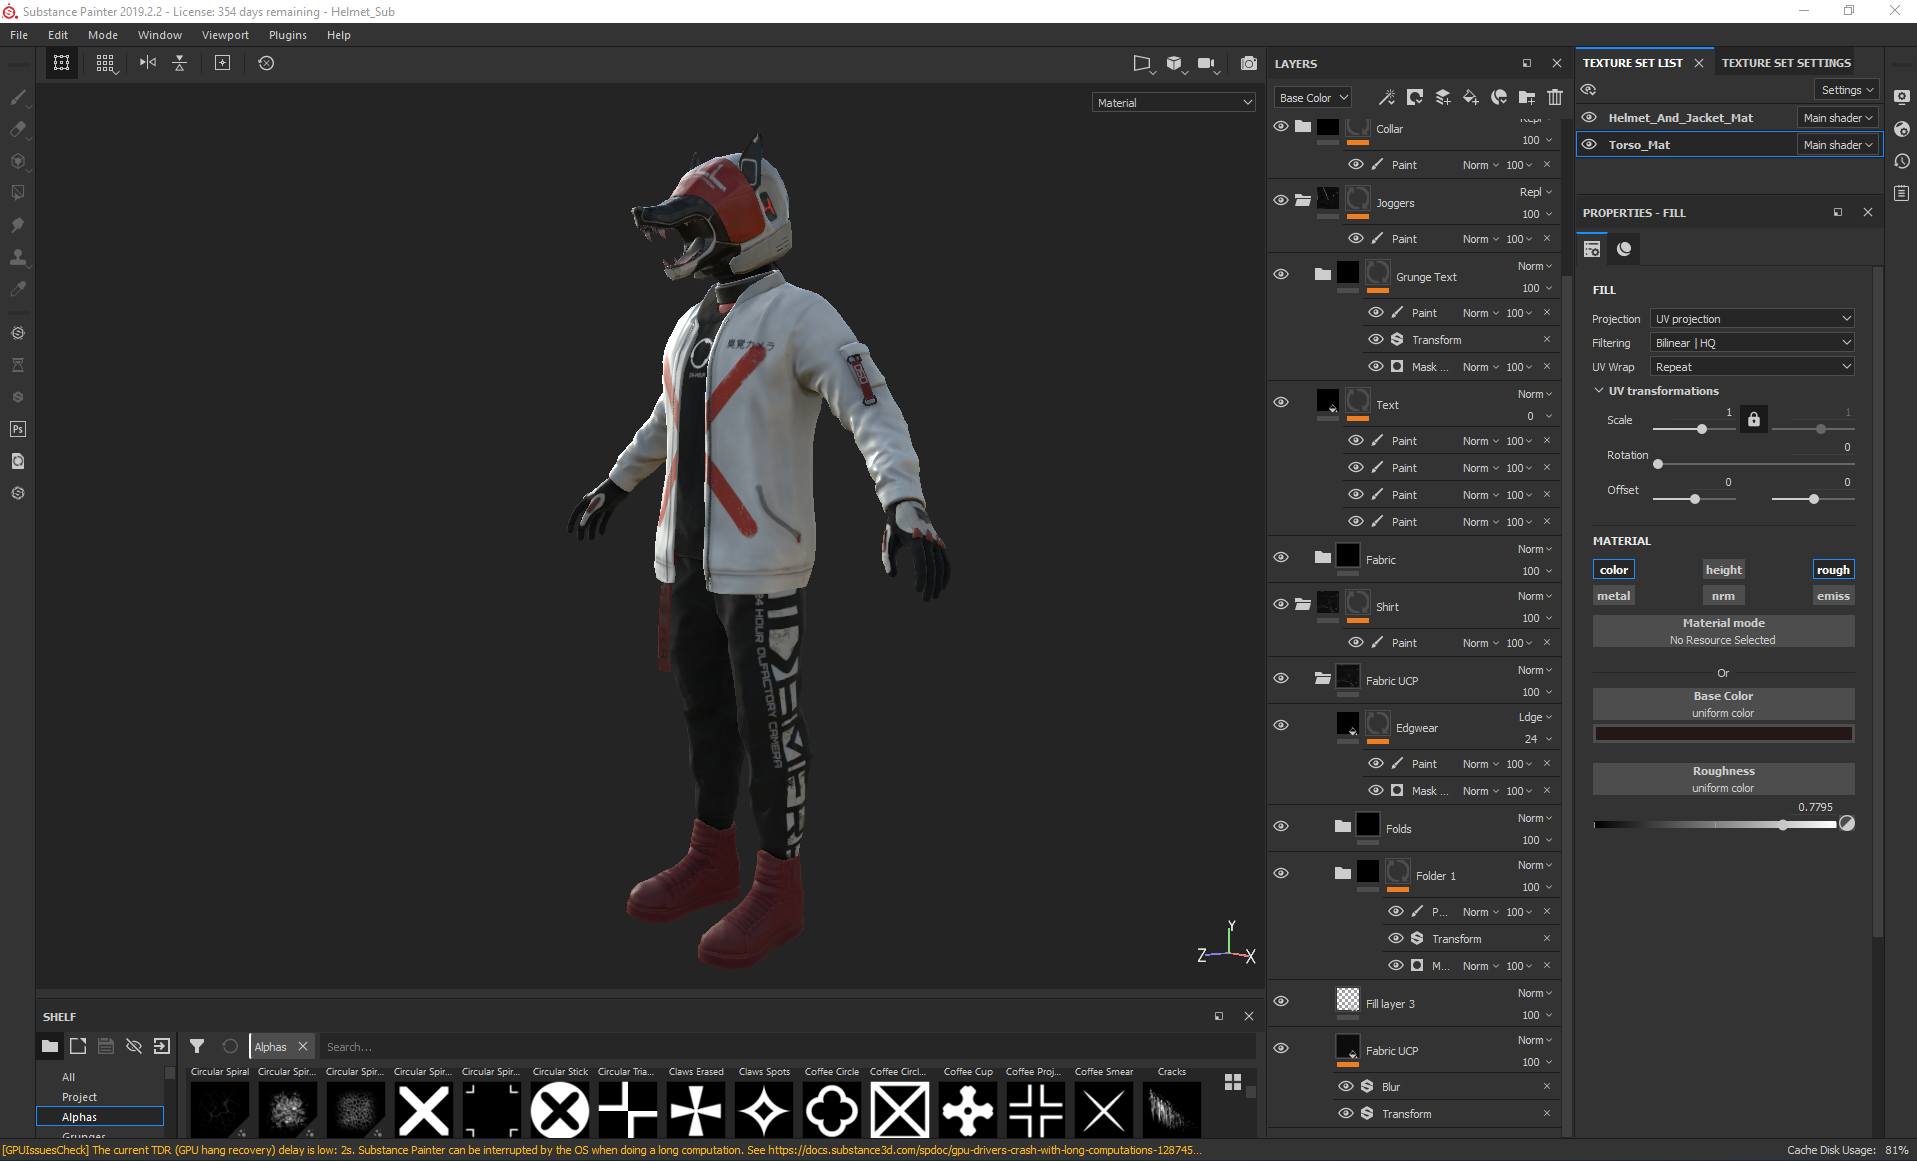
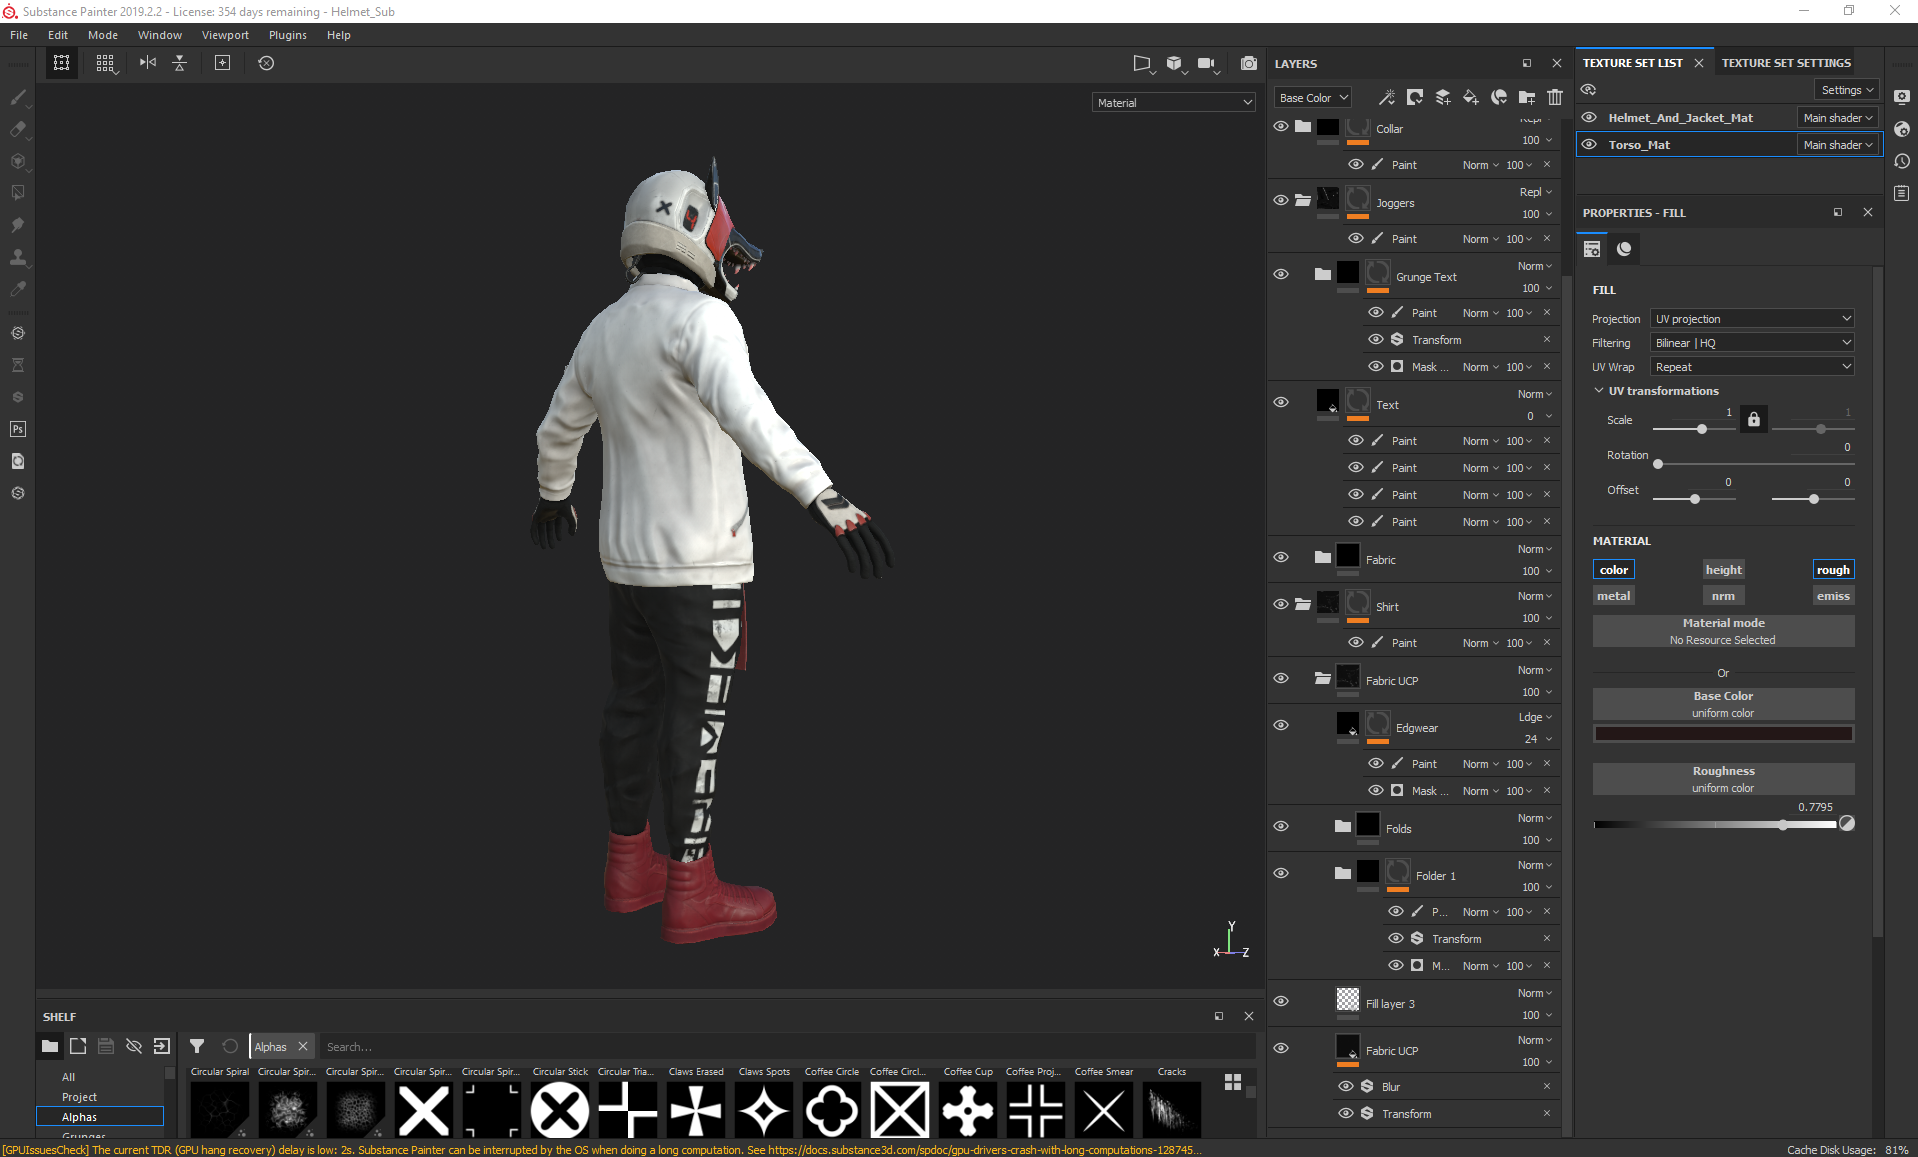
On Wednesday I continued to texture the character, this time on the torso map.
I used the same techniques and masks on this map, with the addition of using symmetry on the trousers print for the white lines, then the subtracted text (editing any mirrored letters afterwards) and then adding the '24 HOUR OLFACTORY CAMERA' text without symmetry afterwards. I added some slight shine to the text as it would be printed onto the joggers and straps using a different material. I also added emission maps to the '4's and the triangle section beneath the collar to reflect the brightness seen in the concept.
For the print on the t-shirt, I used a coffee stain alpha and then painted in the 3 blobs, once again using a text alpha for the '24-HOUR' area.

Tuesday, November 12, 2019

Helmeted Character: Week 4 Tuesday

On Tuesday I started texturing the character in Substance Painter. This day consisted of mostly me dragging smart materials into the scene based on which material values I thought would fit best with the material of each piece of clothing, placing them into labelled folders and then masking them to create the base I would be working with. After this, I went through each folder and changed the base colour, roughness and height levels depending on the effect I wanted. I tweaked, added and deleted detail layers to create my own edgewear, highlights, grunge and dirt stains using smart masks such as dirt cavities, dust occlusion, edge damage, edges uber, edges strong, fabric edges, paint damage, paint old and surface worn. I also created my own masks using the bitmap mask function, using the curvature map and levels to identify edges and cavities without the use of smart masks.
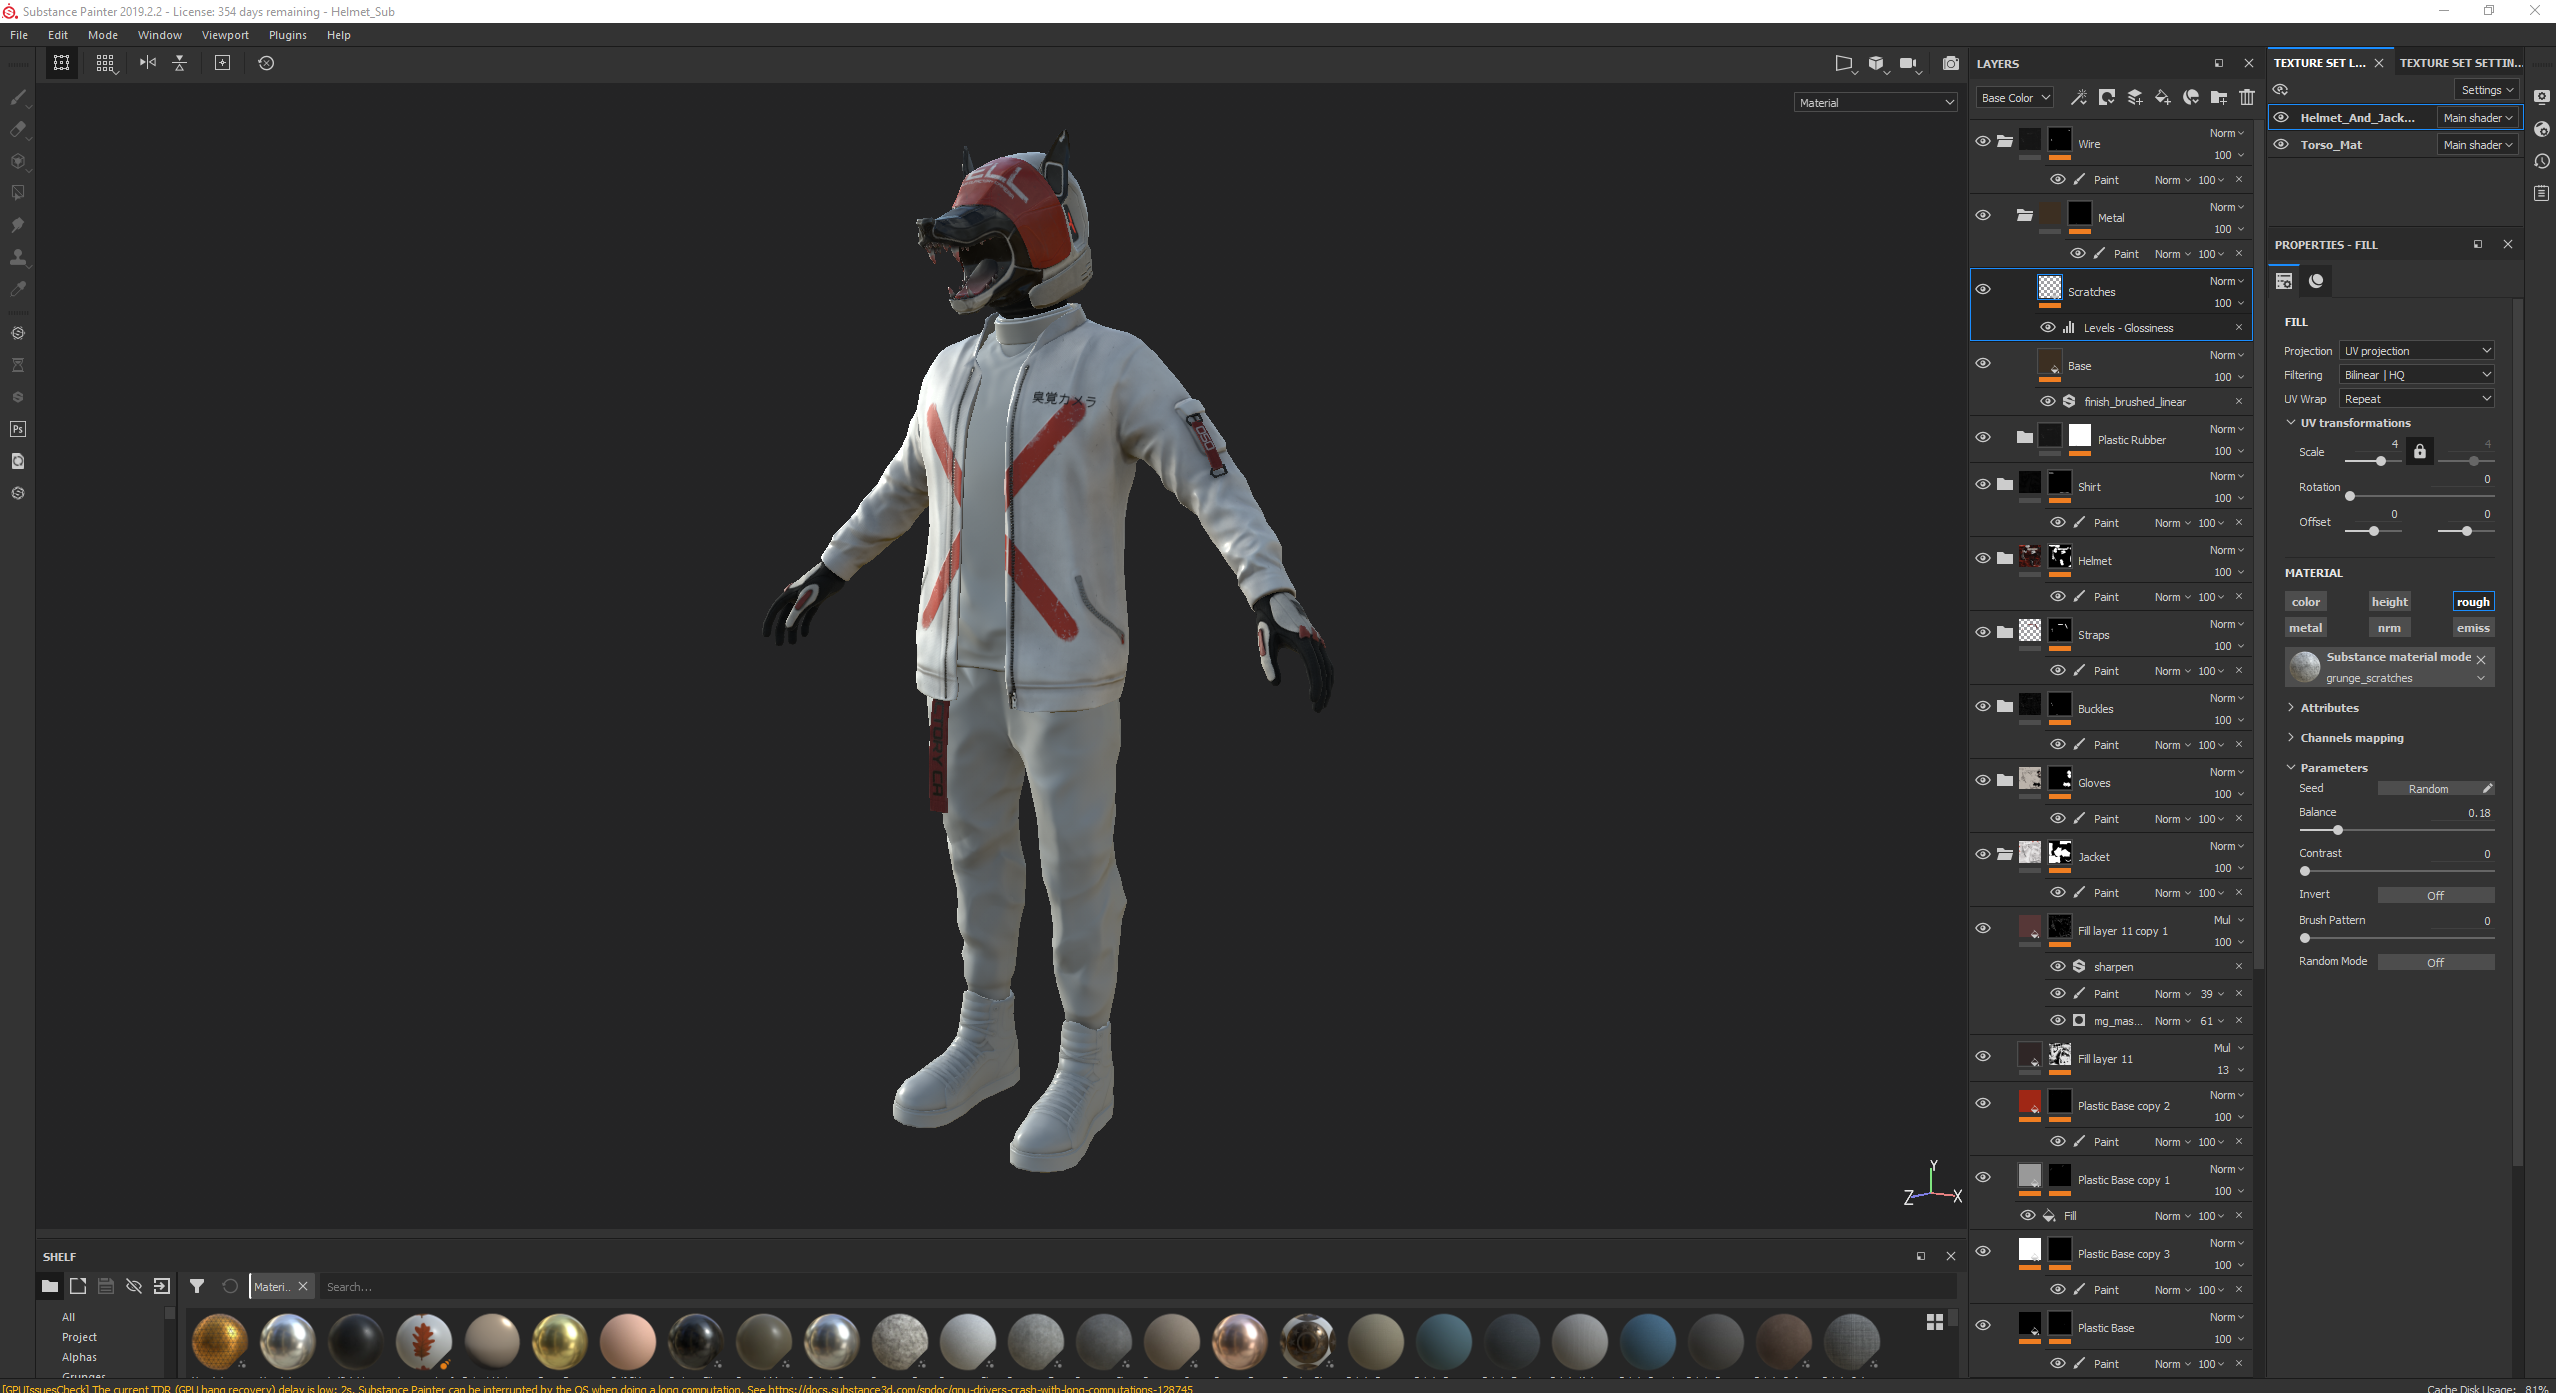
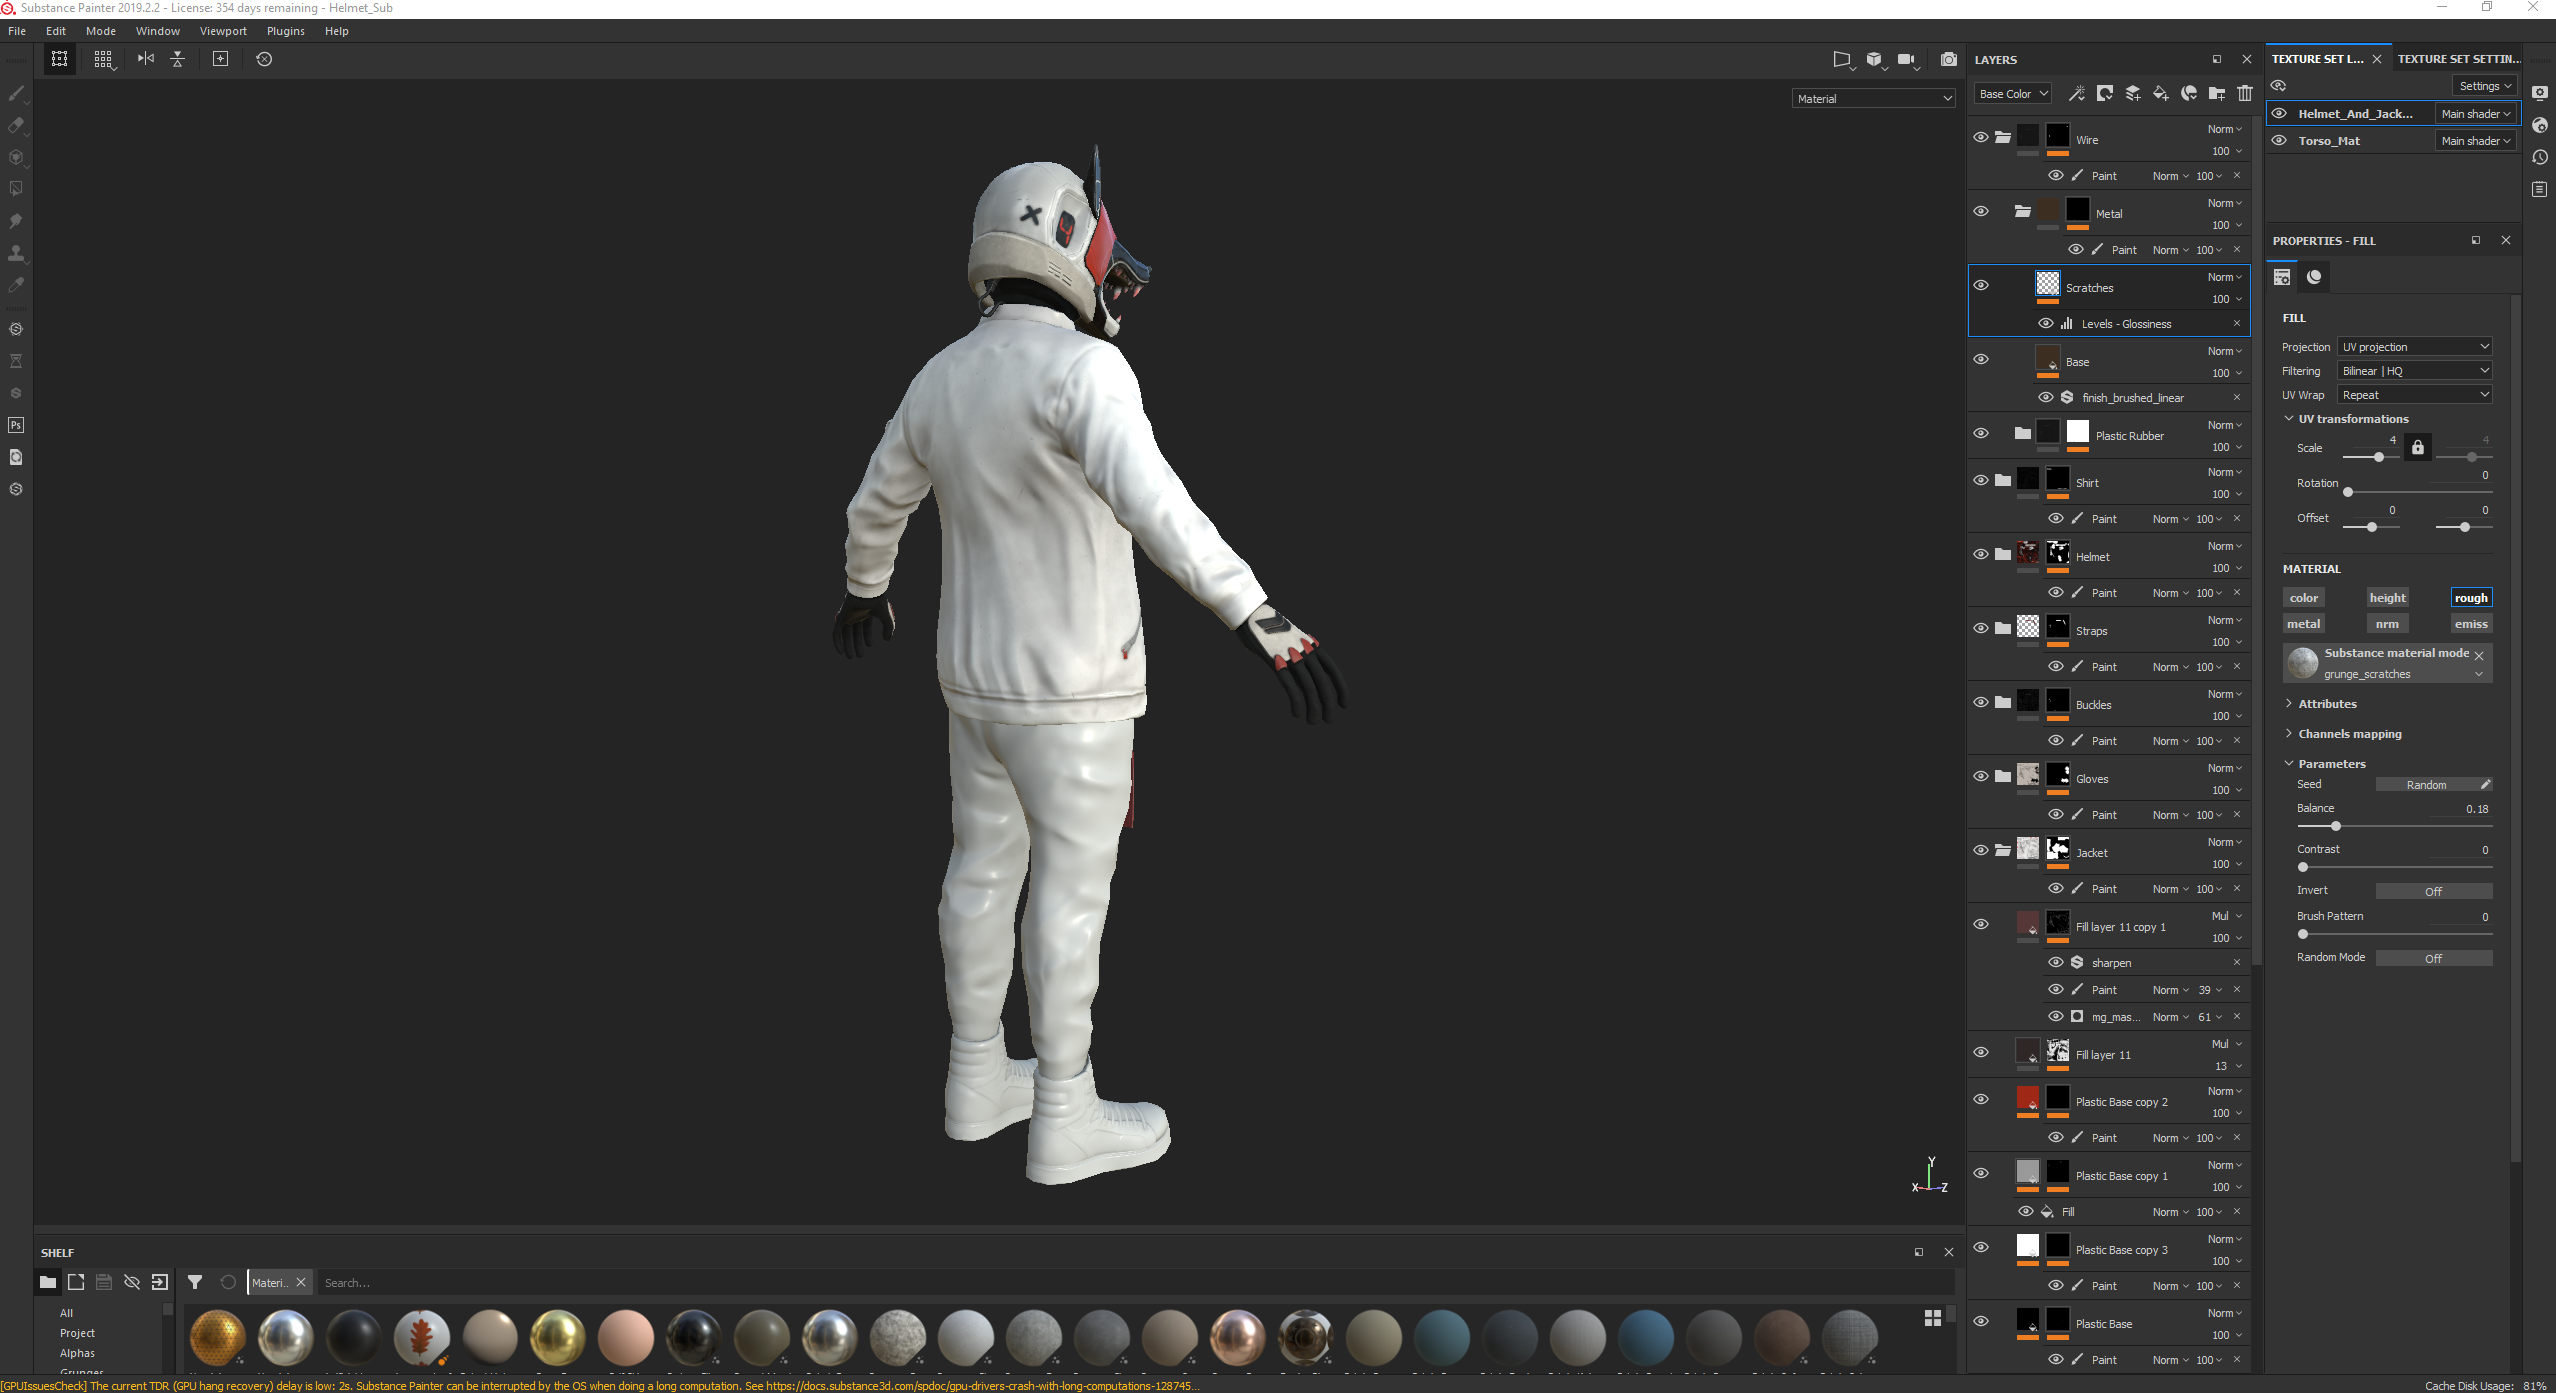
When painting the masks, I used both the planar uv painting mode on the 2D view and the tangent|wrap painting mode on the 3d viewport so that I could easily mask whole islands without it wrapping, then covering up any seams by having the paint wrap onto neighbouring islands while painting in the 3d viewport for accuracy.

I used the substance font alphas to write out the text in different font based on whichever matched the concept font the closest, using font Orbitron for 'HELL' and '24-HOUR OLFACTORY CAMERA'. I also used it for the '050' but used the eraser to remove a '/' from the 0s. Finally, I used the Han Sans Japanese Chinese font for the '臭覚カメラ' (olfactory camera), adding some height to it so that it appeared as if it had been printed onto the jacket. I also added some patches of wear to the text on the helmet and the cross on the jacket so that it acted like worn off paint.
Monday, November 11, 2019

Helmeted Character: Week 4 Monday

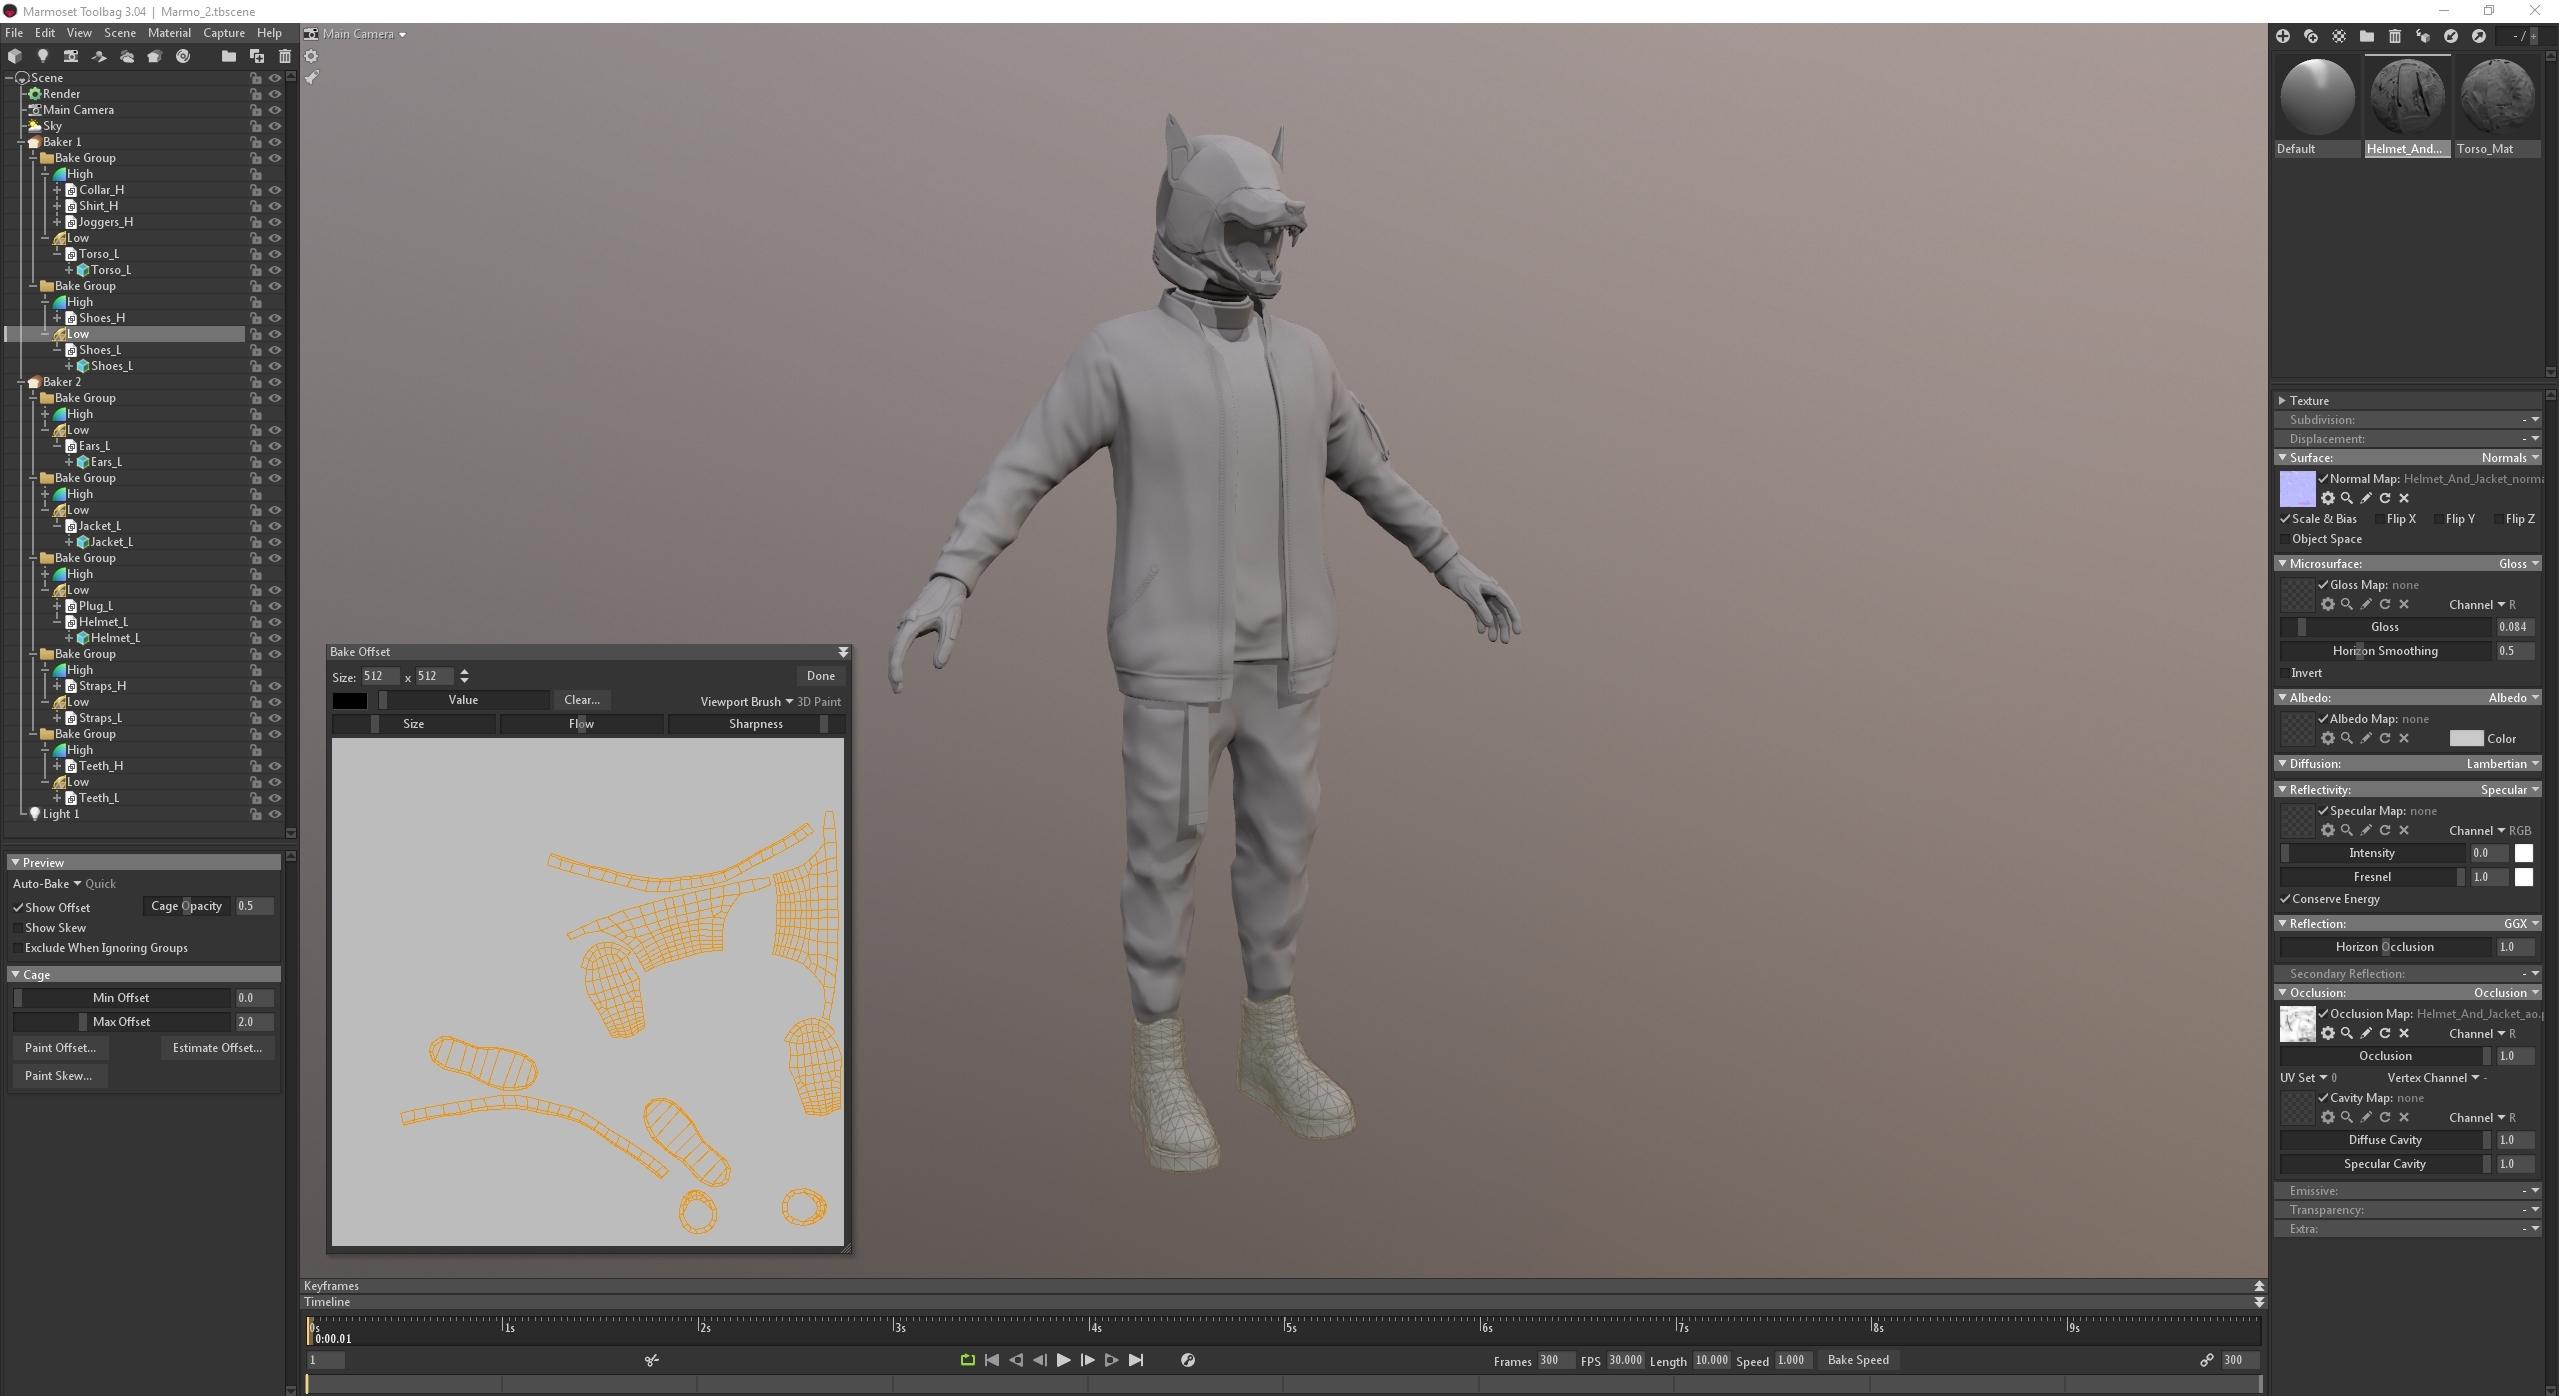
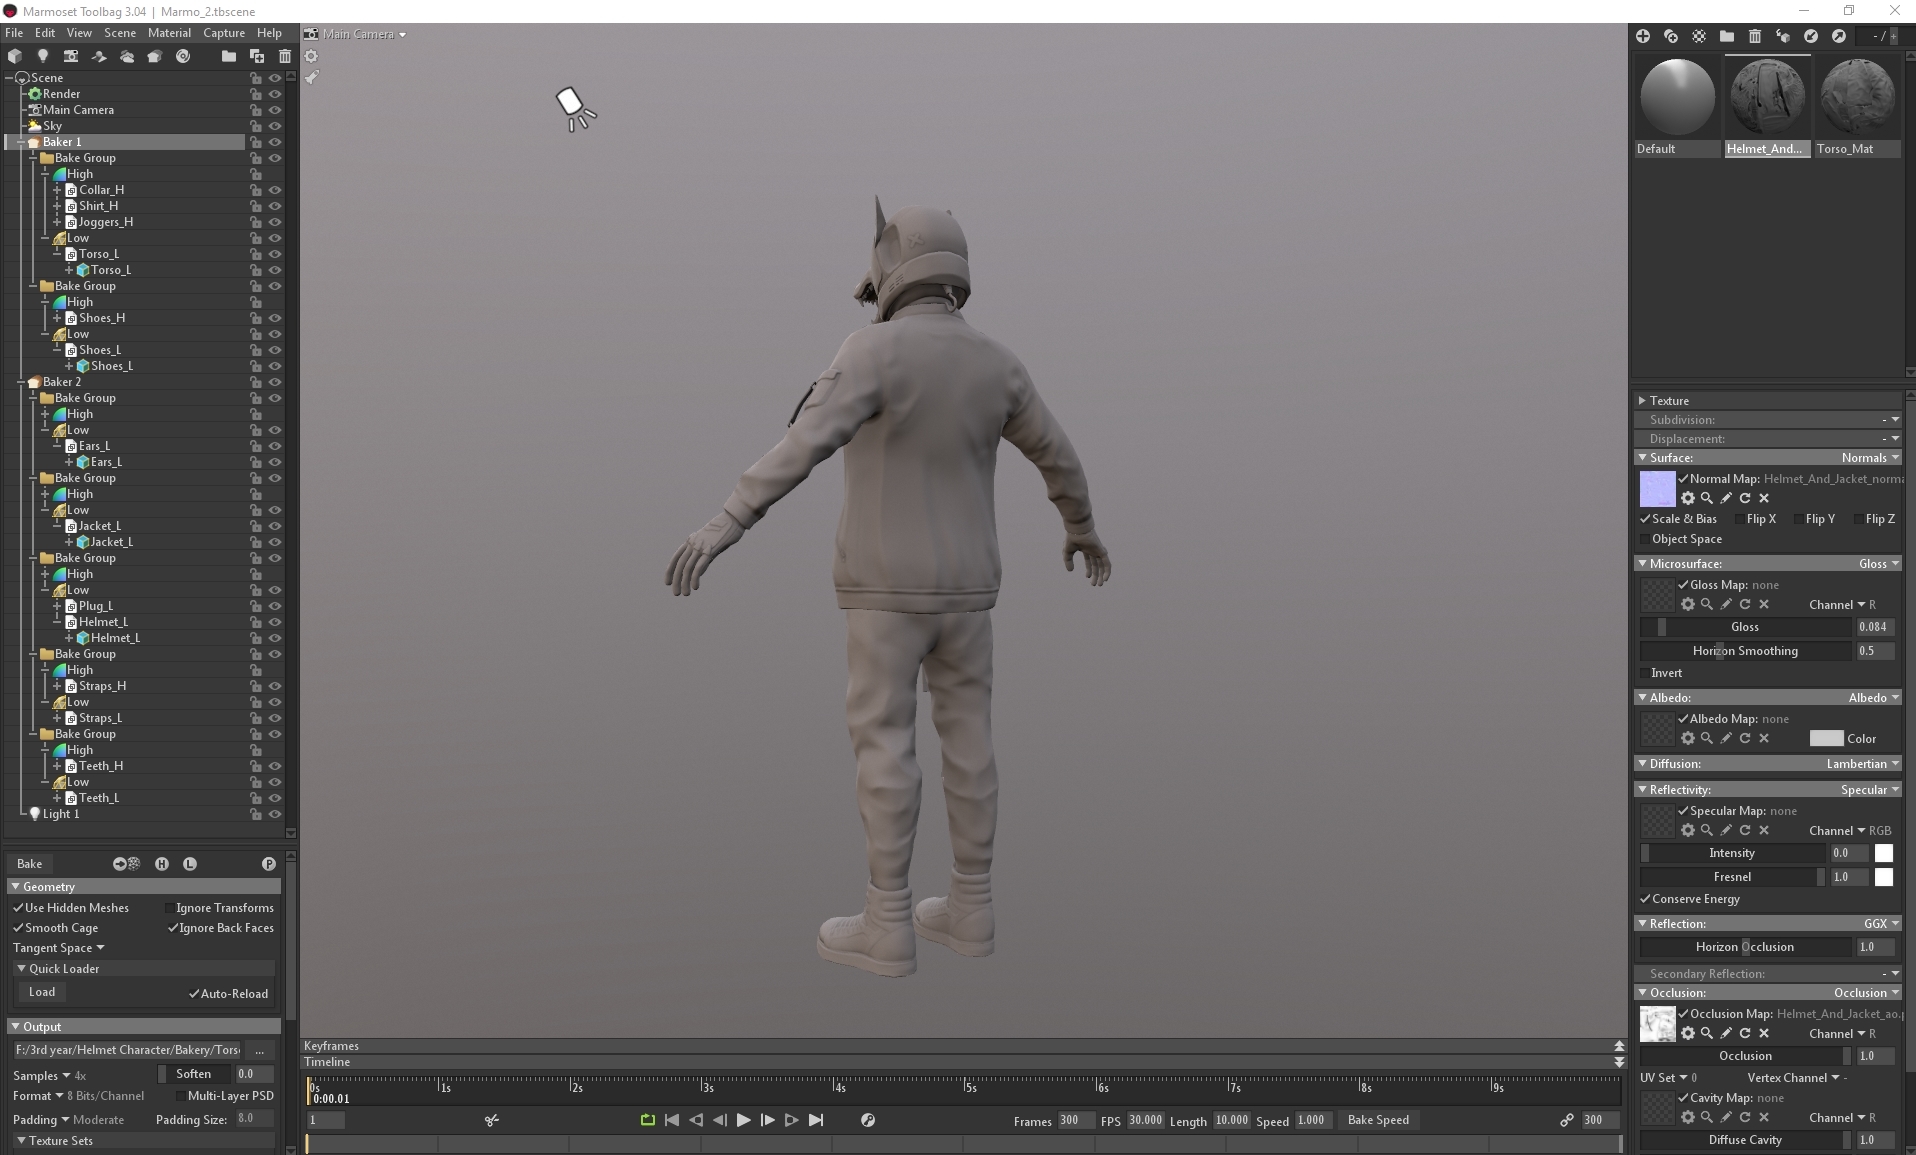
On Monday I baked the character in Marmoset using 2 separate Bakers for the 2 separate maps that I had created:

I separated each asset into individual bake groups to avoid them baking onto each other and creating errors. For any baking errors that did occur, I used the paint offset tool to paint on a larger or smaller cage, and for any errors that couldn't be fixed I went itno photoshop and fixed manually using the spot heal brush. With the baker I produced normal and normal (object) maps, ao maps as well as curve maps to be used later in substance painter.

Sunday, November 10, 2019

Helmeted Character Week 3: Sunday

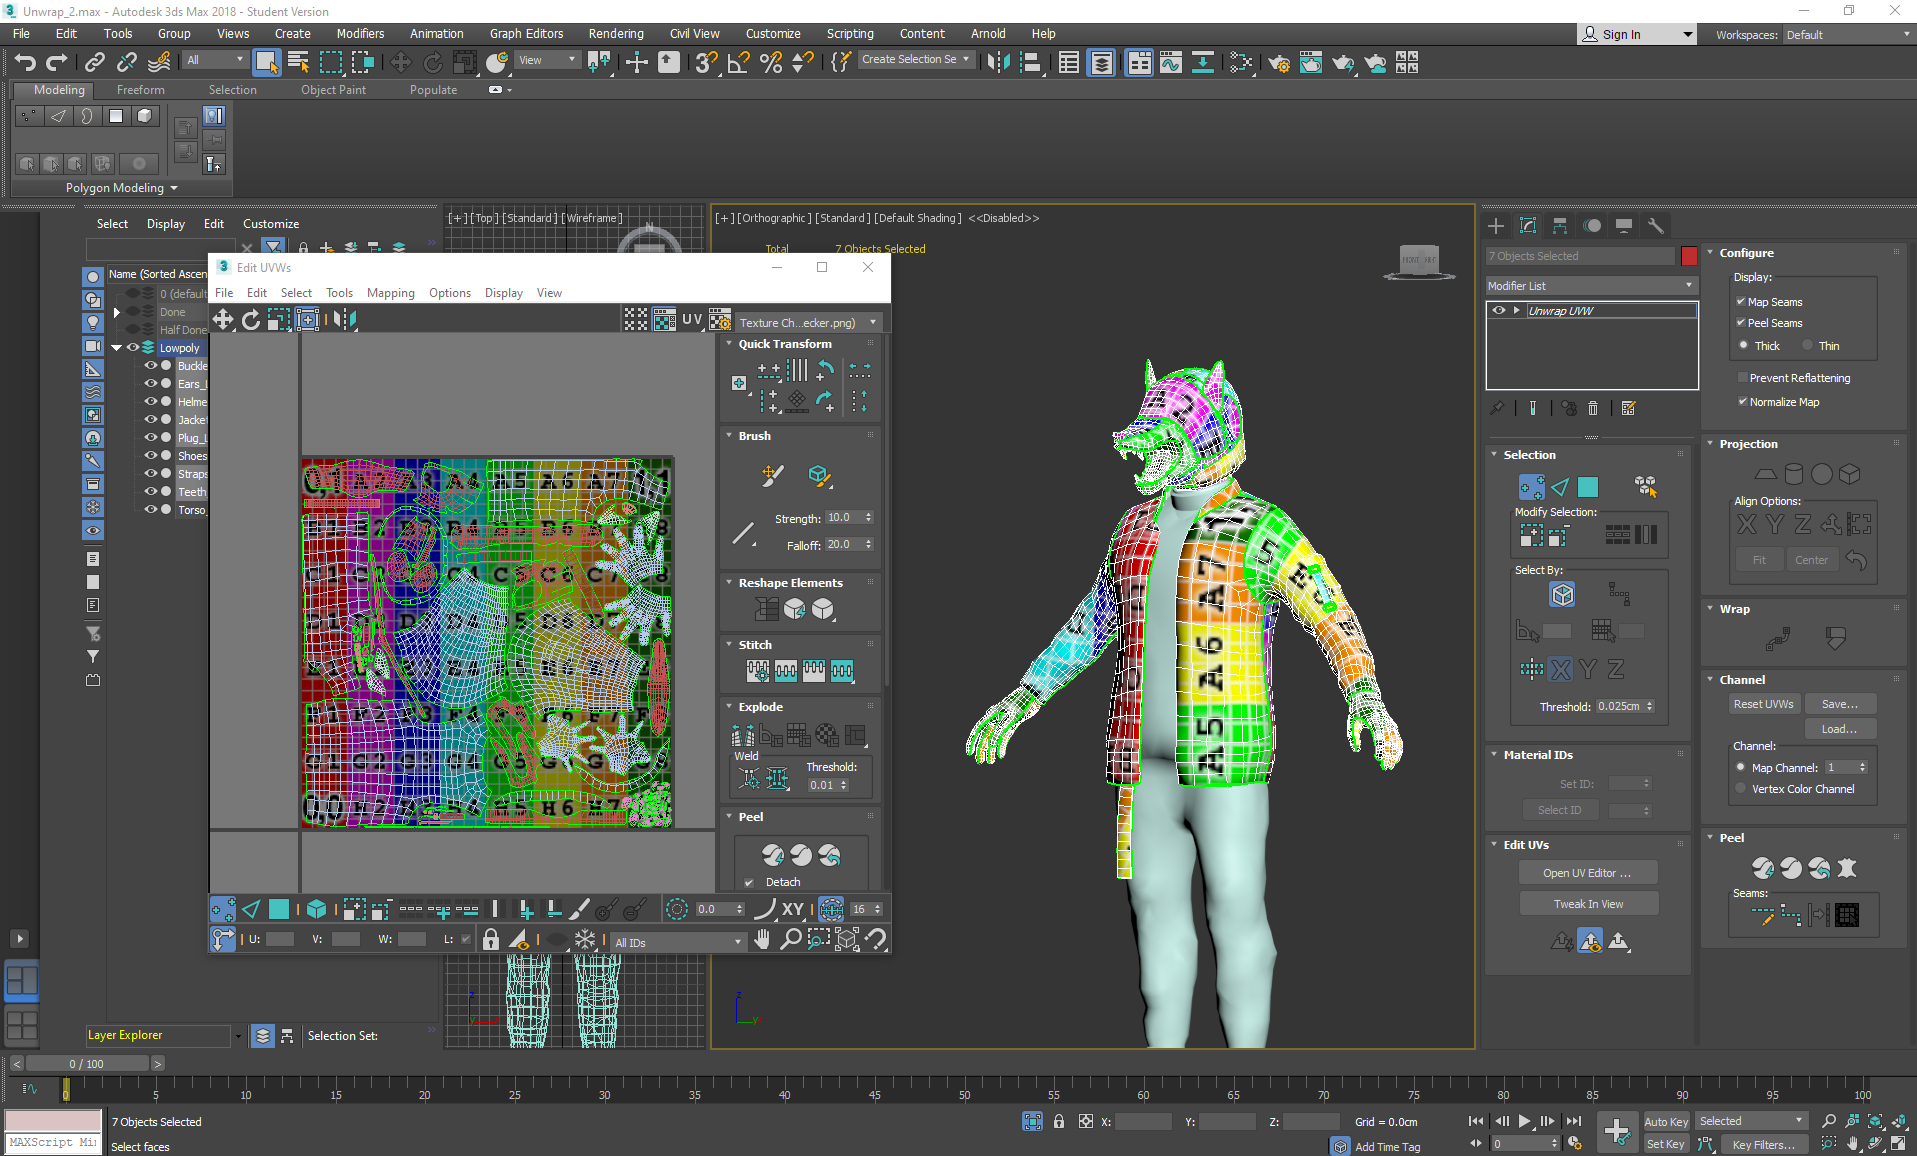
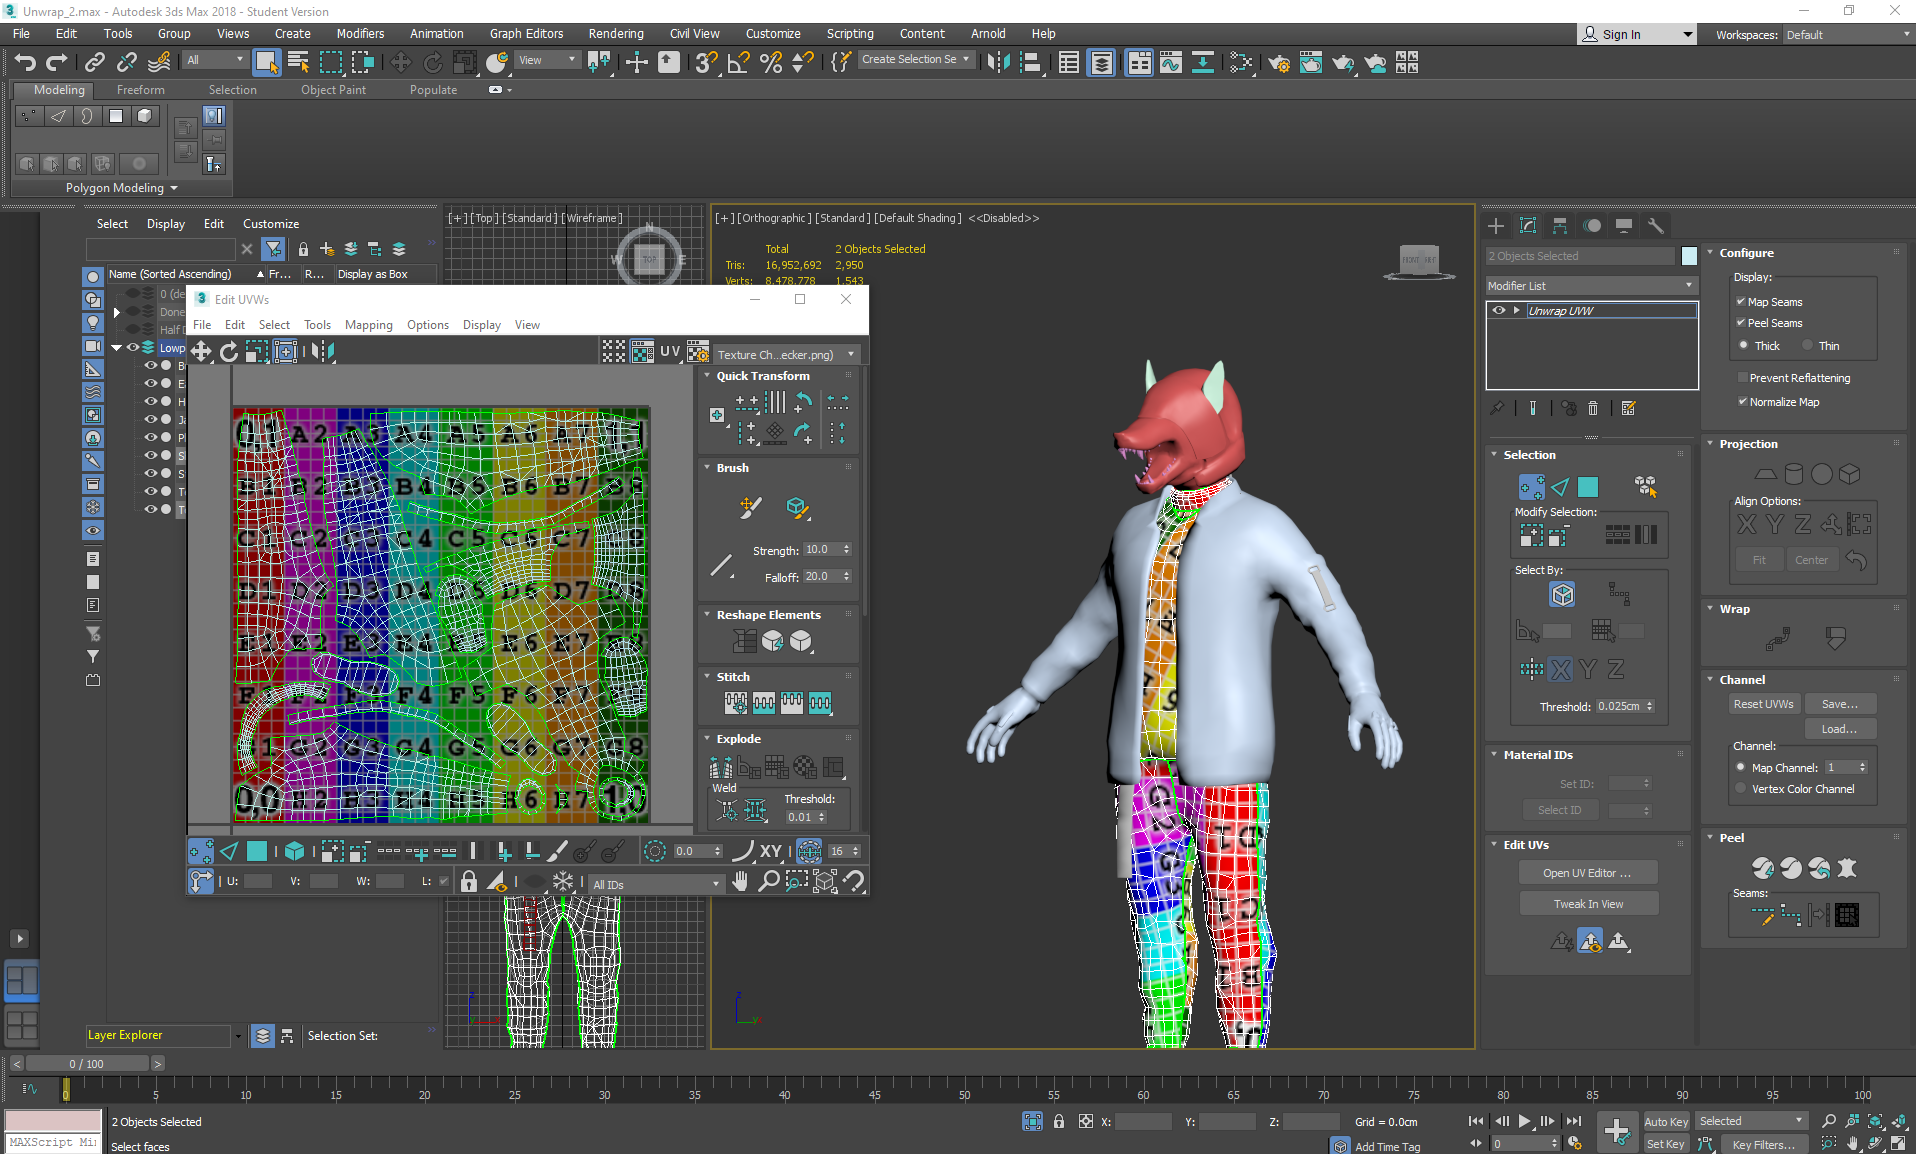
On Sunday I unwrapped the lowpoly ready to be baked in marmoset. I split everything into 2x 2048x2048 maps, one for the torso, which included the shirt, joggers and boots, then one for the rest of the outfit which consisted of the helmet, jacket, gloves and straps.


I neatly organised everything into parts labelled with _L for lowpoly, then exported them as .OBJs, doing the same to their highpoly counterparts marked as _H ready to bake in marmoset.

Saturday, November 9, 2019

Helmeted Character Week 3: Saturday

As I'd wasted some time on marmoset on the previous couple of wednesdays, I decided to work further over the weekend to catch up on lost time.
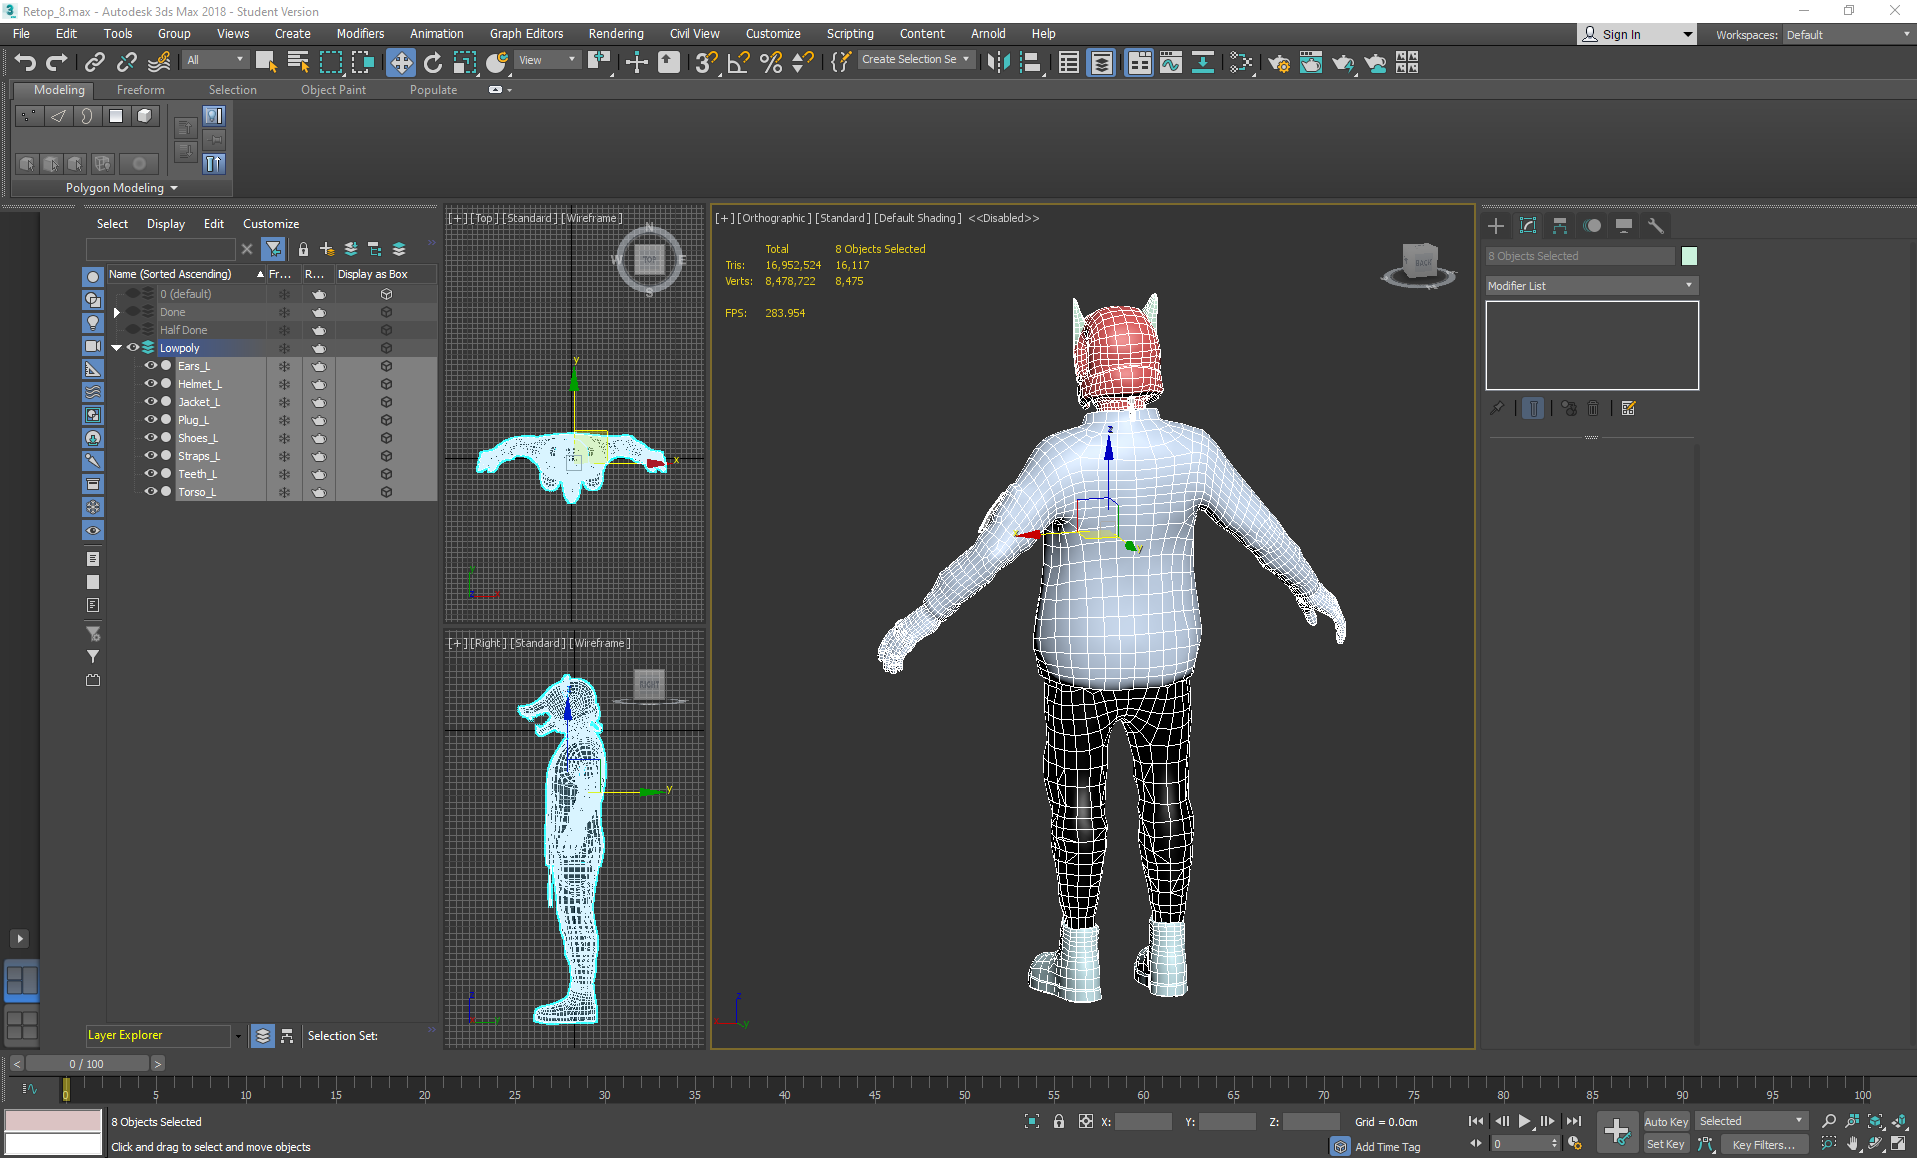
On Saturday I finished retopping the character, adding final joint loops to the elbows and knees and cutting in some extra topology in the shin area where there are the least deformations to create more creases:

Friday, November 8, 2019

Helmeted Character: Week 3 Friday

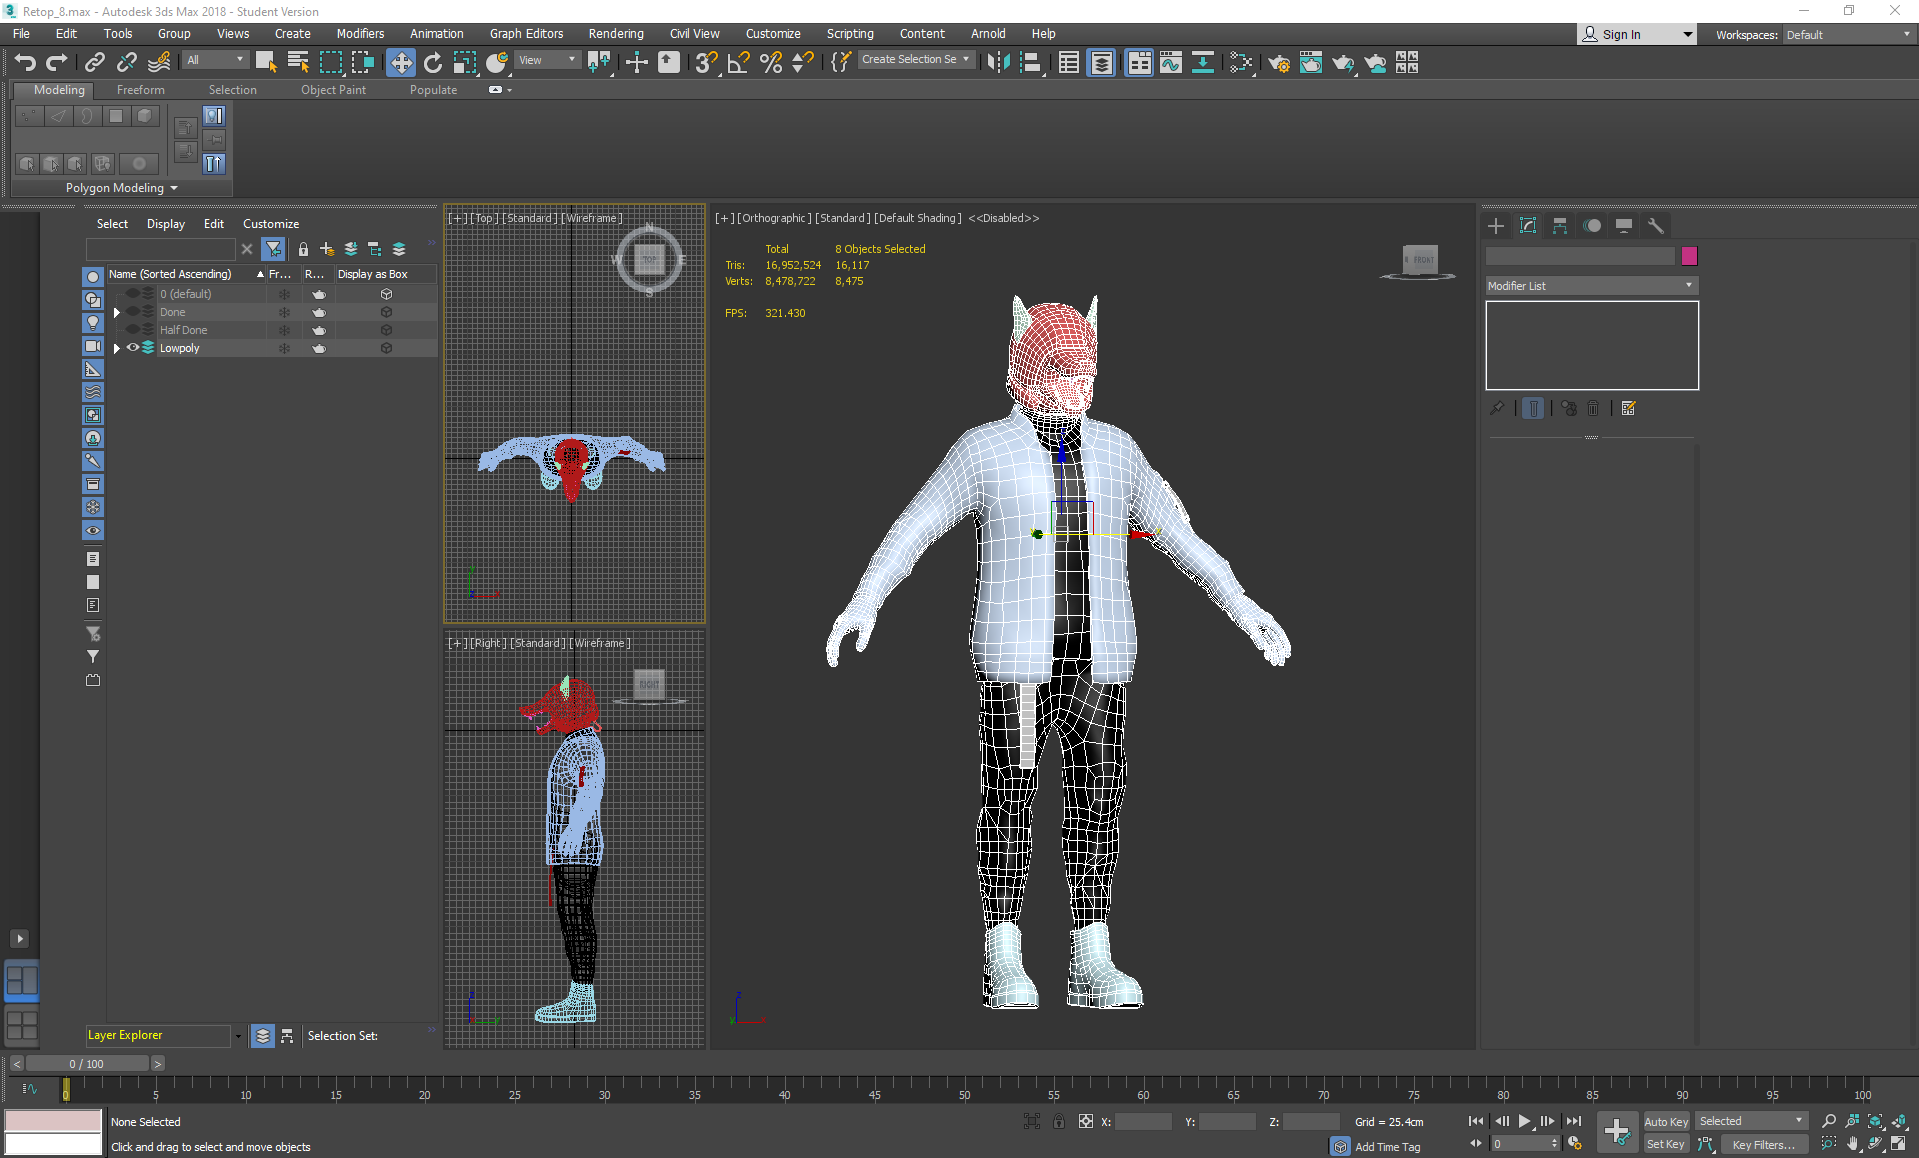
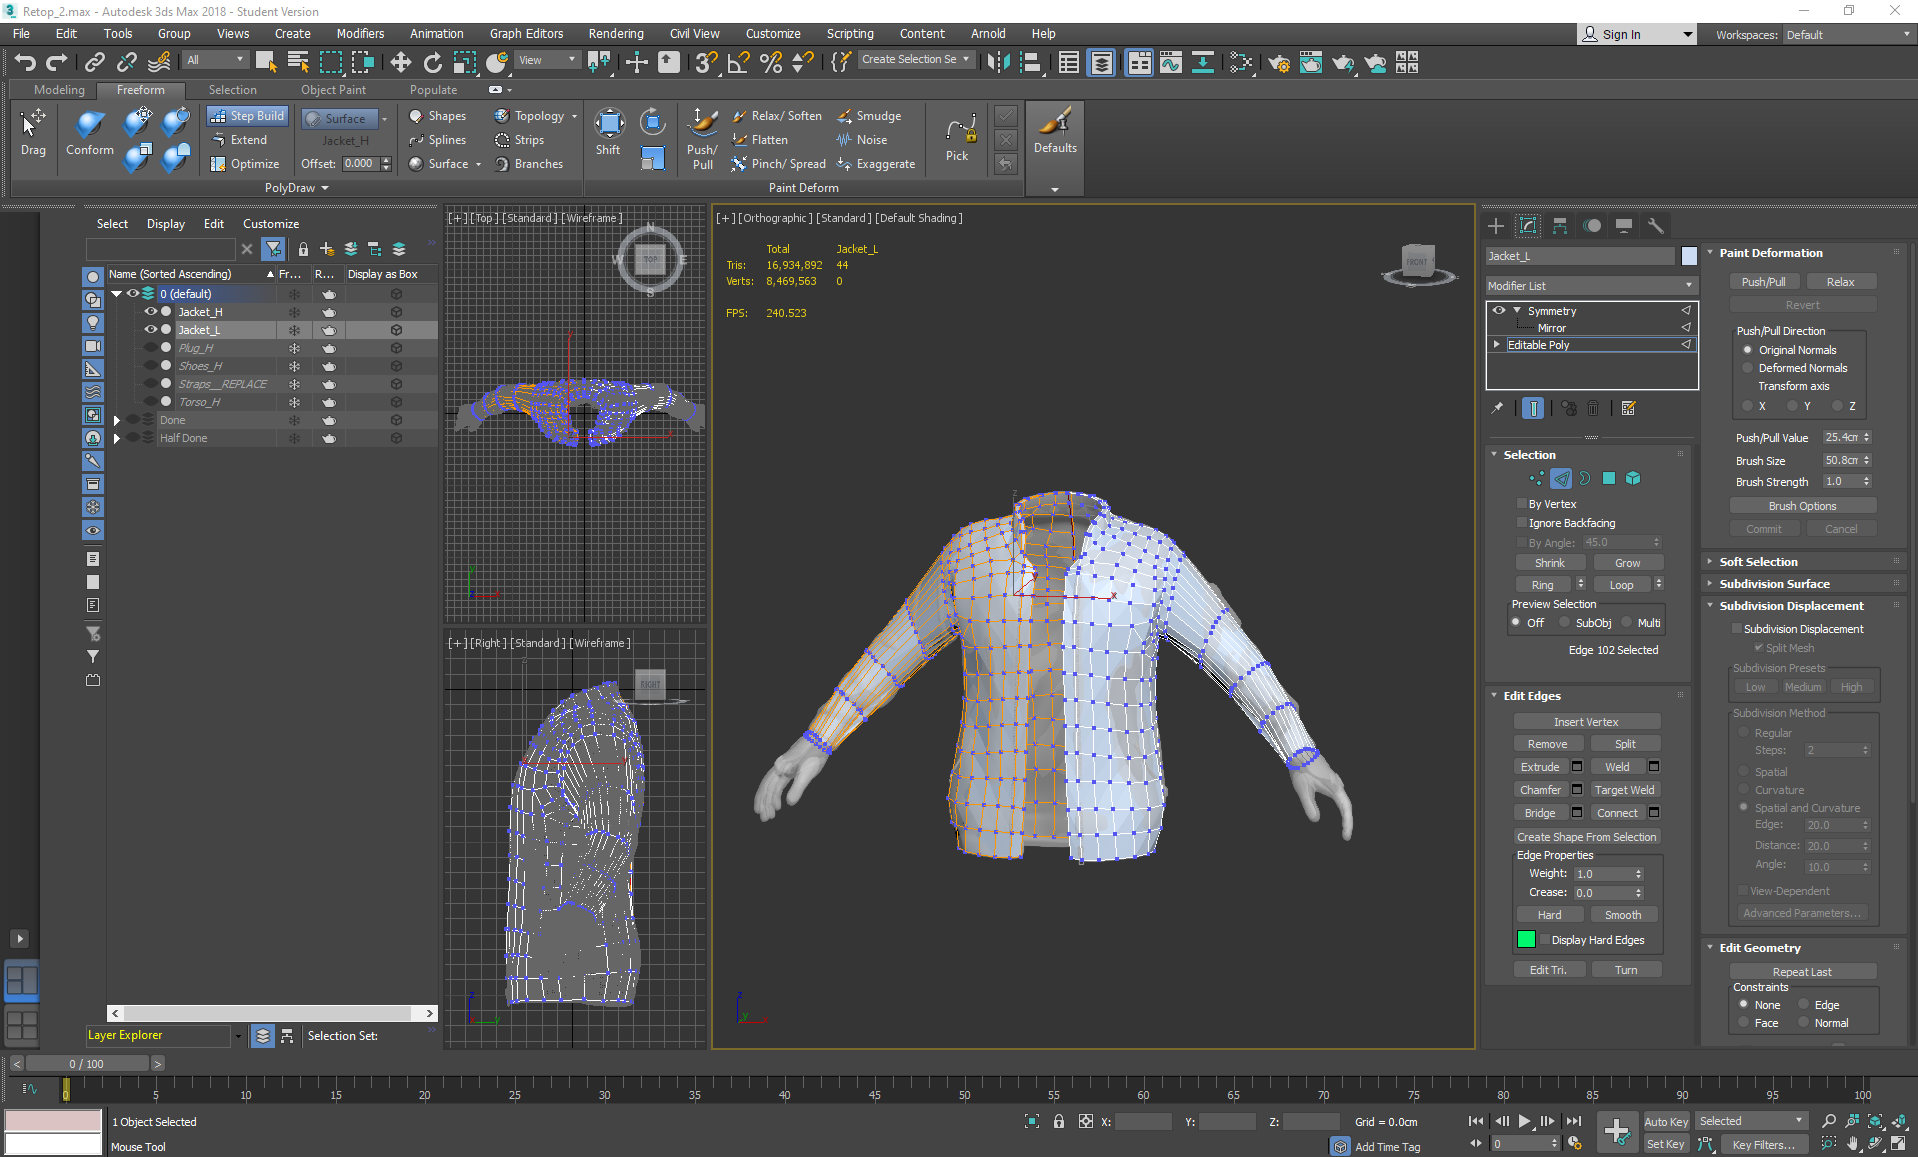
On Friday I continued retopping:
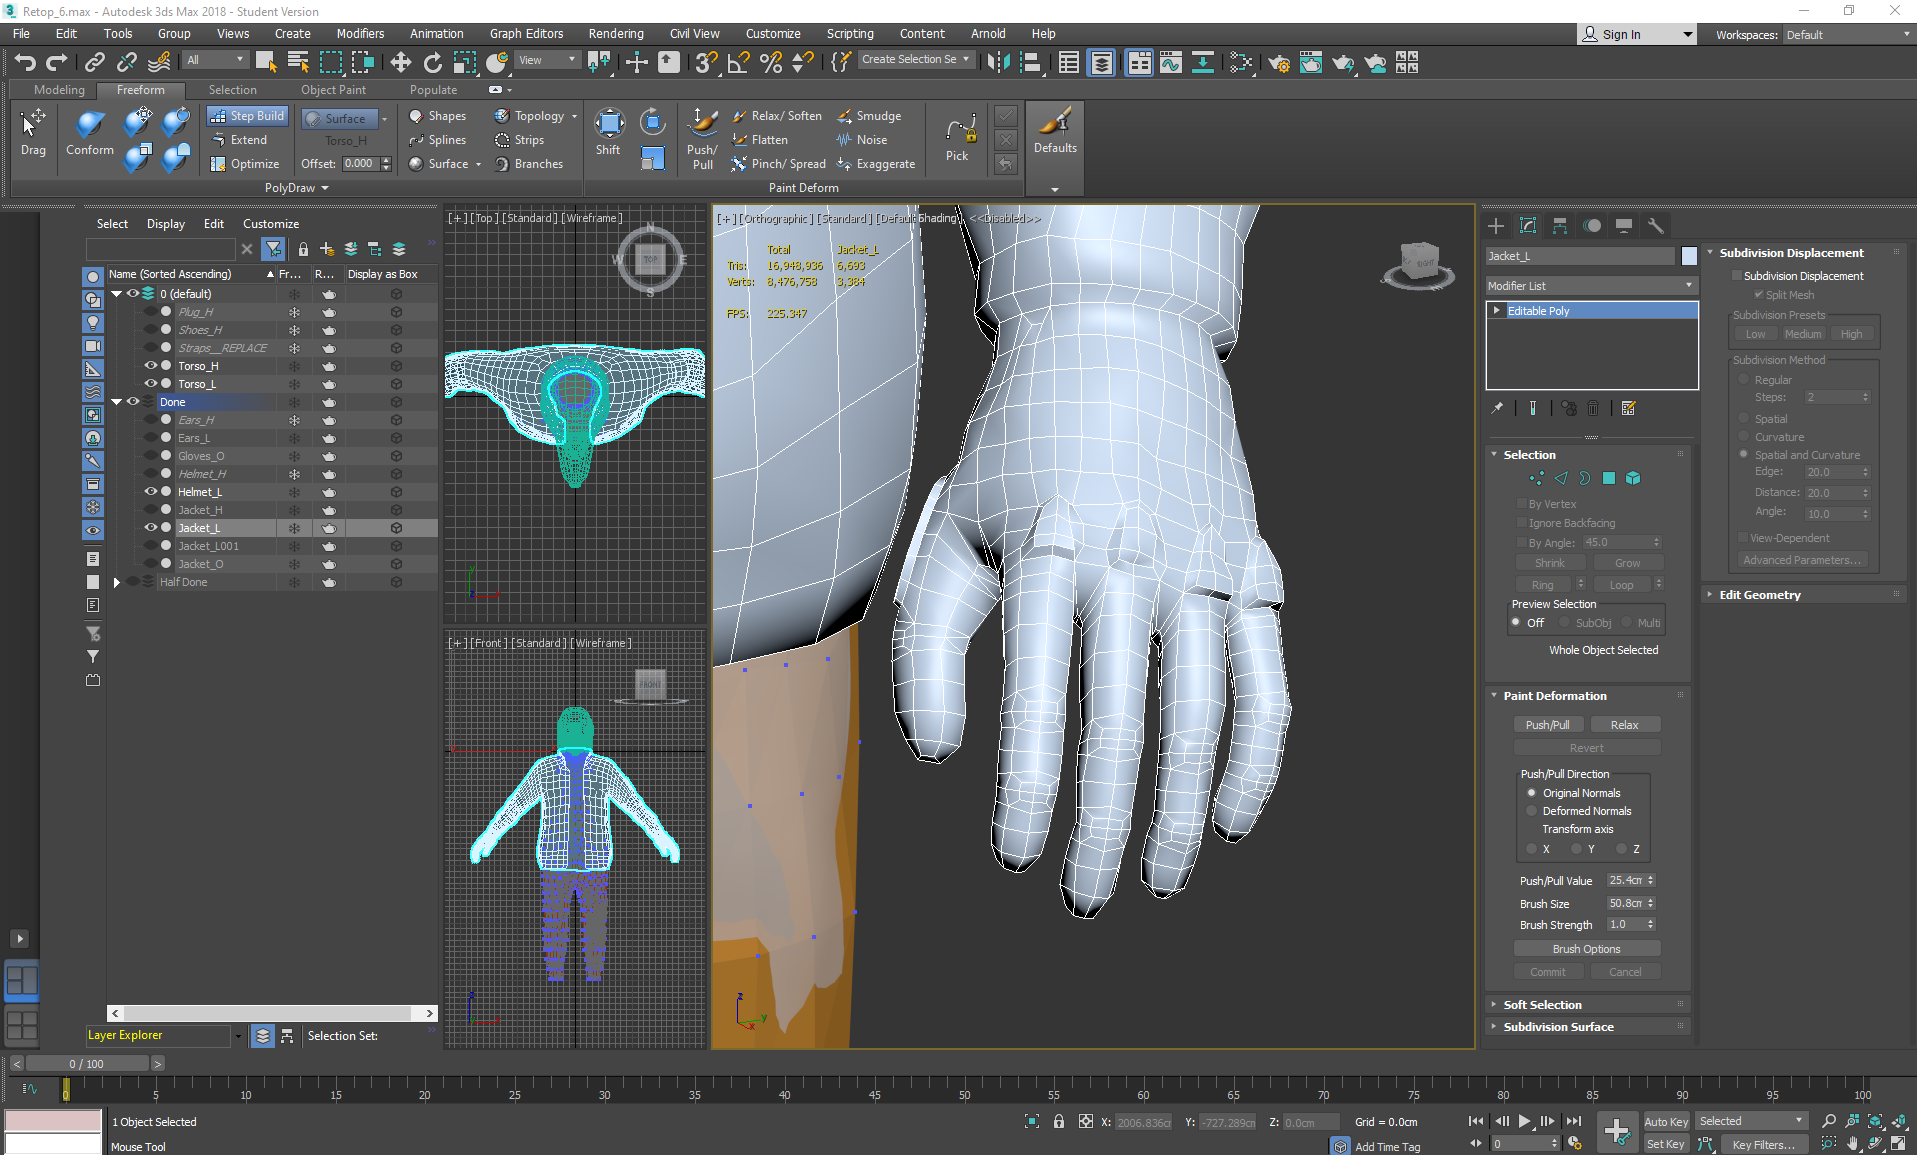
I started using the conform relax tool and conform move tool to ensure that the topology wasn't too jagged, but was also filling the creases that extrude from the silhouette so that the bake will look more natural. At this point I was paying attention to the loops going around the hipbones towards the crotch area, and the loops then extending down the legs.

I paid extra attention to where I was placing geometery, trying not to add any triangles if possible, and if so not near any deformation areas when adding extra loops. I also added joint specific topology for areas such as the fingers:


Thursday, November 7, 2019

Helmeted Character Week 3: Thursday

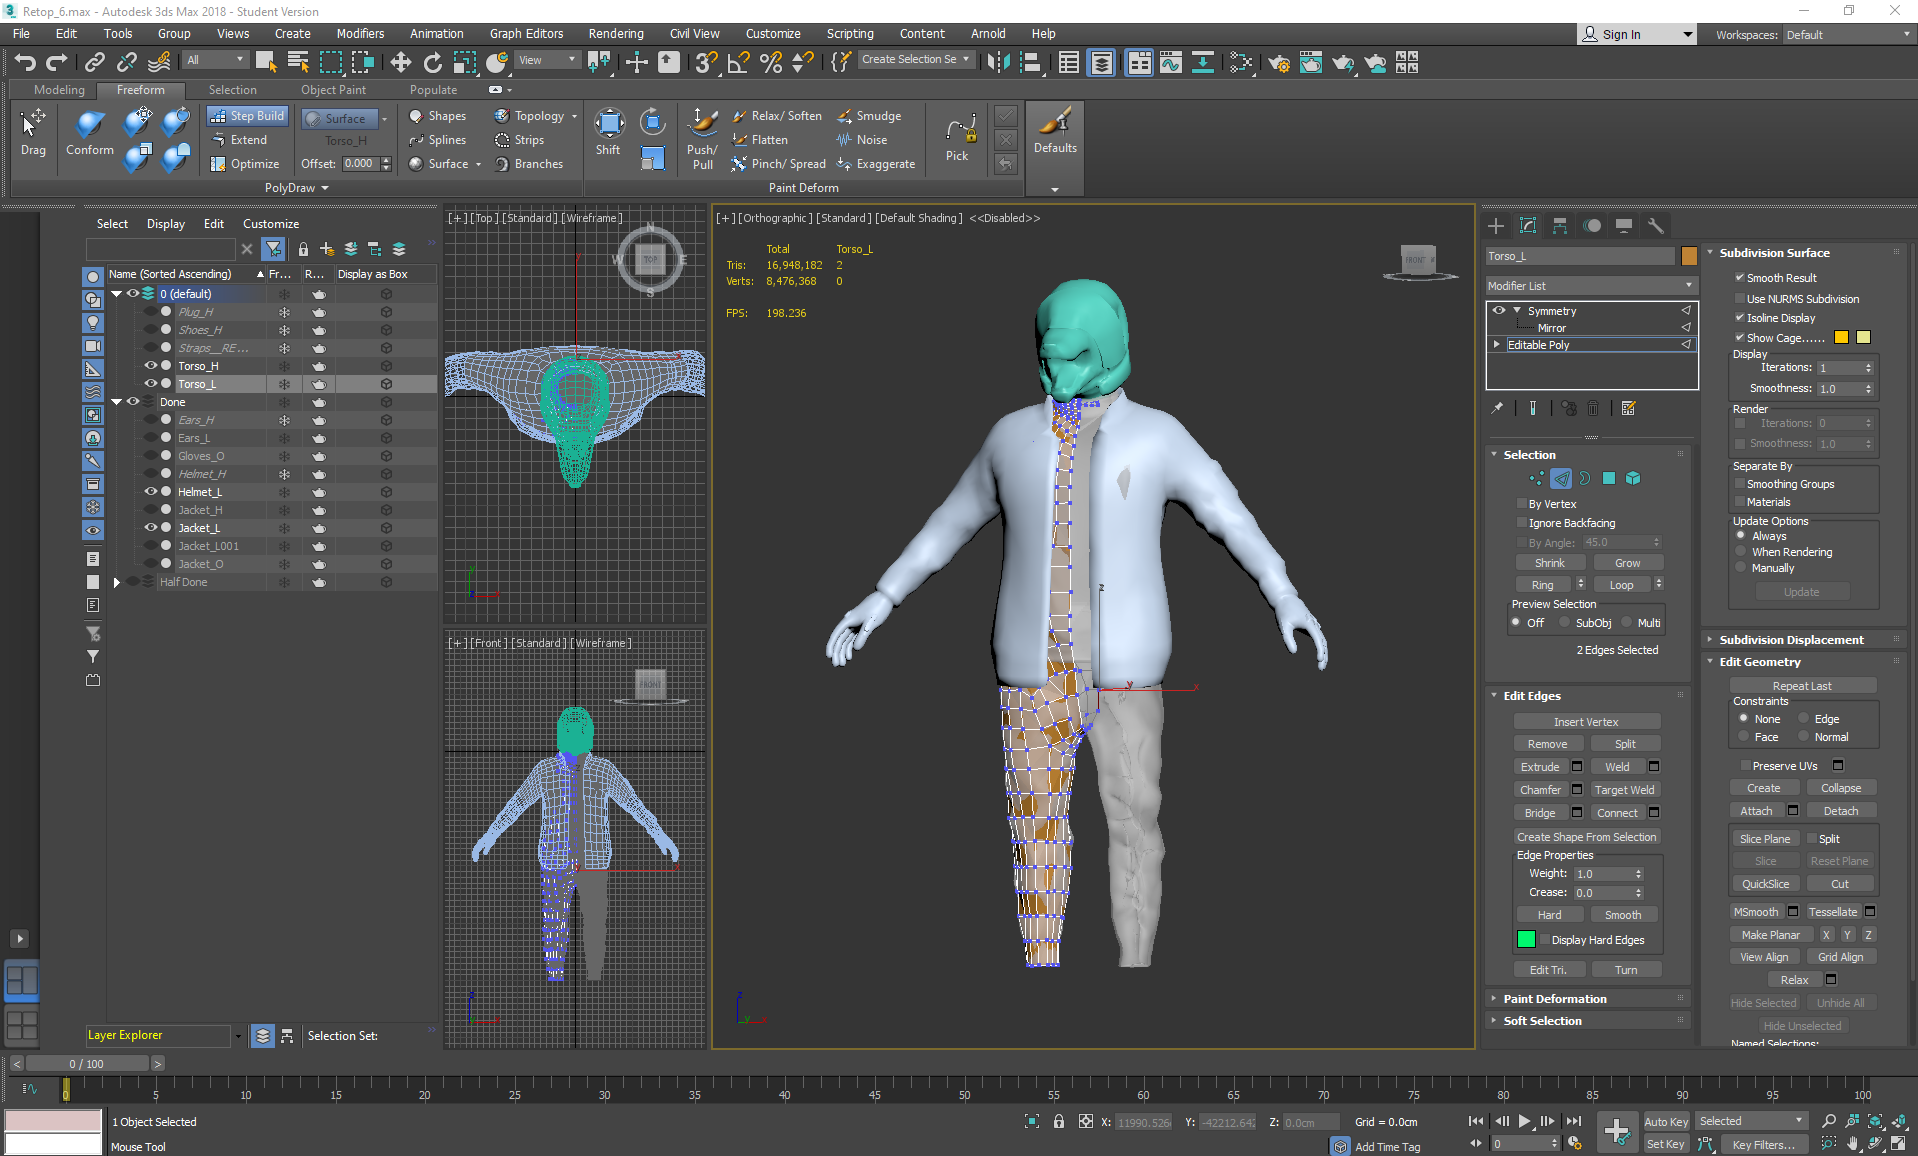
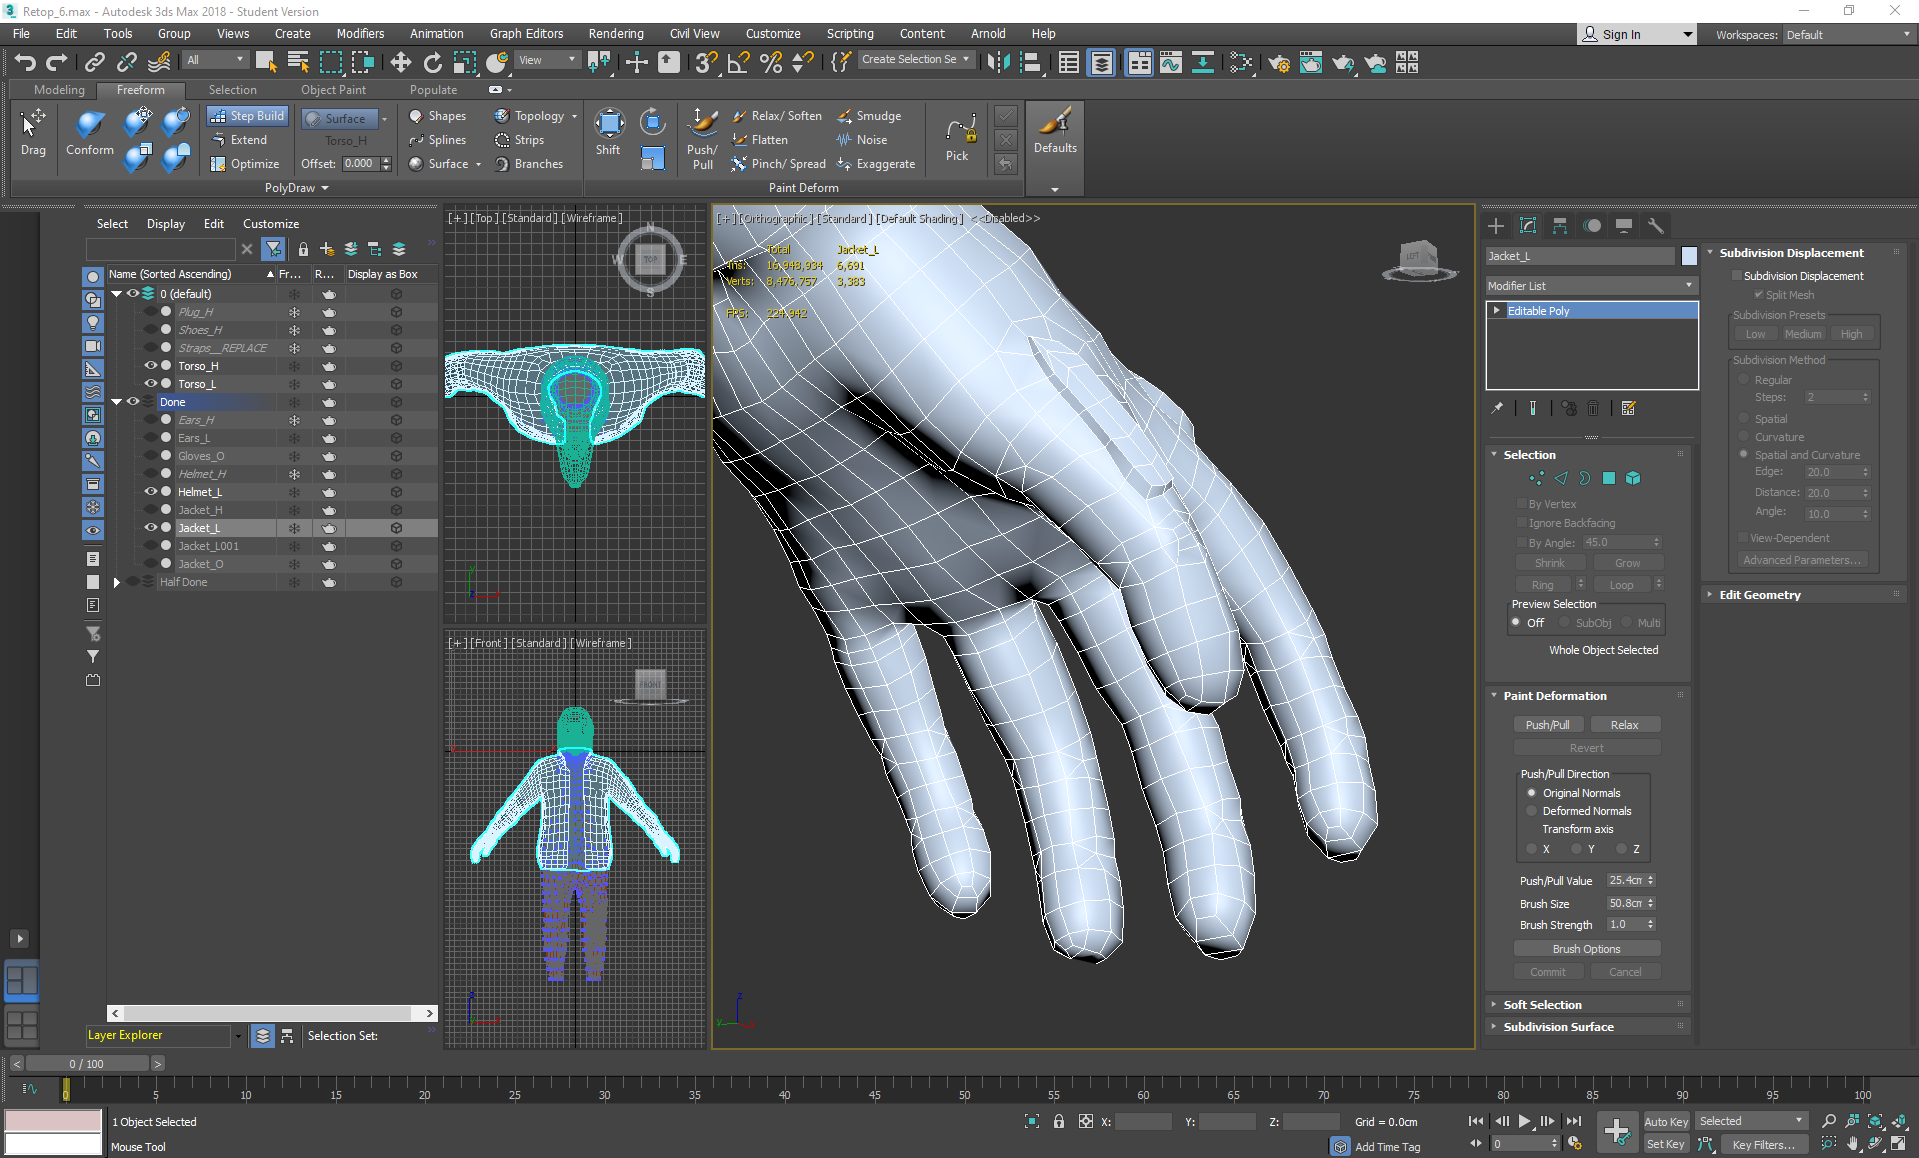
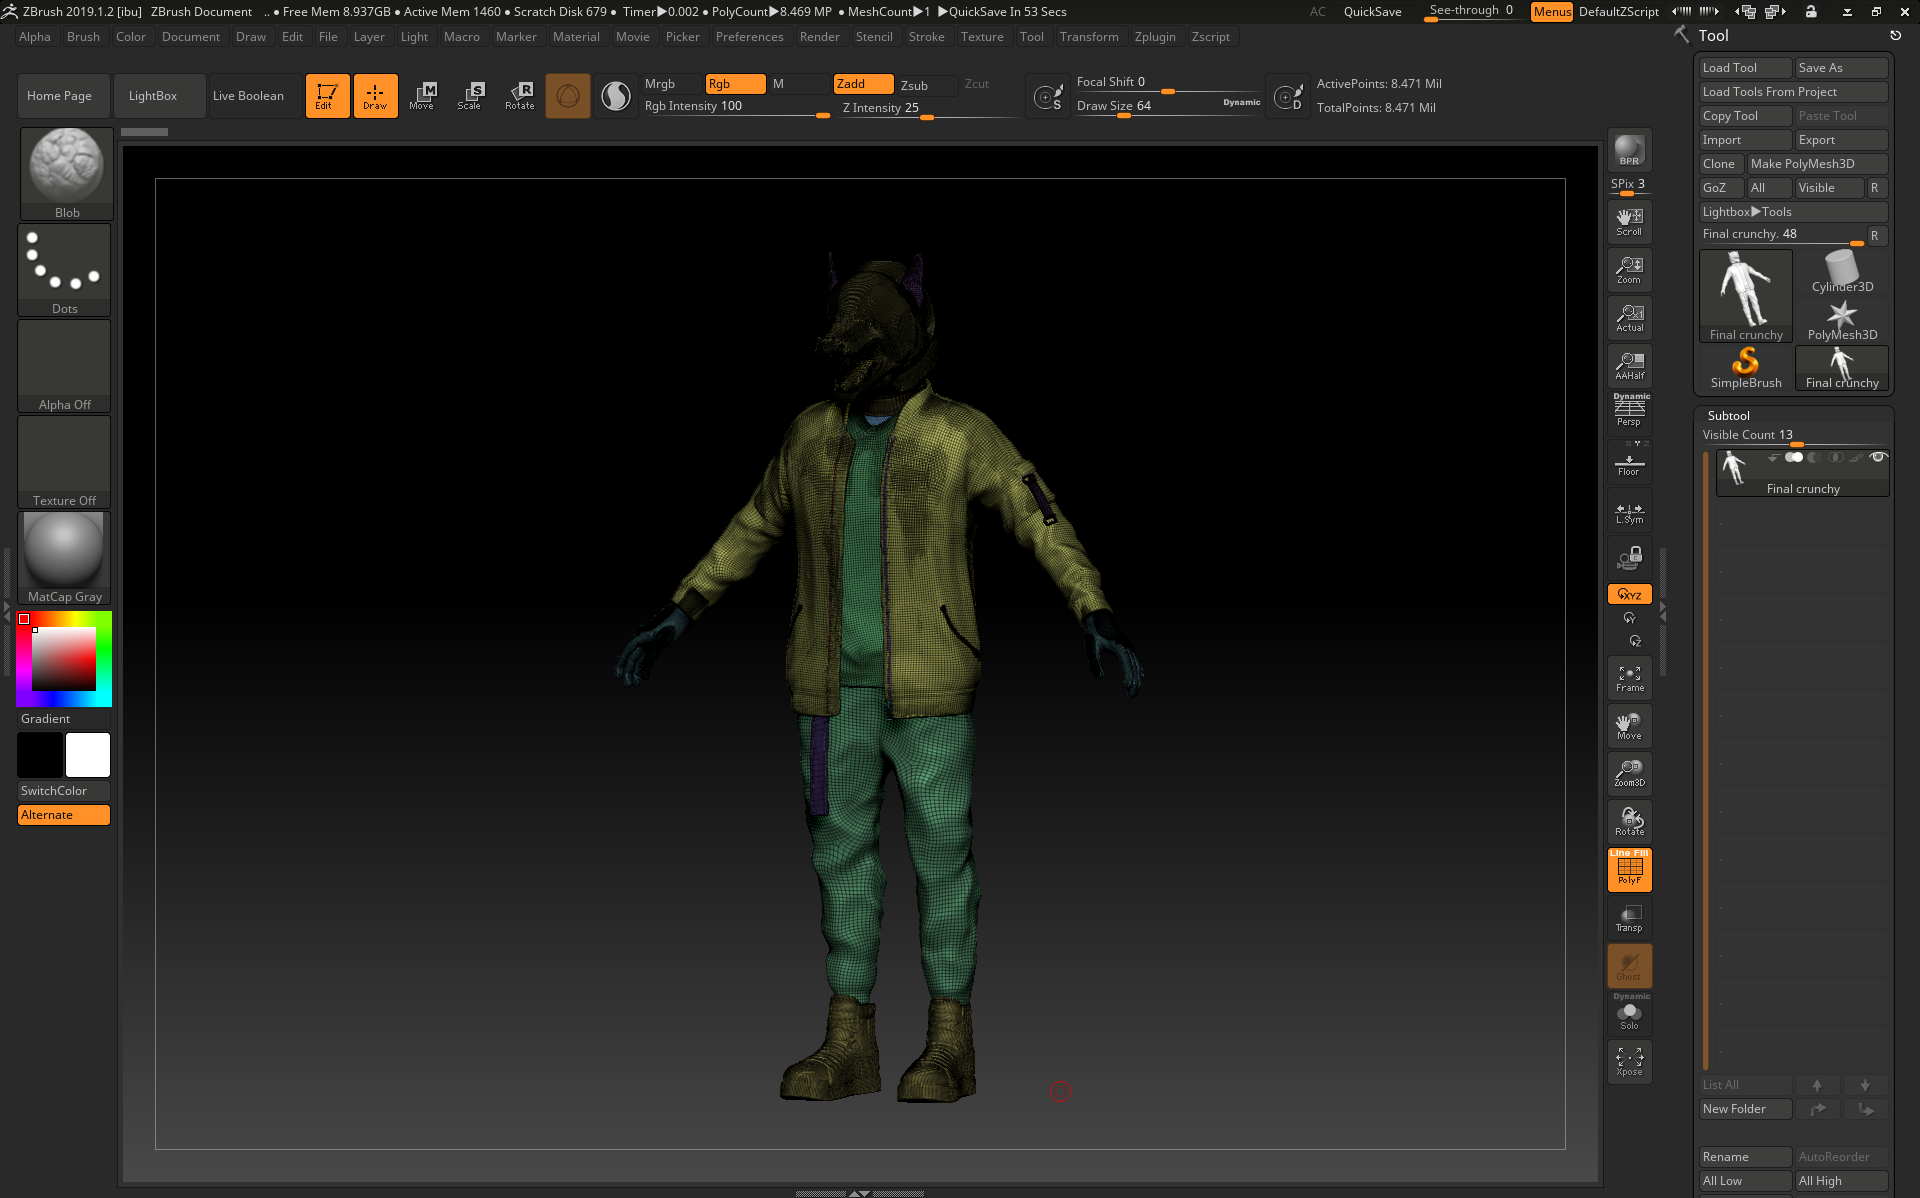
On Thursday I decimated everything to be a low enough polycount to be exported back into 3ds max for retopping. I did this by duplicating everything, then using dynamesh and zremesher to create a lower poly version of each item, then I used project to get as much detail onto the lower poly versions as possible before using decimation master and decimate to crunch down the polycount even further:
Once it was imported into 3ds max, I started the retopping process:
To achieve this, I used Step Build after picking the highpoly as a surface to draw on. While retopping I would switch between drawing the squares in using the Freeform tab, then adjusting them using Set Flow in the Modeling tab so that they were evenly spaced.

Wednesday, November 6, 2019

Helmeted Character: Week 3 Wednesday

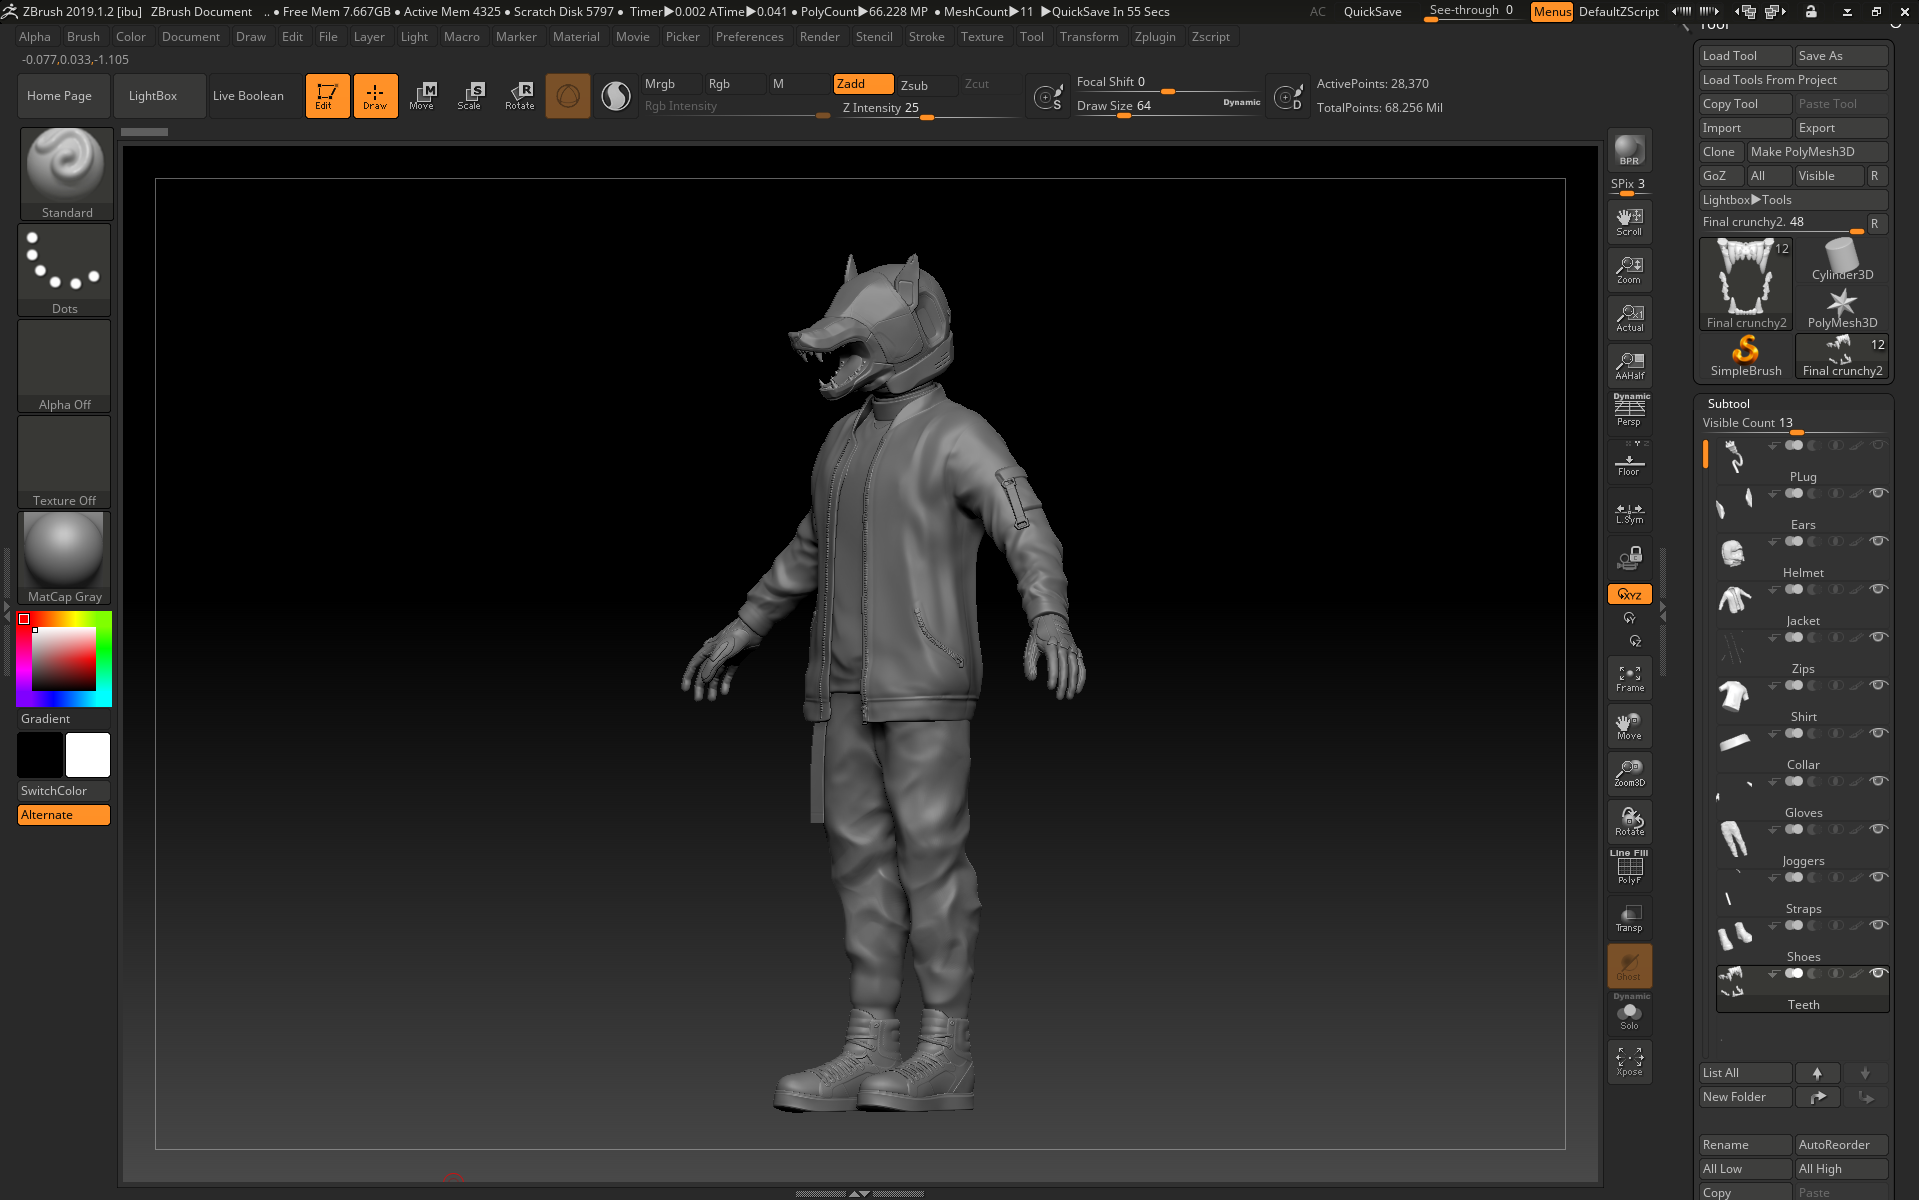
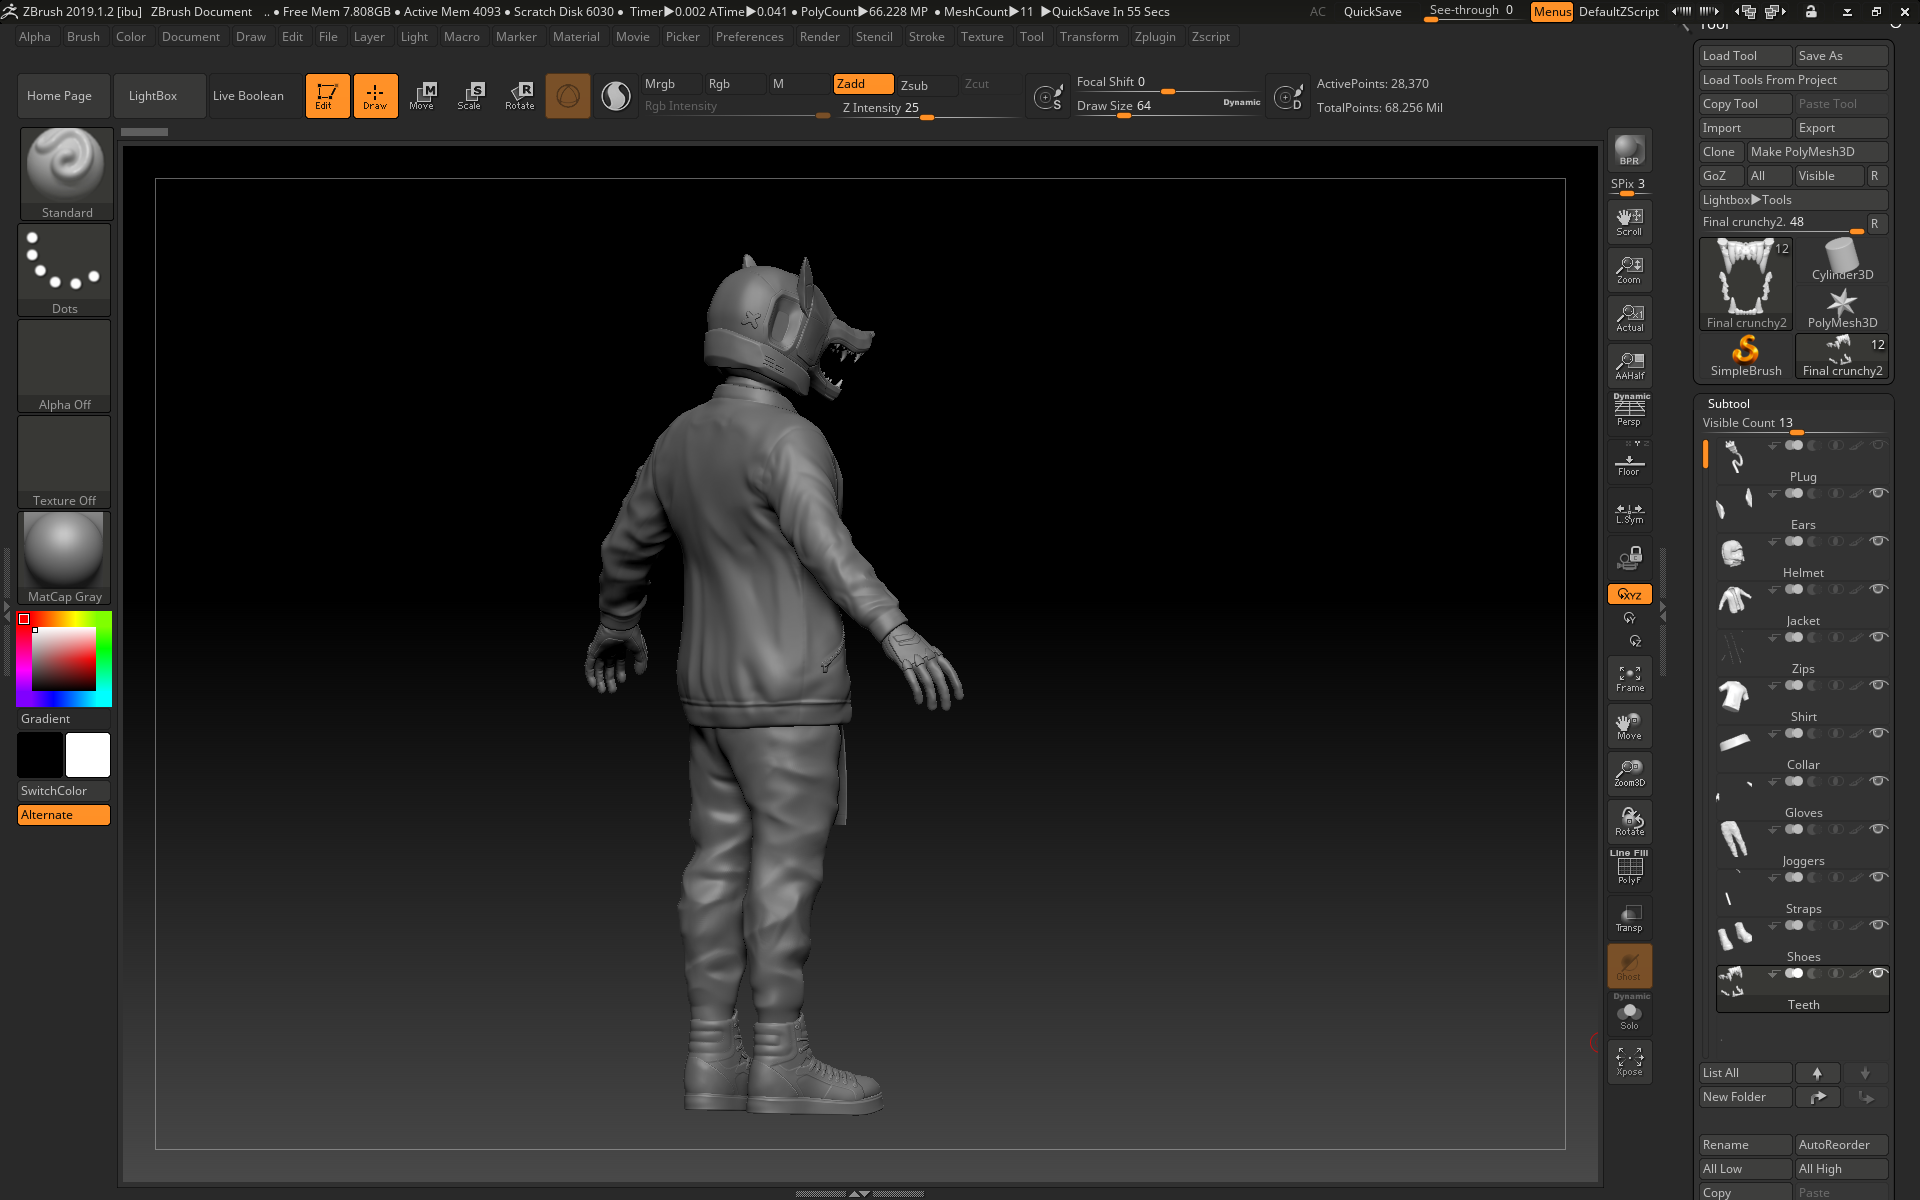
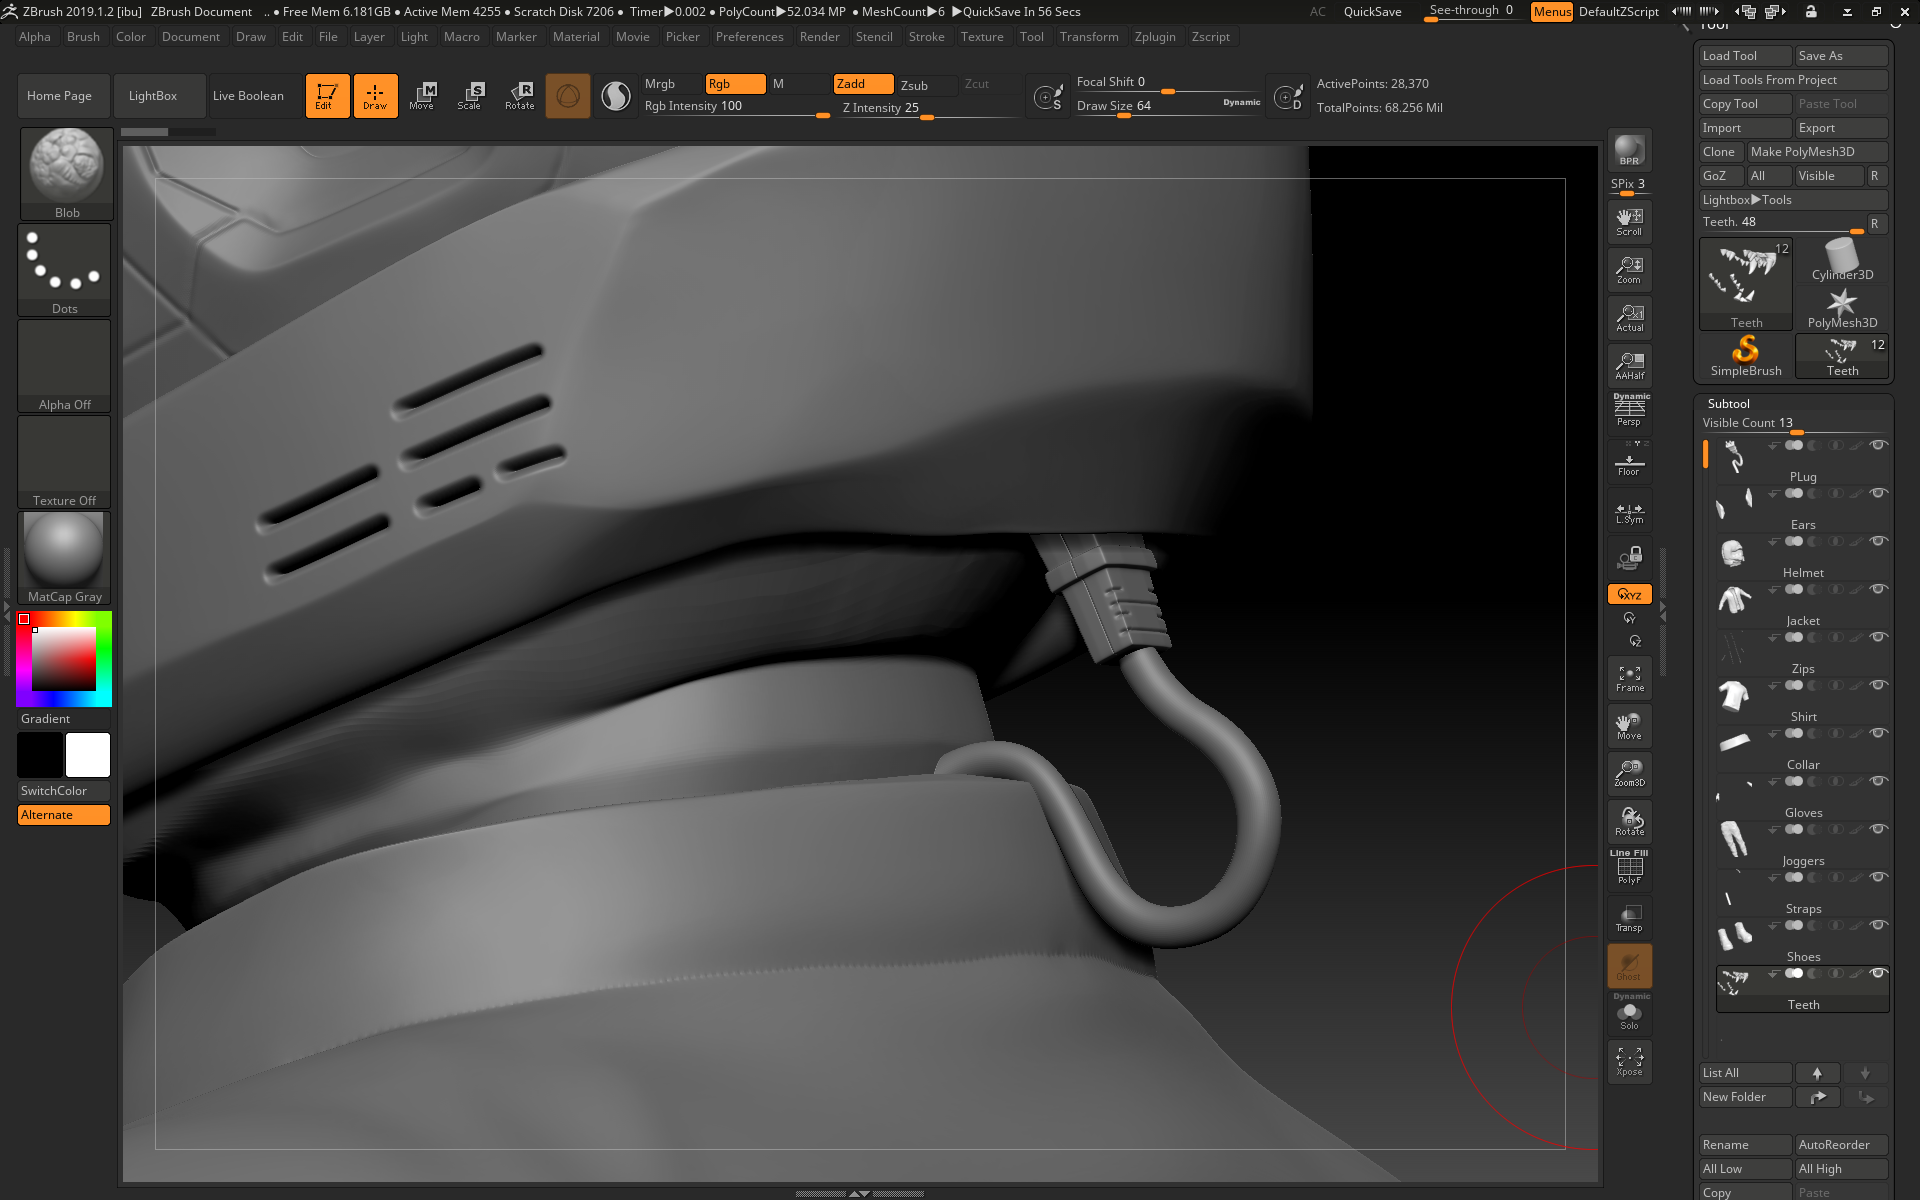
On Wednesday I combined each piece of the model together and made adjustments so that everything would fit together, and also made the plug for the back of the helmet and the straps:


The straps were made with the IMM Strap tool for the straps themselves and then the IMM Gun tool with the F 07 part at the top of the arm strap, which was smoothed and then adjusted with the move tool, then duplicated and placed again at the bottom of the strap.

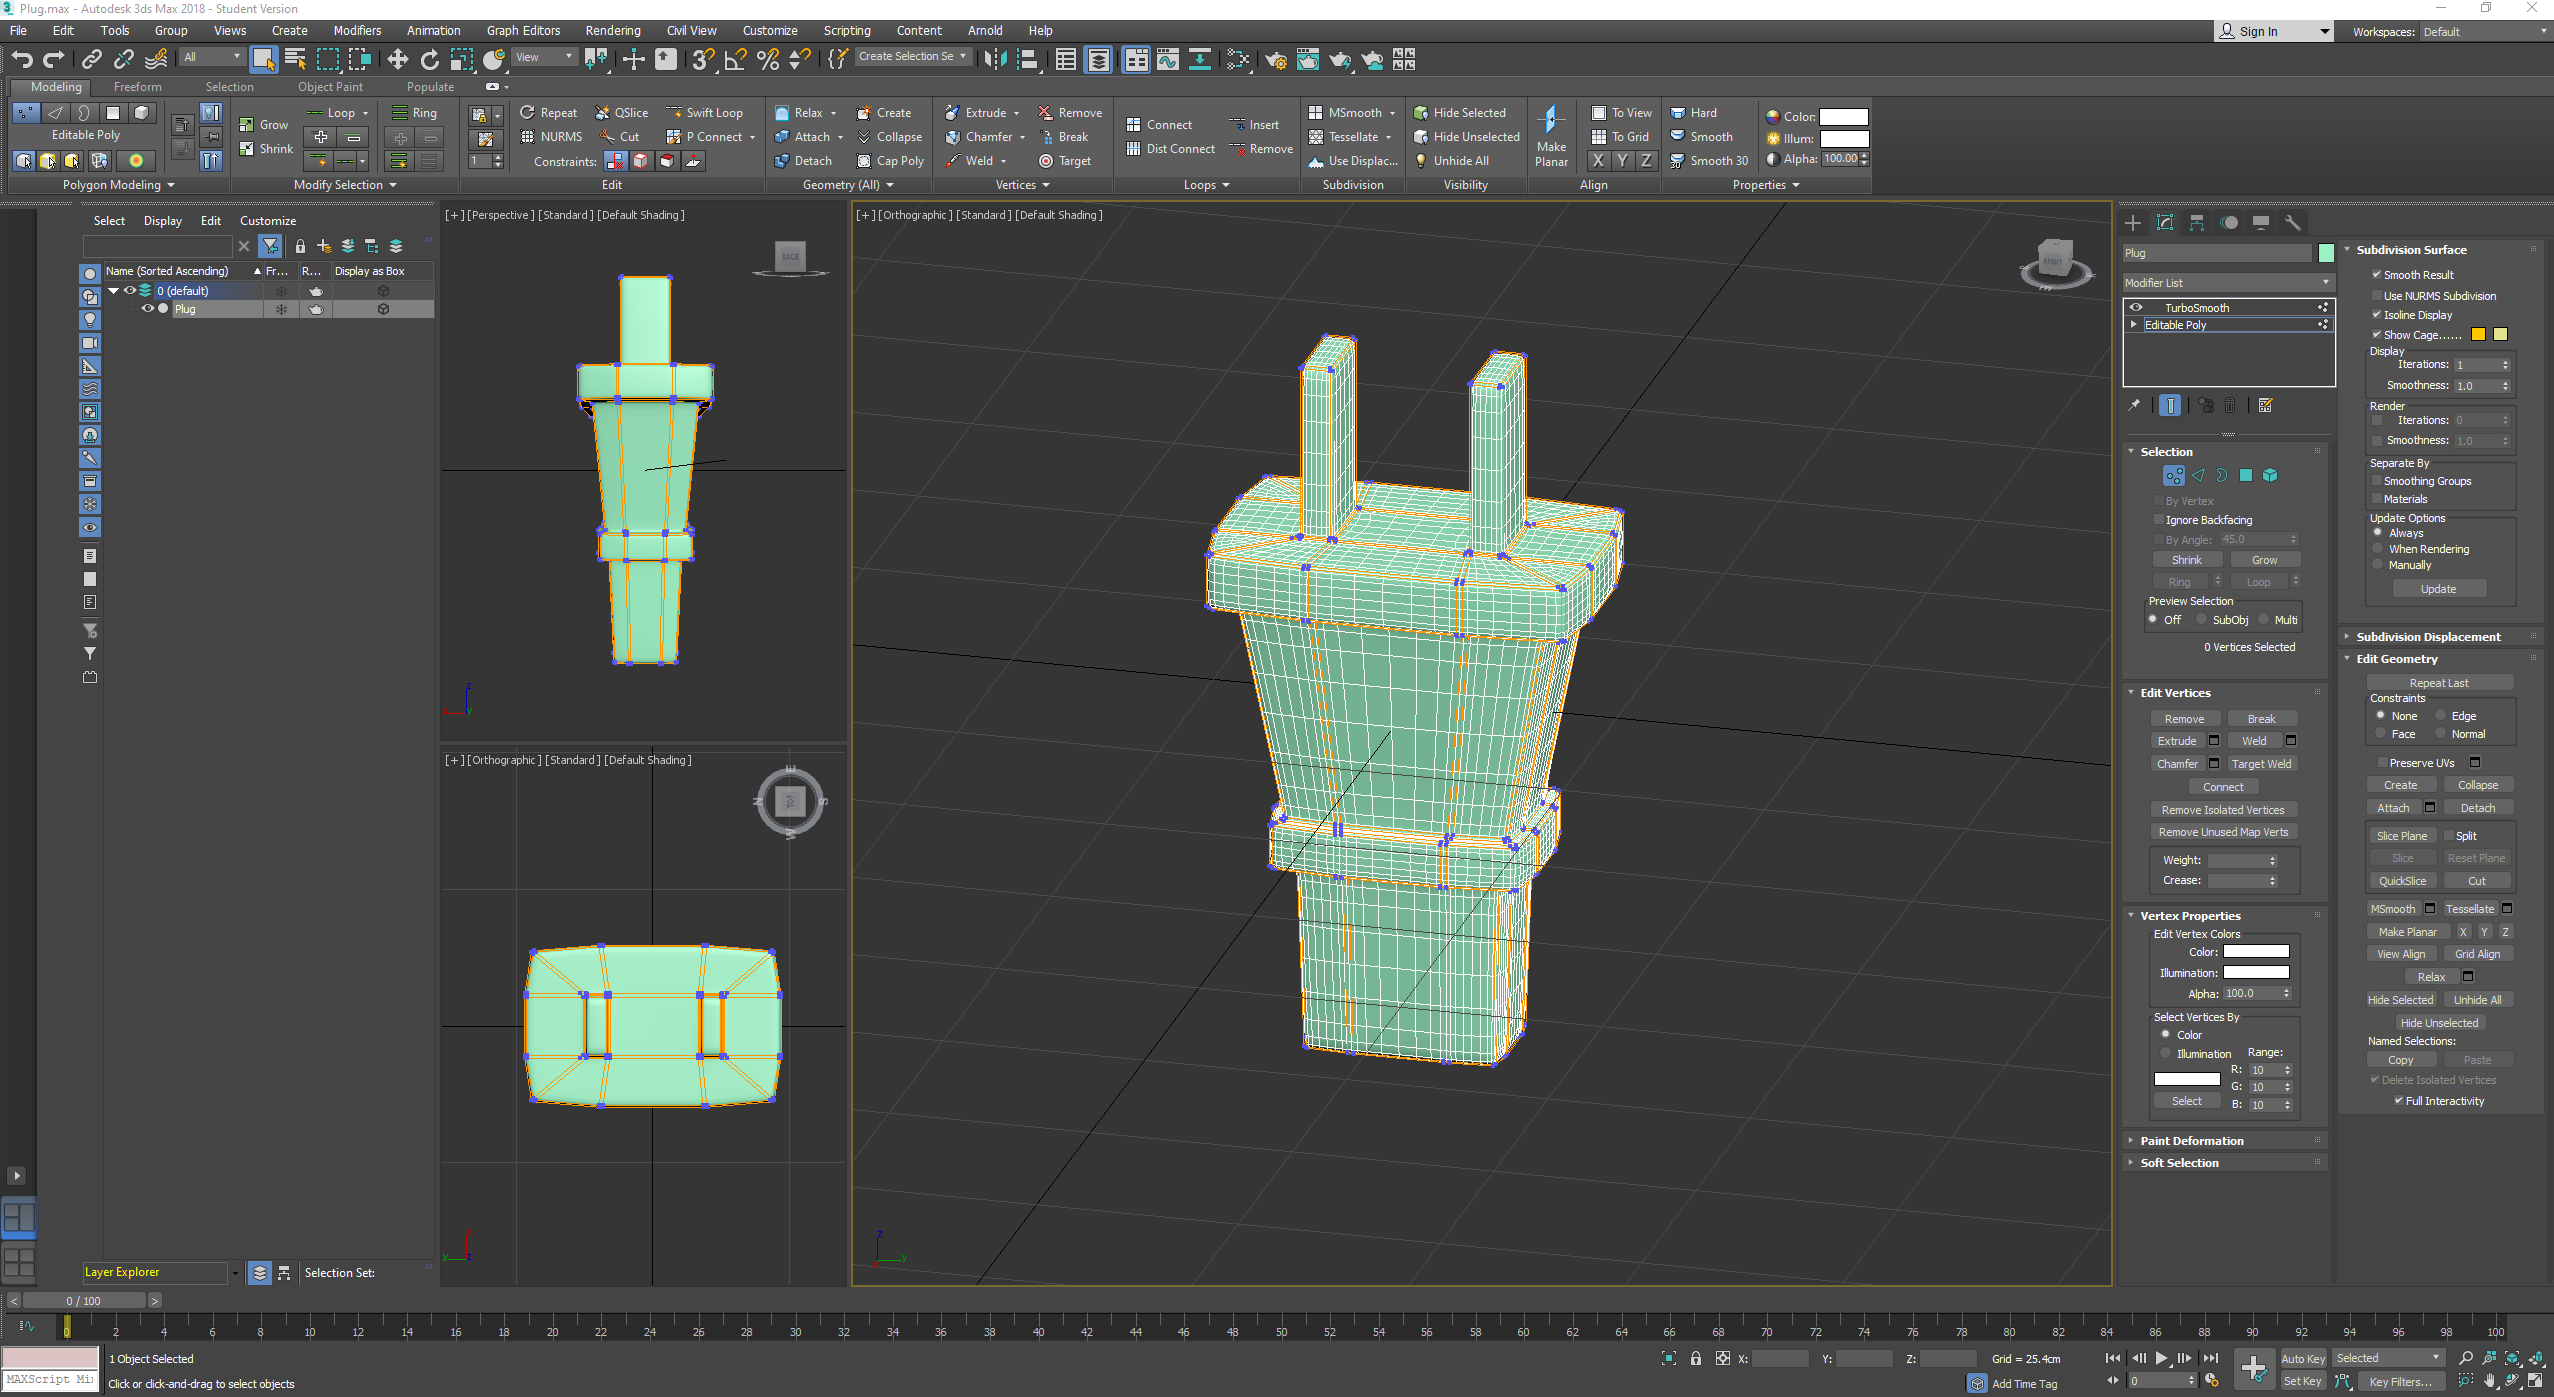
The plug was modelled in 3ds max, then imported into zbrush to detail further with damstandard for the small ridges, with the wire created using the shoelace IMM Curve tool, which had the ends chopped off with the trim tool and then was moved further into place with the move and move elastic tools.


Tuesday, November 5, 2019

Helmeted Character: Week 3 Tuesday

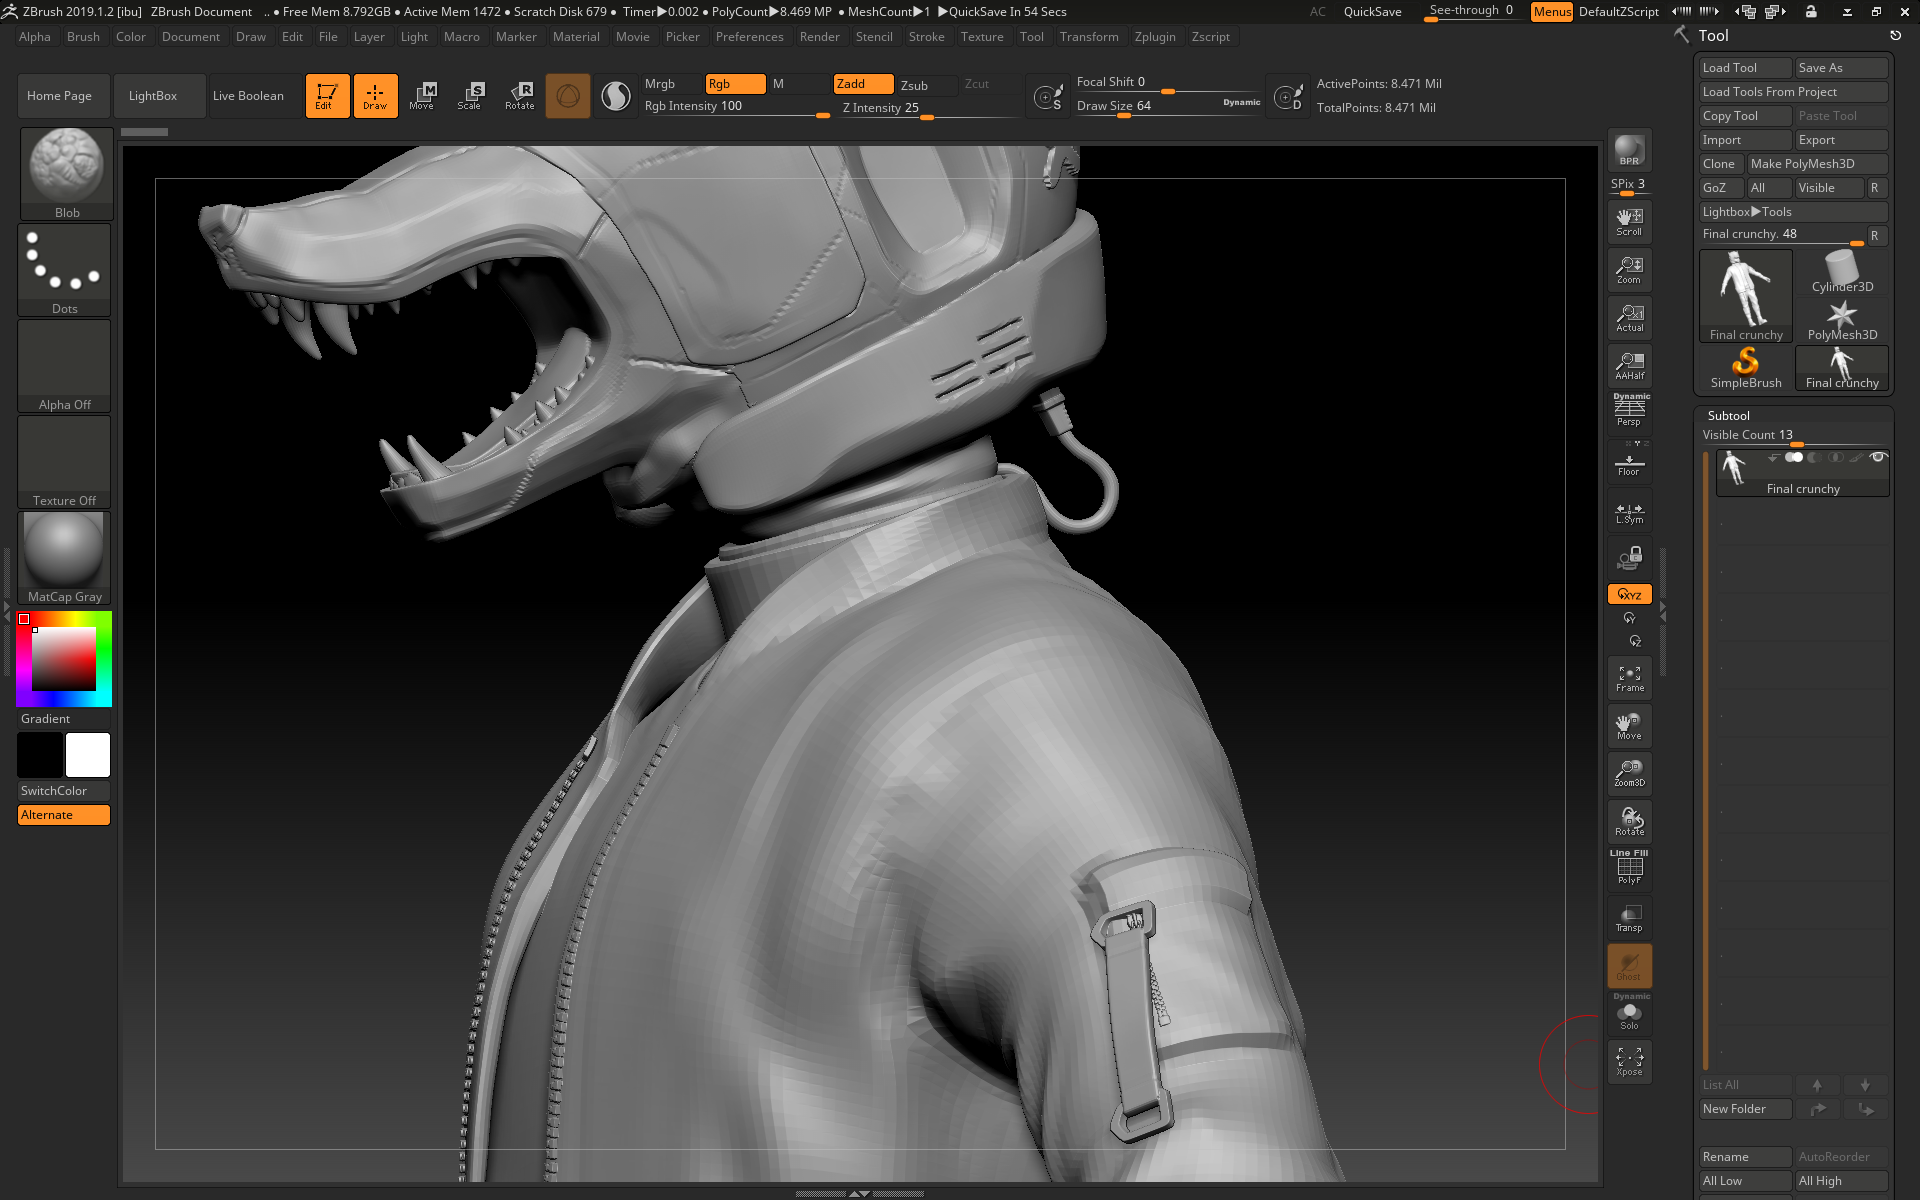
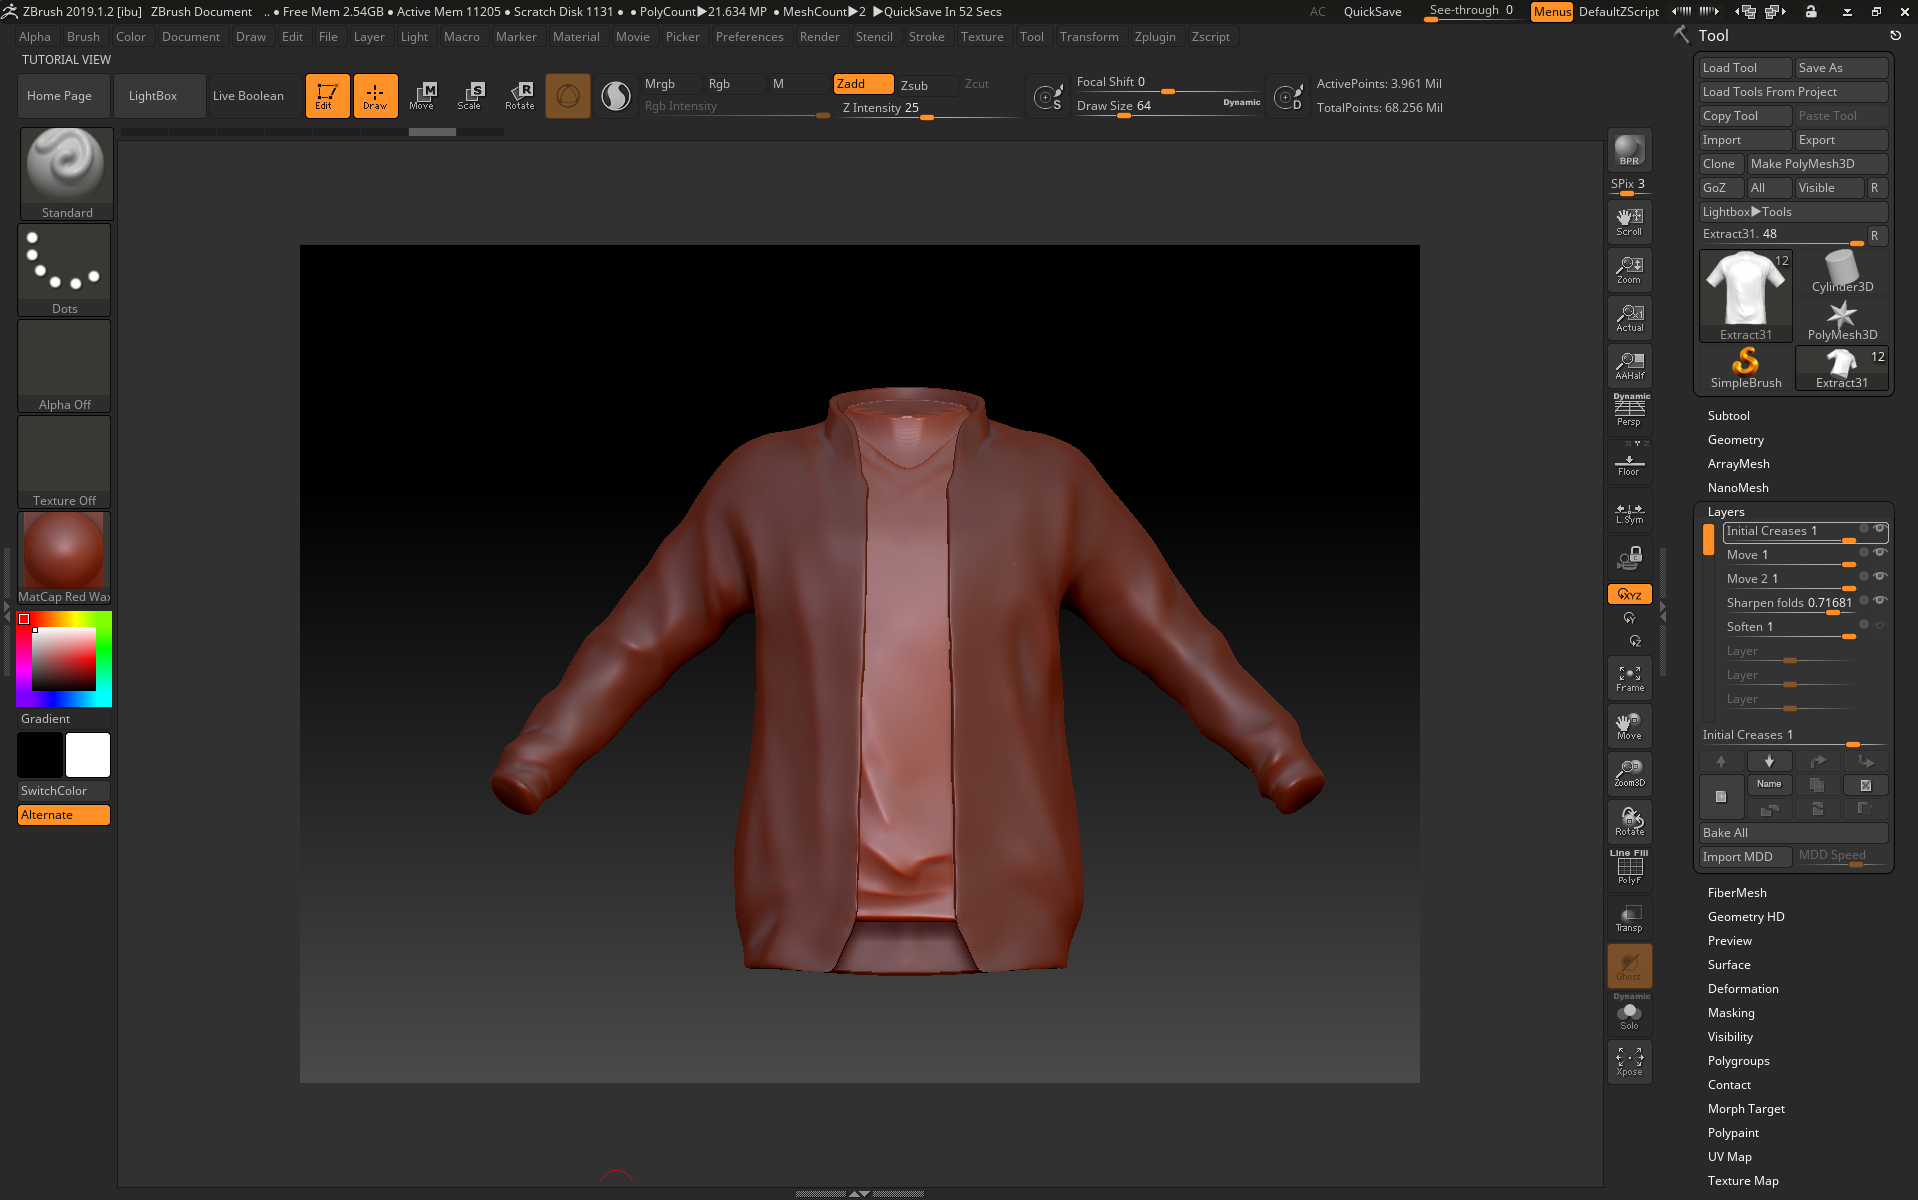
On Tuesday I continued modelling the jacket:


Once again, I used dam standard and pinch to create sharper, more detailed folds. I realised that the zipper area had been extended on the concept and so masked off that area in new layer, inverting it, gradient-ing it, moving it and then smoothing out any imperfections. I masked out the shape of a pocket, then used the layer tool to build up a chunk. I smoothed it out, polished and pinched the edges, then applied another masked layer build up for the flap on the top of the pocket. In another layer I created some subtle folds with damstandard again.

After all of this detailing was done, I used the IMM ZipperP tool to create the zips for the jacket opening, the side pockets and the arm pocket. I shat I could edit them to be moothed them down a little and extracted the side pocket zips so that I could edit them into the shape seen in the concept, by trim rect-ing the shape to be shorter. I also used the move and move elastic tool to place them all more accurately against the surface of the jacket.

Monday, November 4, 2019

Helmeted Character: Week 3 Monday

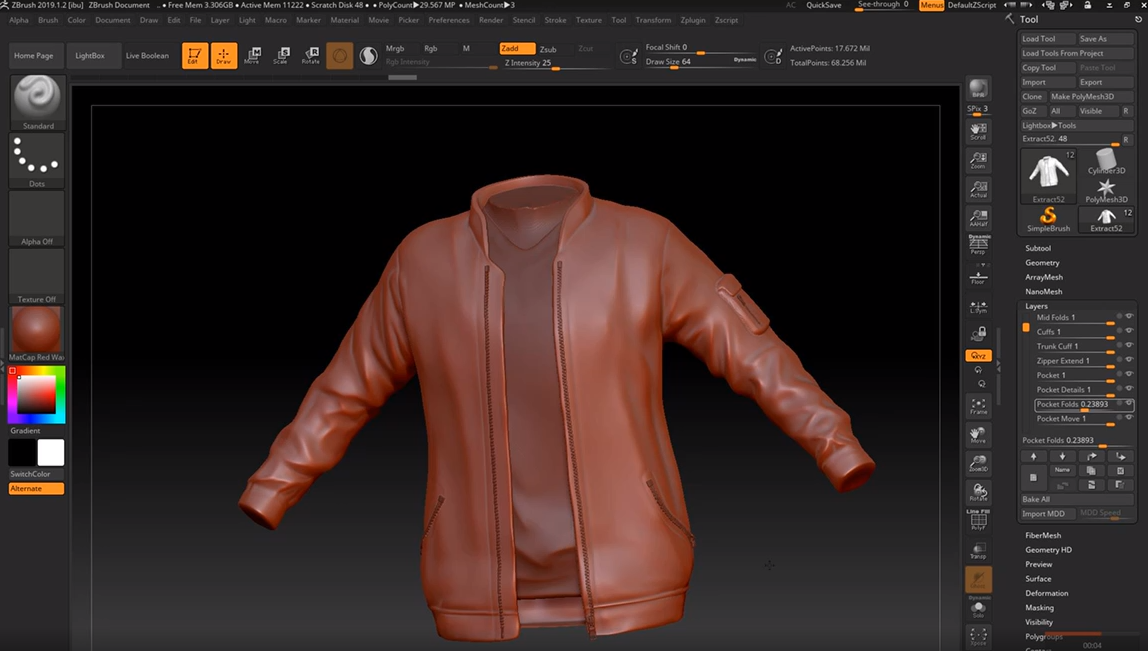
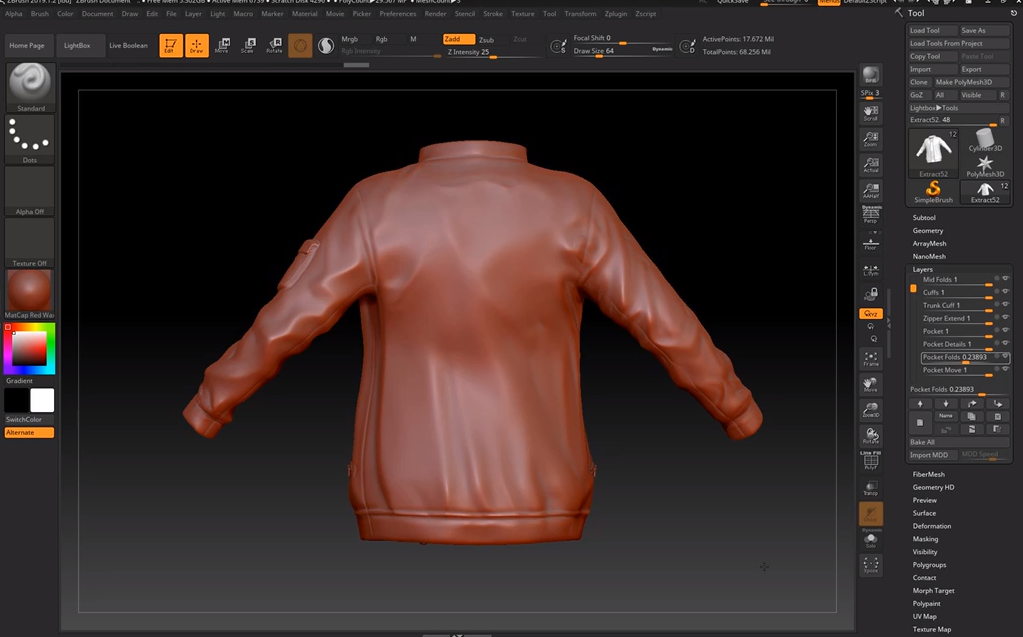
On Monday, I started working on the jacket and shirt in zbrush:
I started with the shirt by extracting it from the torso mesh, then using hpolish on both zadd and zsub modes to flatten out the shirt where it would be hanging off of the torso rather than clinging to it.

I used damstandard on zadd and zsub to create the folds, pinching and softening where needed. I also used the move tool to adjust how the shirt hangs from the body, and using the trim rect/lasso tool to close the holes on the sleeves and trunk of the clothes to make it easier for me to flatten and manipulate the edges later when combining them with the rest of the sculpt.

For the collar, I masked off an area, gradient-ed it a little bit and then used the move tool to drag it upwards, doing the same with the zip areas of the jacket. I then used hpolish to neaten up the edges, switching between symmetry and non symmetry mode so that I could adjust the structure of the jacket while still being able to sculpt in some asymmetrical folds (on a low subdivision layer).

Friday, November 1, 2019

Helmeted Character: Week 2 Friday

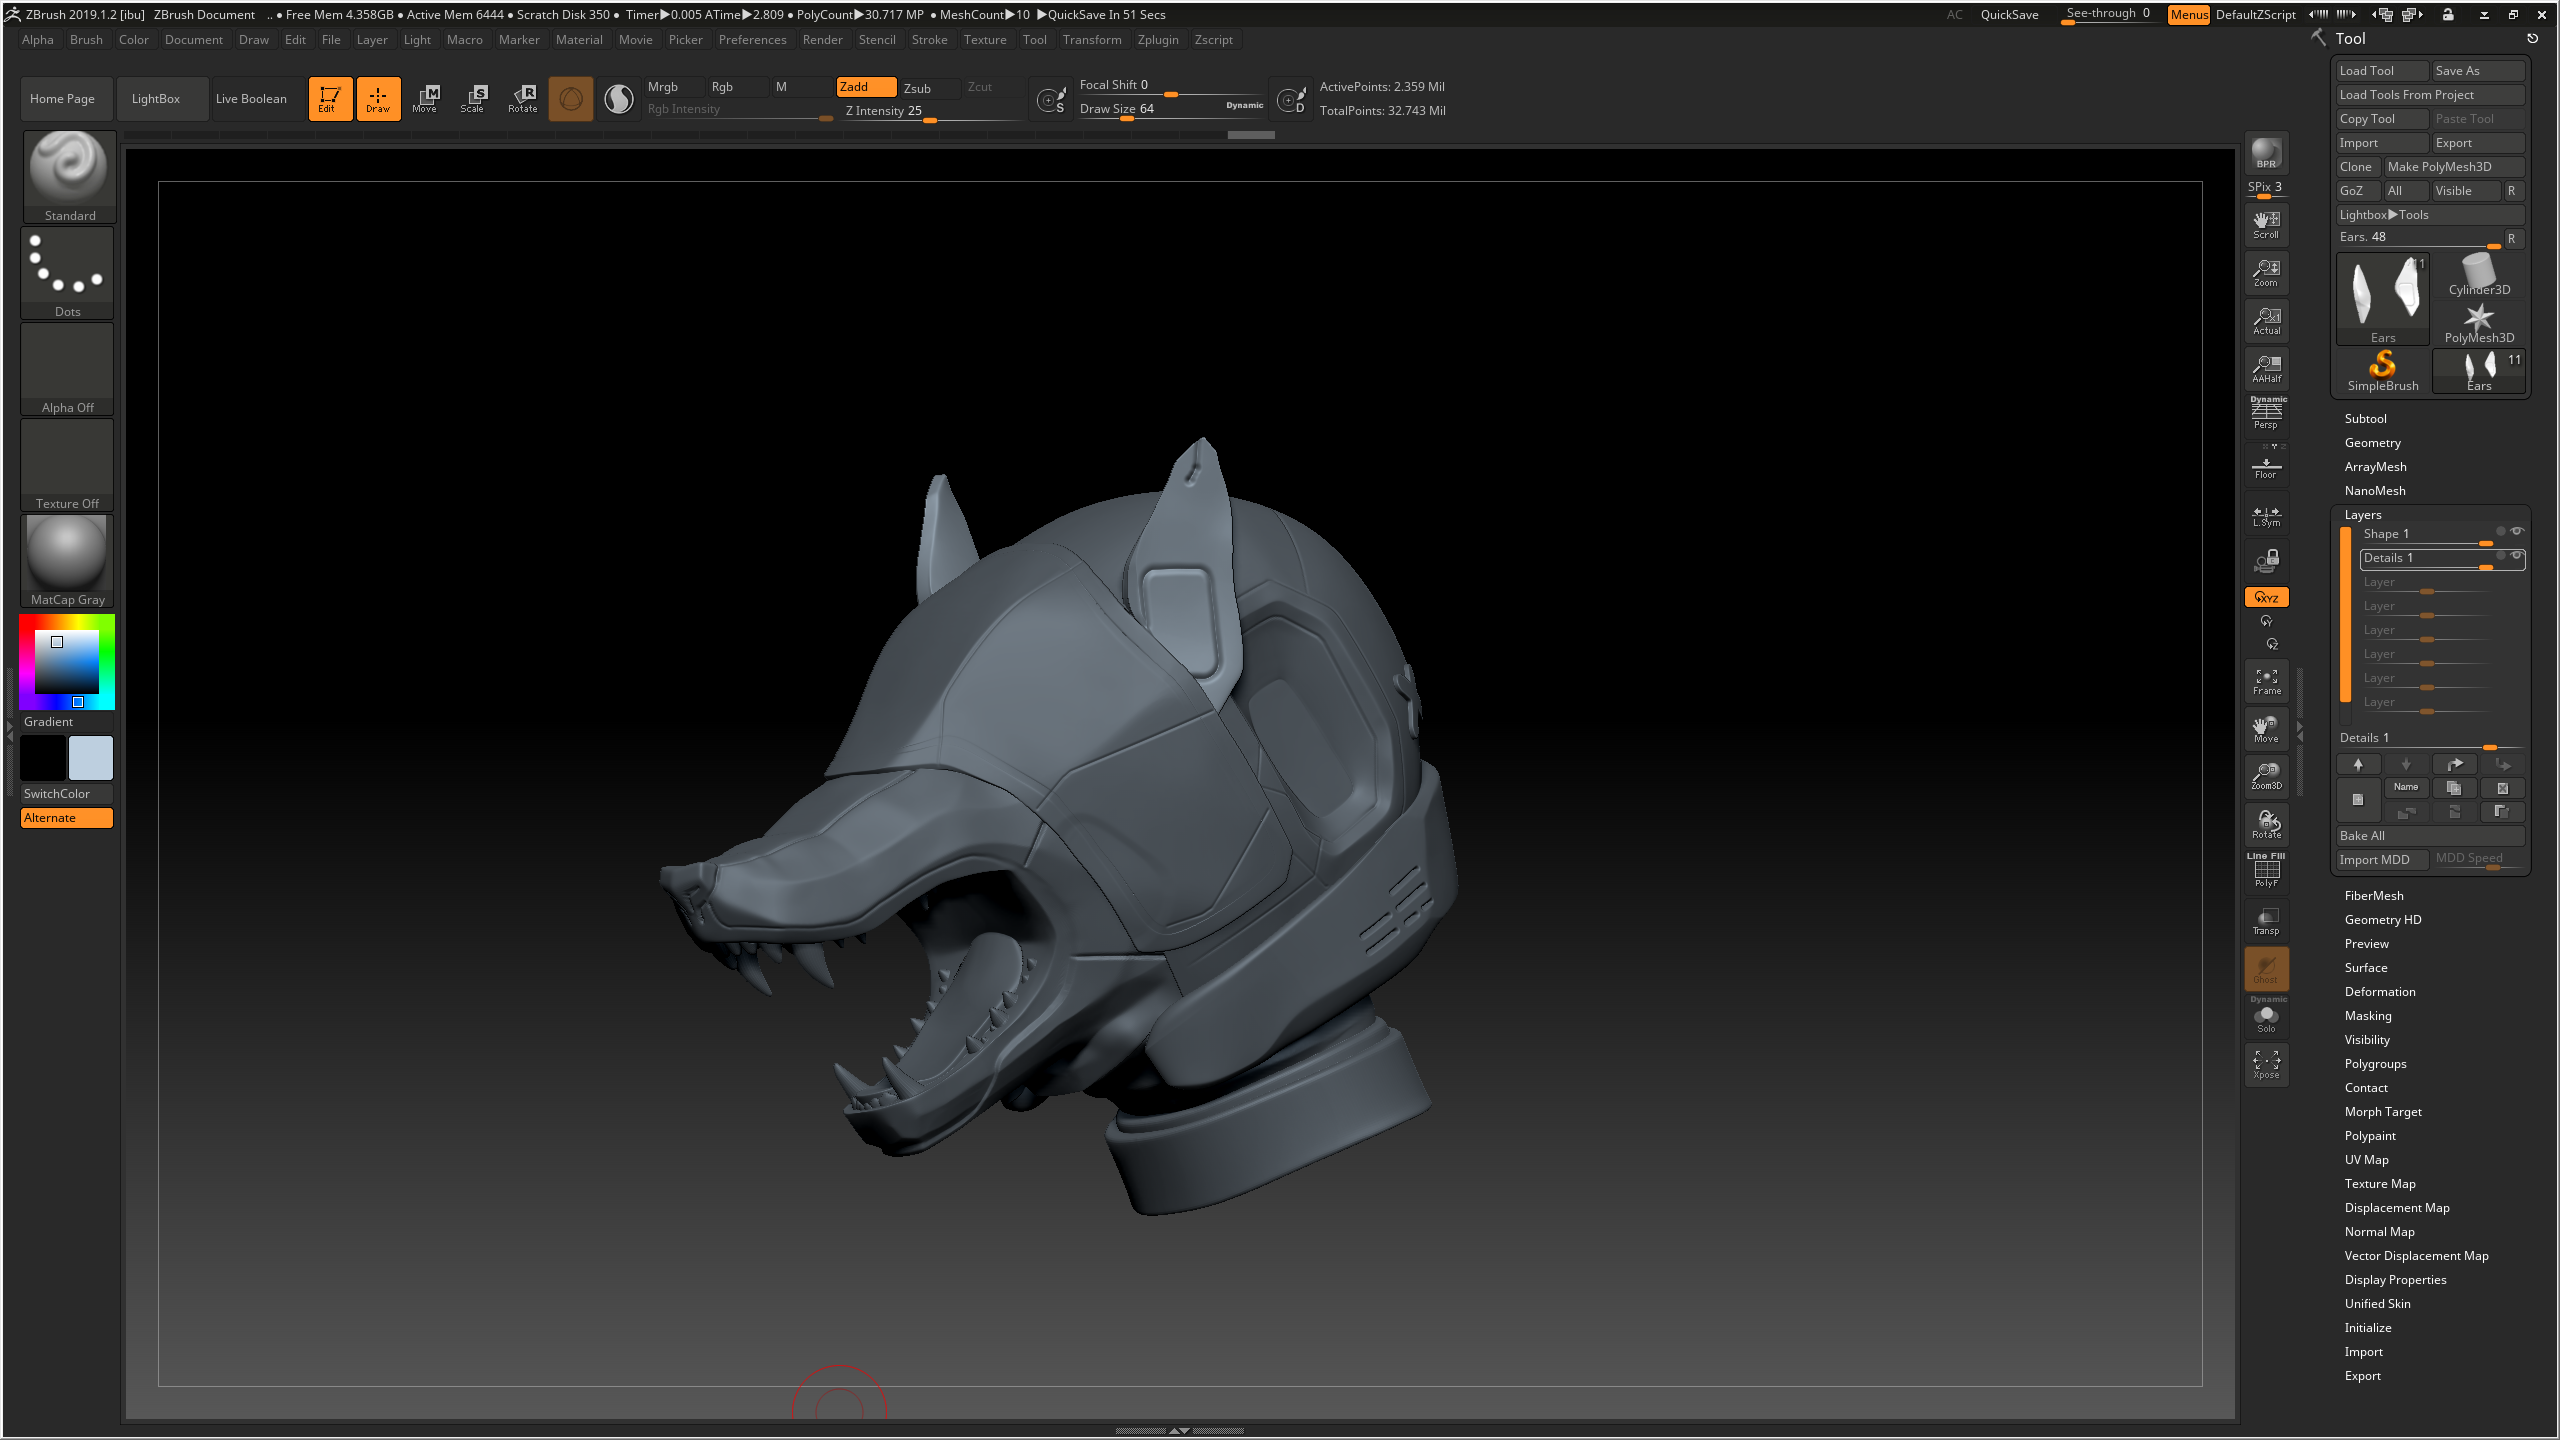
On Friday I started working on the Helmet in zbrush:
After subdividing the geometry and enabling the layer recording mode, I used the smooth tool to smooth down any unwanted sharp edges left behind by the turbosmooth while still keeping some edges on the snout for a more manmade effect. I used pinch, trim dynamic, flatten and hpolish to create more of a dramatic transition between different angles, furthering the man-made helmet vibe as opposed to a smooth organic shape. I used damstandard and slash on a higher subdivision level for any line indents, and used the planar tool to try and flatten the center of the concave areas. For the tongue and the 'X' marks, I masked off areas with the mask lasso and pen tools, then extracted them. The teeth were made from appended cones that were manipulated into shape through the move elastic tool and smooth, then duplicated and placed accordingly. I also masked off an area around the mouth for the indented markings, and used the layer tool to subtract a layer around the mouth.

Thursday, October 31, 2019

Helmeted Character: Week 2 Thursday

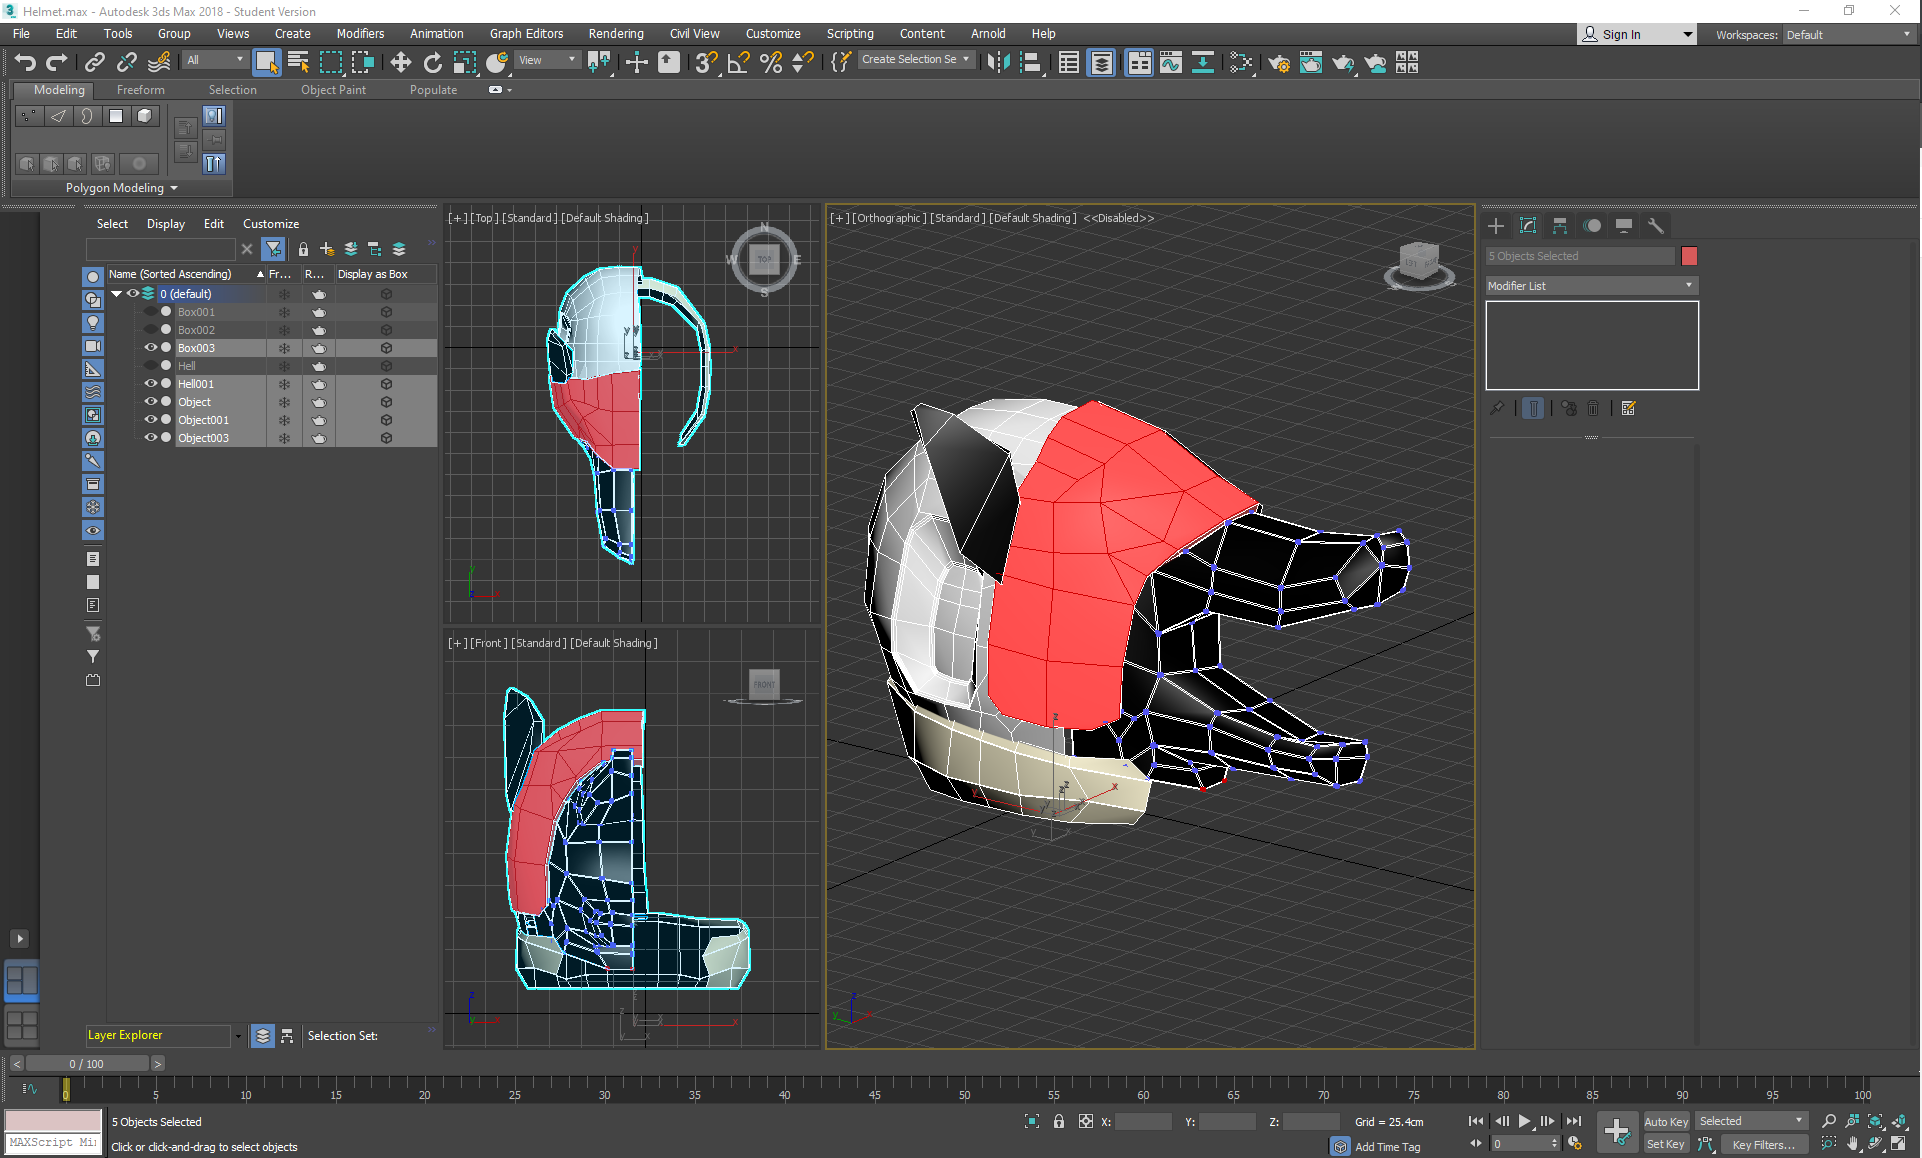
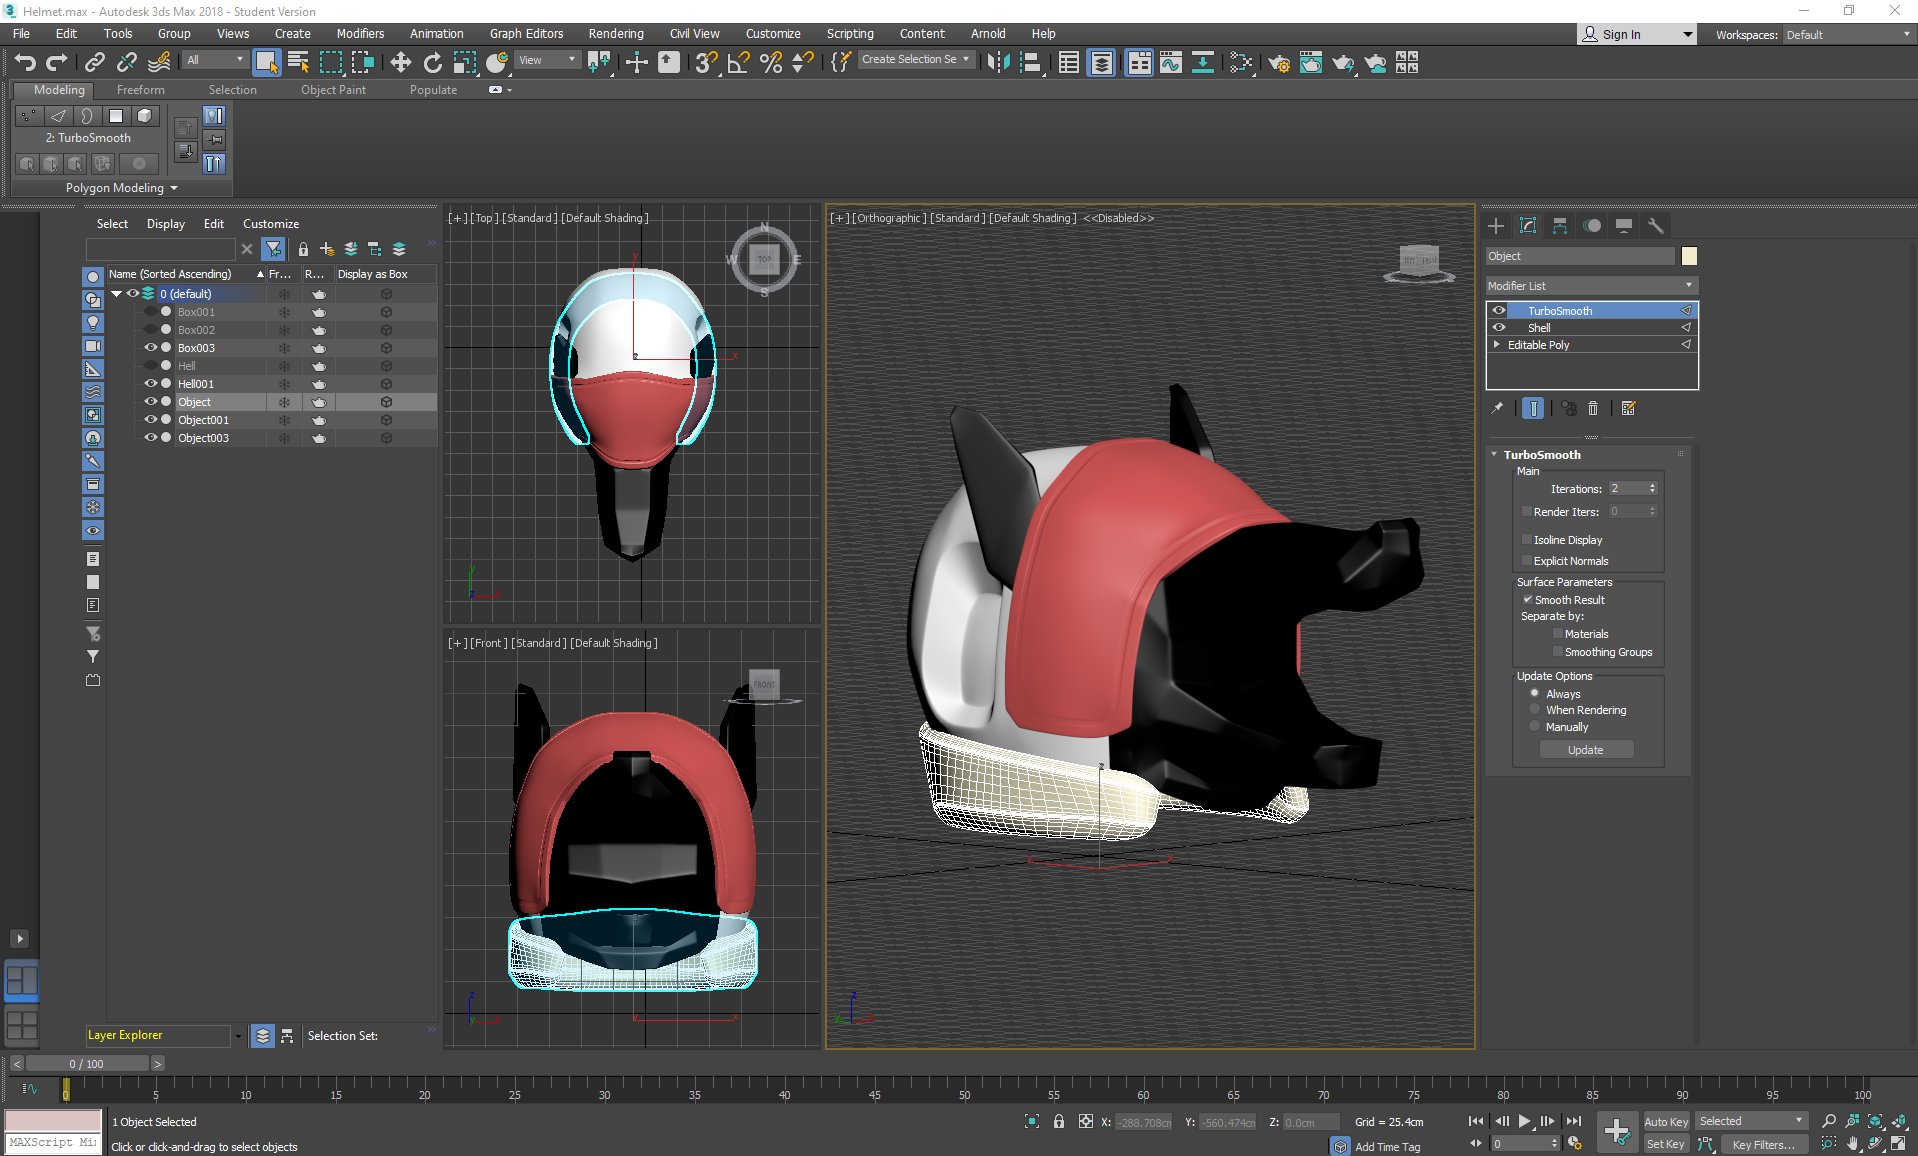
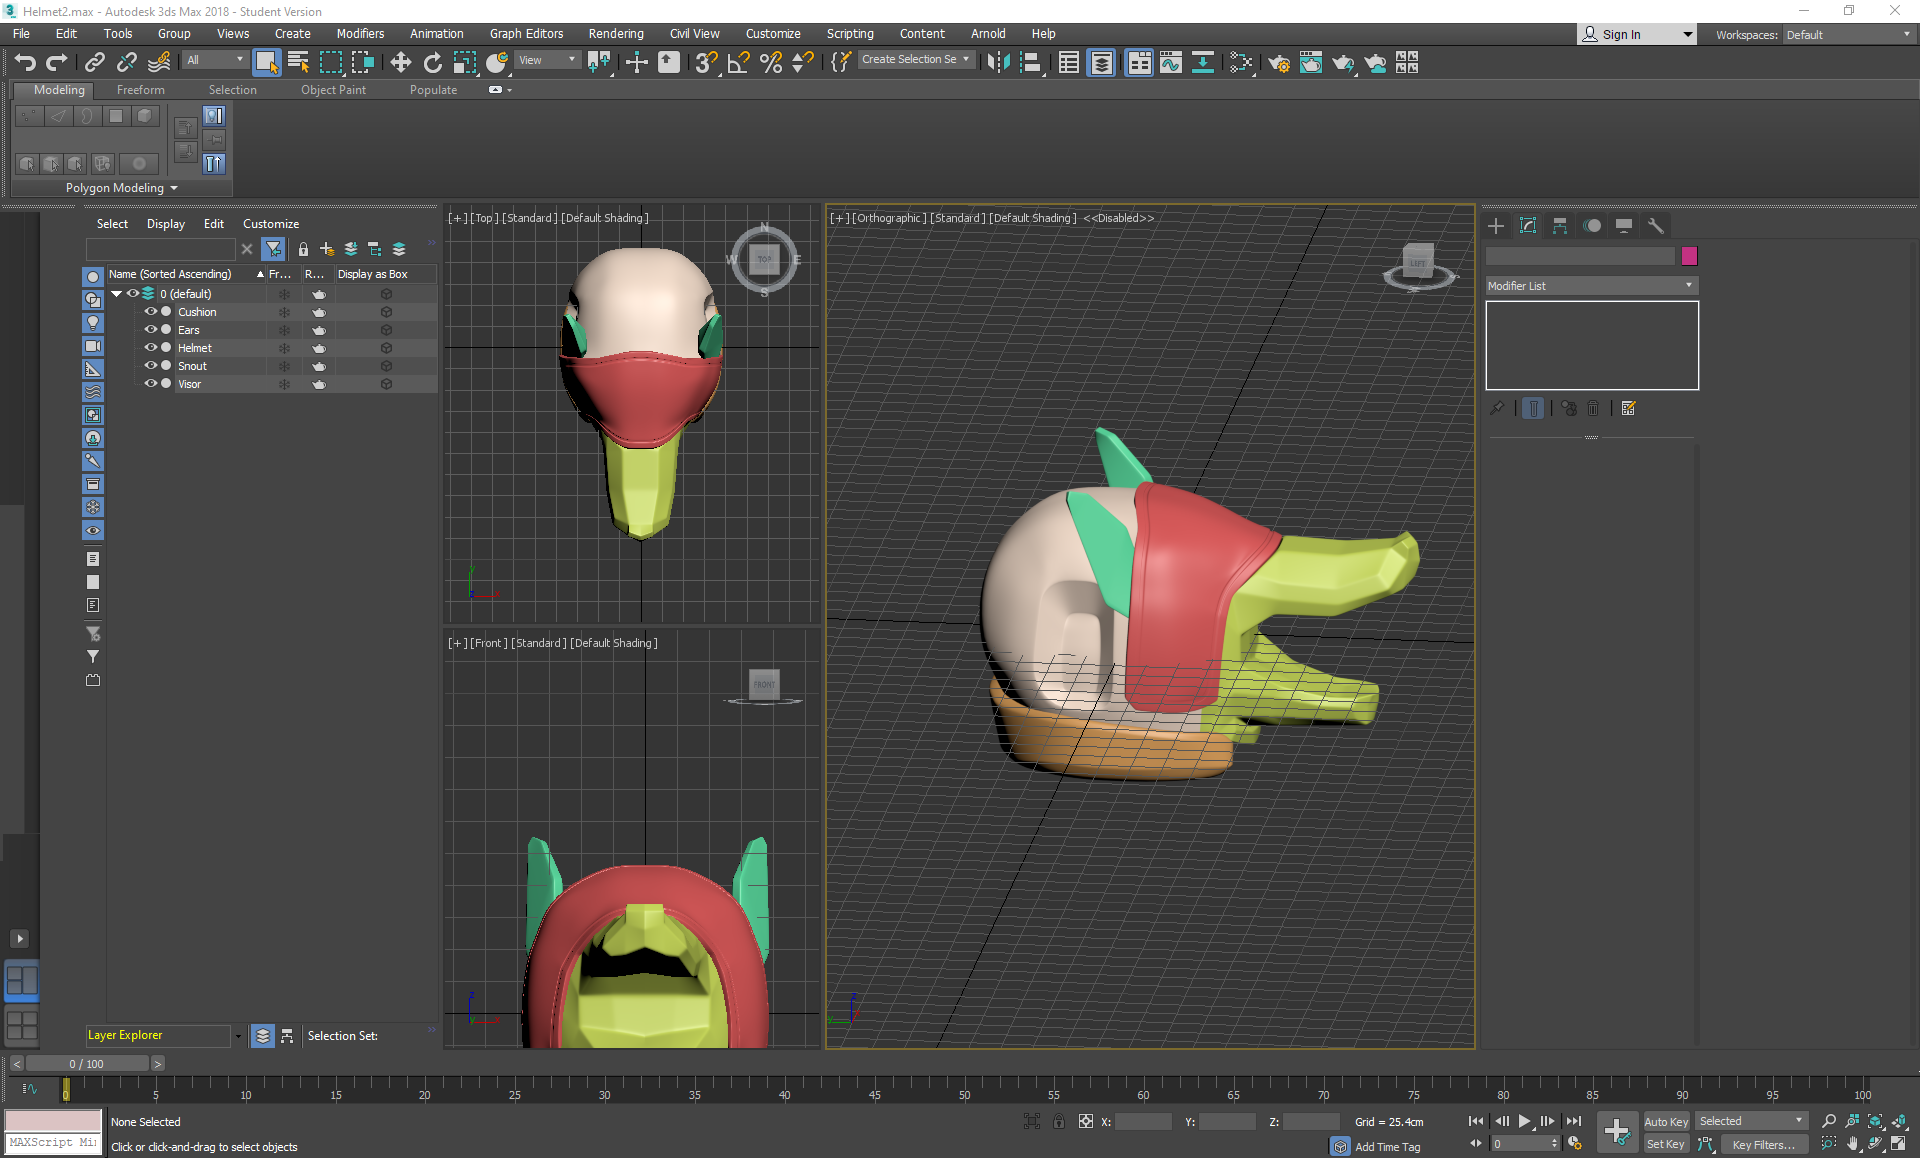
On Thursday I started working on the Helmet in 3ds max, making a turbosmoothed blockout before exporting it into zbrush to sculpt further:


I box modelled the majority of the helmet by spherifying a cube, using inset and extruding out areas like the snout, visor, and concave areas. I strip modelled out the cushioned area, detached it and then applied a shell modifier to add thickness. I then applied symmetry and turbosmooth; strategically placing swiftloops and chamfers in areas that needed sharper edges. Finally, I collapsed everything, deleted any excess backup cloned versions and exported each of the parts in a bundled .obj file so that I could work on them separately as subtools in zbrush.


Wednesday, October 30, 2019

Helmeted Character: Week 2 Wednesday

At this point I decided to take another shot at Marvelous, getting as far as learning how to set custom arrangement points and bounding volumes to my mesh. I decided to test a default long sleeve shirt on my mesh, with the understanding that the character will be wearing a long sleeve jacket and a shirt by the end of the project. I immediately encountered a problem in which the sleeves clipped outside of the arms and wouldn't preposition themselves anywhere else mo matter how hard I tugged at them.


because of this, I decided to ditch marvelous this time and go back to what I was more comfortable with for this project.

Tuesday, October 29, 2019

Helmeted Character: Week 2 Tuesday

WIP
On Tuesday I started sculpting the gloves, using the same techniques I had learnt from the shoes to mask off areas and sculpt in layers of detail for the leather shapes. I decided to slightly edit the concept image to add more interest to the gloves, with varying layers based on biking gloves:


Monday, October 28, 2019

Helmeted Character: Week 2 Monday

I continued sculpting the shoes on monday, getting further into the details of the sculpt.
Once again, I used layers to add stitching and other surface details. To optimize this, I subdivided before entering layer mode so that I would still be able to access my lower subdivisions while sculpting. I used the IMM curve strap to make a blockout of one half of the laces, then carefully moved them into place with the move elastic tool and pinch.

For these shoes, I mostly referenced these images:

Friday, October 25, 2019

Helmeted Character: Week 1 Friday

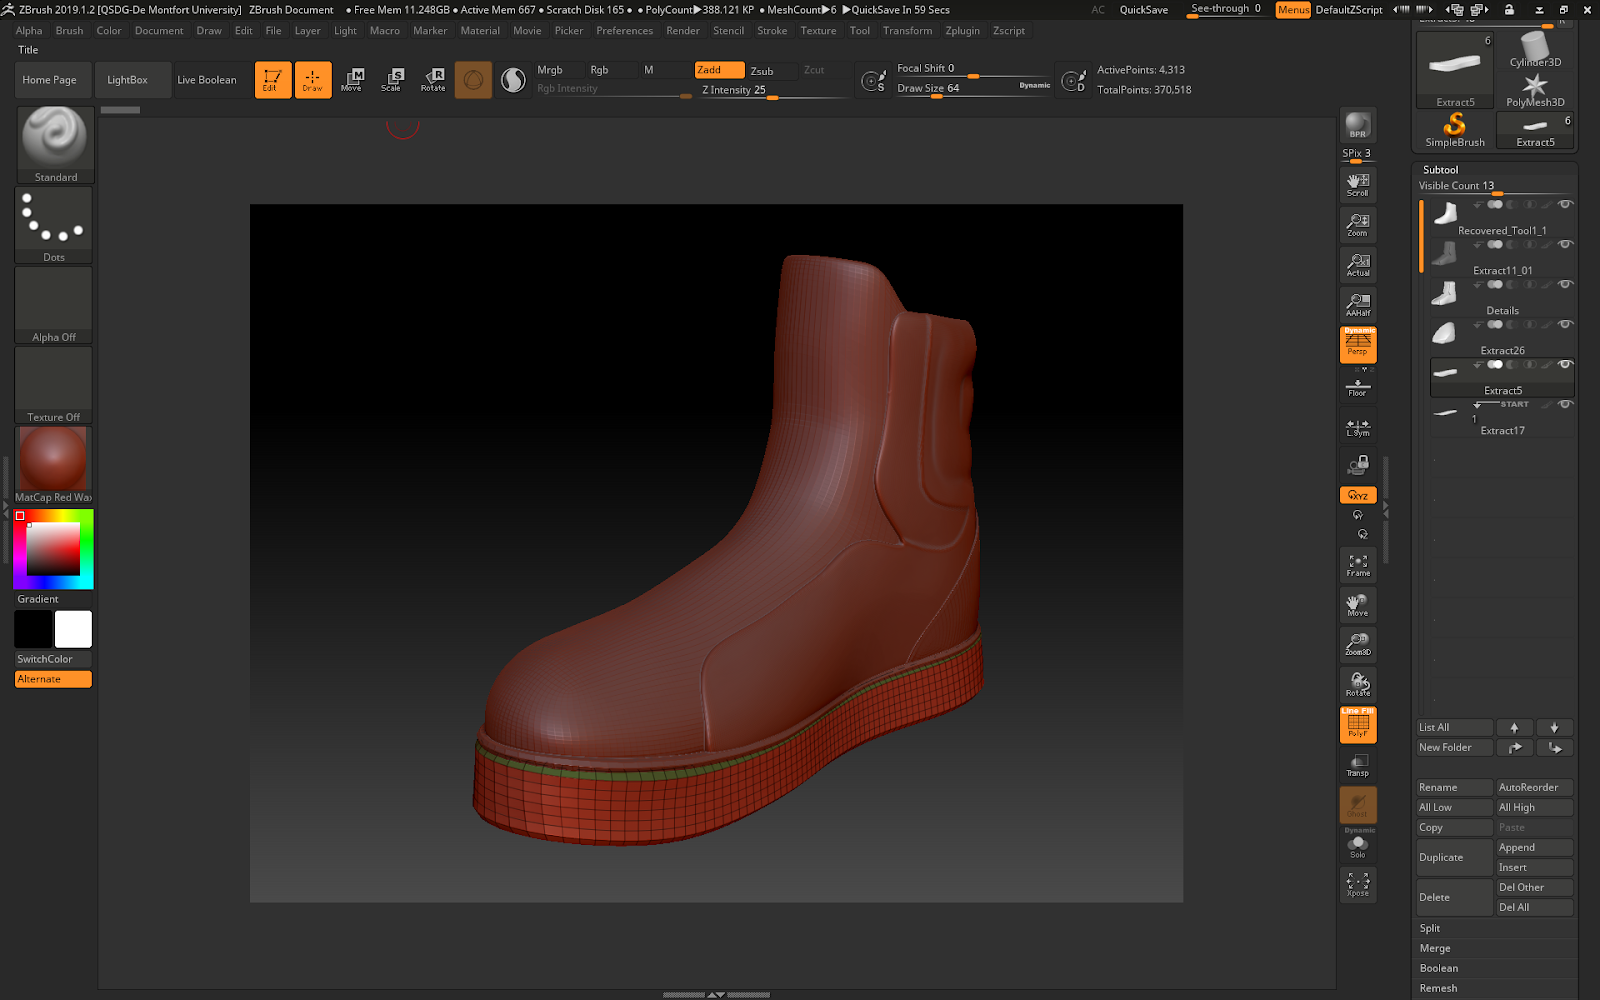
On Friday, I started sculpting the shoes loosely following this guide so that they would be crisp with a flat sole.
With this tutorial I learnt how to use the bend tool to create the bend in the sole, and mask gradients to move sections of the sculpt around.
I used the extract tool for the different parts of the shoe, making sure to create new polygroups in case I needed those areas again. When it came to the detailing stage, I masked off areas with the lasso tool and used the layer brush to take away an even amount of the inverted mask. For the bulging areas I used form soft and dam standard.

Thursday, October 24, 2019

Helmeted Character: Week 1 Thursday

On thursday I went back into zbrush and extracted the pants. I decided to use reference with a more shiny material so that it would be easier to identify where the folds are:

I then noticed that the folds were too extreme, so I smoothed, dam standarded and pinched areas until I had some well defined folds that weren't too sharp as a good middleground between the reference image and the concept.


Wednesday, October 23, 2019

Helmeted Character: Week 1 Wednesday

On Wednesday I felt particularly ill and had to take the day off, but not before exporting the character sculpt into Marvelous to replace the default model:
After messing around with the program for a bit, I decided that it was too much of a risk to spend too much time learning it while I'm on a schedule. I chose to spend the next day sculpting the joggers in zbrush and to re-evaluate whether or not I should use marvelous later in the project when I'm making the jacket and shirt, as those would have more areas that hang off of the body.