Showing posts with label Week 4. Show all posts

Thursday, November 14, 2019

Helmeted Character: Week 4 Friday

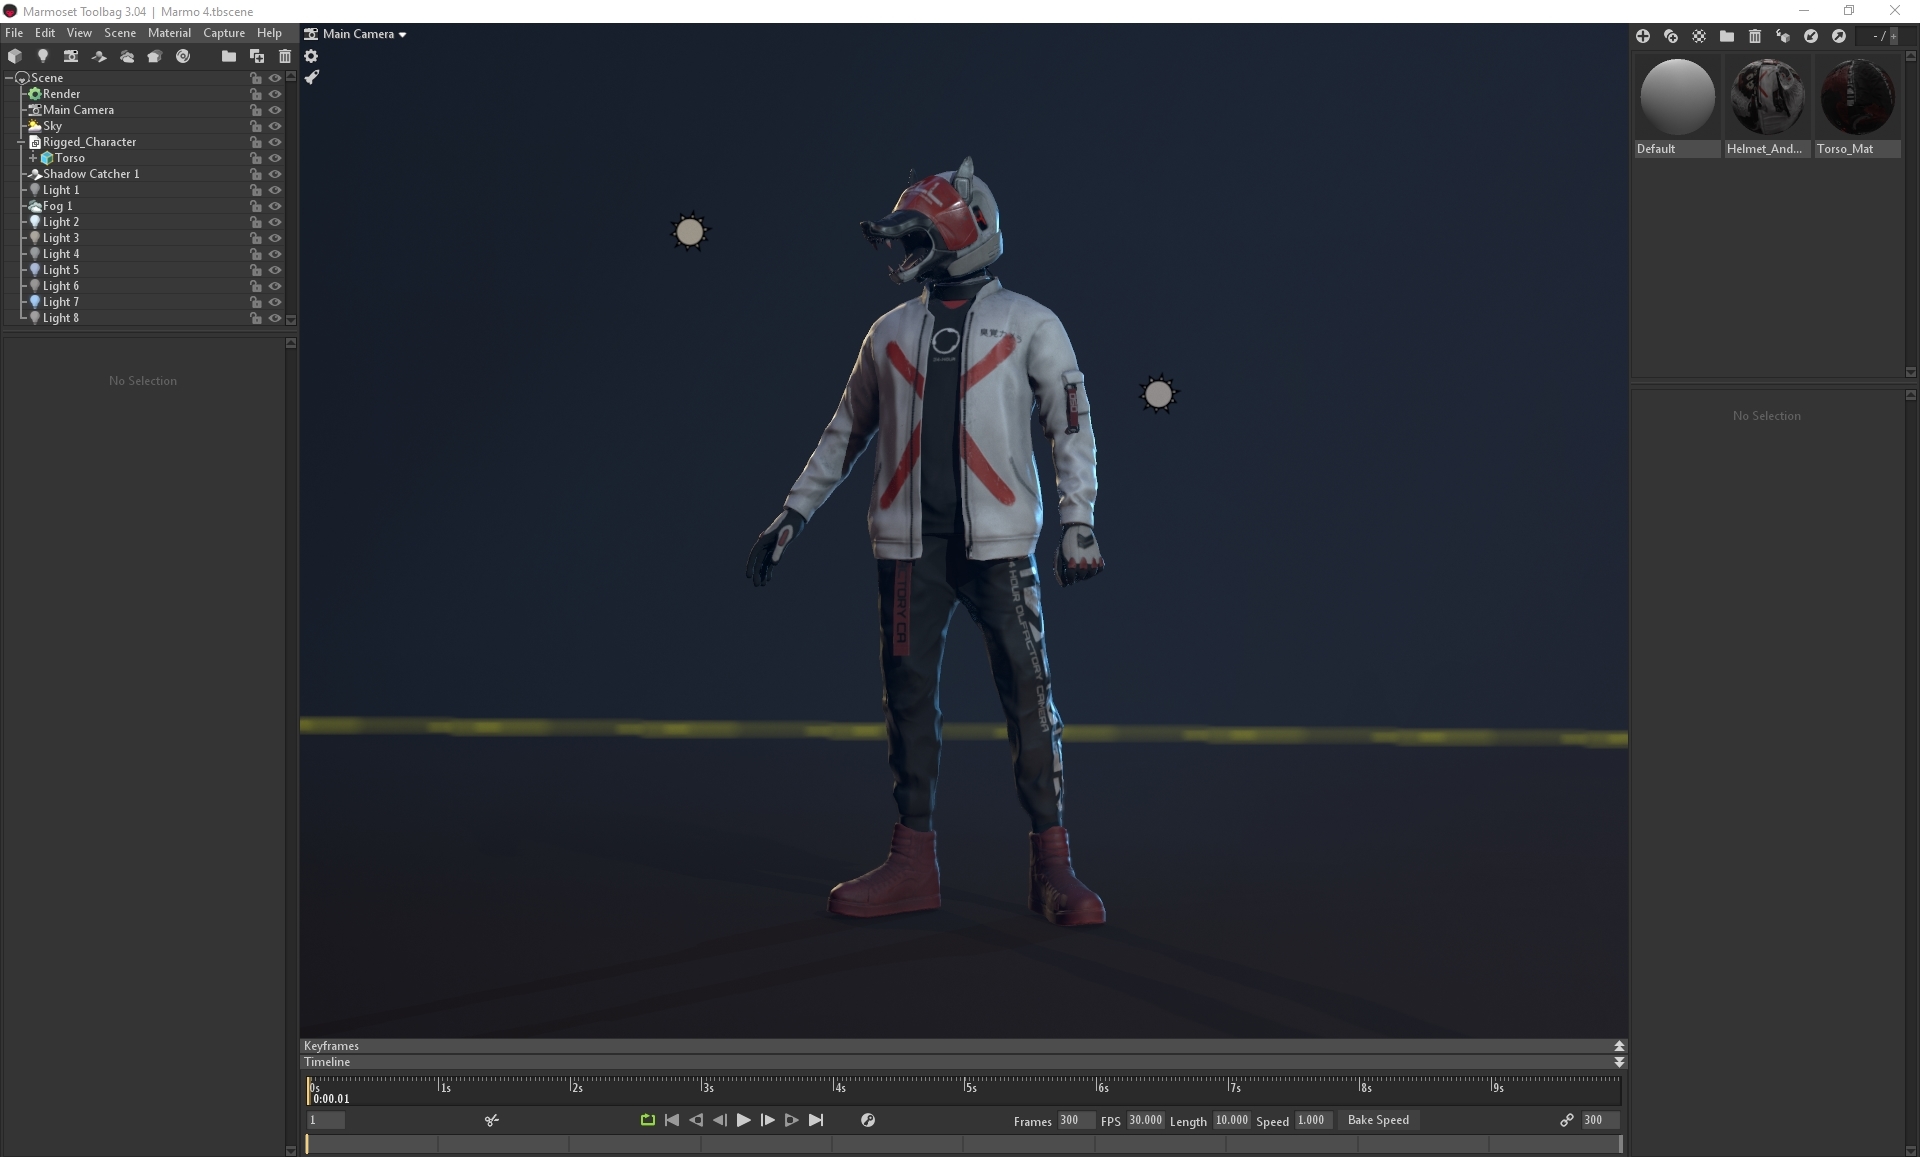
On Friday I exported the rigged mesh into marmoset and applied the textures for the final render scene. I added lighting for the main lighting, side lighting, a blue light from the sky, a reflective light from the ground and a rim light from the back, as well as fog and a shadow catcher:

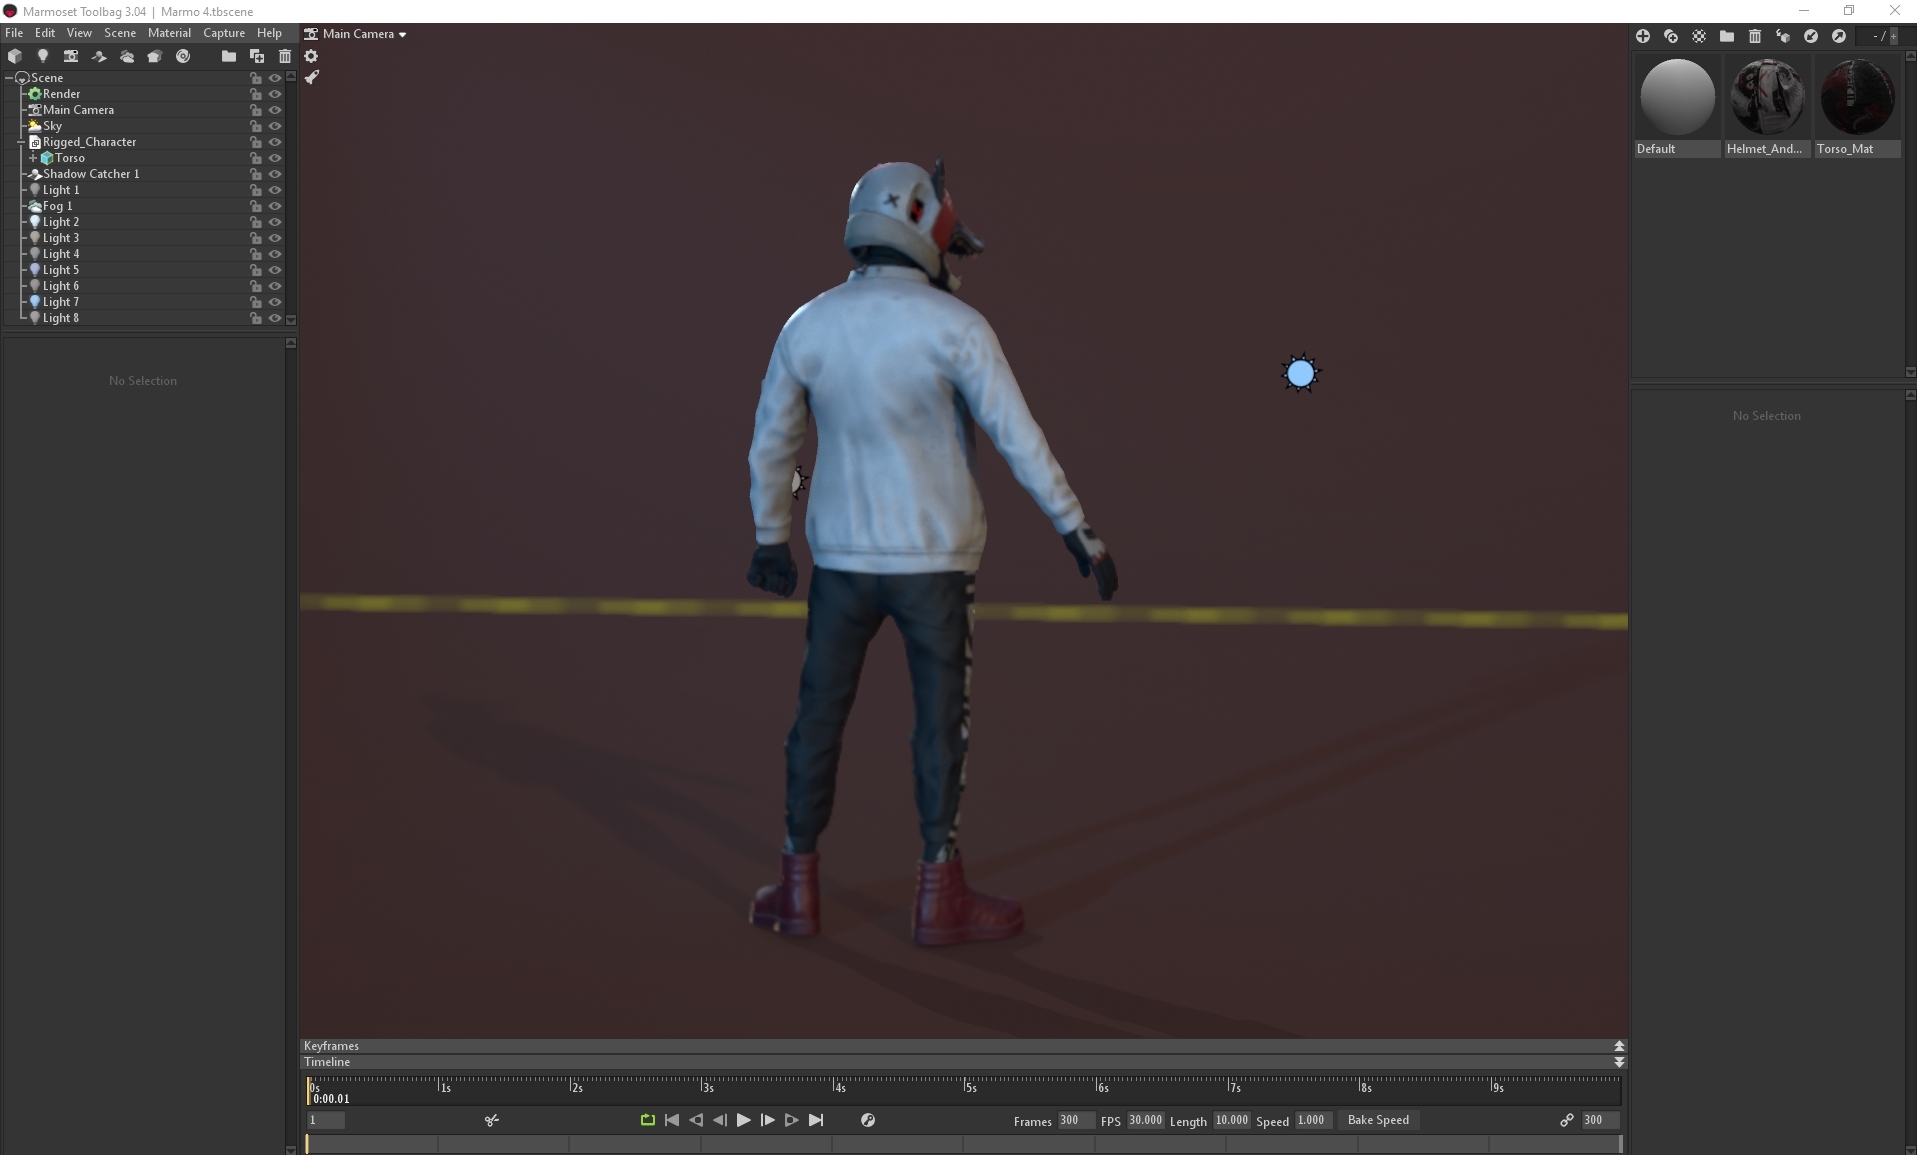
I messed around with different scene colours, in which I came to a final 2 that I was pleased with, brown and blue:

In the end, I decided on the blue, as it had more hue contrast and made the character pop more. After this, I went back to the textures and added some more edgewear and dirt, especially to the helmet and jacket, then started testing out the camera lens options, going between 35mm, 50mm and 85mm lenses to see which one gave the best effect:


Helmeted Character: Week 4 Thursday

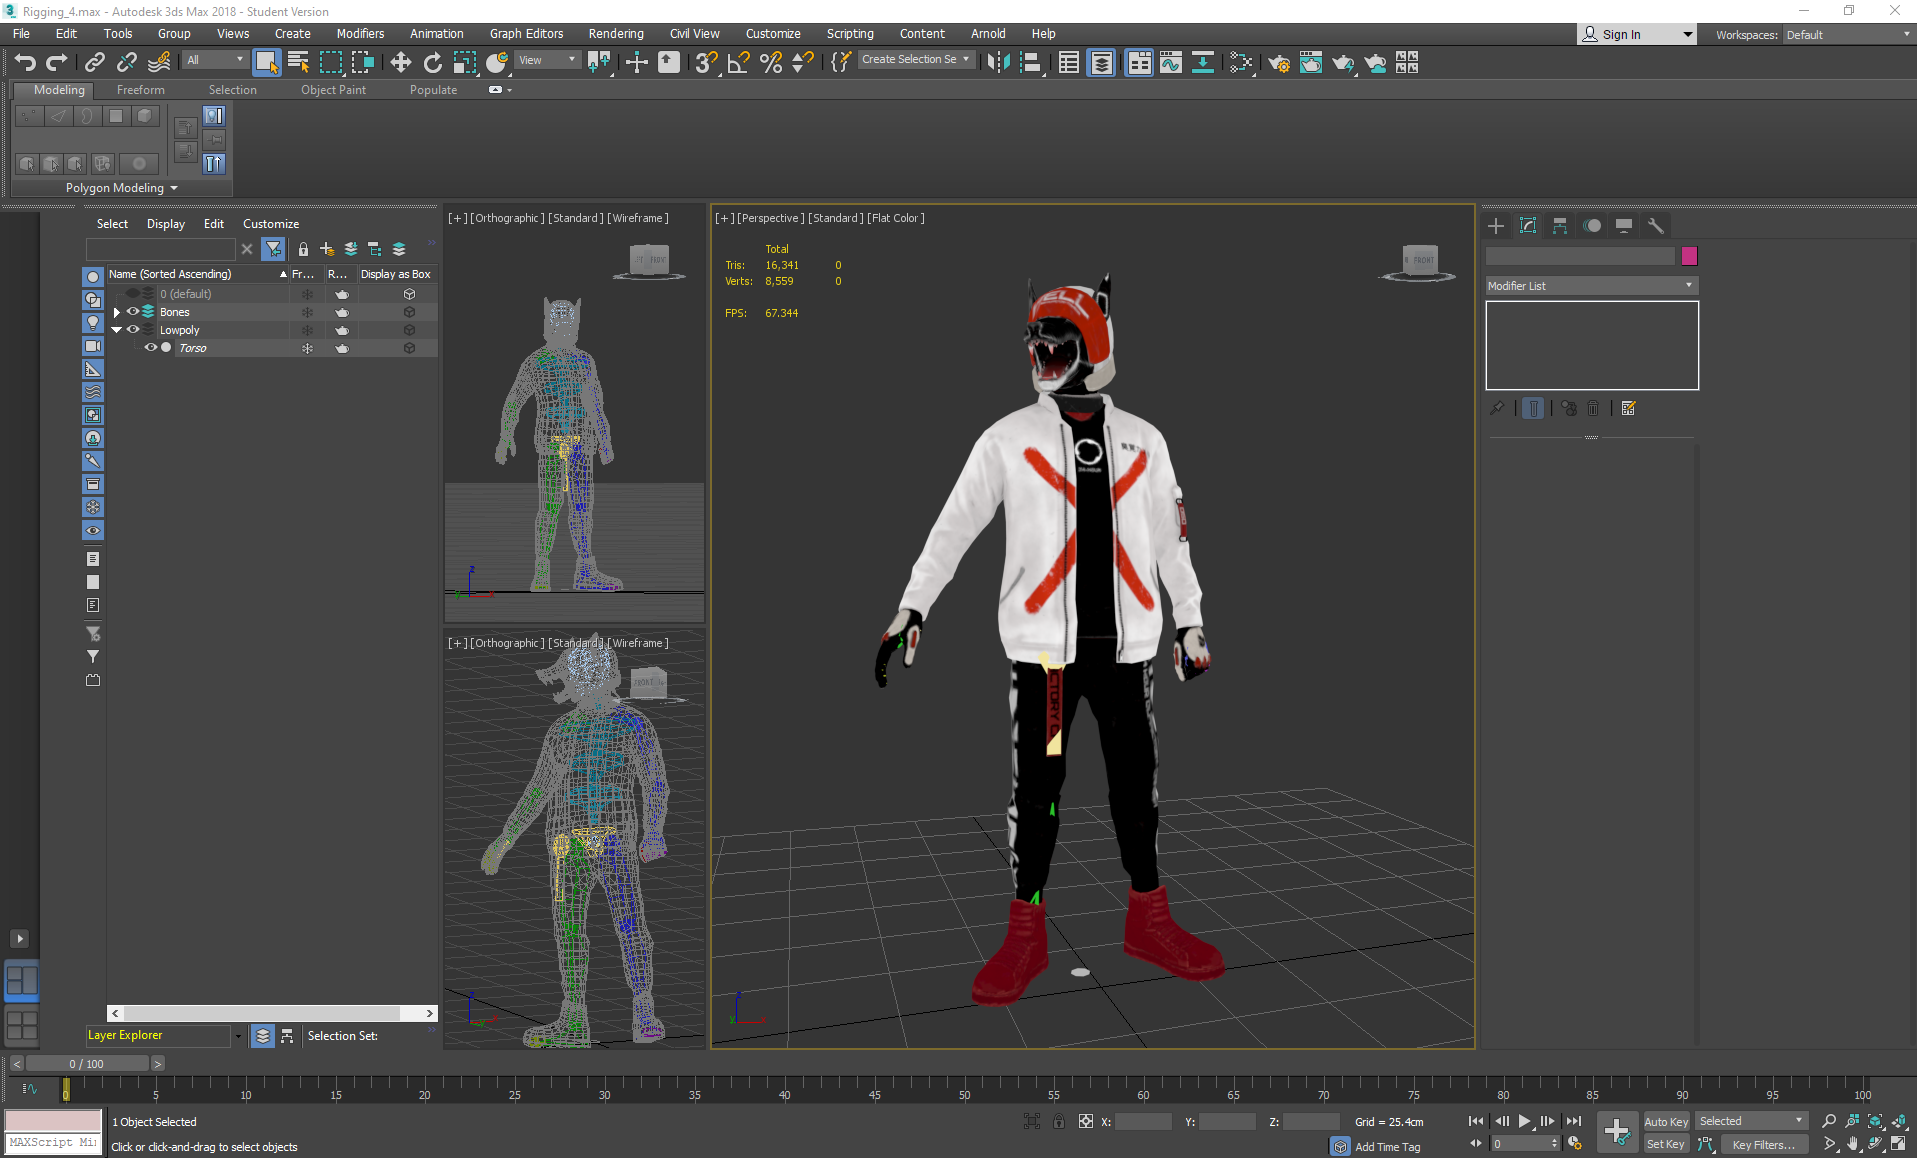
On Thursday I exported the textures as Normal maps, OcclusionRoughnessMetallic maps and Emission maps, then started on rigging the character. I had received crit from Teo that the legs seemed a little short, and luckily hadn't connected the shoes topology to the joggers, so I moved the shoes downwards a little to create longer shins, then moved some of the knee topology downwards (making sure to be on preserve UVs to avoid distorting the texture).

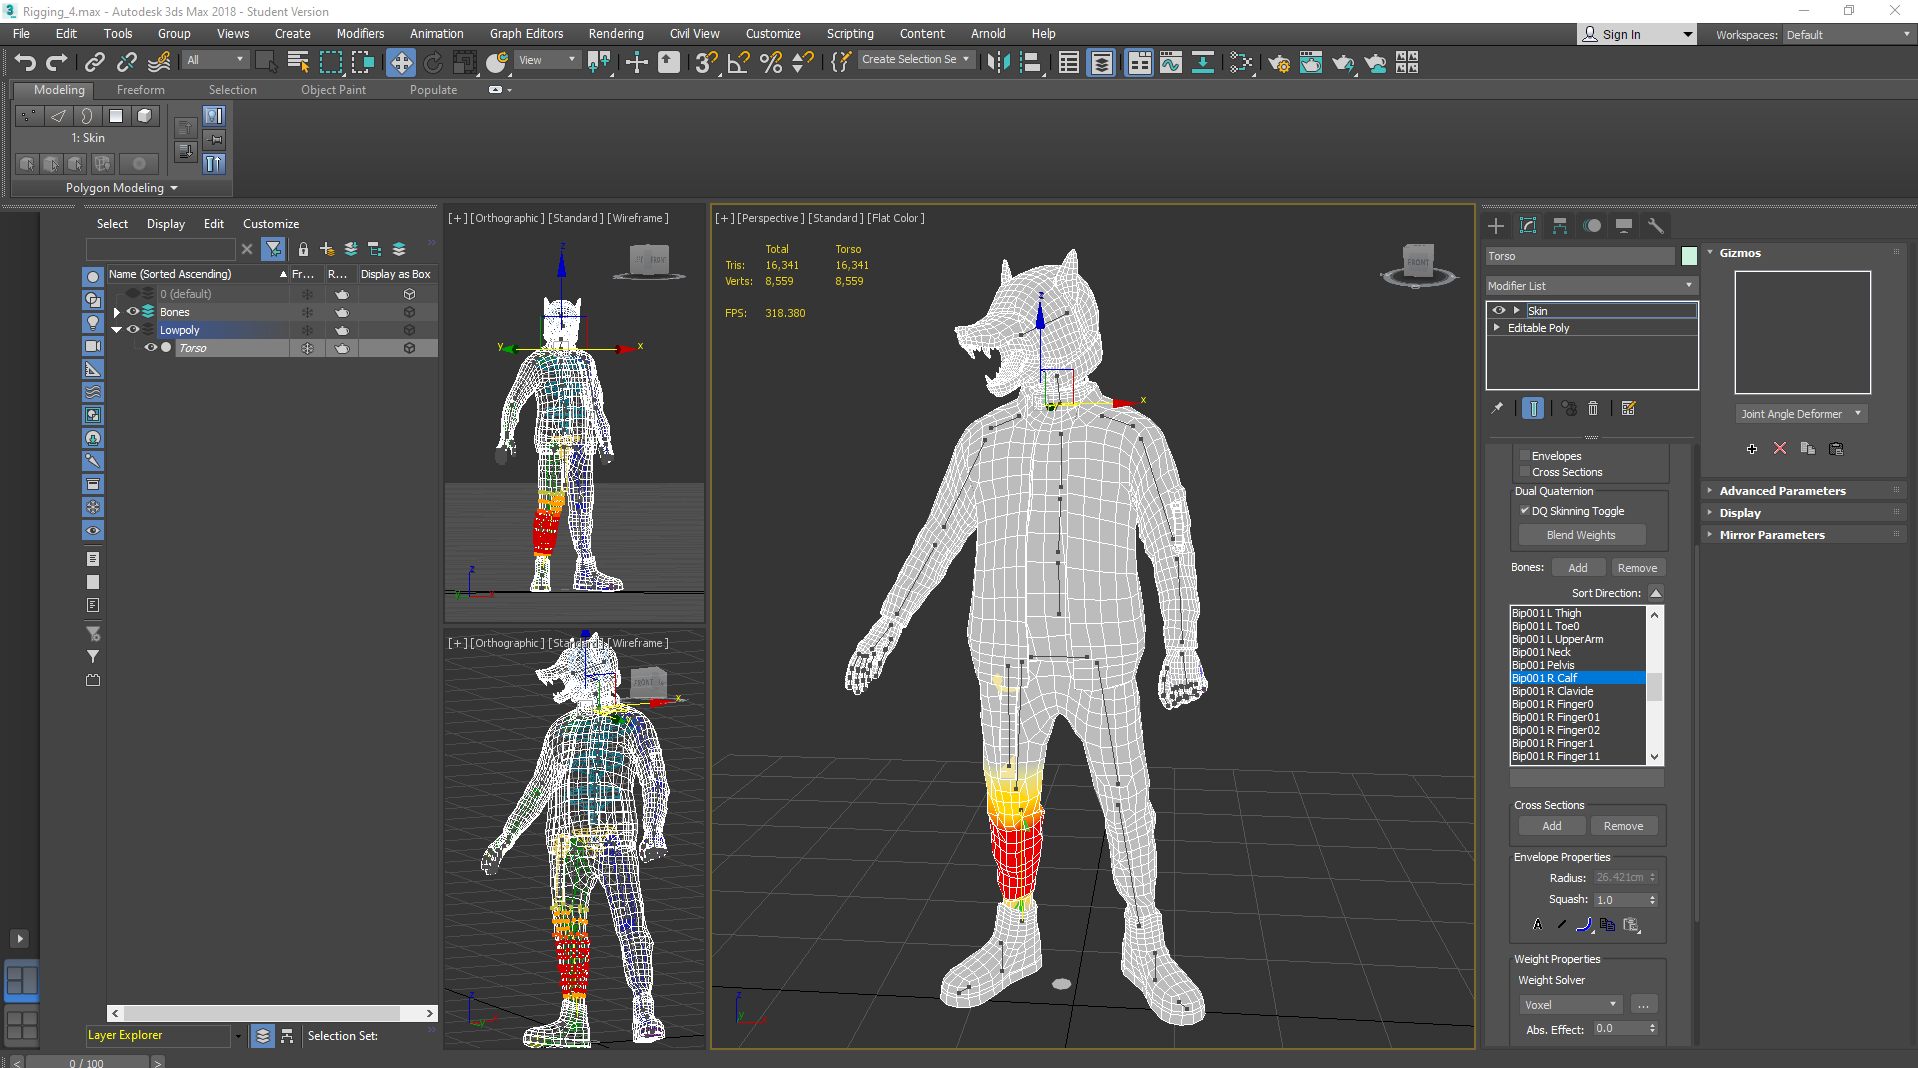
After this, I began rigging by freezing the torso and adding a biped skeleton to a bones folder, positioning the limbs and then mirroring them to save time. I used a tail bone for the strap on the joggers as it would move along with the body, as I discovered that ponytail bones move along with the head.

I applied a skin modifier to the mesh and started assigning weights systematically through the list of added bones, focusing only on one side again so that I could mirror it and then edit any errors.

After this, I left figure mode and went into animation more to pose the character somewhat based on the concept's pose- with a closed fist, wide stance and head turned to the side. I planted the feet so that they would always be on the ground and set keys whenever I moved a limb into place until I was happy with the pose, then checked to see if there were any areas in the weighting that I had missed and corrected them:

Wednesday, November 13, 2019

Helmeted Character: Week 4 Wednesday

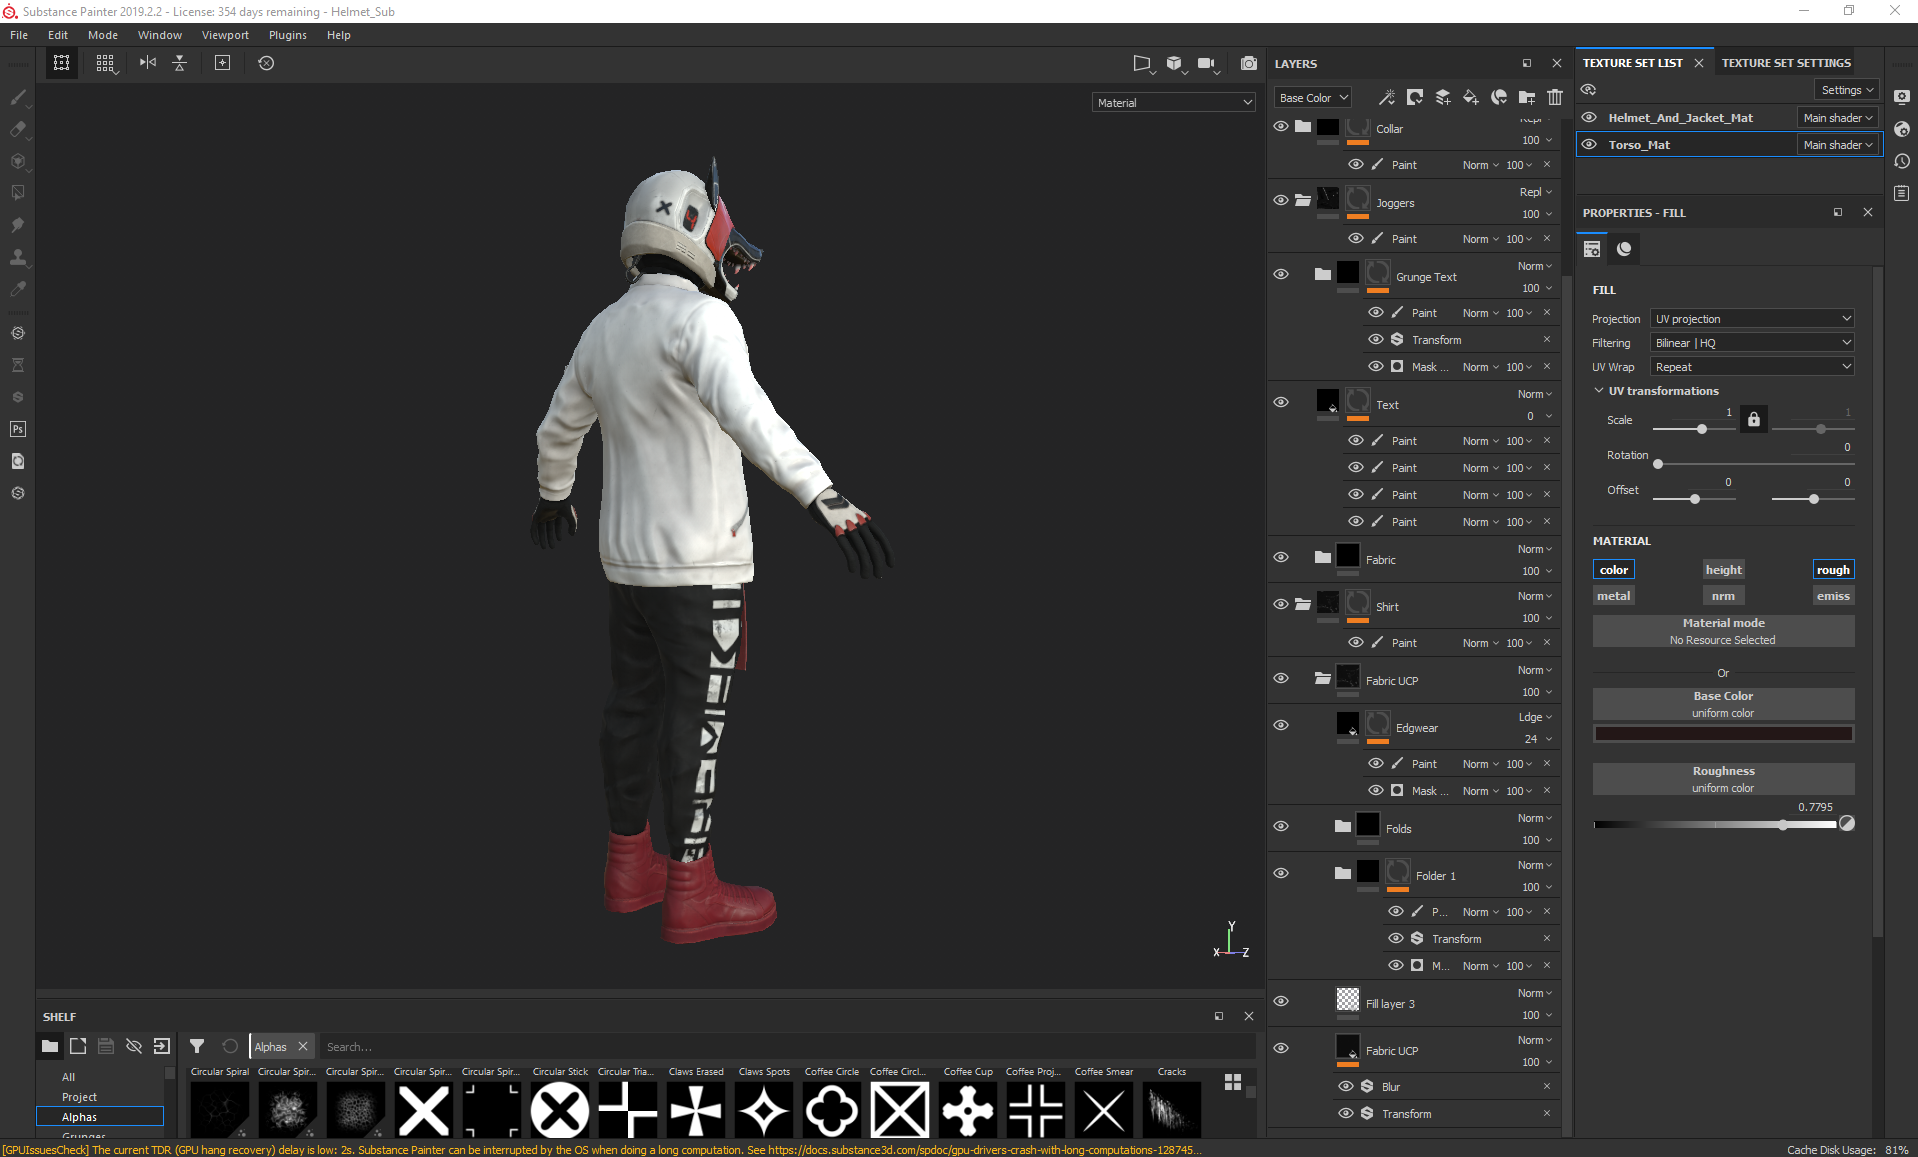
On Wednesday I continued to texture the character, this time on the torso map.
I used the same techniques and masks on this map, with the addition of using symmetry on the trousers print for the white lines, then the subtracted text (editing any mirrored letters afterwards) and then adding the '24 HOUR OLFACTORY CAMERA' text without symmetry afterwards. I added some slight shine to the text as it would be printed onto the joggers and straps using a different material. I also added emission maps to the '4's and the triangle section beneath the collar to reflect the brightness seen in the concept.
For the print on the t-shirt, I used a coffee stain alpha and then painted in the 3 blobs, once again using a text alpha for the '24-HOUR' area.

Tuesday, November 12, 2019

Helmeted Character: Week 4 Tuesday

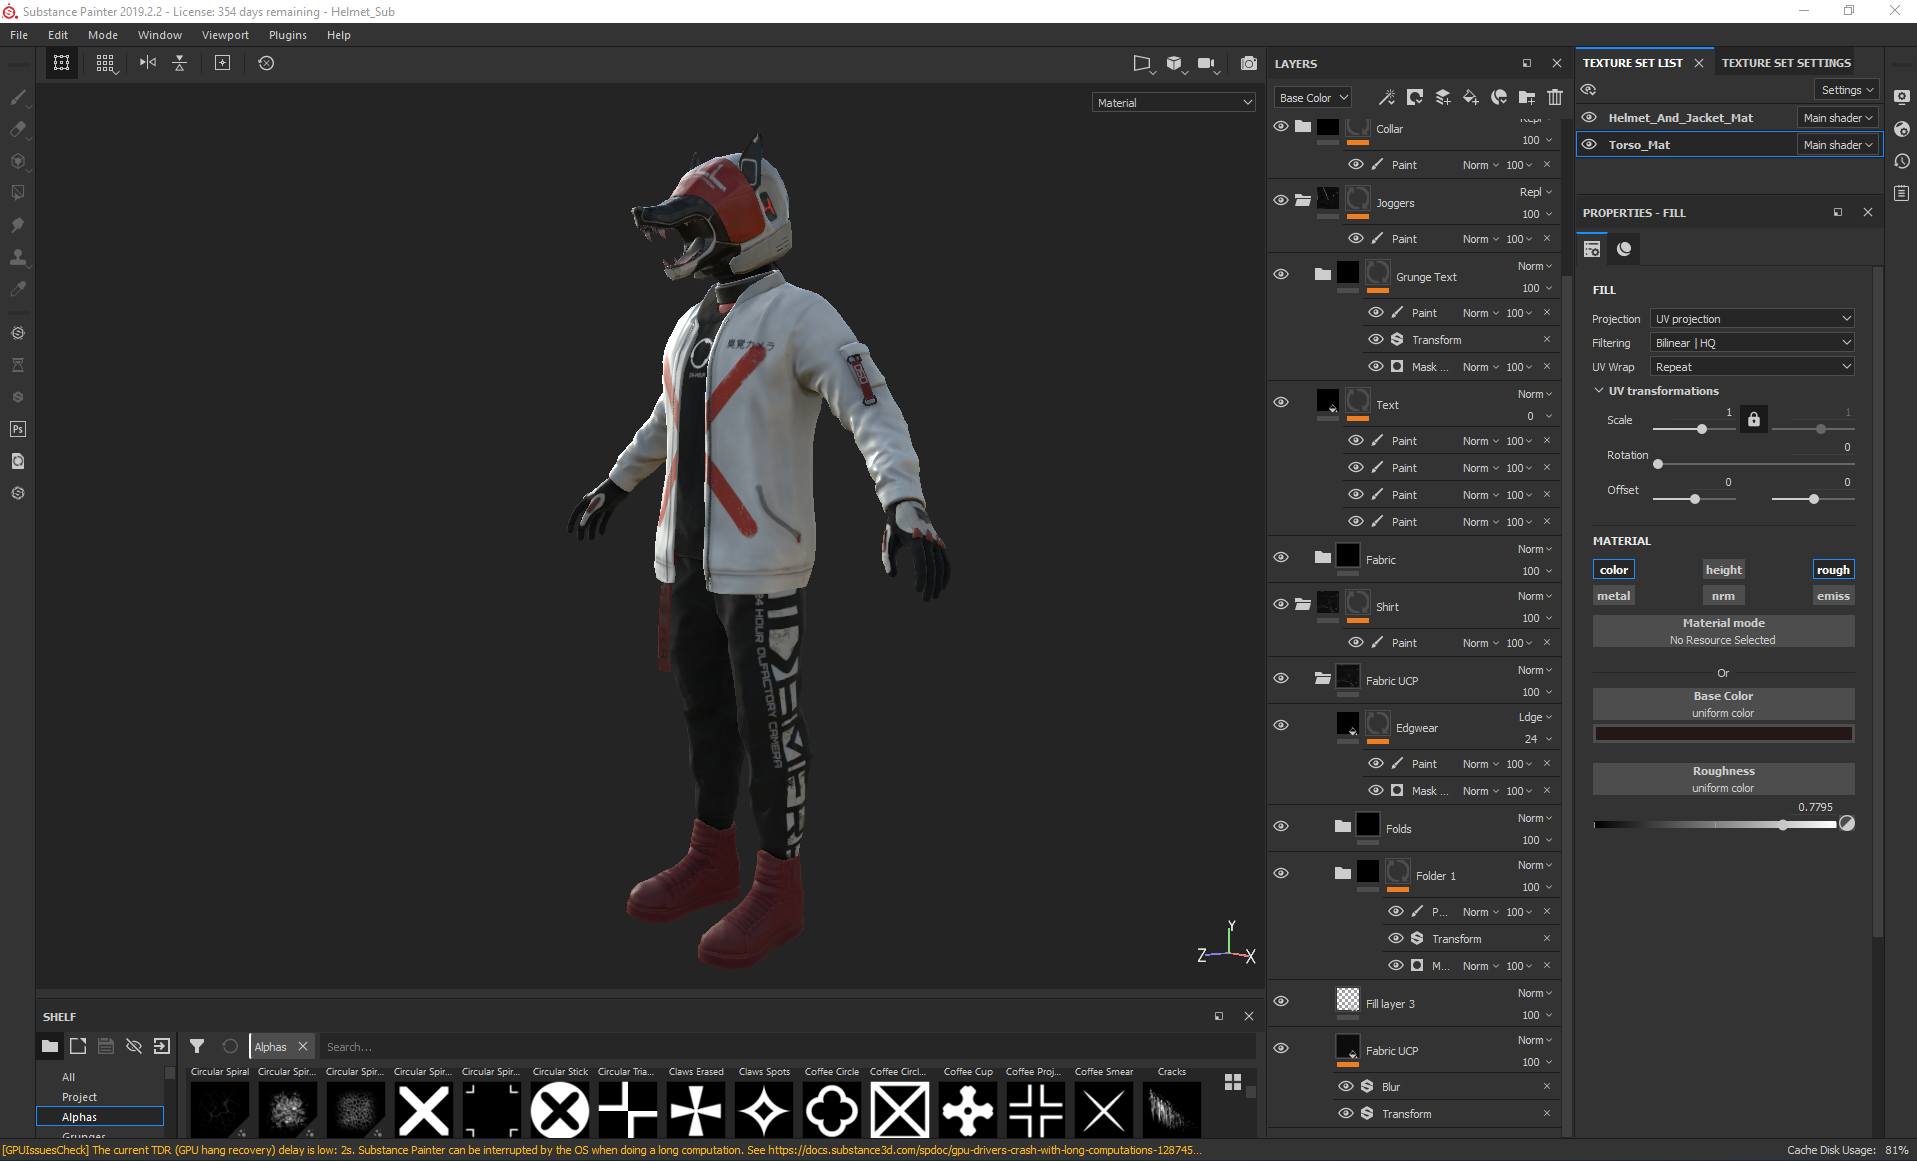
On Tuesday I started texturing the character in Substance Painter. This day consisted of mostly me dragging smart materials into the scene based on which material values I thought would fit best with the material of each piece of clothing, placing them into labelled folders and then masking them to create the base I would be working with. After this, I went through each folder and changed the base colour, roughness and height levels depending on the effect I wanted. I tweaked, added and deleted detail layers to create my own edgewear, highlights, grunge and dirt stains using smart masks such as dirt cavities, dust occlusion, edge damage, edges uber, edges strong, fabric edges, paint damage, paint old and surface worn. I also created my own masks using the bitmap mask function, using the curvature map and levels to identify edges and cavities without the use of smart masks.
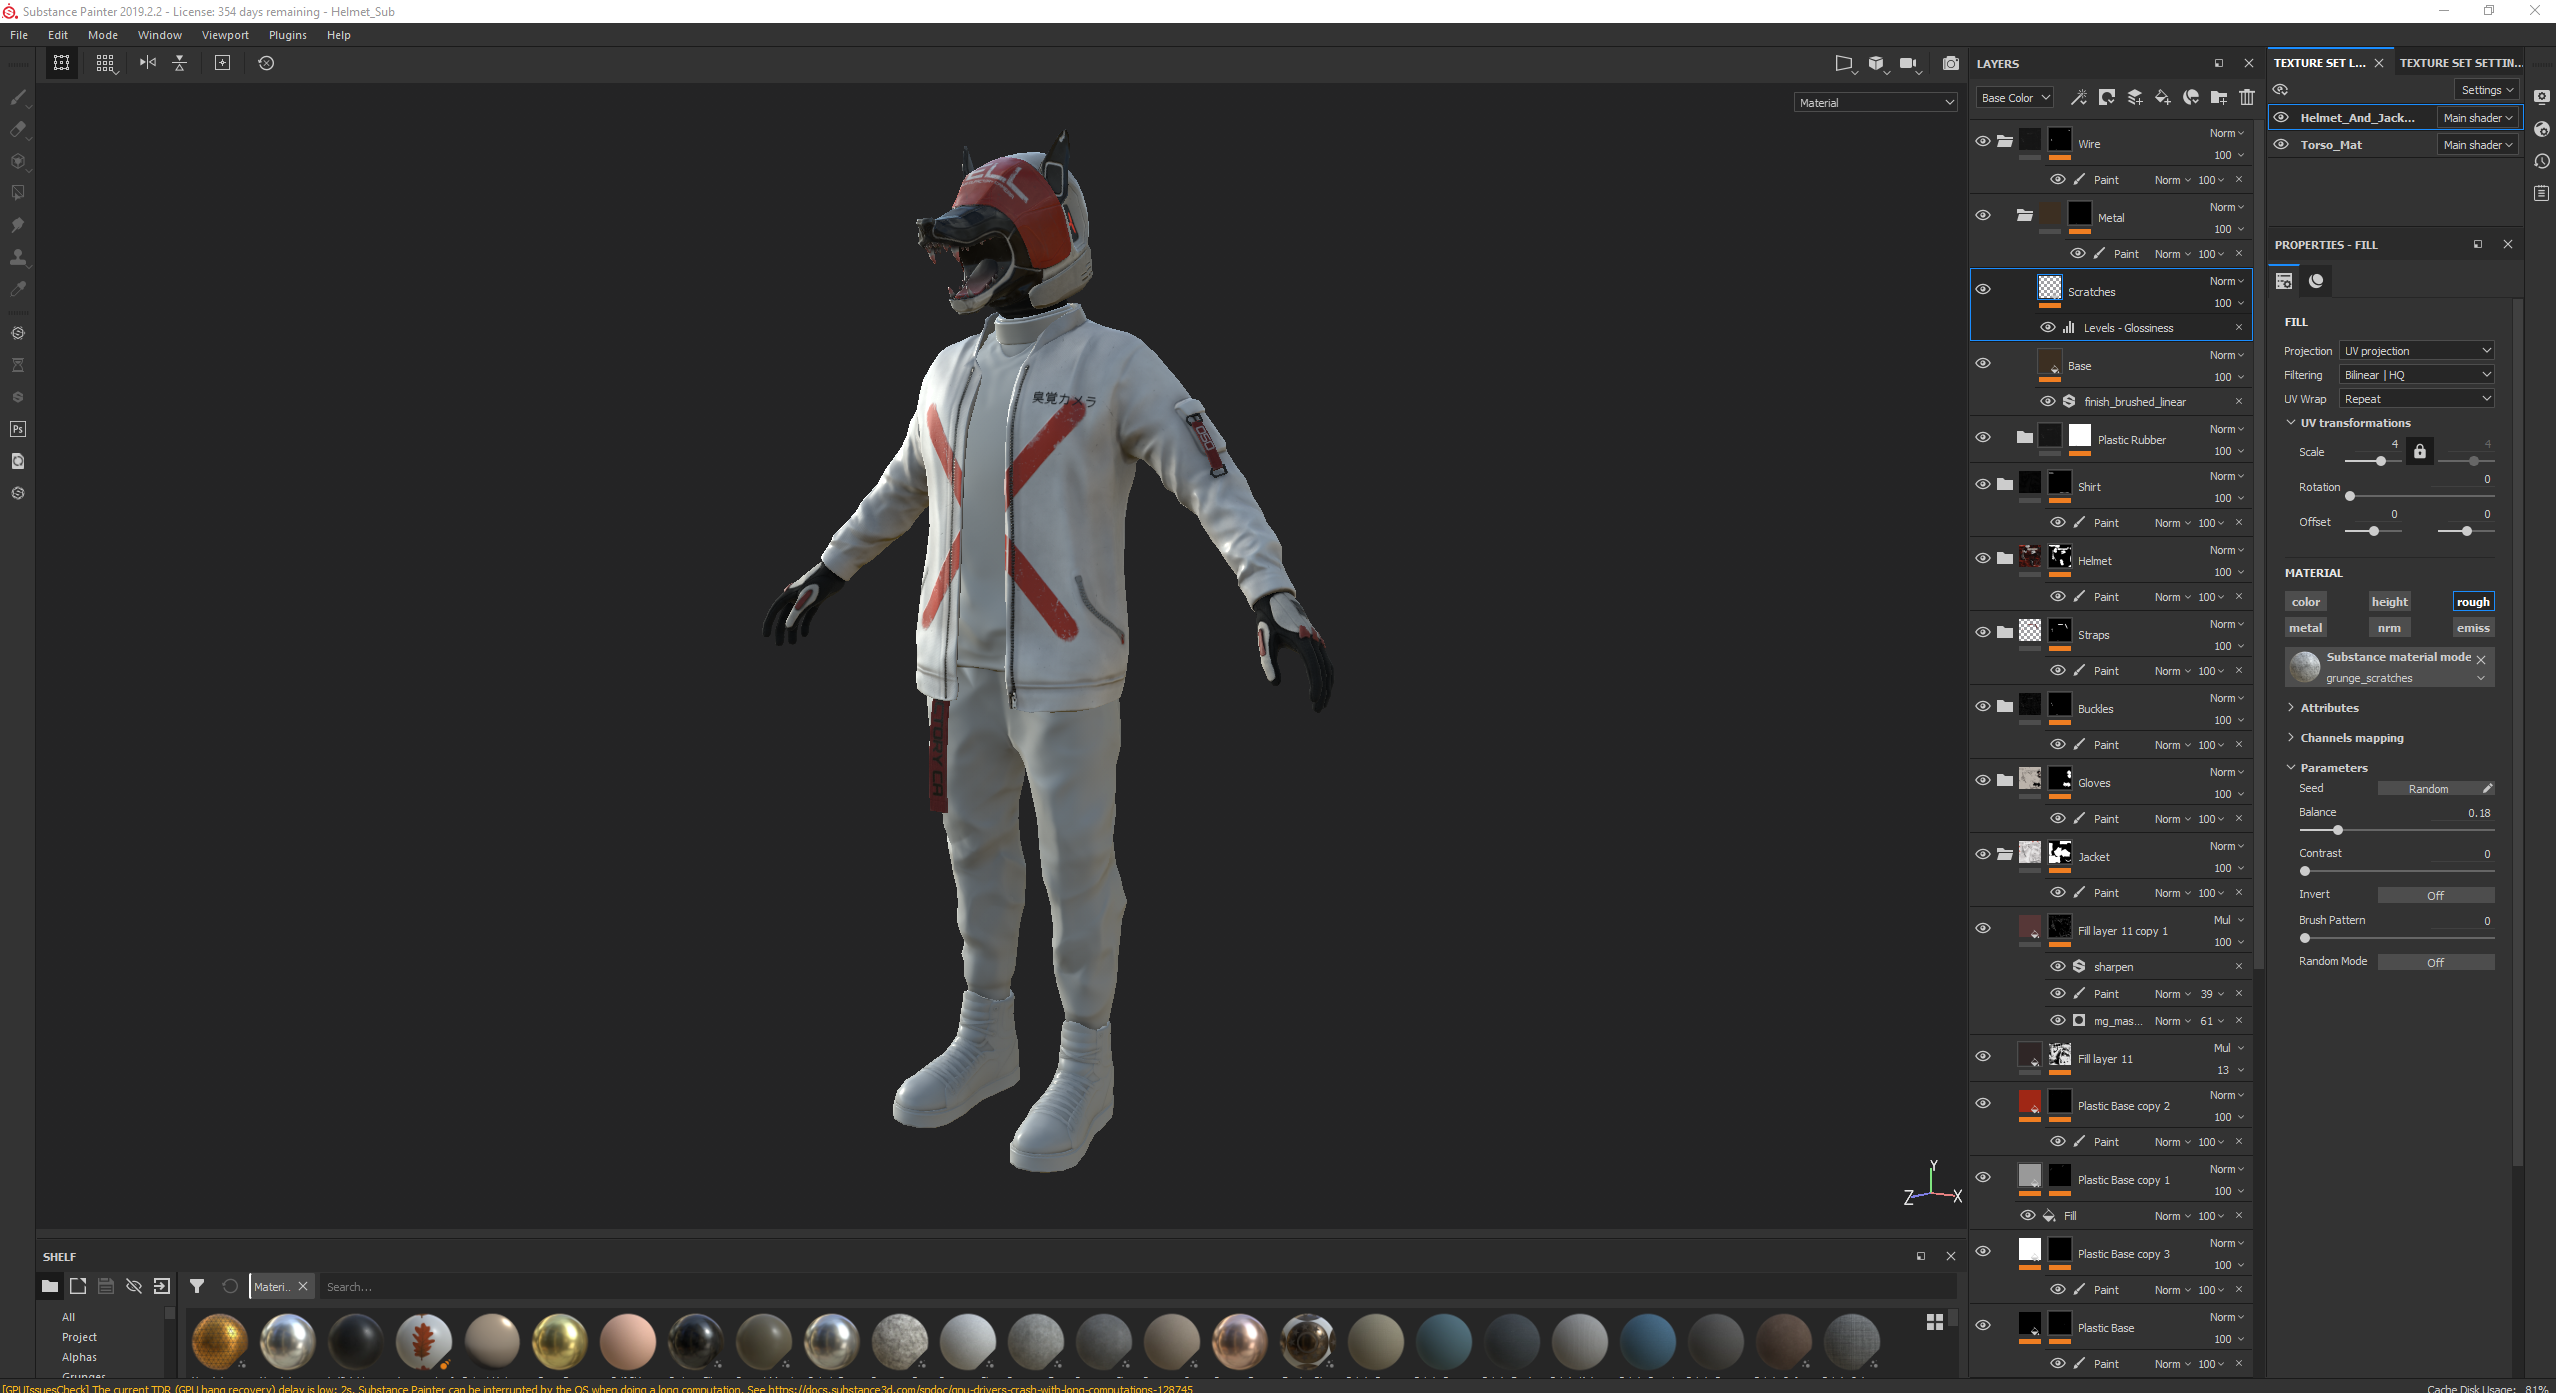
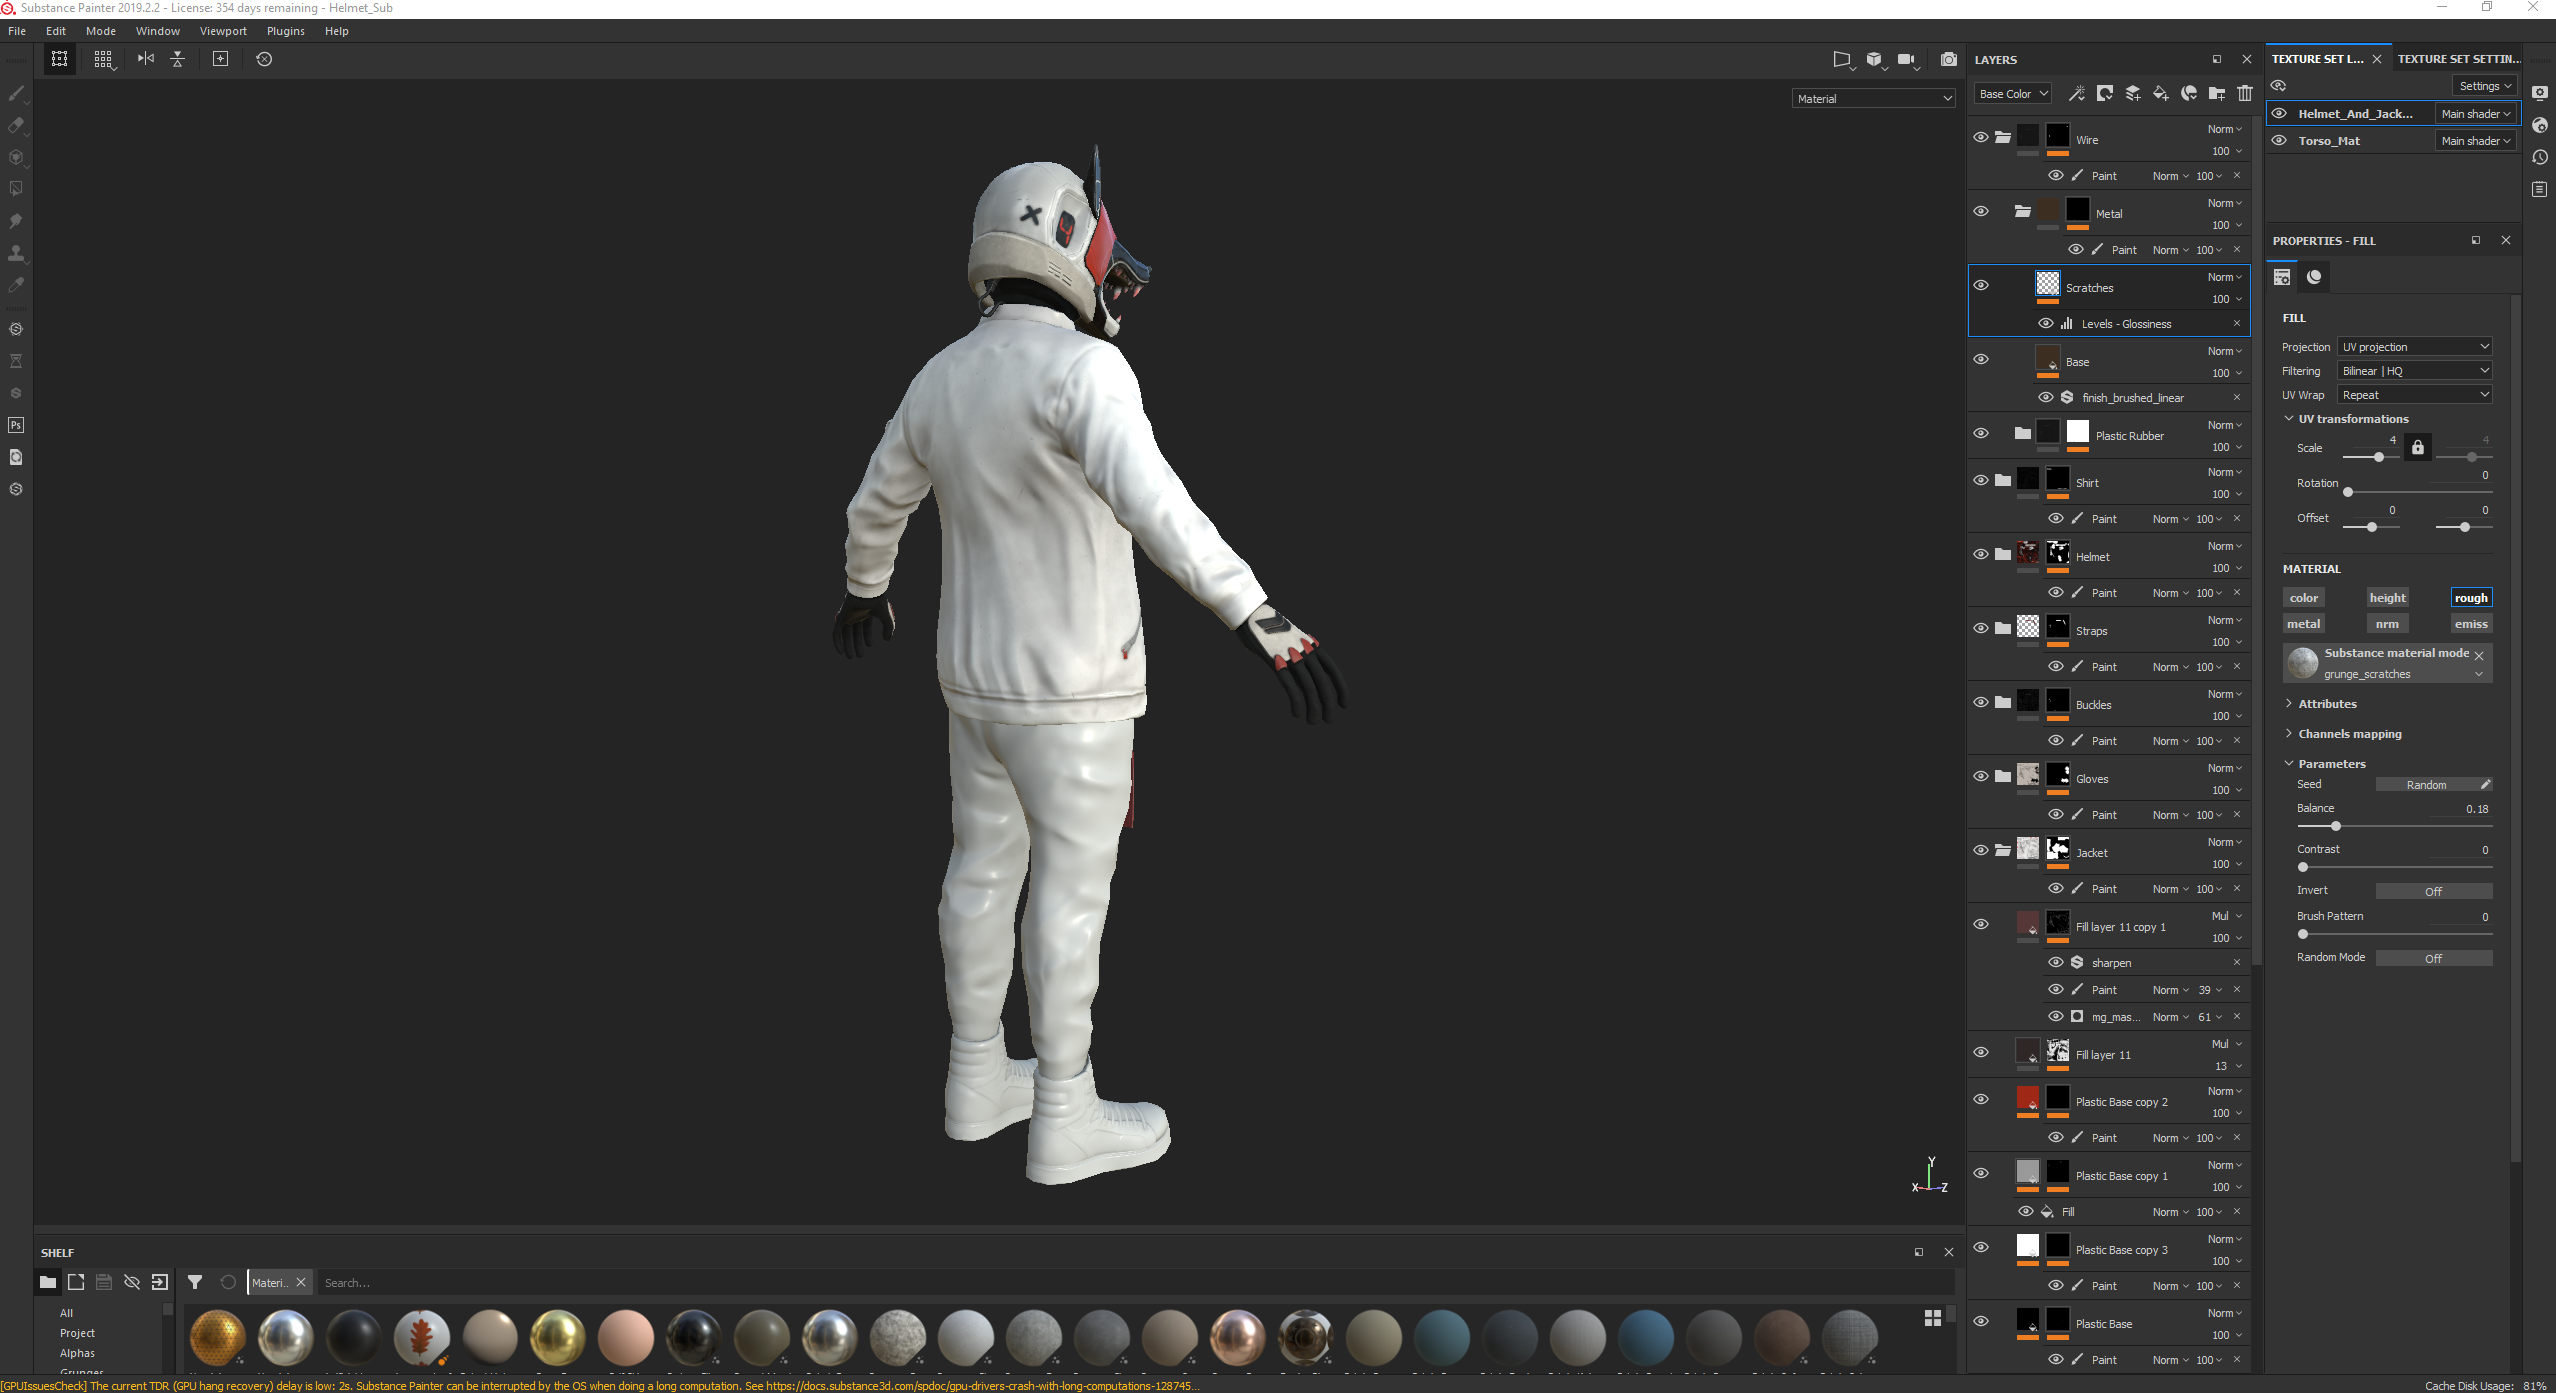
When painting the masks, I used both the planar uv painting mode on the 2D view and the tangent|wrap painting mode on the 3d viewport so that I could easily mask whole islands without it wrapping, then covering up any seams by having the paint wrap onto neighbouring islands while painting in the 3d viewport for accuracy.

I used the substance font alphas to write out the text in different font based on whichever matched the concept font the closest, using font Orbitron for 'HELL' and '24-HOUR OLFACTORY CAMERA'. I also used it for the '050' but used the eraser to remove a '/' from the 0s. Finally, I used the Han Sans Japanese Chinese font for the '臭覚カメラ' (olfactory camera), adding some height to it so that it appeared as if it had been printed onto the jacket. I also added some patches of wear to the text on the helmet and the cross on the jacket so that it acted like worn off paint.
Monday, November 11, 2019

Helmeted Character: Week 4 Monday

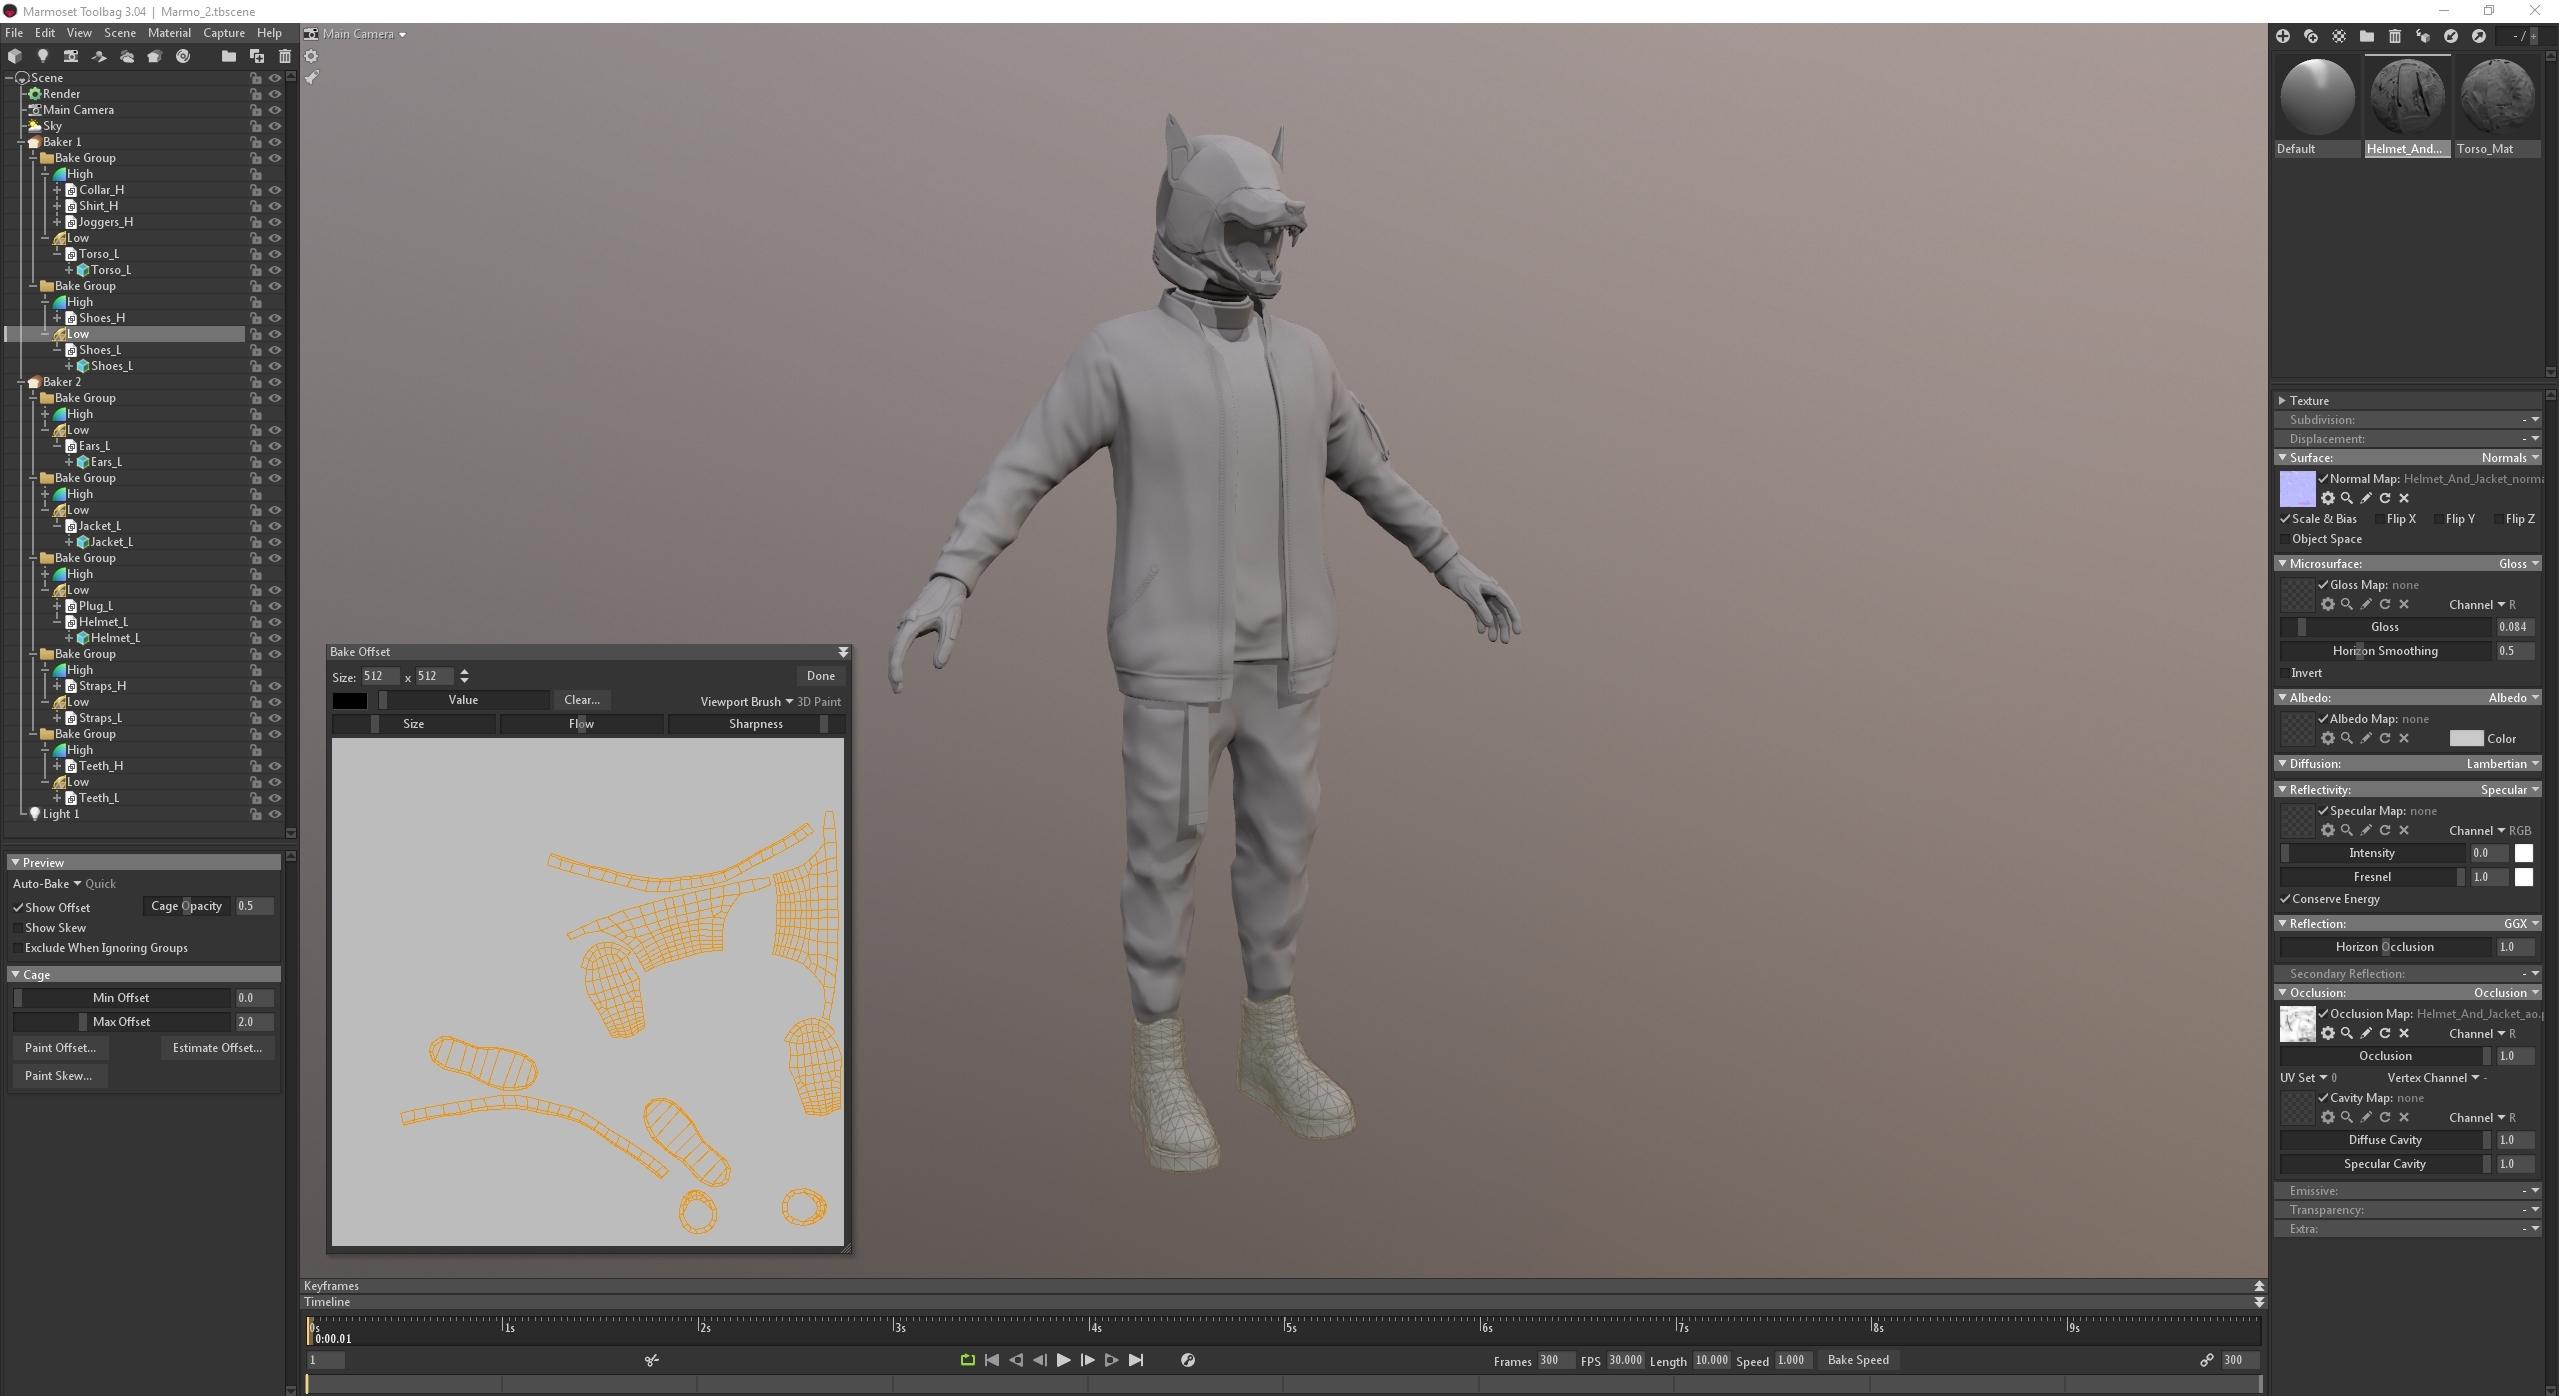
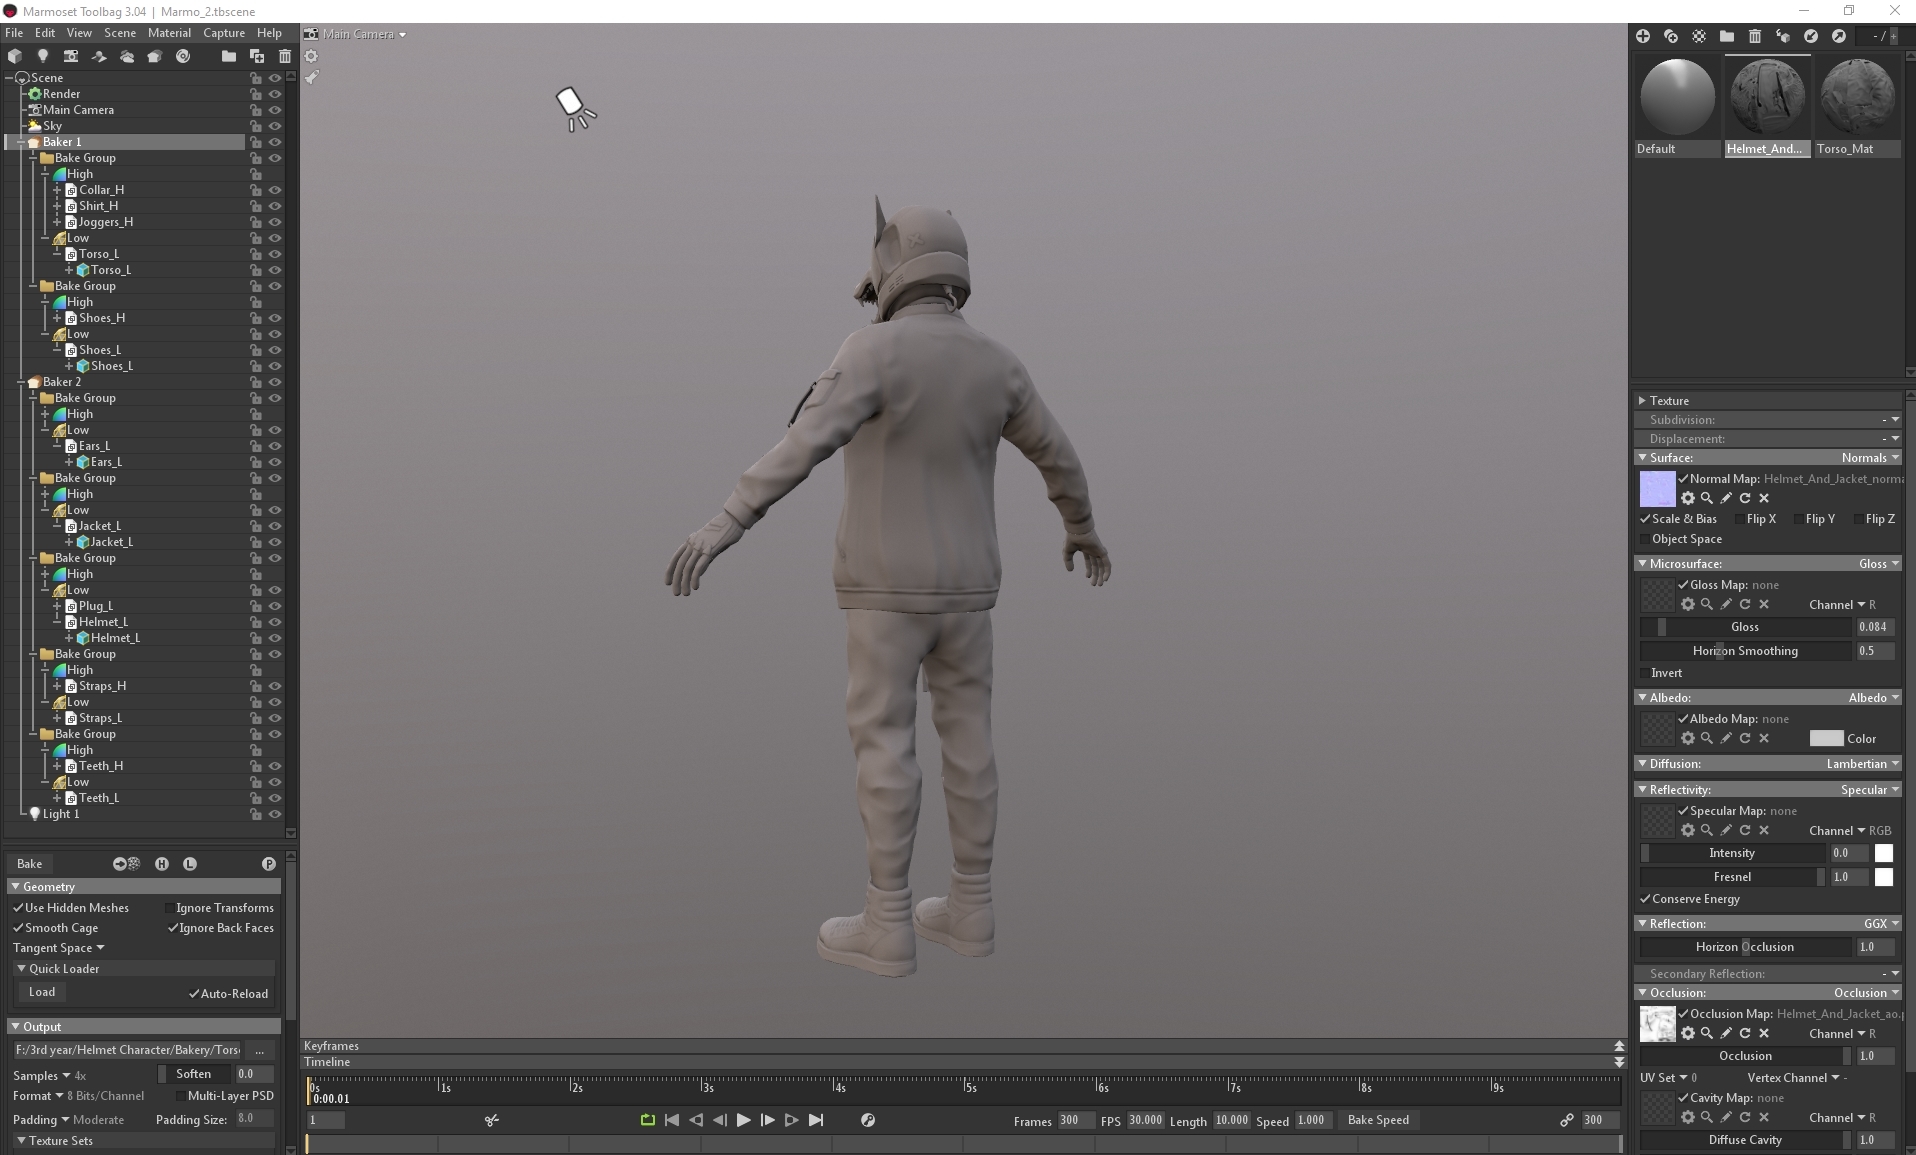
On Monday I baked the character in Marmoset using 2 separate Bakers for the 2 separate maps that I had created:

I separated each asset into individual bake groups to avoid them baking onto each other and creating errors. For any baking errors that did occur, I used the paint offset tool to paint on a larger or smaller cage, and for any errors that couldn't be fixed I went itno photoshop and fixed manually using the spot heal brush. With the baker I produced normal and normal (object) maps, ao maps as well as curve maps to be used later in substance painter.