Showing posts with label Project 1. Show all posts

Friday, October 18, 2019

Water VFX: Week 3 Friday

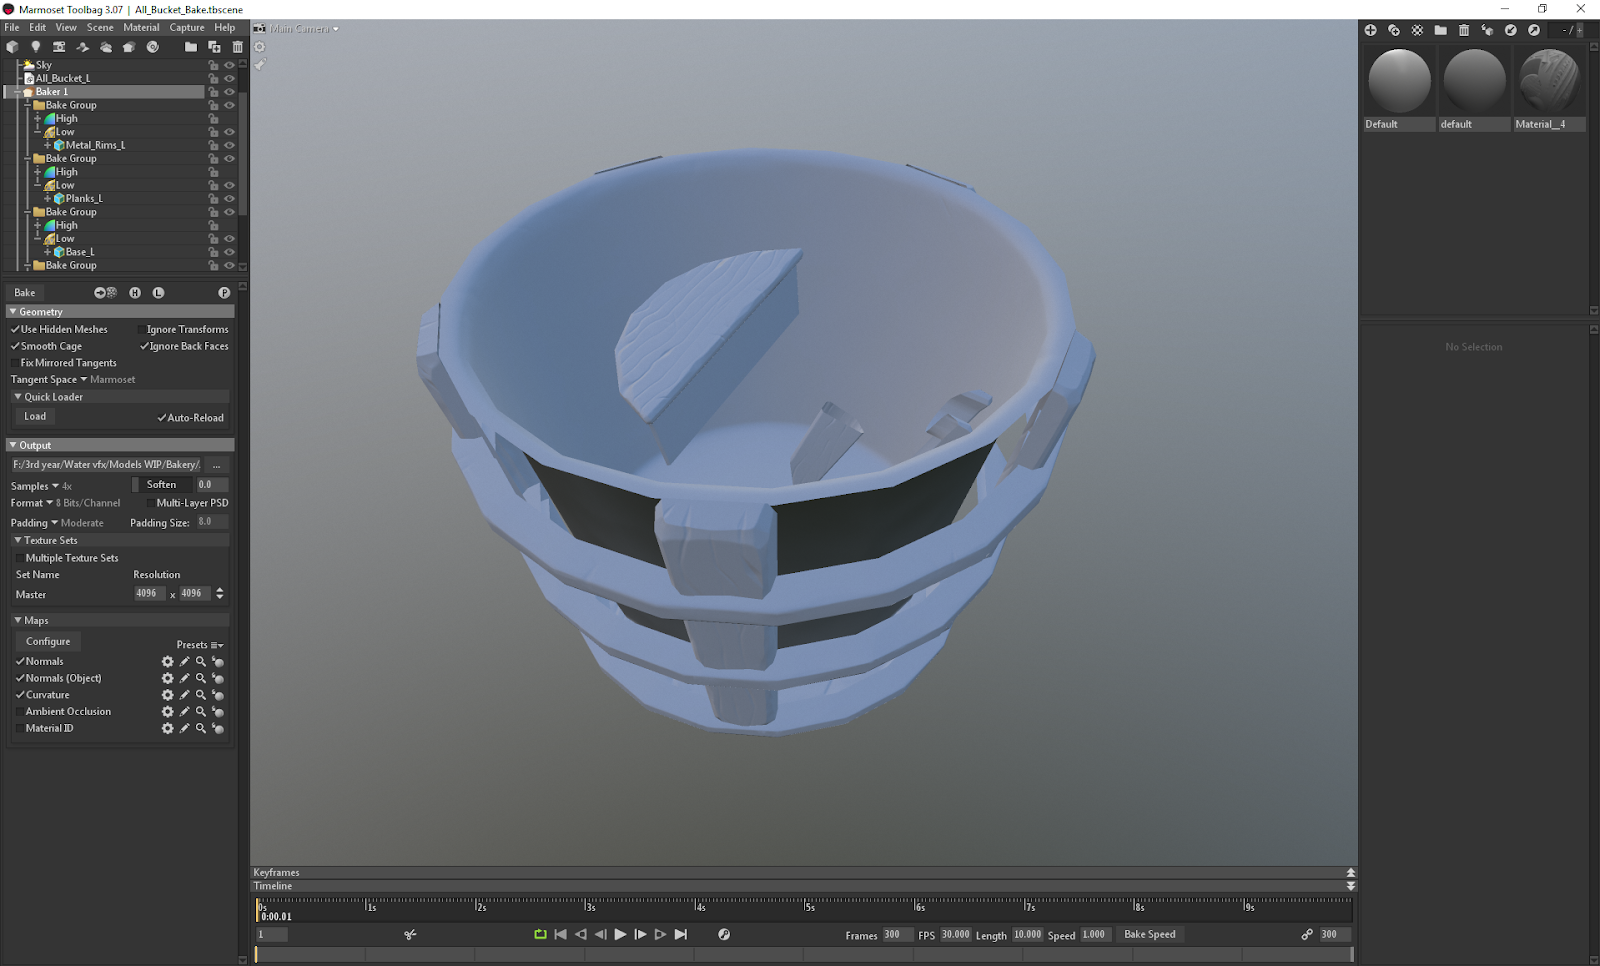
On Friday I did a quick bake in marmoset, textured and set everything up in my temporary scene:

I edited the parameters and the texture map tiling size so that the VFX would fit within the buckets, and positioned all of my assets into a small environment to showcase the water:


I didn't have enough time to apply the reactive ripple blueprint to the shallow water on the plinth, but will be adding that in the future. I also intend to delete all of the temporary test content and add post processing to create a more dynamic scene.

Thursday, October 17, 2019

Water VFX: Week 3 Thursday

On Thursday I imported the normal map .psd and lowpoly .obj from marmoset into substance painter and began texturing. Because I wanted a stylised effect, I hand painted the majority of the model using both the 2D UV view and the 3D viewport, making sure to pay attention to the PBR aspects of each layer. I also used some smart masks and created my own masks using the curvature map and levels for edge highlights and cavity lowlights.
I added texture information where the water of the VFX would be touching the metal and wood, making wet areas darker and more reflective in areas where water would likely to be, like the base of the pump and inside the bucket.

Once this was completed, I started modelling a plinth for it to be displayed on. I used all of the techniques I had used for the previous assets to create a quick makeshift plinth with subtle details sculpted in zbrush:

Wednesday, October 16, 2019

Water VFX: Week 3 Wednesday

On Wednesday I unwrapped the lowpoly and exported both versions into marmoset as .OBJs to bake.
I made sure that the unwrap was packed tightly by using Pack Normalise and then further optimizing the used space by hand. This also helped to ensure that each item had a consistent texel density. I made 3 maps, one for the pump, one for the bucket and one for the water. I also used flatten mapping to create a light map:

(islands temporarily moved to show multiple unwraps at the same time)

I chose marmoset instead of substance painter for this as marmoset has the option to paint edits onto the cage in the viewport and to live update the maps at any point in photoshop. It's also easier to seperate bakes so that they don't print onto unwanted sections:
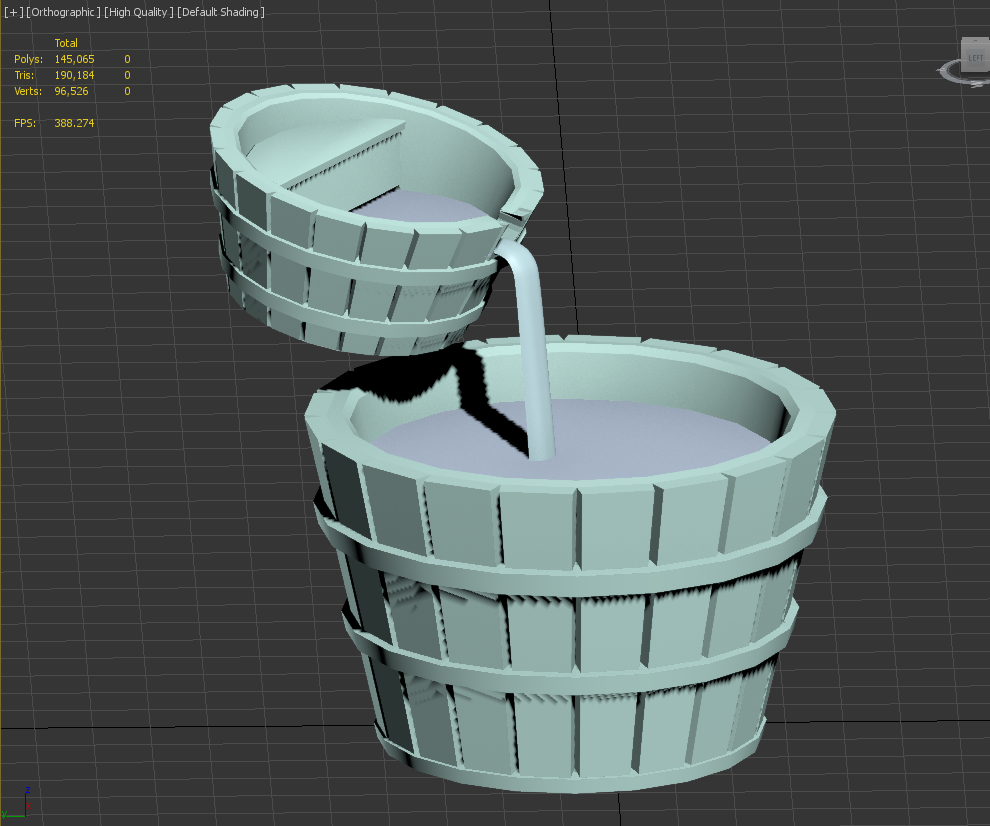
I placed the normal map onto the base colour in the material editor so that I could check that the copied planks weren't obviously repeating (two of the same planks next to eachother), then I started making the hole for the small bucket. I added some swiftloops, cuts and insets until I could delete planes in the shape of the hole that the water would go through while being careful not to distort the bake.

Tuesday, October 15, 2019

Water VFX Brief: Week 3 Tuesday

On Tuesday I finished up the sculpt, decimated and exported it back into 3ds max for retopology. I only sculpted 5 planks to save time, with the intention of copying and rotating them later to fill the gaps. I also copied it across to create the smaller bucket of water, sculpting another specific plank to replace the area where the spout of water would come out from:


I also sculpted the extra planks of wood that needed to be added to the smaller bucket where the pump would be placed. I decimated again and combined all of the highpoly items into 2 seperate buckets ready for the 2 lowpoly versions to be created:


Monday, October 14, 2019

Water VFX Brief: Week 3 Monday

On Monday I continued modelling more of the assets to go with the VFX. I started on the water pipe and used turbosmooth to increase the poly count, making sure to keep the game-ready lowpoly version on hand to bake onto later:


Once this task was completed, I moved onto zbrushing the planks for the wood. I decided to use zbrush for the more organic materials in the scene, while the water pump would only be modeled in 3ds max.
I exported my bucket as a .OBJ with the zbrush preset so that when I loaded it into zbrush it could be split into subtools based on groups, making the sculpt neater:

Disclaimer: For the cracks, slashes and metal texture I used the Orb_Slah_Curve, Orb_Slash_clean, Orb_Flatten_EdgeProtect and Orb_hammeredMetal brushes from the zbrush orb brush pack. The remainder was sculpted using hpolish, trim dynamic, pinch, move, nudge, dam standard, slash and smooth tools.

Friday, October 11, 2019

Water VFX Brief: Week 2 Friday

Now that all of the water was out of the way, I started working on the water feature model itself.
I wanted to combine these aspects into a cute stylised plinth:
Image result for Fountain
Image result for water pump
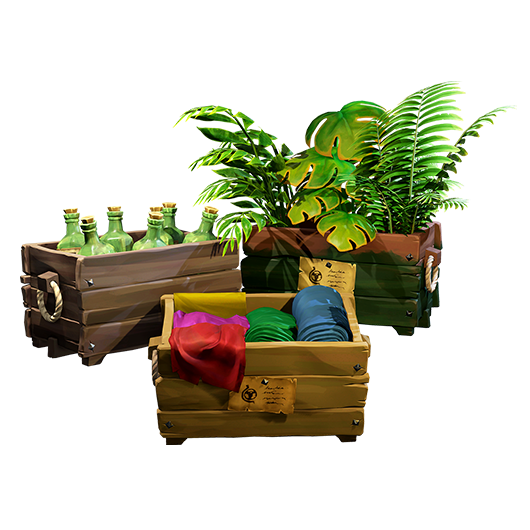
The style was based somewhat on this:
Related image
Image result for sea of thieves plantsImage result for sea of thieves plants
Simple stylised texturing, with some some bold, chunky details sculpted in and PBR used to a realistic degree.


I started with the lowpoly sculpts of the buckets and the water, which I then turbosmoothed to allow for more dynamic fluidity in the material editor later.

Thursday, October 10, 2019

Water VFX Brief: Week 2 Thursday

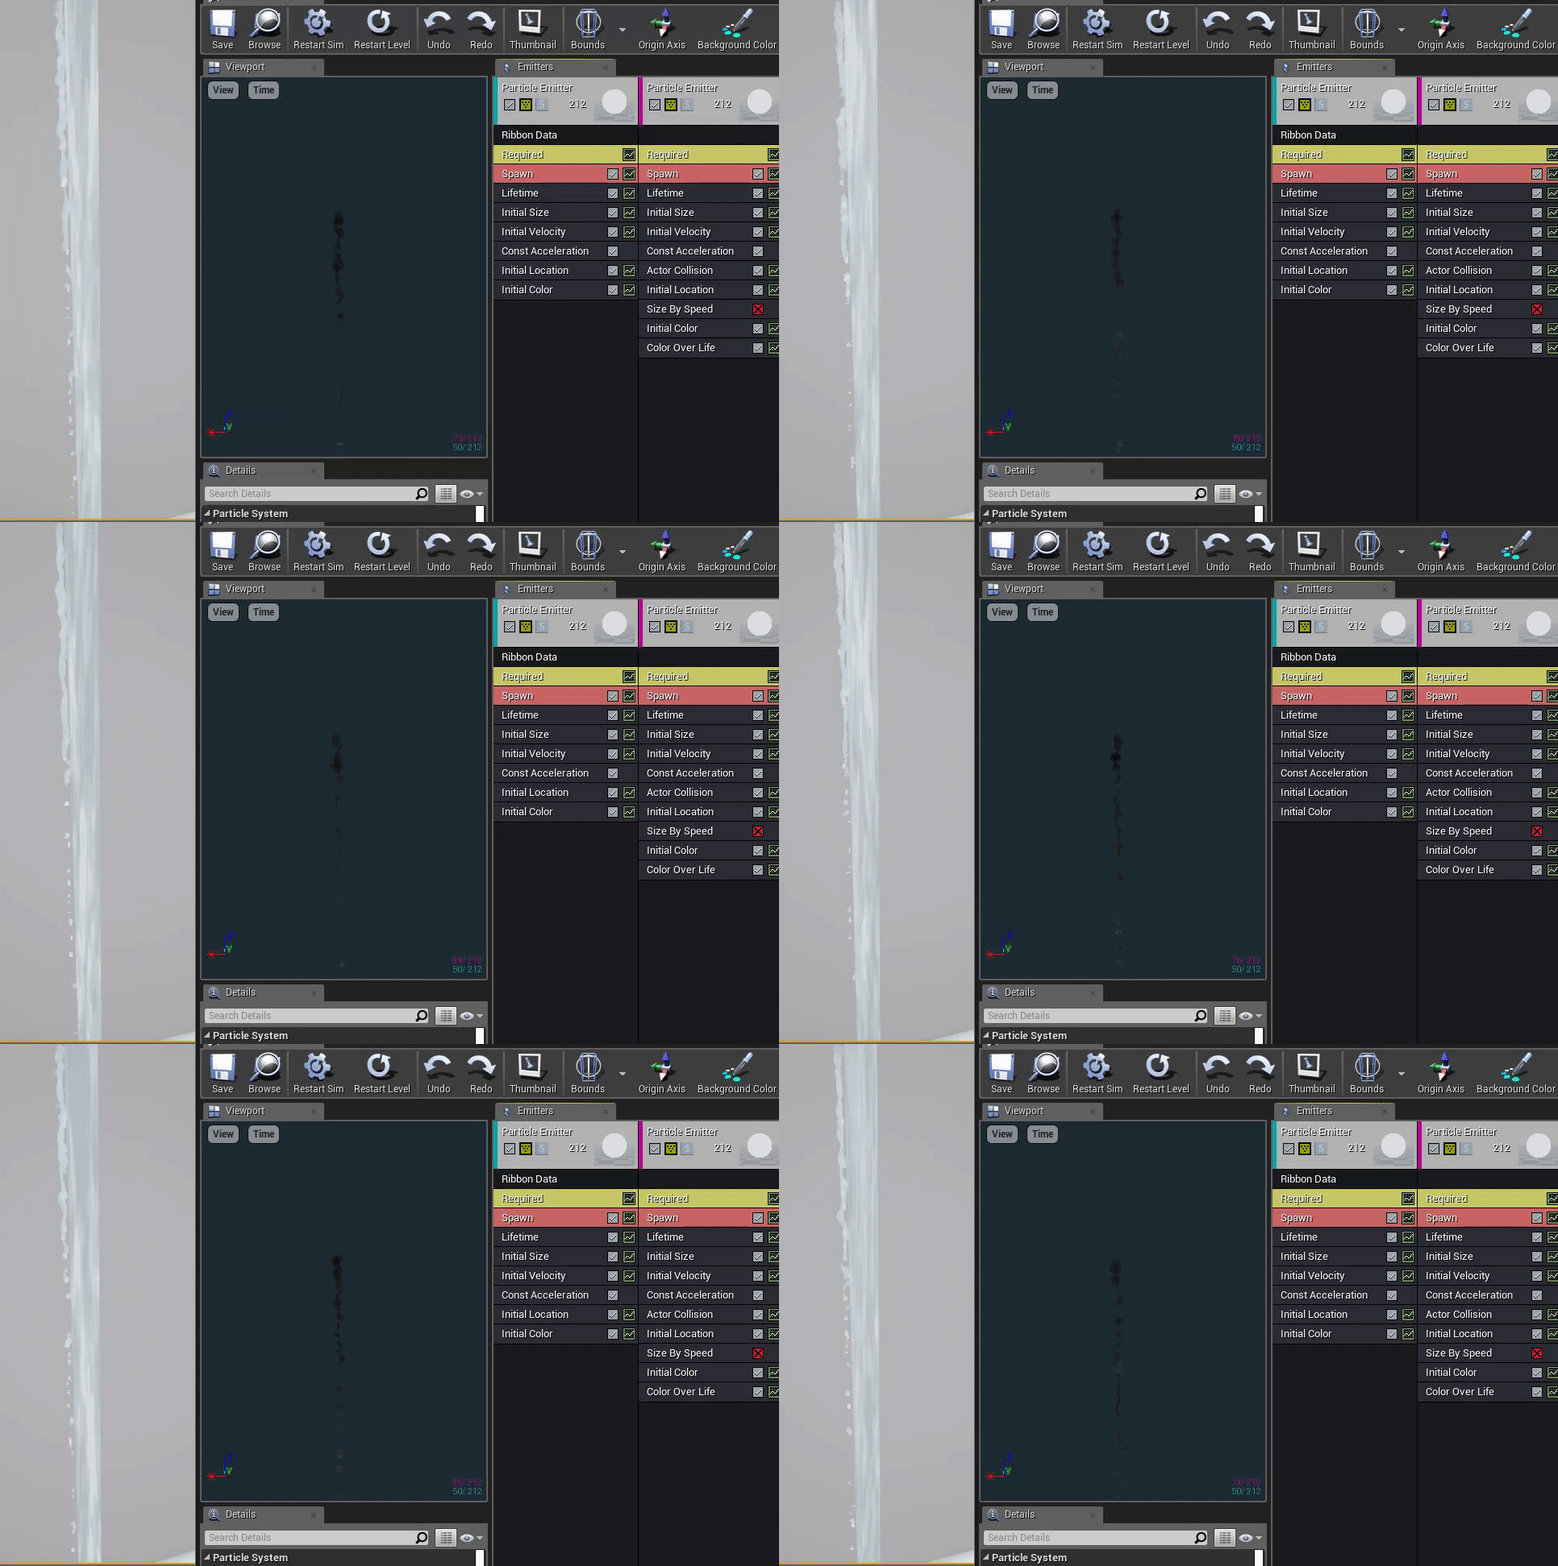
On Thursday I worked on my final particle effect, which was to be an interspersed stream of droplets falling down from the top of the waterfall based on these reference images:
Image result for Fountaincascadas de jardin modernas - Buscar con Googlesmall pond and water garden

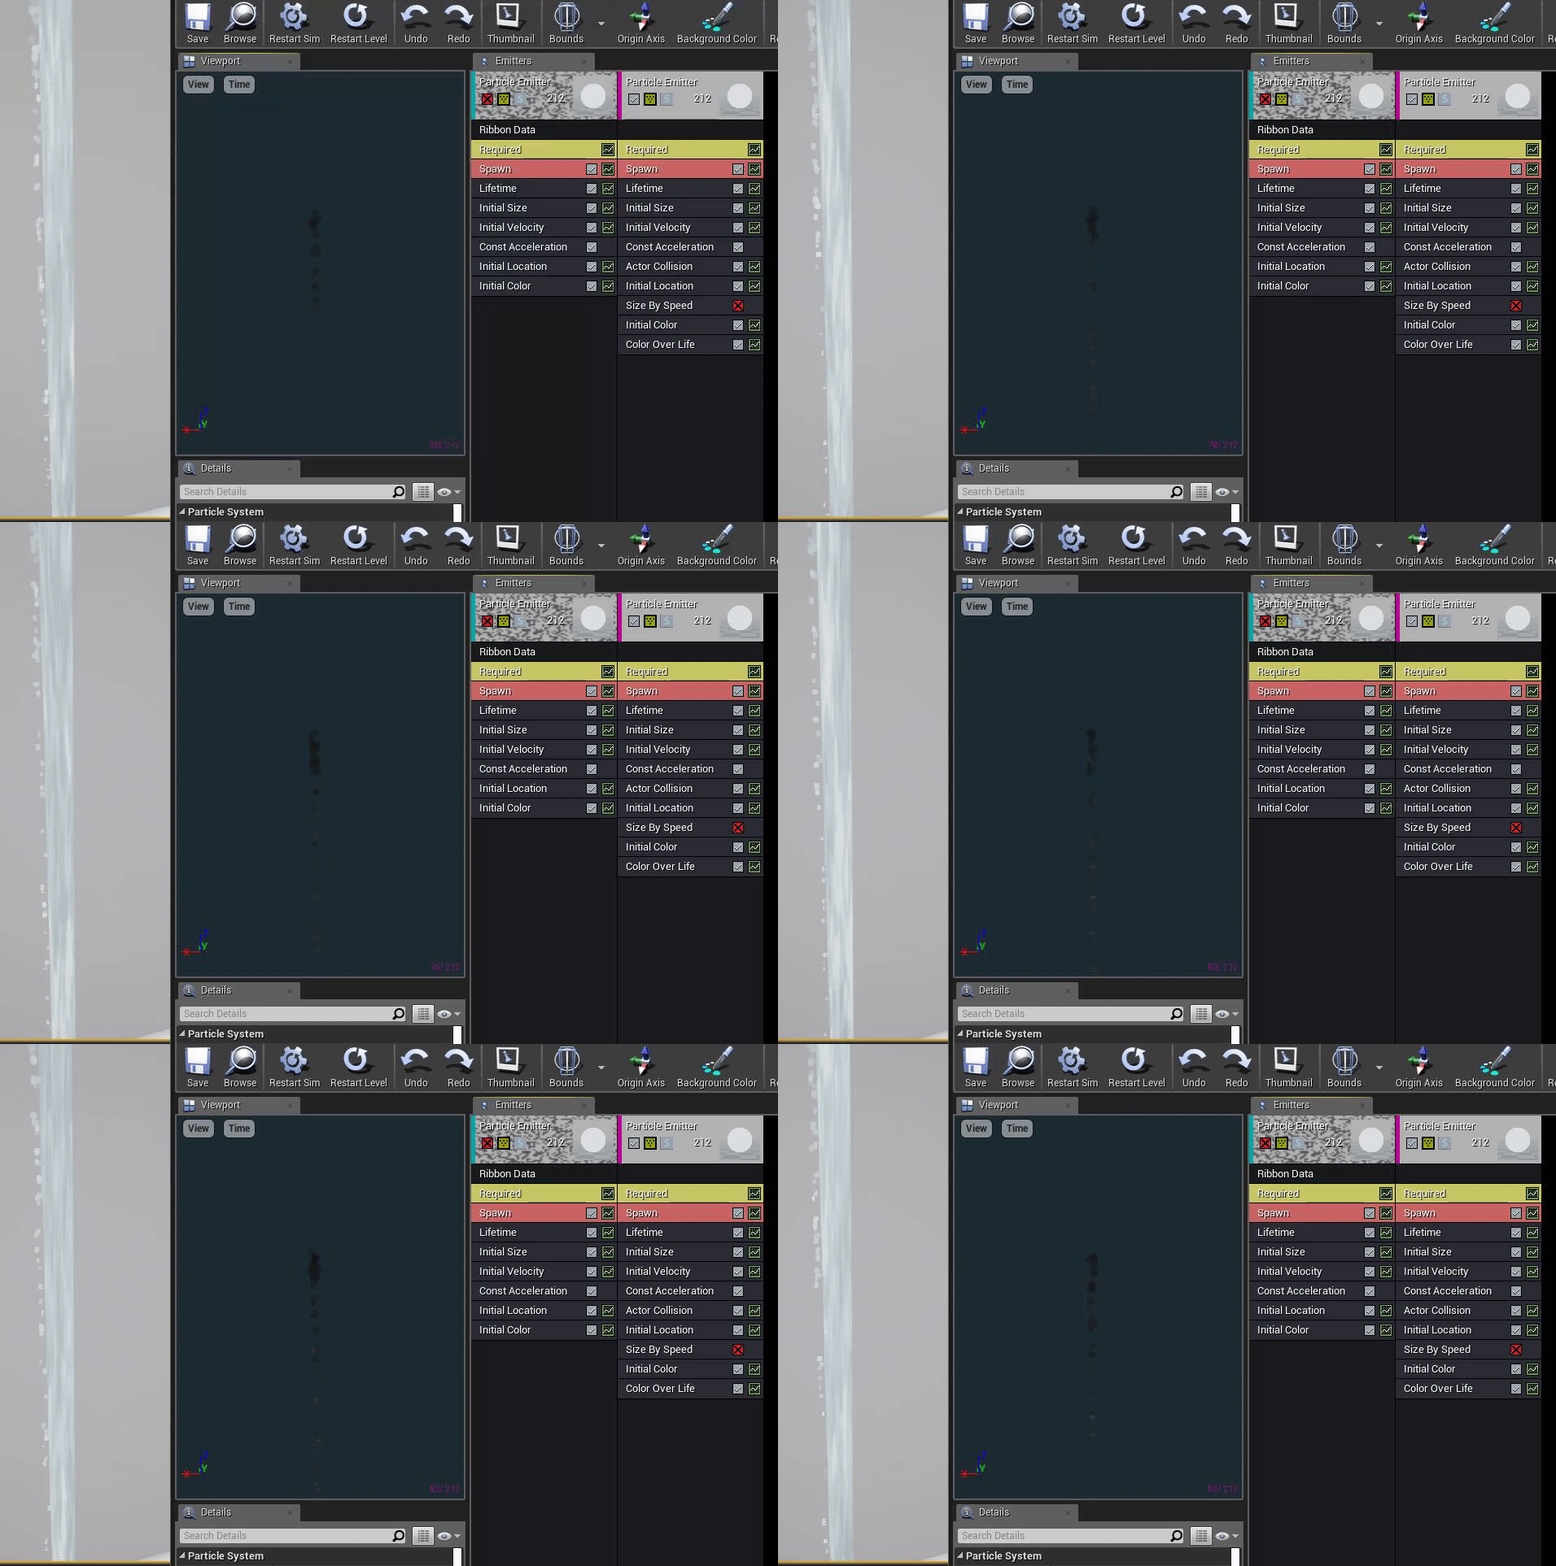
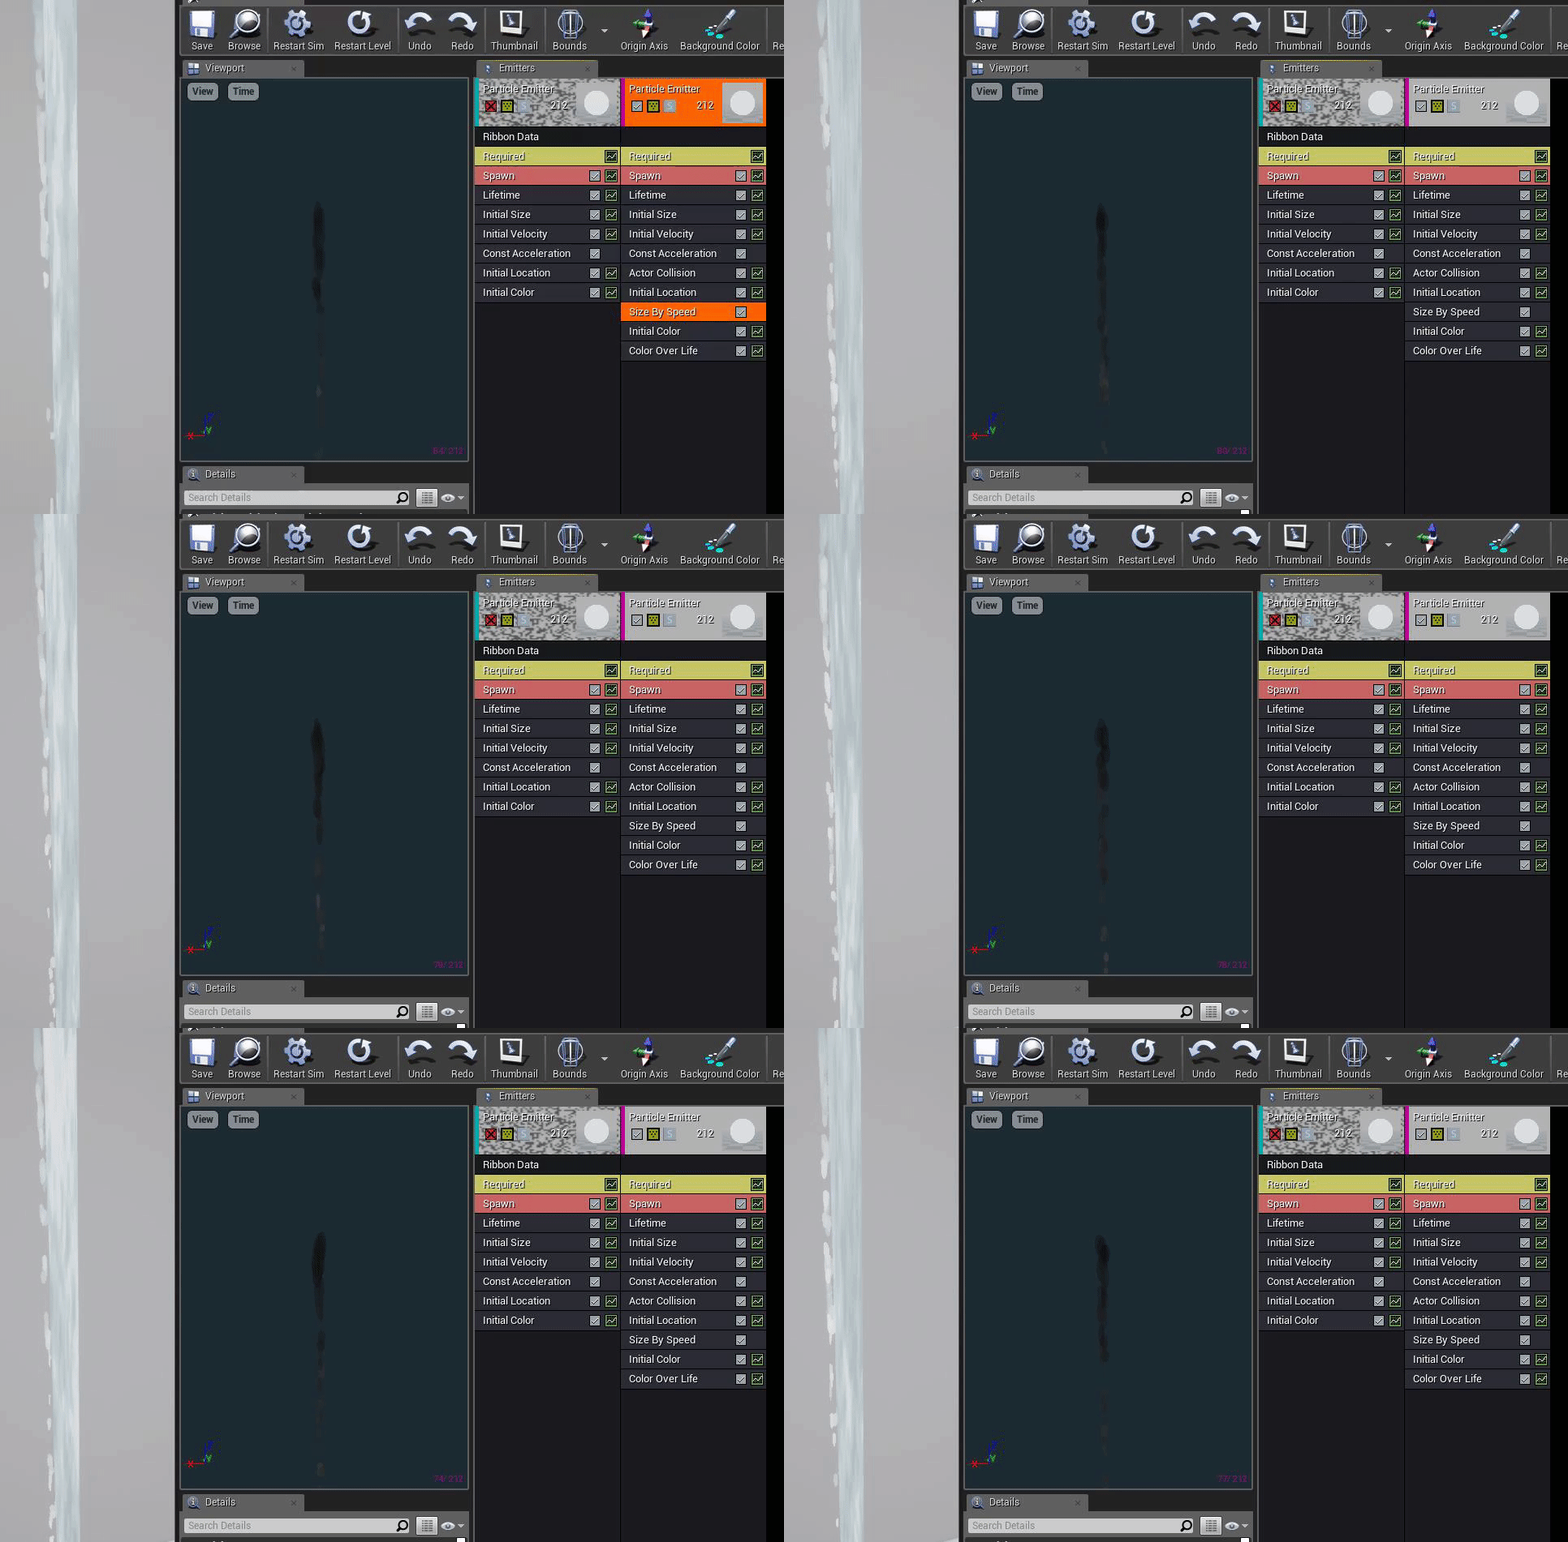
My first issue was that the droplets were a little too round and looked like little beans falling down, so I tried adding a ribbon emitter to fill out the gaps at the top and taper out:

This made it a little better, but it looked a little too ribbon-like for my tastes, So I removed it again and this time focused on size by speed, which made the droplets more oval-shaped, which made them seem stretched by gravity, or in clumps rather than separate balls:


Wednesday, October 9, 2019

Water VFX Brief: Week 2 Wednesday

On Wednesday I continued working on the splash particle effect, making it fit better in the scene.

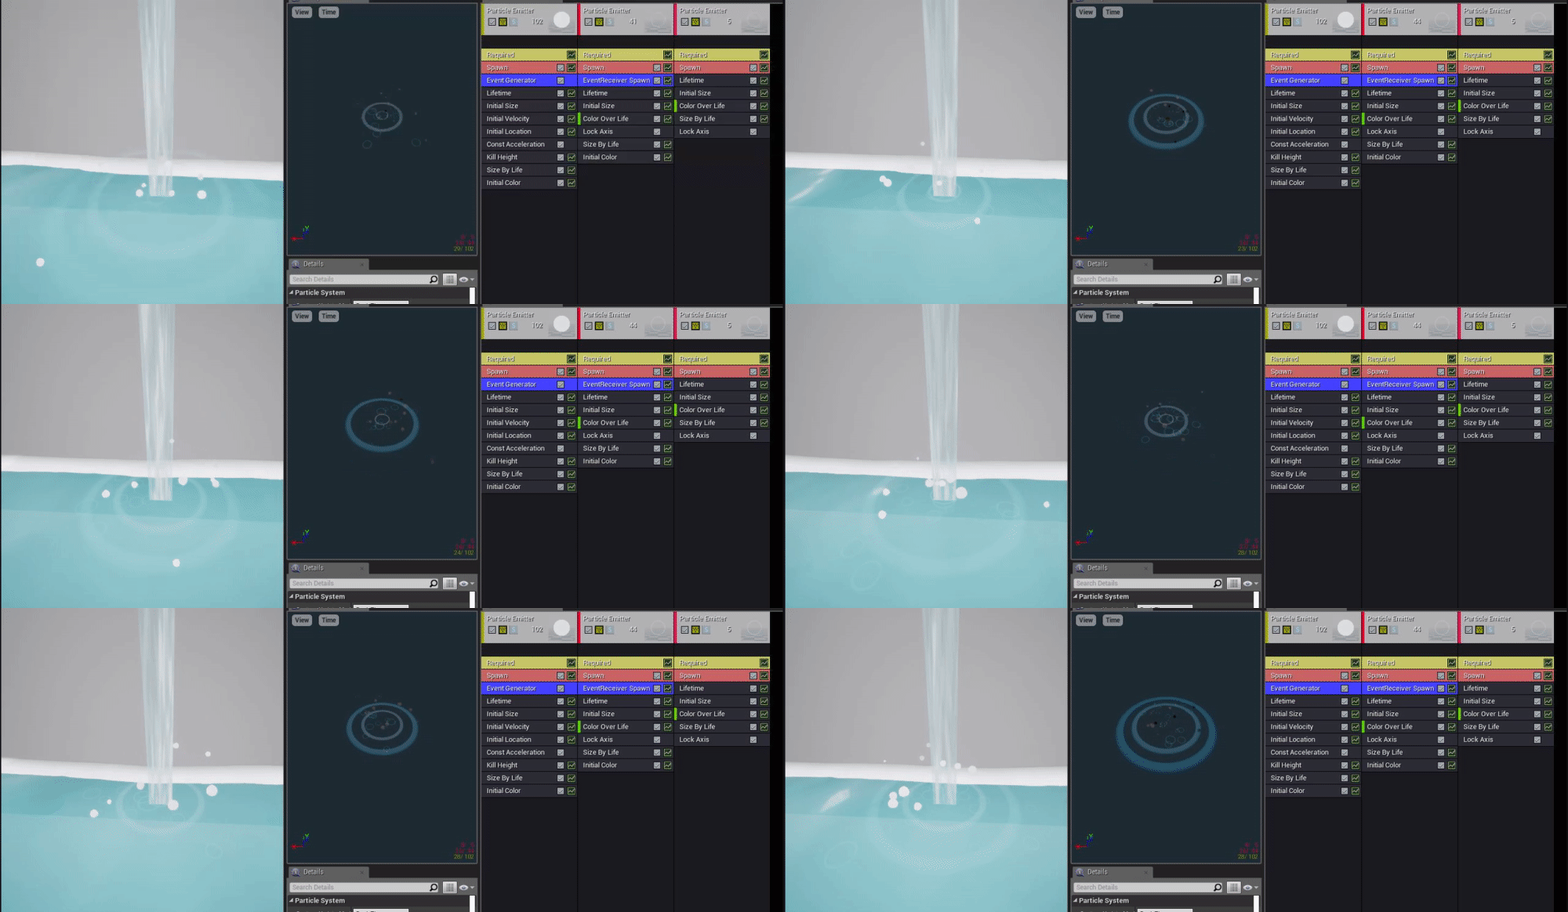
I worked on adding my previously made ripple effect into the same particle effect, both generating where the waterfall hit and where the splashes hit. For the larger ripples, it was as easy as having them generate from the same place as the droplets and didn't need to be reactive, but for the smaller ripples I needed them to appear to generate on collision with the water, in time with the droplets. To do this, I followed this tutorial, adding an Event Generator and EvenrReciever Spawn to the two emitters and having the ripples react to when the droplets died, which happened to be on the kill height which would also be on the water surface.

Tuesday, October 8, 2019

Water VFX Brief: Week 2 Tuesday

On Tuesday I started working on the particle effects!
I wanted to make a splash effect for where the stream of water touched the pool beneath it, but wasn't sure which method to choose. I looked at several different methods: flipbook animations, sculpting a spash mesh in houdini and finally decided on going with bold droplet particle effects being dispersed in several different directions.
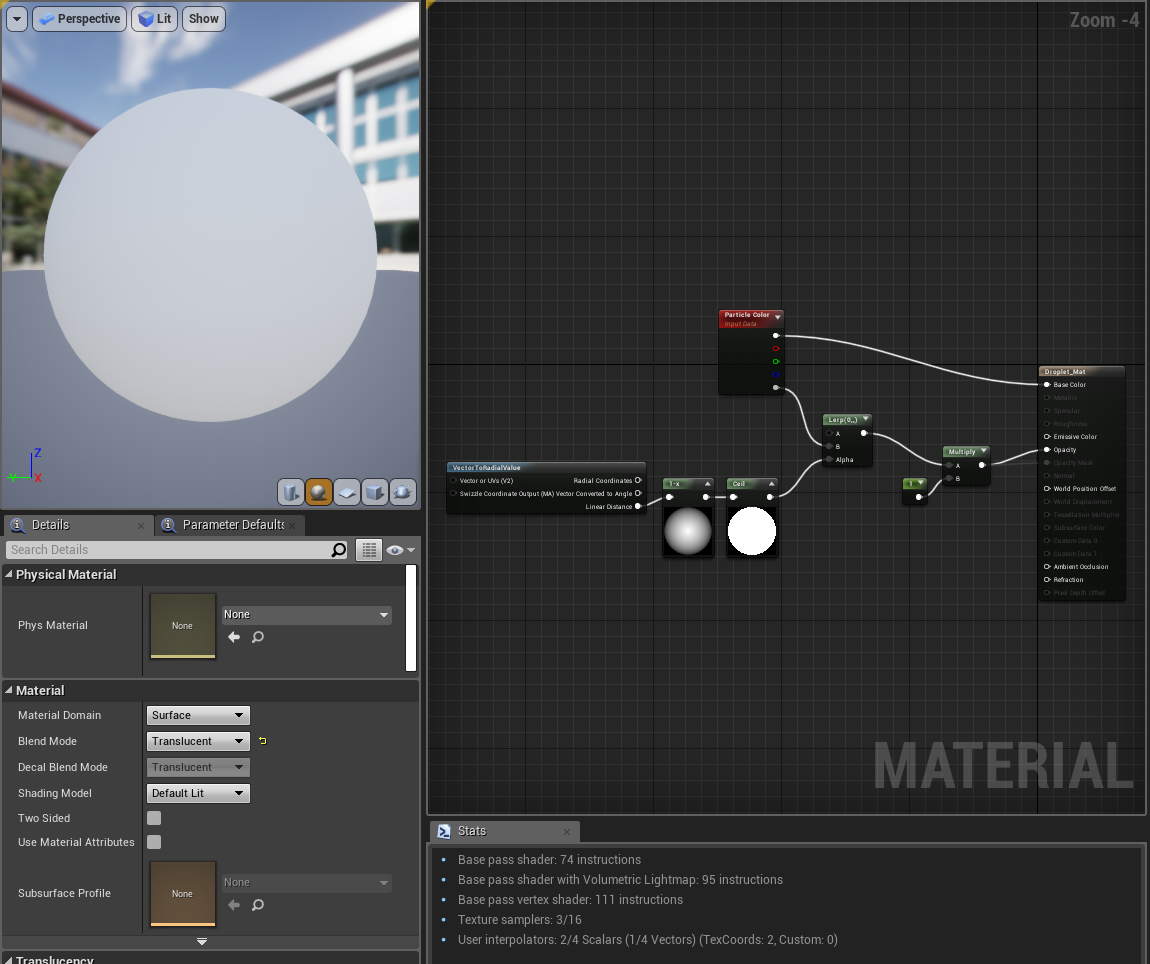
For the material itself I kept it simple, leaving most of the work up to the emitter itself.
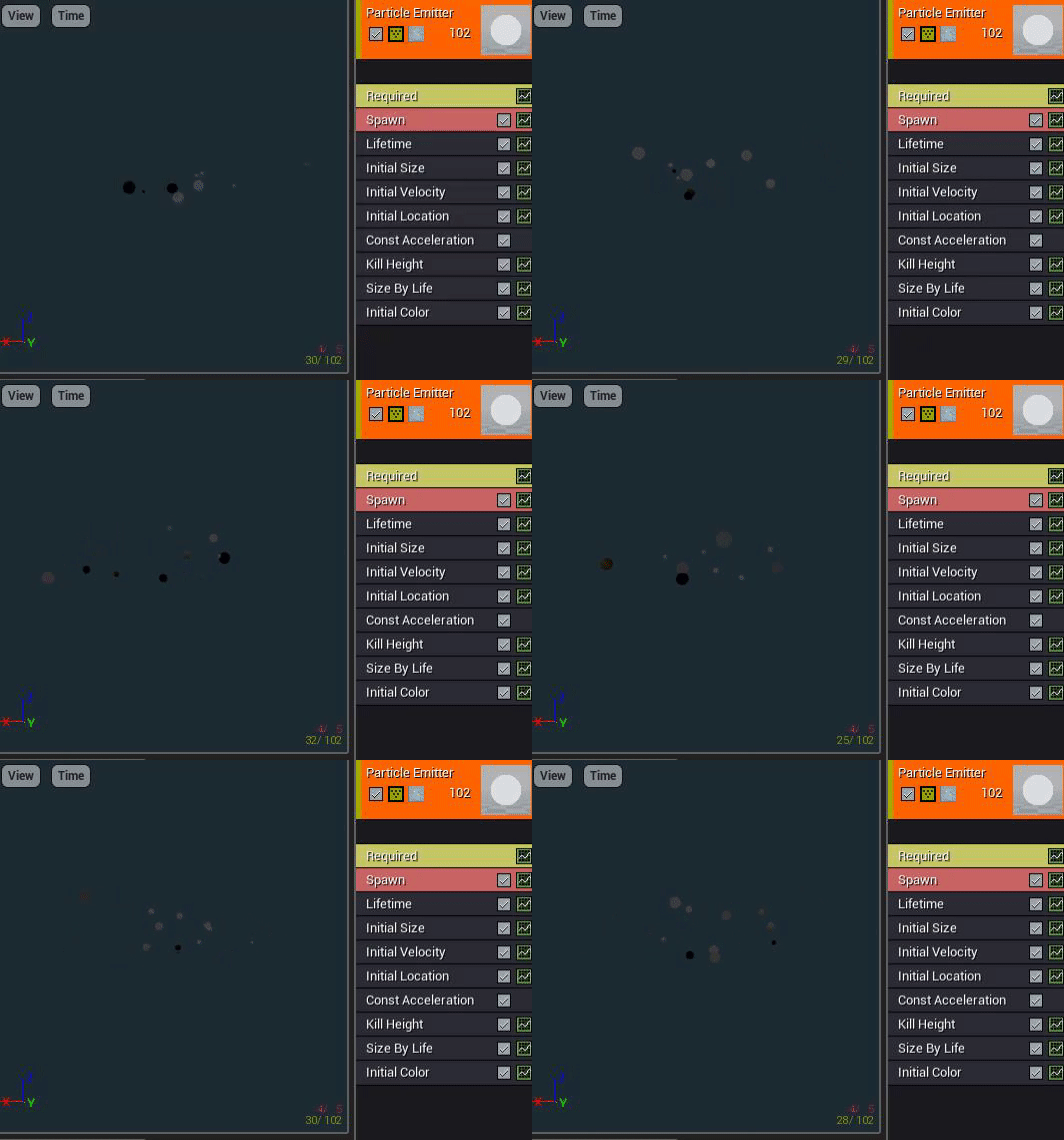
I adjusted the size to be varied, decreasing over time, as well as velocity and constant acceleration to give the effect of being shot up into the air and then dragged back down by gravity. I also changed the initial location so that they weren't all spawning from the same spot, then added a kill height so that they wouldn't exist lower than the water plane. I adjusted the max draw count to 10 so that there wasn't too much overcrowding too.
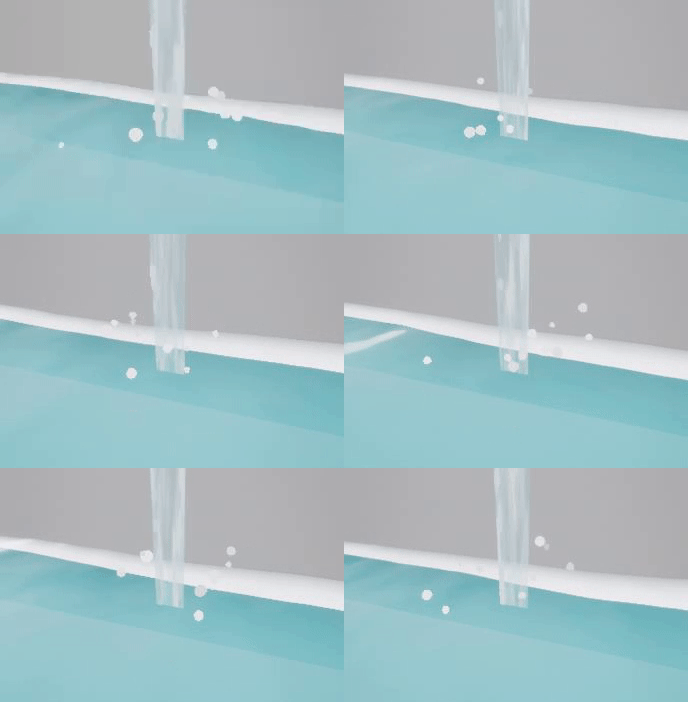
I made the droplets solid in colour so that I could introduce the inspiration I gor from RiME into the scene more, as I wanted the water translucency and detail of the kind of water seen in Sea of Thieves, with the whimsical and bold effects seen in RiME water, such as the white foam.

Monday, October 7, 2019

Water VFX Brief: Week 2 Monday

On the second week I started working on the waterfall aspect of the water feature and how it would react to the pool of water beneath it.

Monday:

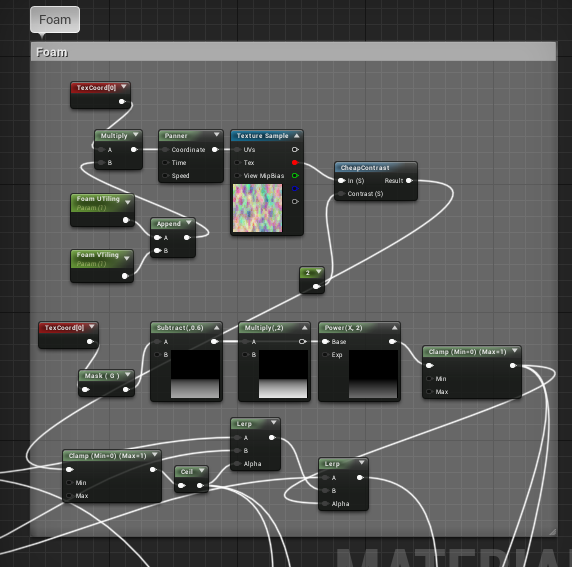
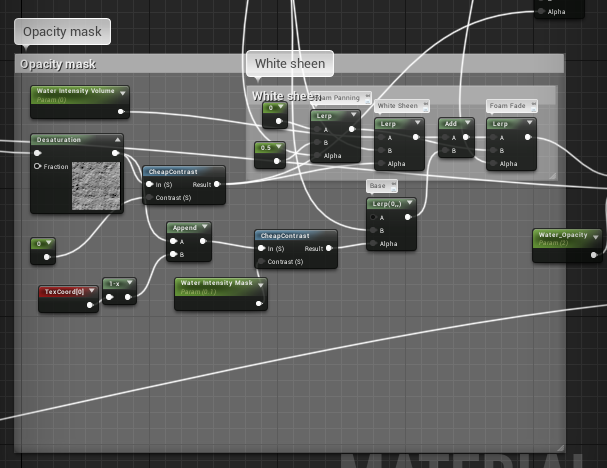
On Monday I worked on making a waterfall shader that would match with the shader I made for the rest of the water. For this, I combined nodes from my prior shader with the panning and other aspects I learnt from this tutorial as well as a toned down foam effect I learnt from this tutorial, without the displacement and only using the colour/opacity masking.


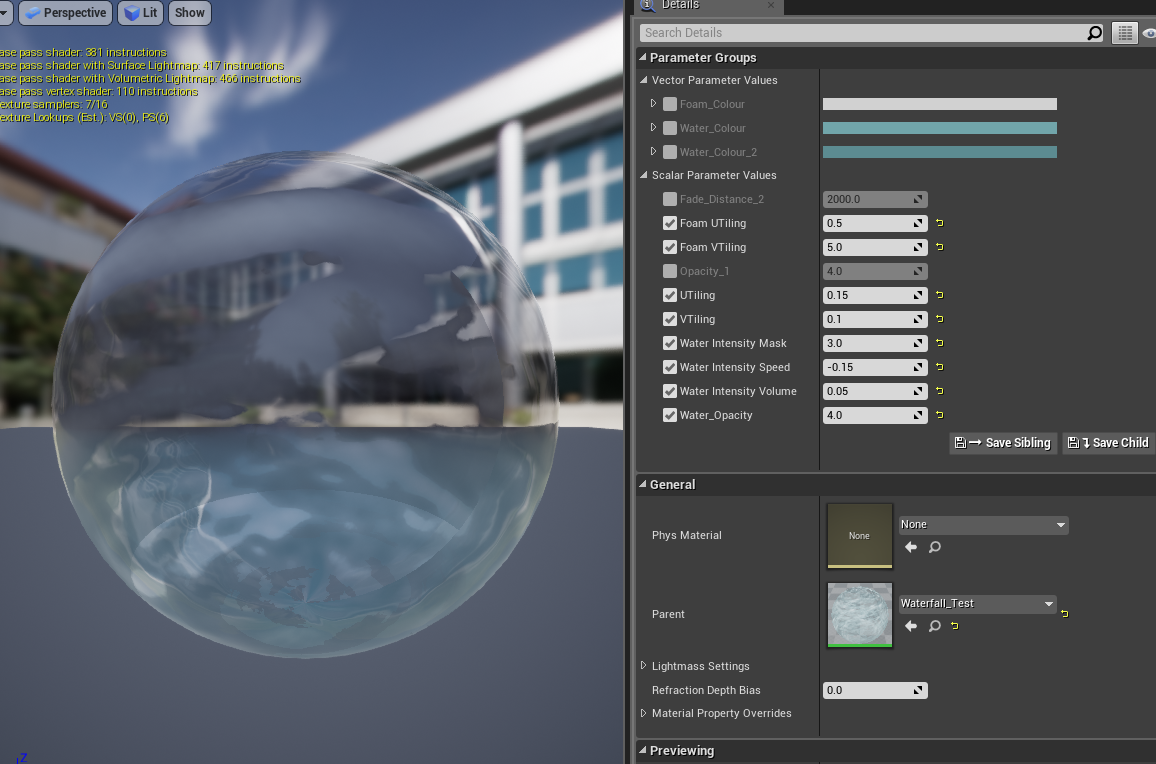
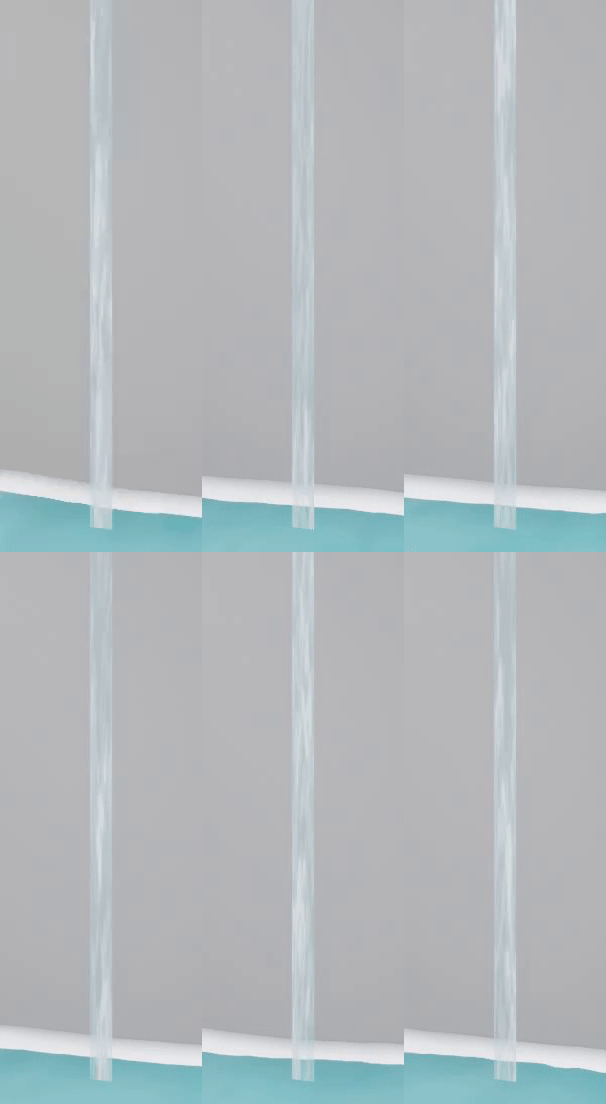
I then made a instance of this to adjust the speed, opacity and UV Tiling to fit the scale and intensity of water that I wanted to place on my test mesh, which was a simple stretched plane that I grabbed from UE4:


I decided to not spend too long trying to adjust the colour, as I thought it would be a waste of valuable time if I had to change it later when combining my final assets.
For this water shader, I mainly referenced the following images for the colour and opacity:
Few elements in any garden control to elicit the similar nod as a well-placed water feature. It conjures dispel and can tie together an entire #gardenwaterfountainslandscapingImage result for Fountain

Friday, October 4, 2019

Water VFX brief: Week 1 Friday

Friday's work consisted on making sure the particle effect worked properly within the scene.

Particle effect:

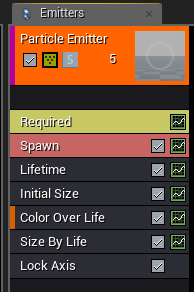
For the particle effect, I added colour over life to make the ripple fade out and size over life to increase the size over time. The Lock Axis was so that the particle effect wouldn't follow the camera view and would instead lay flay on the surface of the water. I set the initial size to 100 and the lifetime to 5.0, but these may be changed later when placing items in the water feature.
Blueprint:
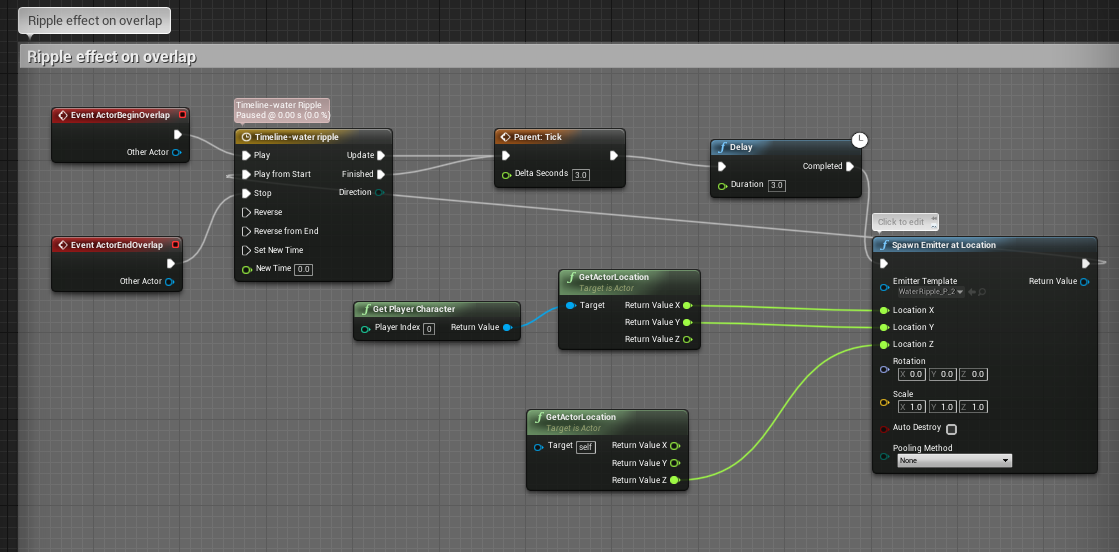
For the blueprint, I scrapped what the ripple guide wanted and implemented my own. I wanted the particle effect to spawn once the actor was in the water and to end when they left it, so I plugged an Event ActorBeginOverlap and Event ActorEndOverlap into a Timeline node. I then tried to plug this straight into the Spawn Emitter at Location node, which used the GetActorLocation node which in turn had to be plugged into Get Player Character. This came up with an issue however, as it would retrieve the character location only once as they hit the water, but would only spawn the particle in that location, not following the character's movements at all. This would have been fine, but I wanted more dynamic water! I wanted it to react to where things were, or had been moved to.

This was where I then tried just using the Event Tick node with the Delay node, as seen in the guide I used yesterday. This was just as bad though, as it spawned the particle effect even out of the water. It was then that I discovered the add call to parent function while clicking on things just for the sake of the off chance of finding something useful. This made it so that I could plug the timeline node into the Tick node, but I knew it would be expensive and pointless to have it generate every tick of the engine, so I changed the delta seconds to 3.0, and the delay to another 3.0, using it like a refresh button on the particle spawn node. Luckily for me, the Timeline node had a play from start section that I could plug the Spawn Emitter at Location into. This meant that upon the actor touching the water, the Tick node would refresh the particle effect spawn event every 3 seconds with a 3 second delay, which in turn meant that a new location would be received every 3/6 seconds- following the position of the actor!

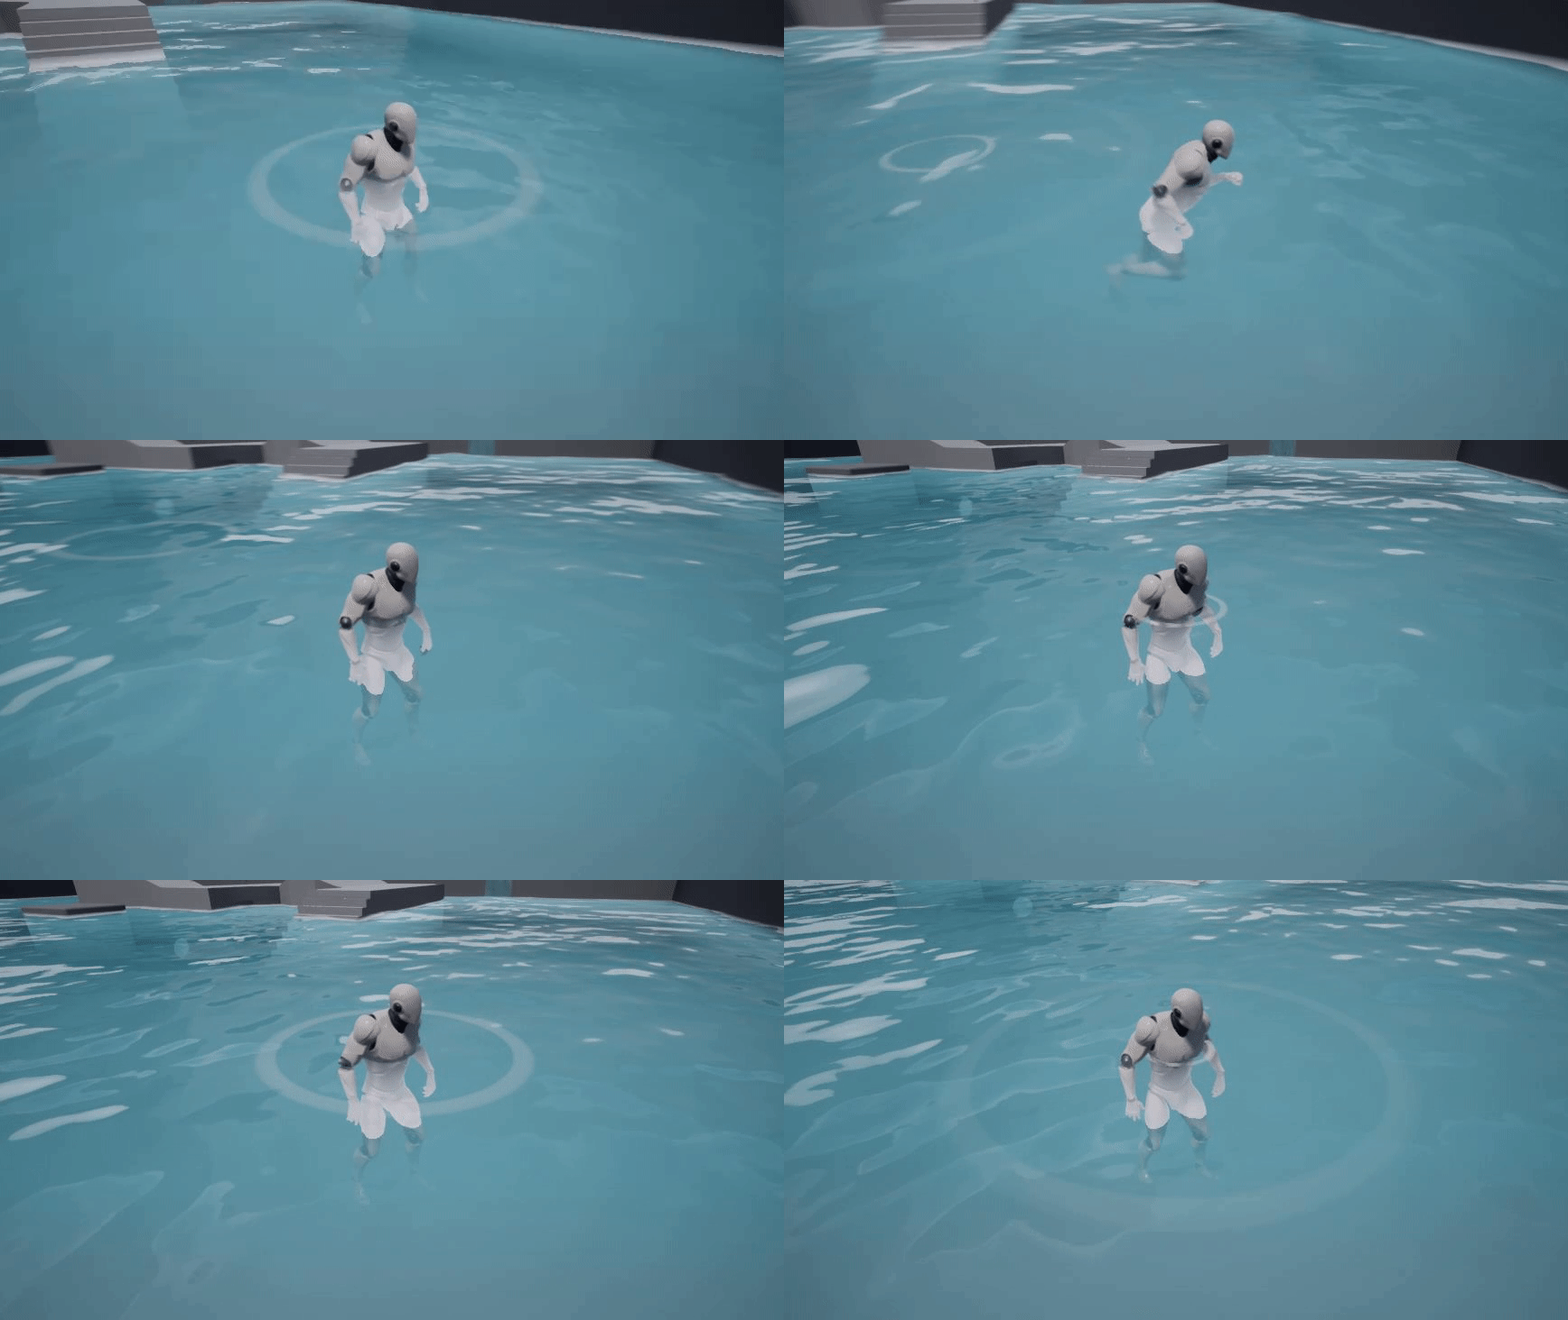
After this success however, I discovered that the particle effect was spawning at the waist of the player character and not on the water surface. I wasn't sure how to tackle this problem so I had to ask a lecturer to help. Through this however, I was taught that I could split the structure pin of the location node, which was originally plugged into only the GetActorLocation node. I could now plug the Location X and Location Y into the position of the actor, while the actual height (Location Z) could be plugged into the location of the water surface itself. The ripple could finally be generated on the surface of the water depending on where the character (or lily pads in the future) were placed!


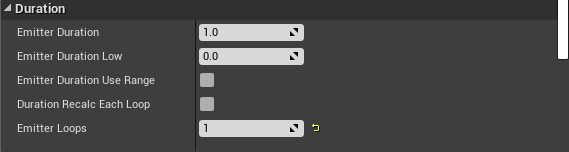
When I was messing with the blueprint, I realised that I needed the emitter to have 1 loop, emitting once and then stopping. This was to prevent the ripple effect from being spawned constantly in one location regardless of where the actor was, based on where the actor had been previously. I needed these excess ripples to be killed immediately after ending.
End Result:

Thursday, October 3, 2019

Water VFX brief: Week 1 Thursday

After Wednesday's blunder, I realised that any more time spent on the water shader itself could waste time, so I set to work on the next thing on my list: particle effects.

I wanted to make the water more dynamic before anything else, so I decided to work on a ripple effect for floating items which could also be recycled for the stream of water later down the line.

I ended up trying out multiple guides to create the ripple effect, testing out each one and then using the one that I liked the best- both in aesthetics and usefulness later down the line. I also tried to exclusively use textures generated from the nodes themselves in order to increase my knowledge of the software.

Attempt 1:
https://answers.unrealengine.com/storage/temp/75343-water_mat.png

I gave up on this effect as it wasn't central, nor was it faded, but I kept it in case I wanted to fade and tweak it myself later and use it for a waterfall ripple effect.
Attempt 2:
https://forums.unrealengine.com/community/community-content-tools-and-tutorials/12434-ripple-soundwave-material-no-textures-needed
I scrapped this attempt as the nodes were incredibly difficult to read and the end result looked nothing like the example image, making it difficult to figure out where I went wrong, as I had no correct example to refer to and learn from.


Attempt 3:
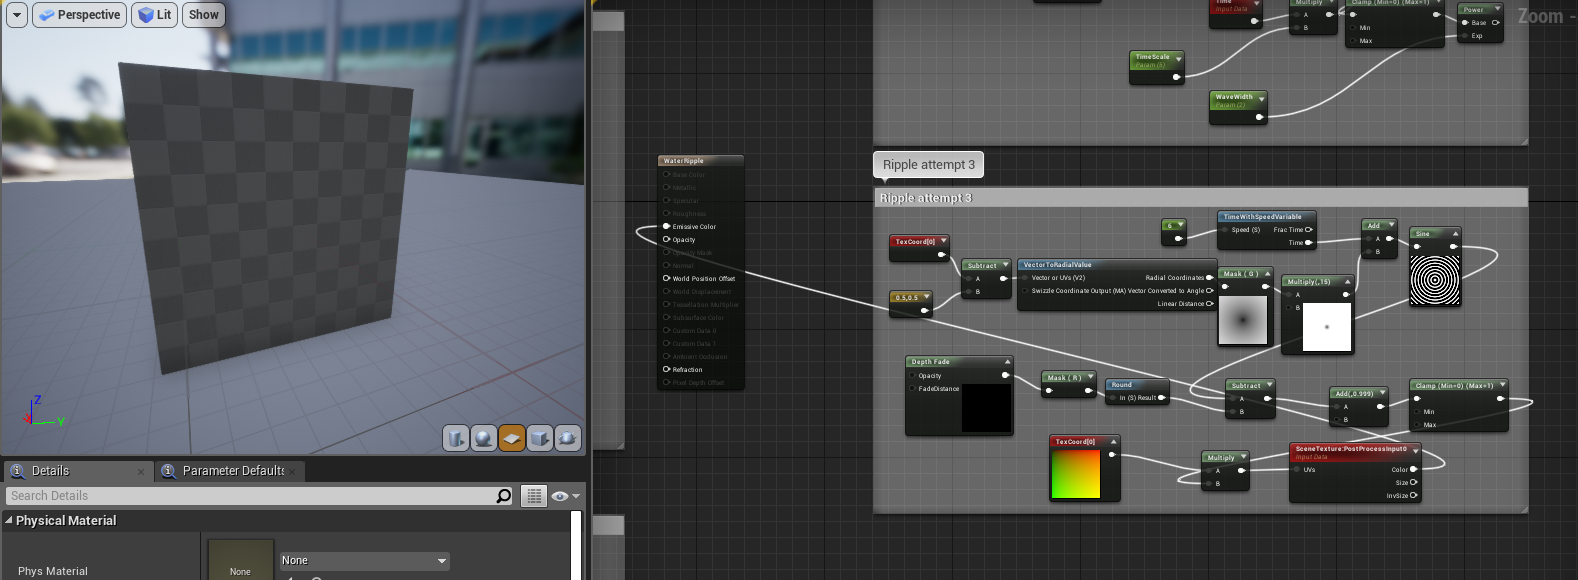
I scrapped attempt 3 after plugging it into the texture preview and seeing nothing, as I was then made unsure if it would work considering the guide was for a post processing effect rather than a particle effect.
Attempt 4:
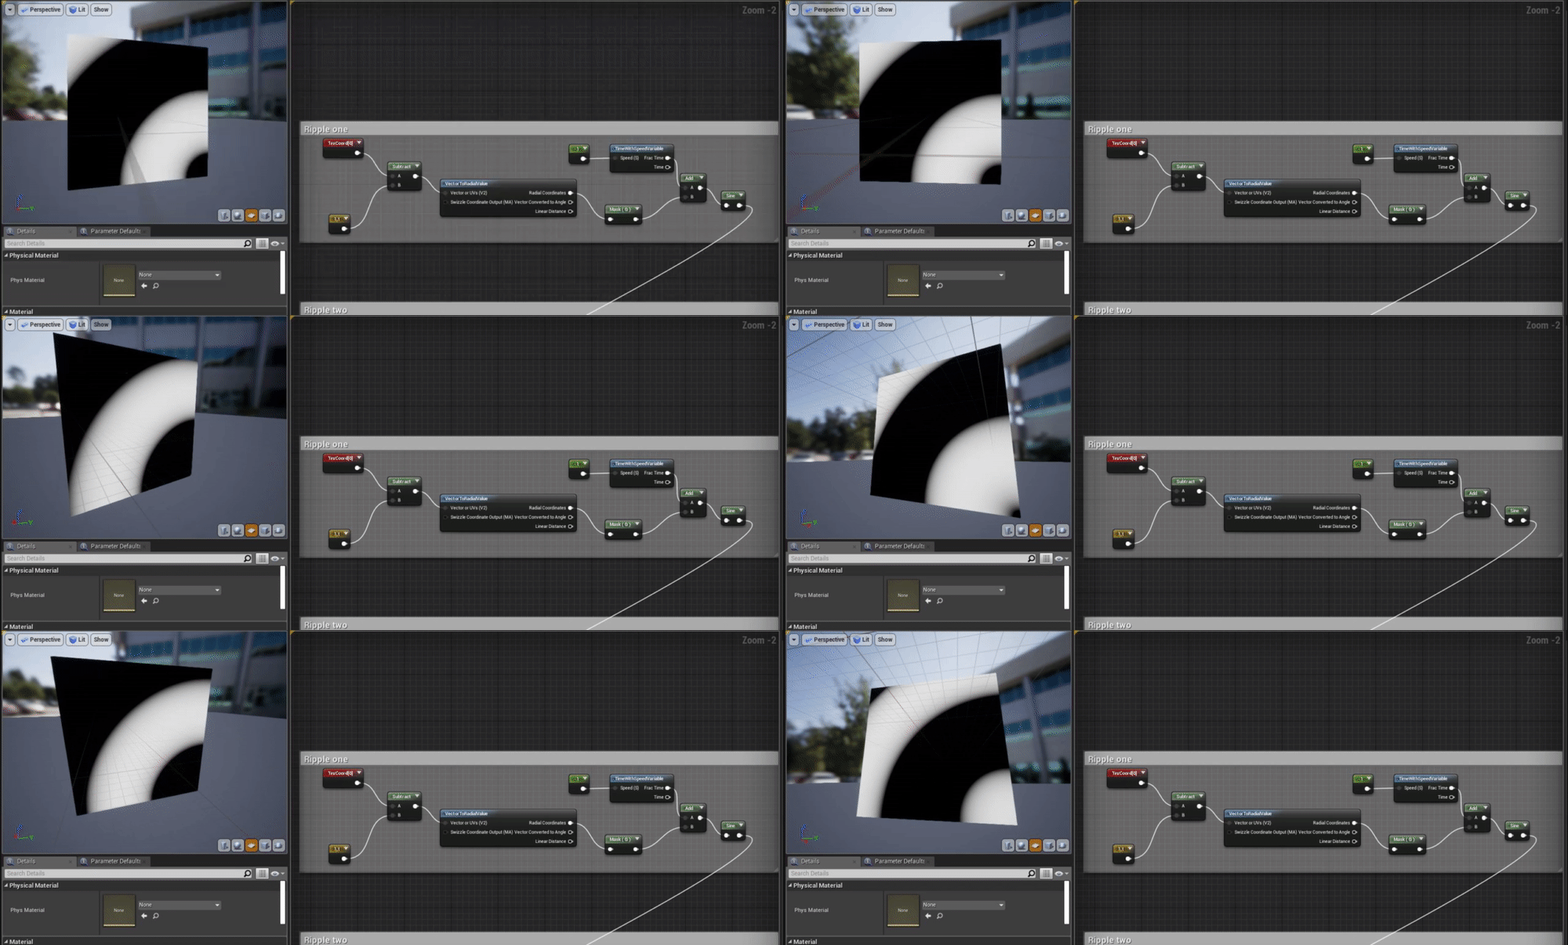
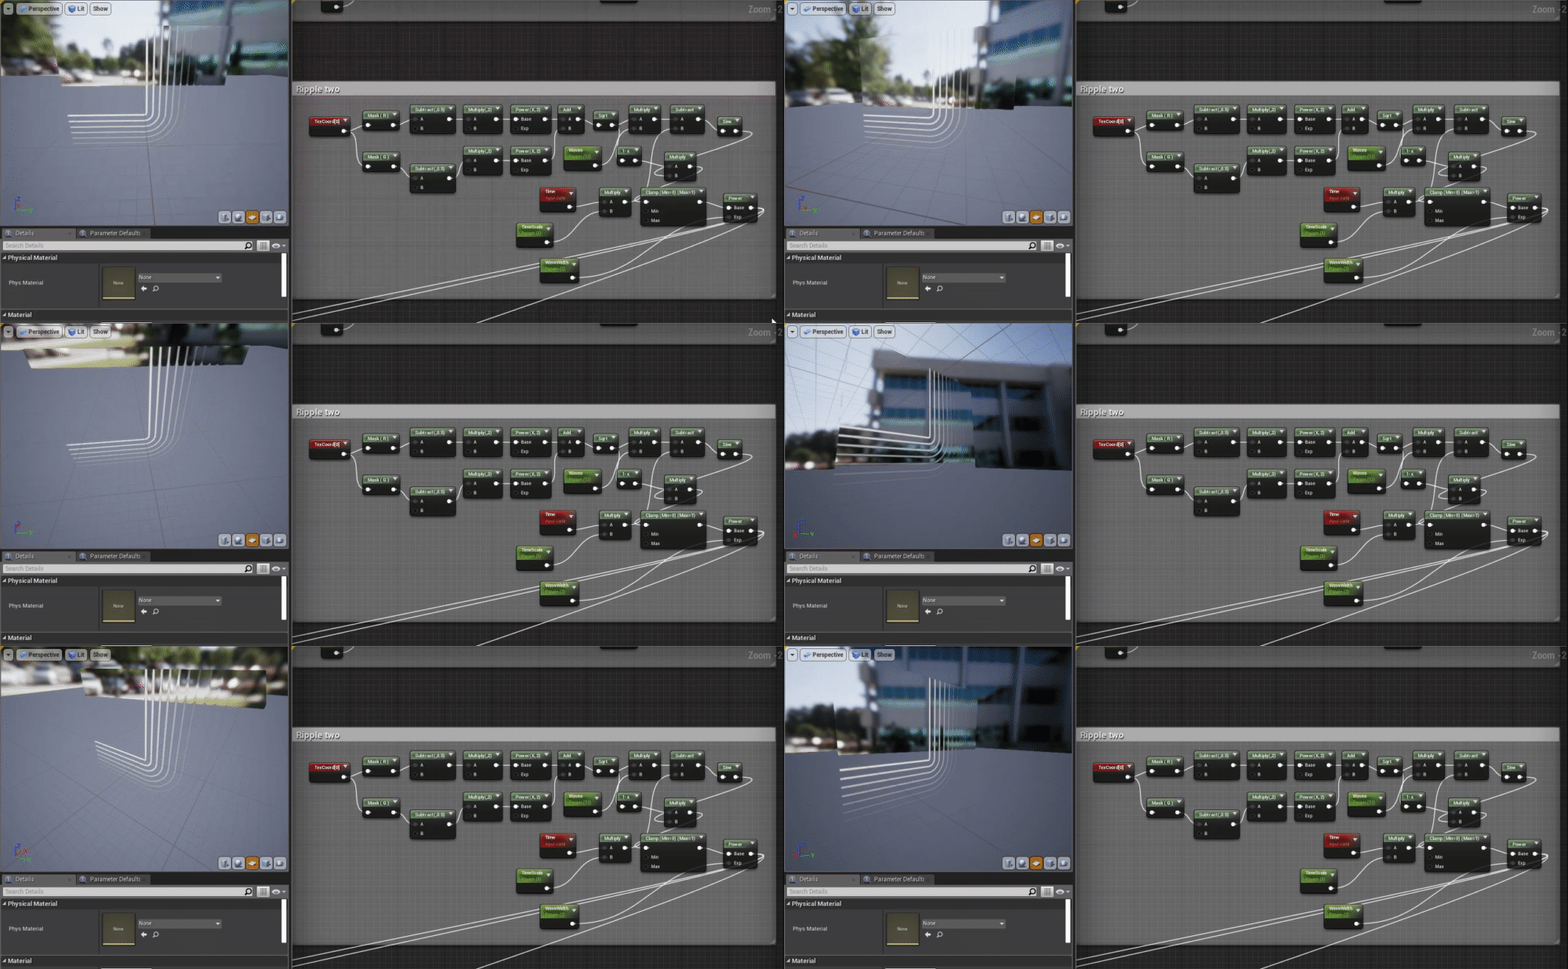
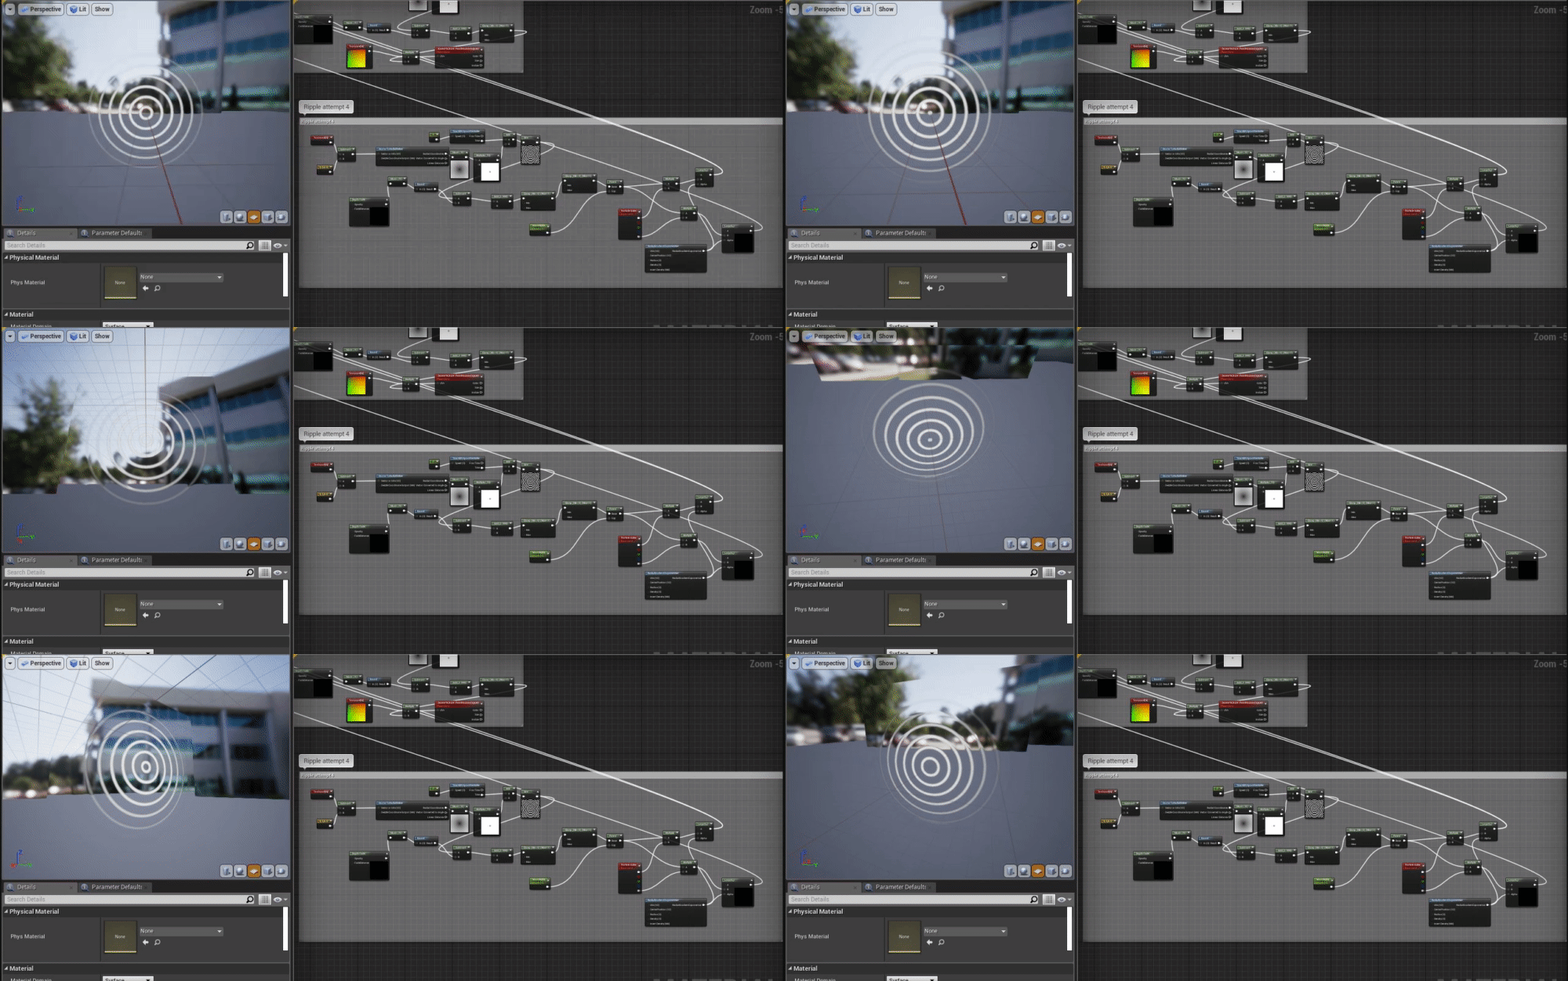
This was where I ended up using what I had learnt from the previous attempts to combine them together into a useable texture that generated from the center, while still being usable for a particle effect.
This was much closer to what I wanted, but the refraction on the outside wasn't being masked properly and I realised that the frequency of ripples was a little distracting, so I decided to try again one more time.
Attempt 5:
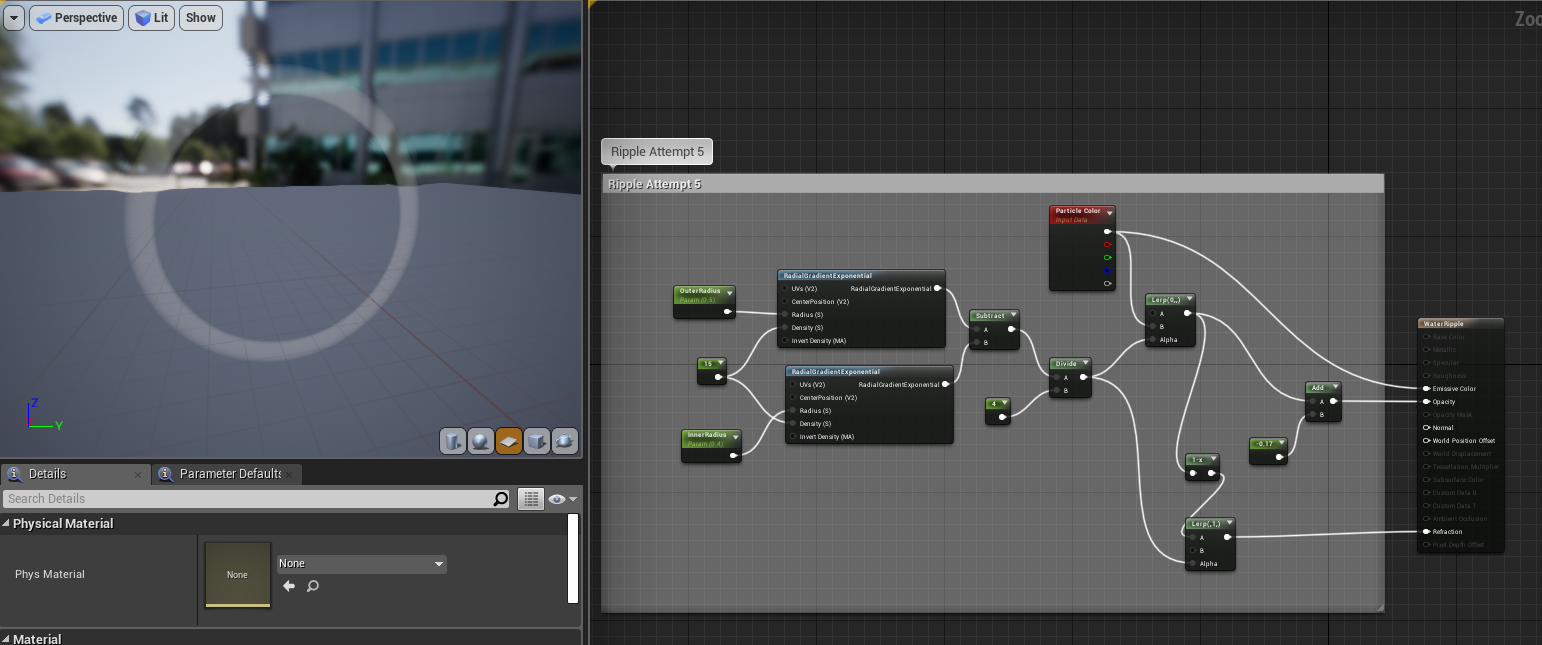
This time I decided to use another guide, but used my previous knowledge to tweak it and generate the texture myself.
https://www.youtube.com/watch?v=zz_9ySkEUGY
This material didn't have any panning textures, but it wasn't needed as I could animate it within the particle effect settings myself. I decided that I wanted to add some distortion to the ripples, but to focus on the blueprints in the meantime.