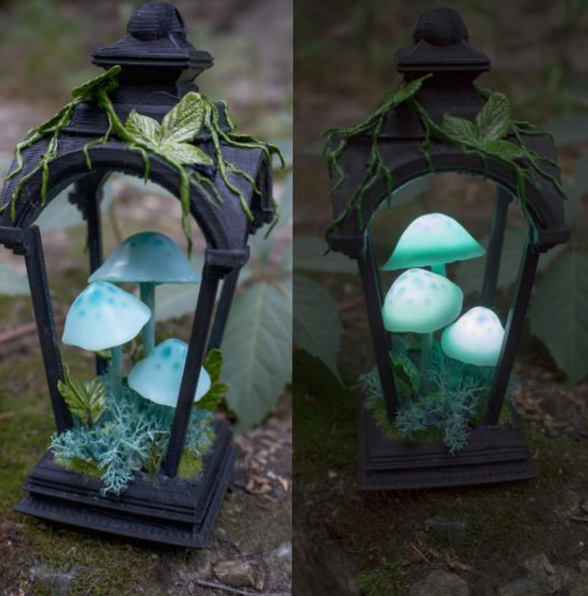
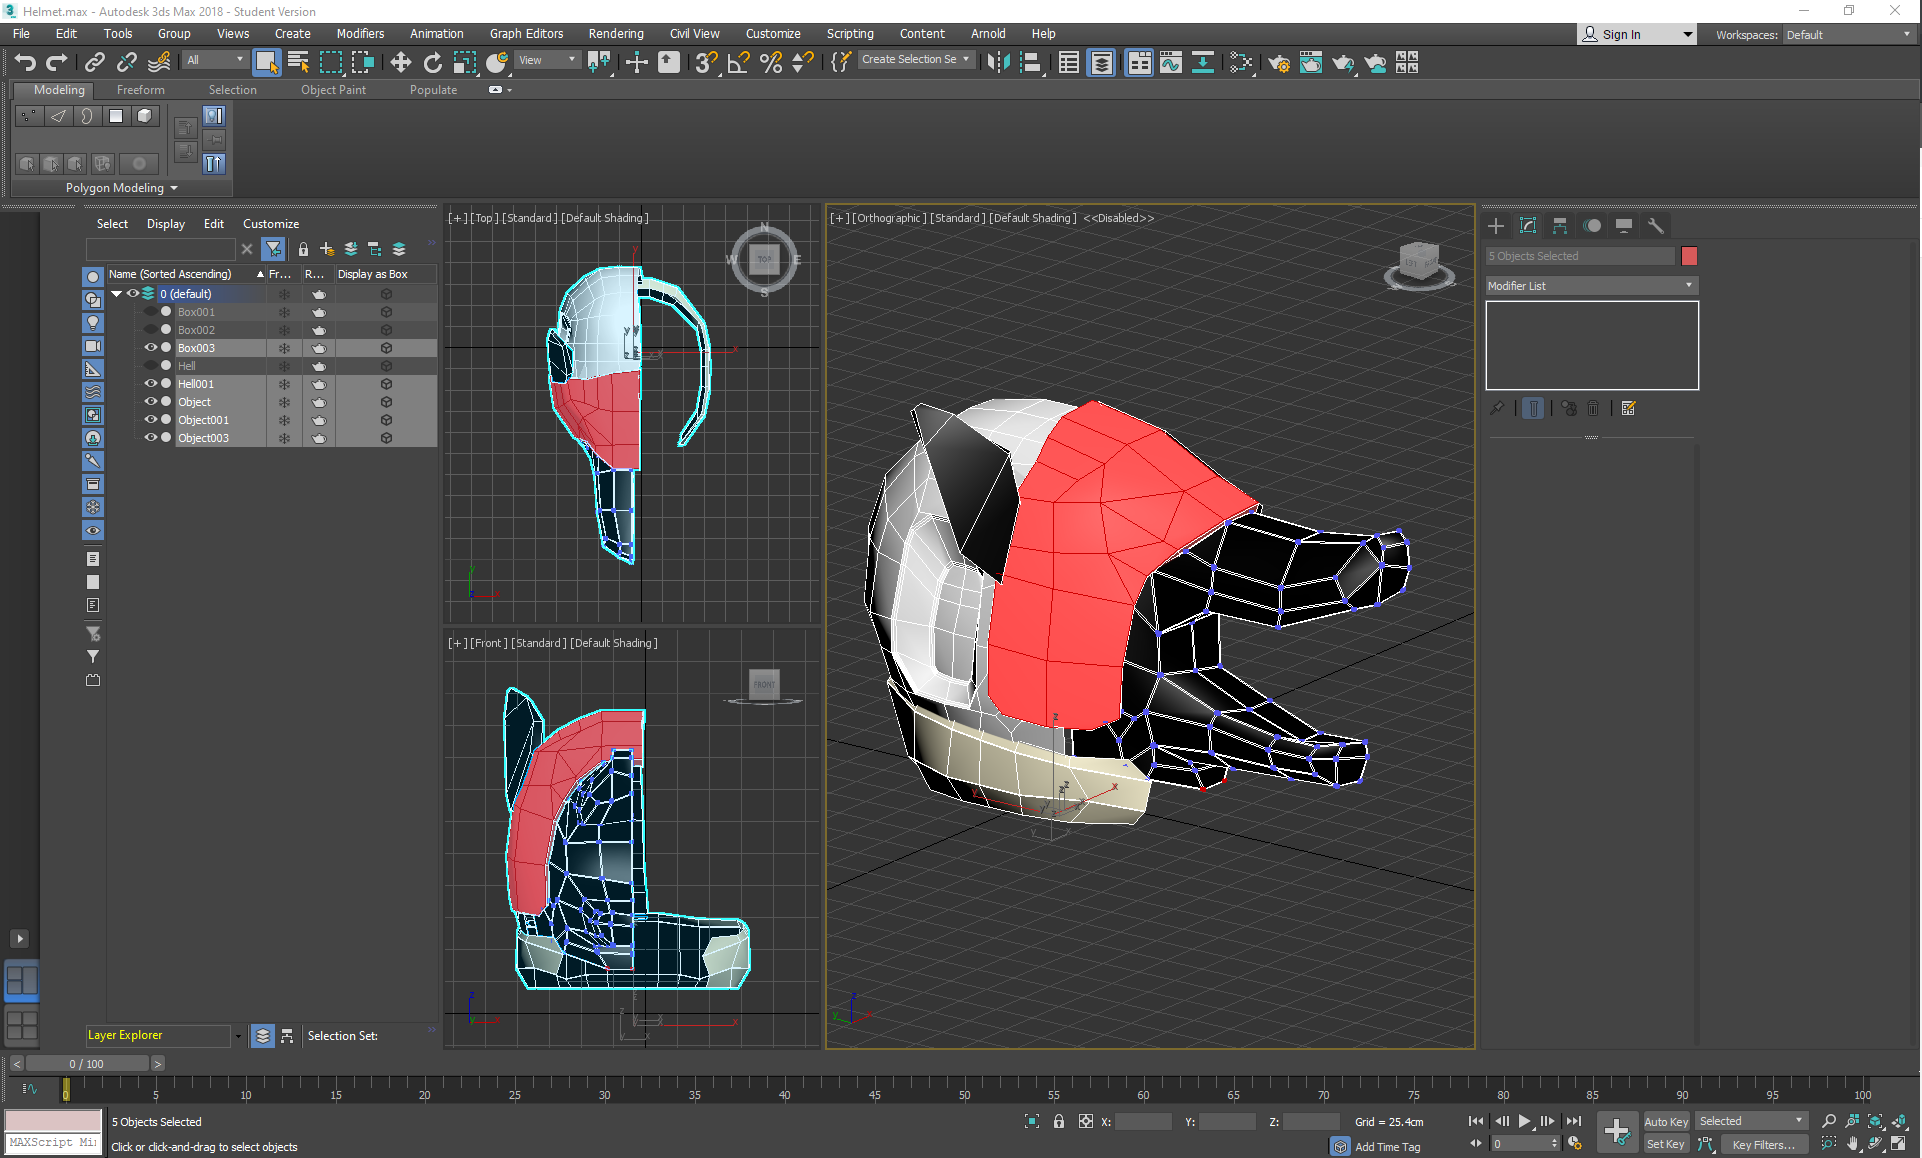
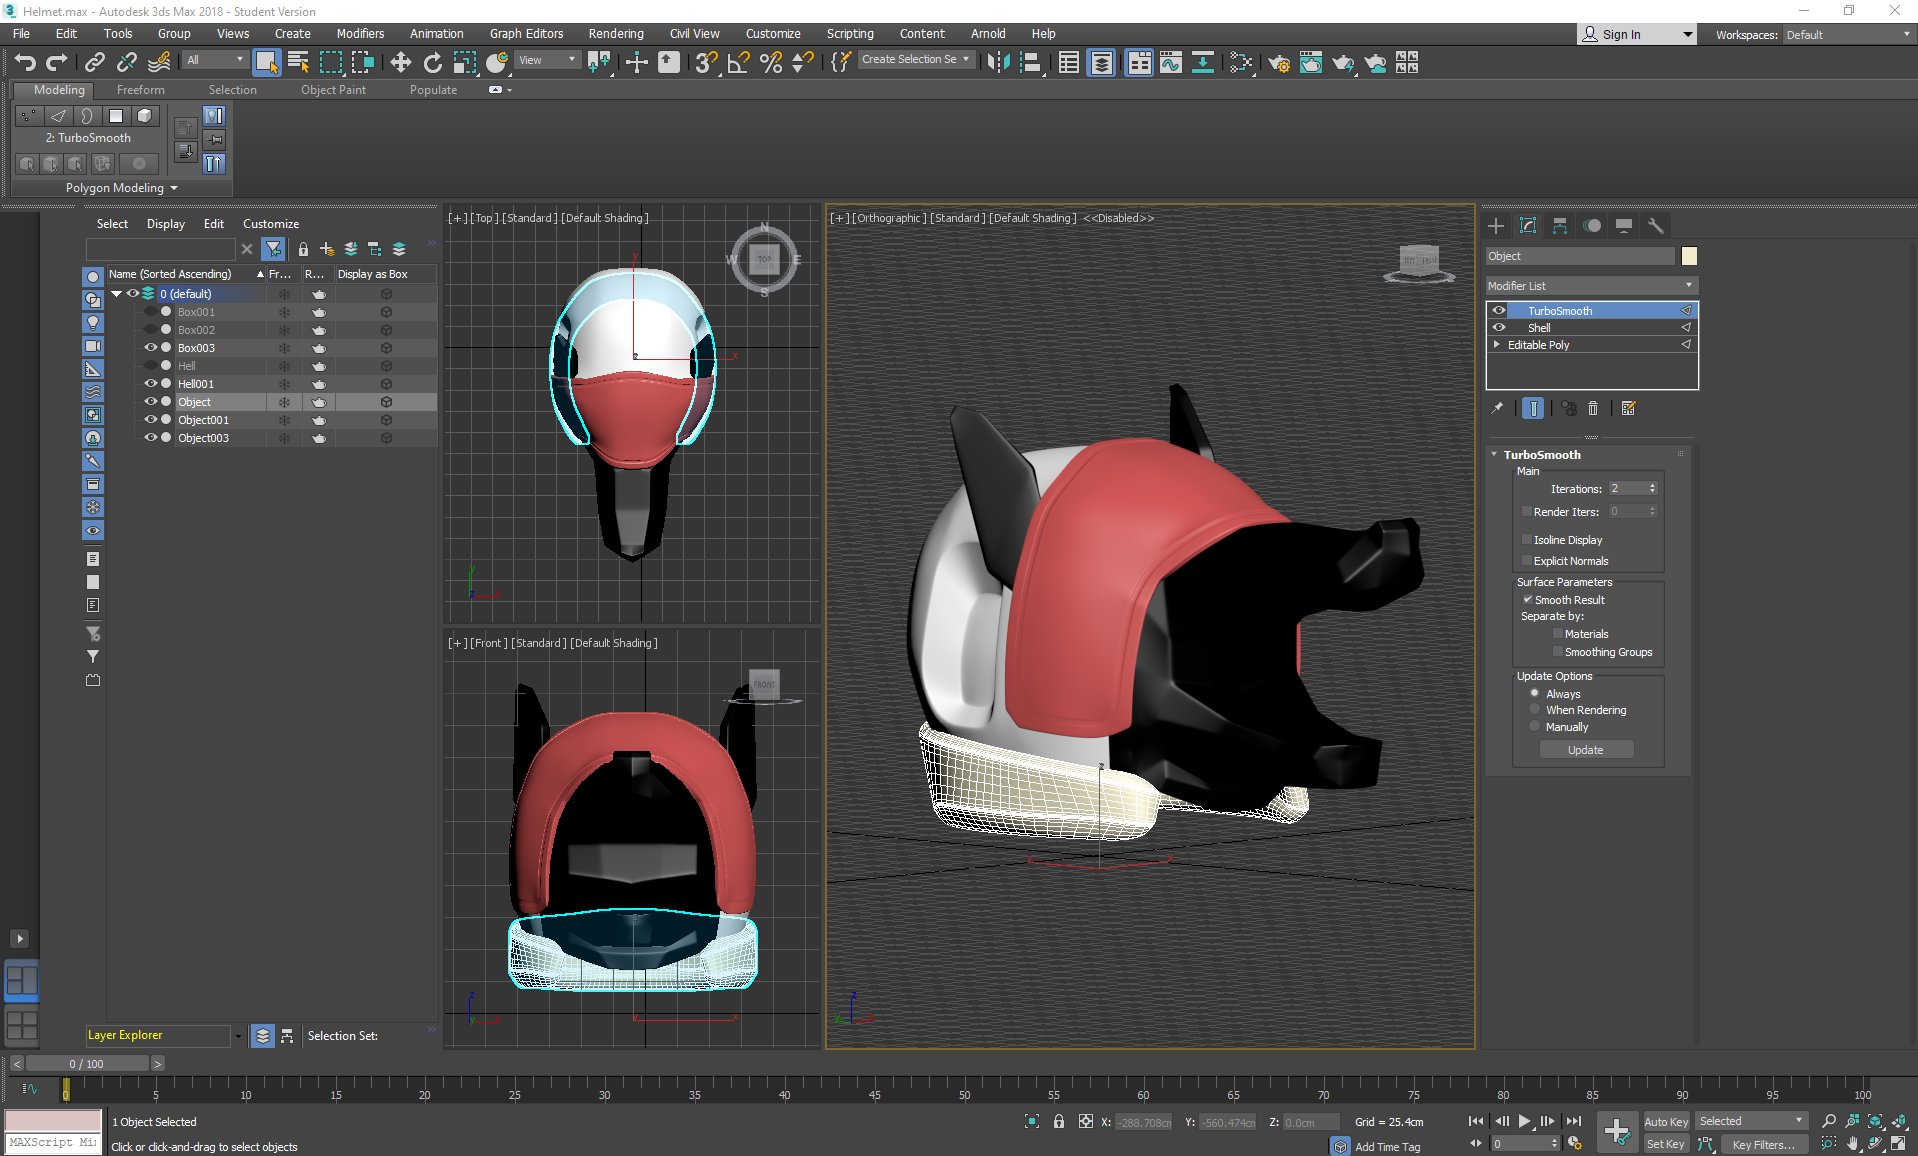
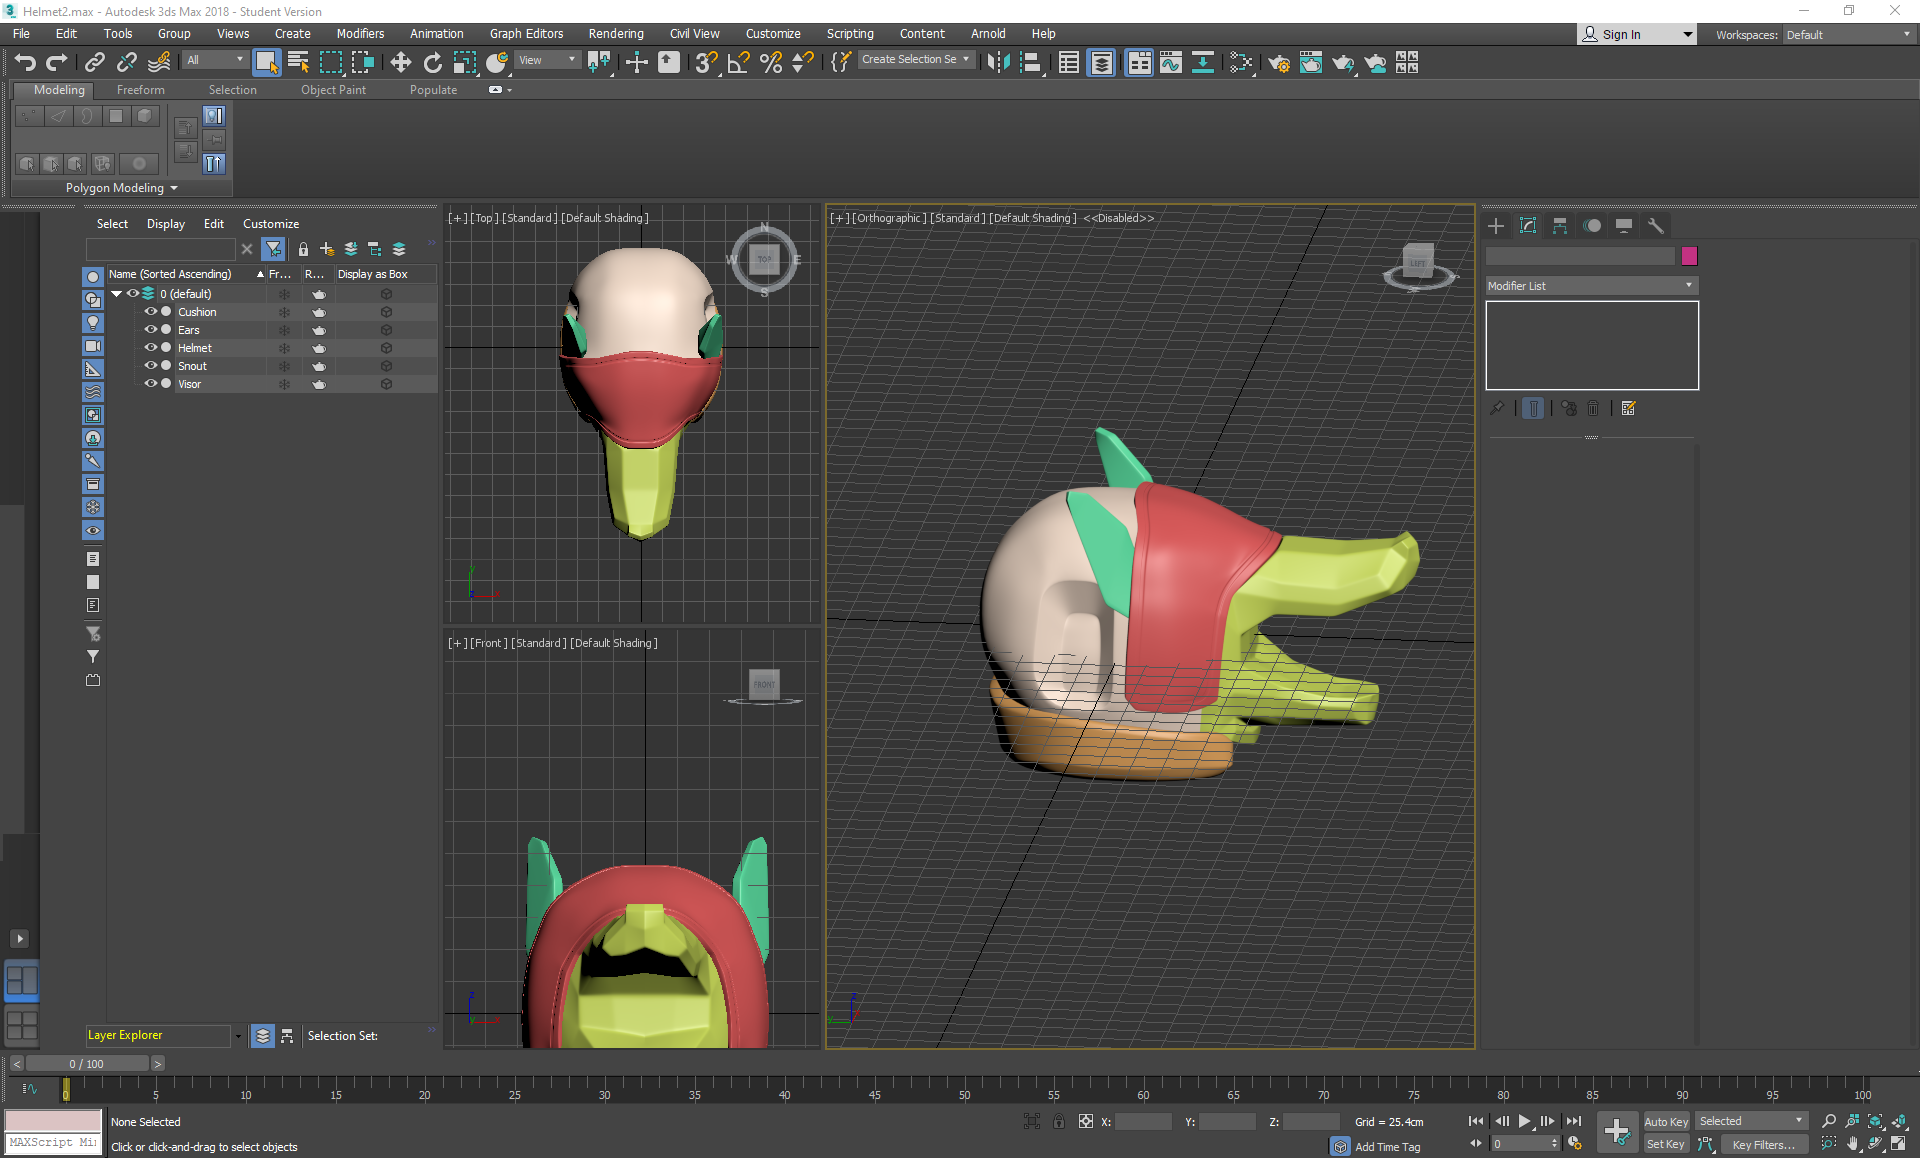
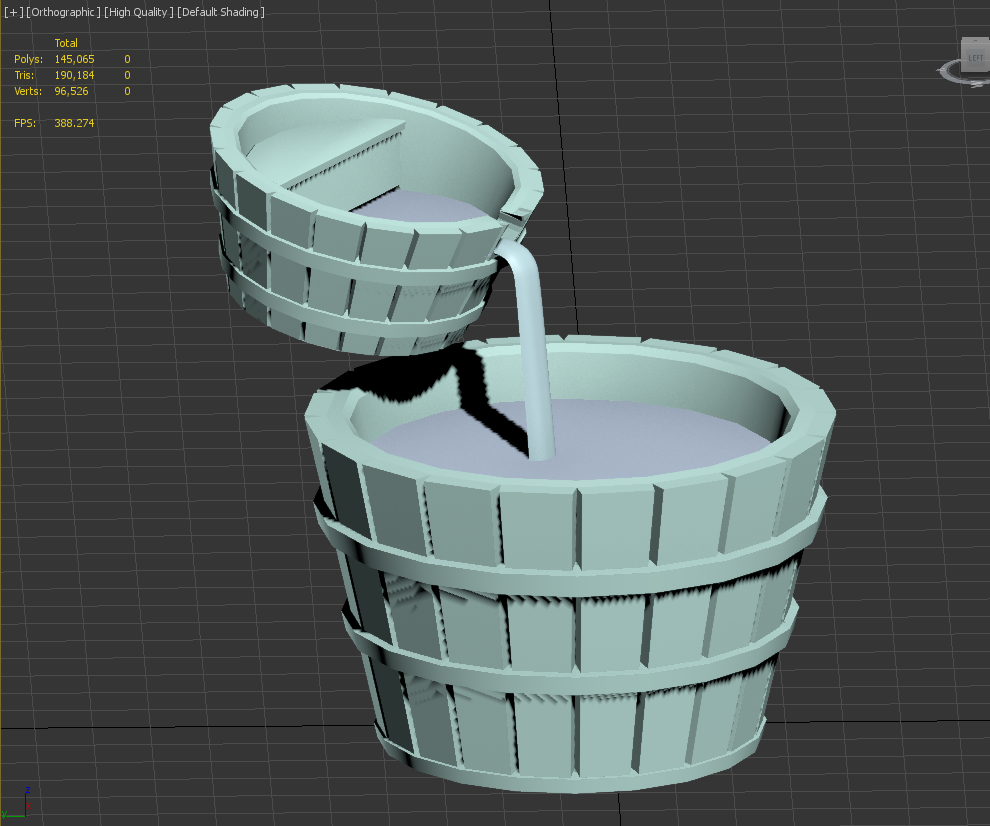
On Thursday I began texturing everything, starting with the plants in photoshop and ending with the tree and lantern in substance painter, trying to maintain a similar style throughout that matched the two concepts I was referencing:
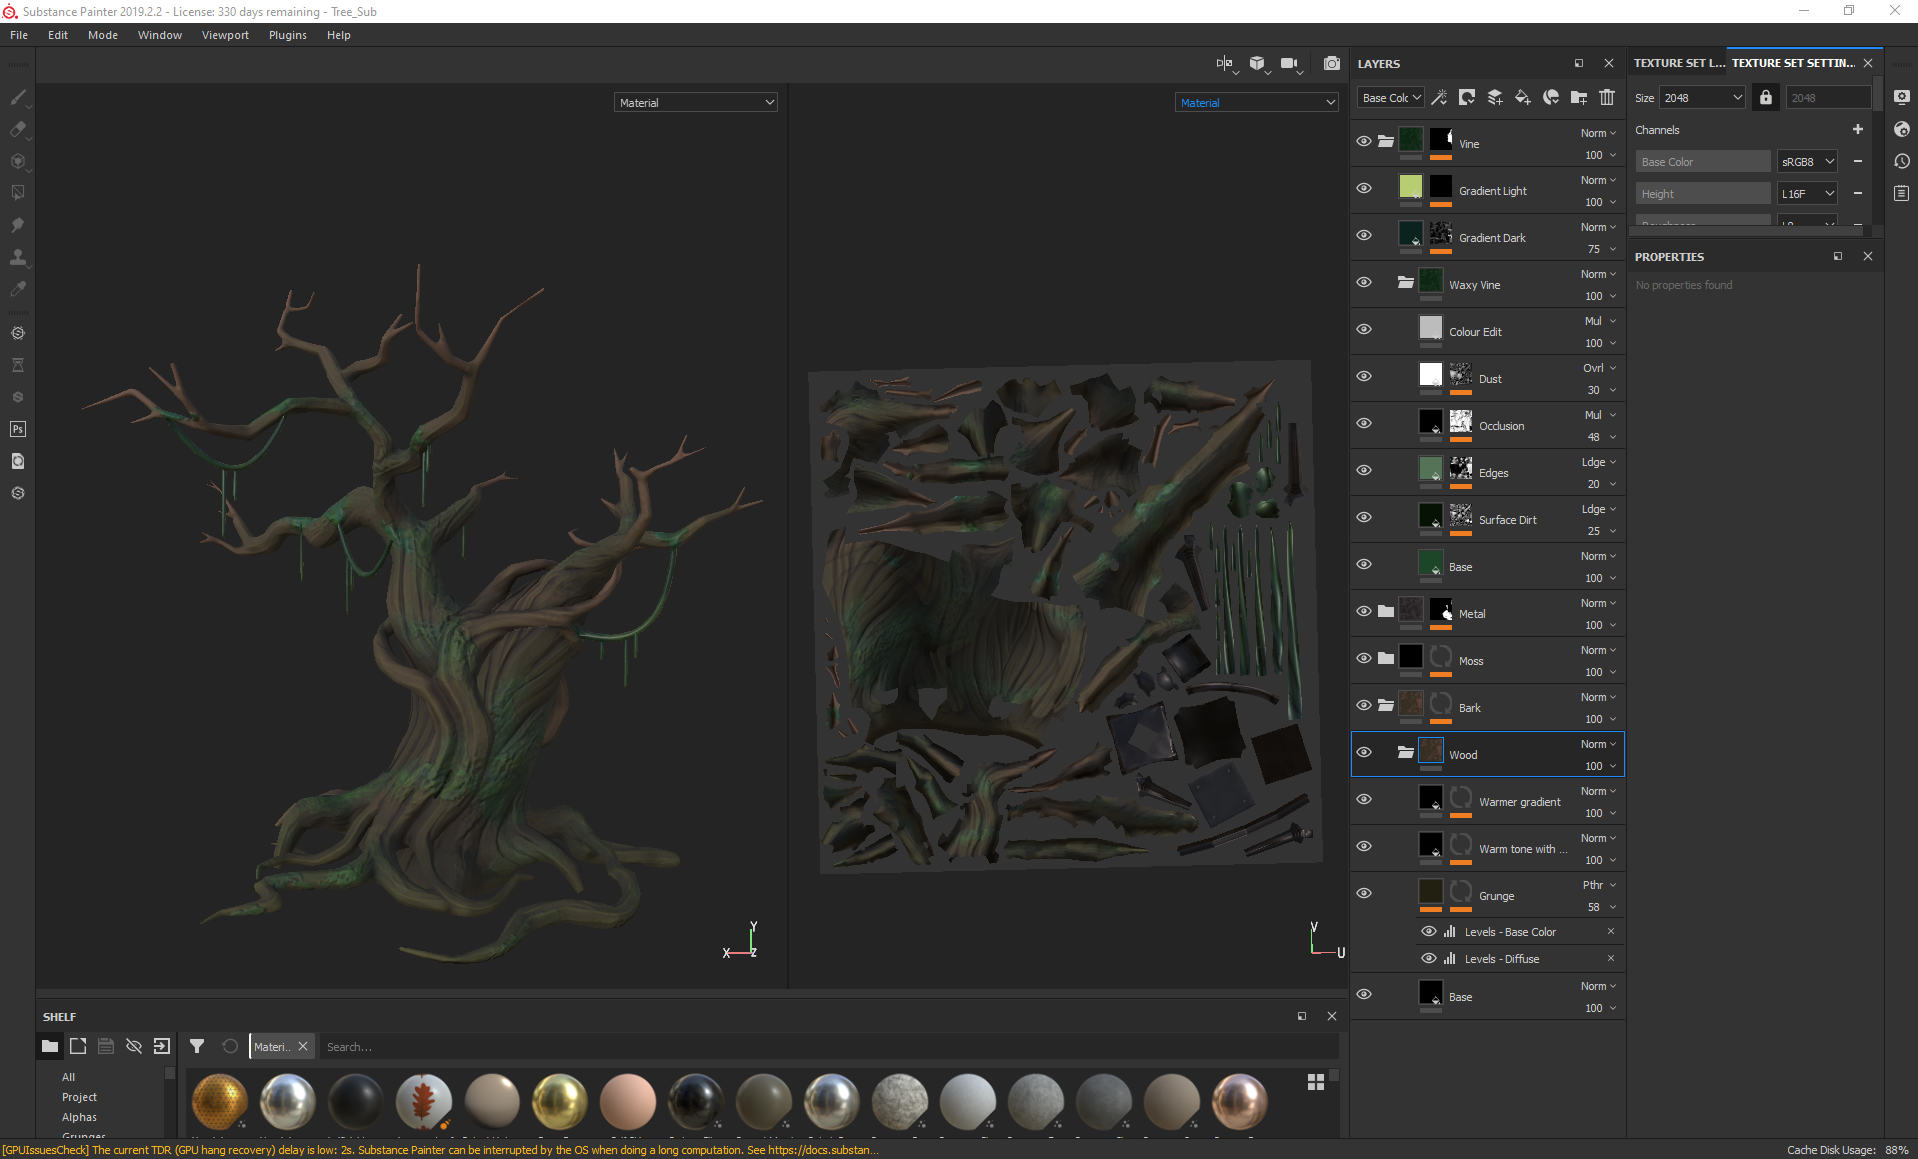
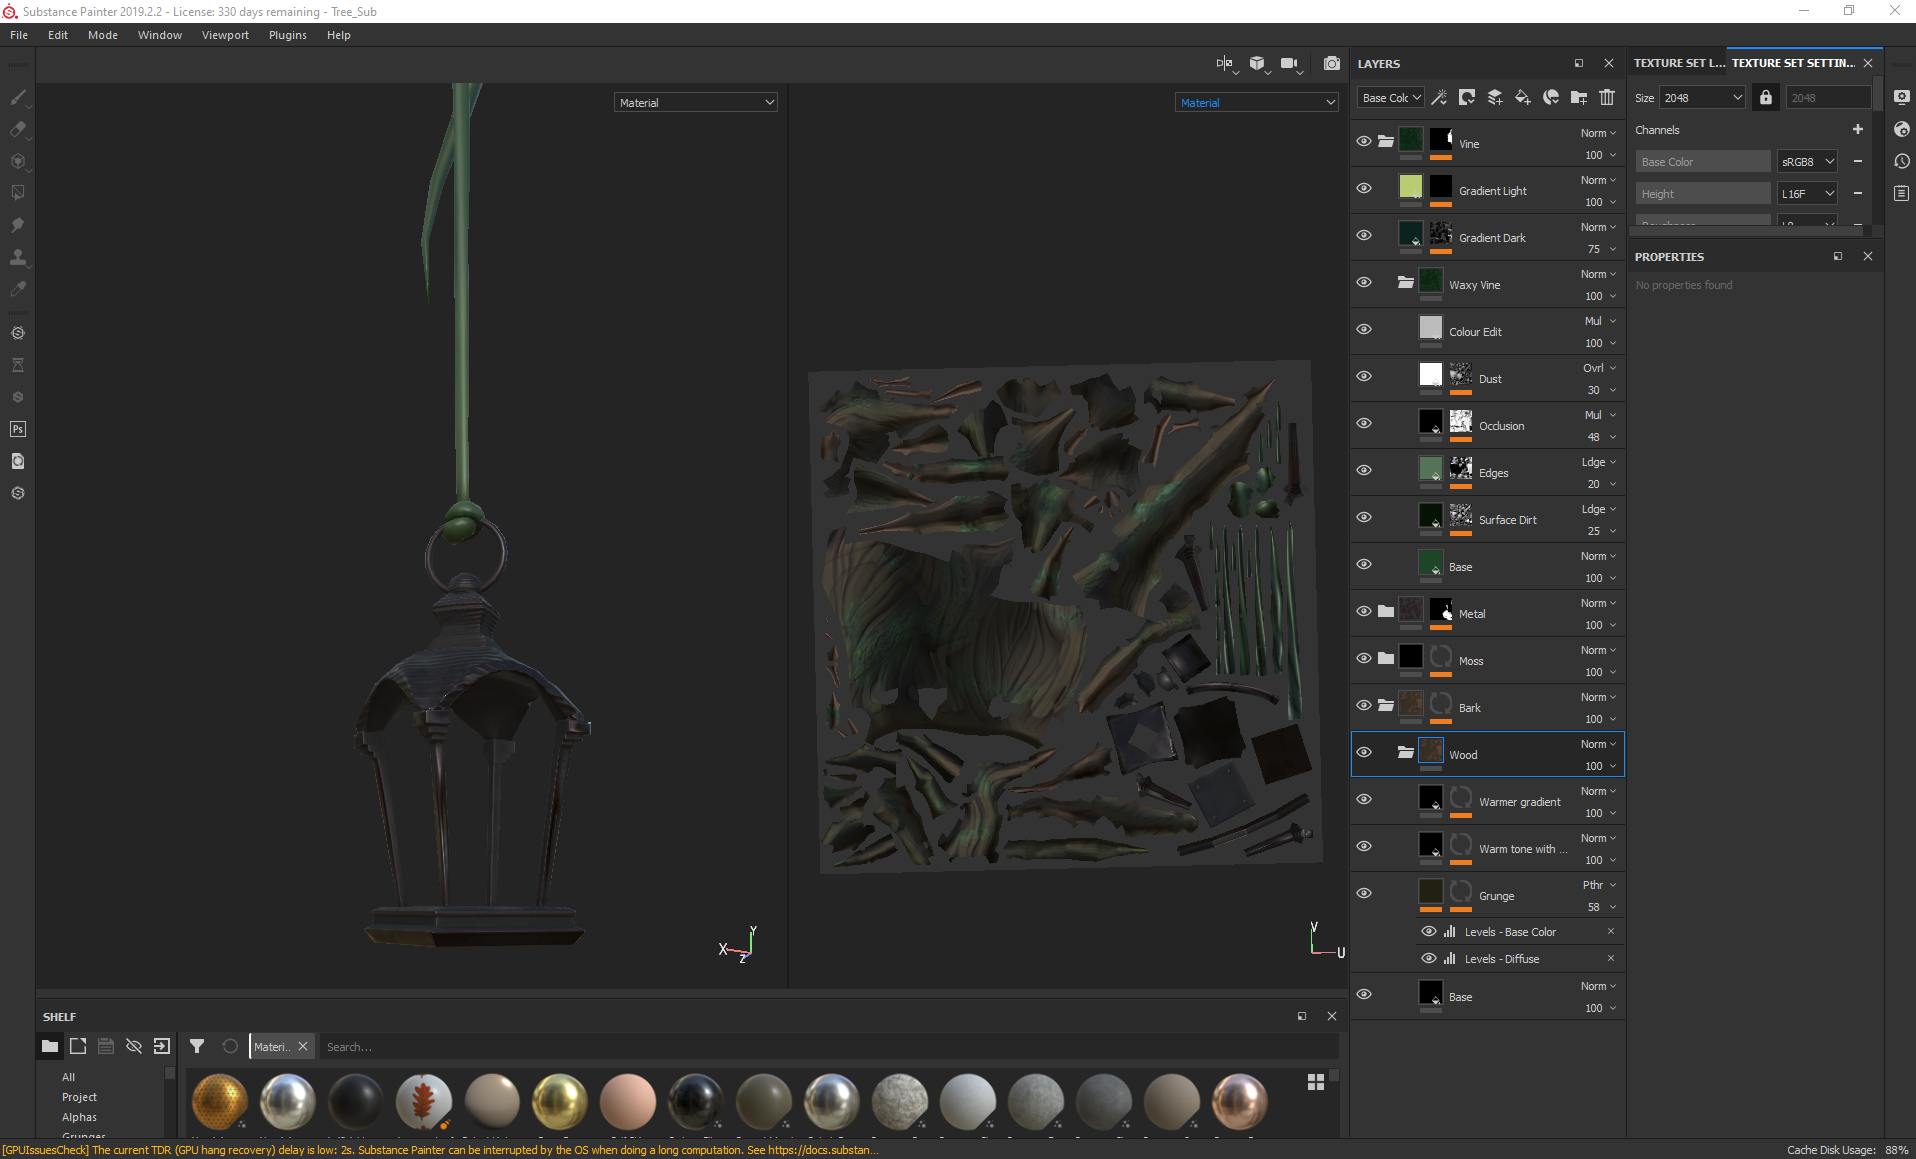
For the tree I started with a green toned base colour, then added grunge through editing the levels to emphasise the cracks. Over this, I added a warmer brown tone using the curvature map with a levels edit as a bitmap mask, so that the green would still be seen in some sharper areas. Over that, I used a mask editor and a soft brush to paint on even brighter and warmer areas to give the tree more life and colour variation, all the while making sure that none of the other layers were interfering too much with the roughness of the bark. Later, I also added a mask editor to add a purple hue to the cracks and ao to add more depth to the tree.
For the moss, I used a combination of the artistic heavy sponge and blur slope to go over the areas where I had added rough moss details in the sculpt, then going over the mask in a few different hues and values to create variety in the moss colour.
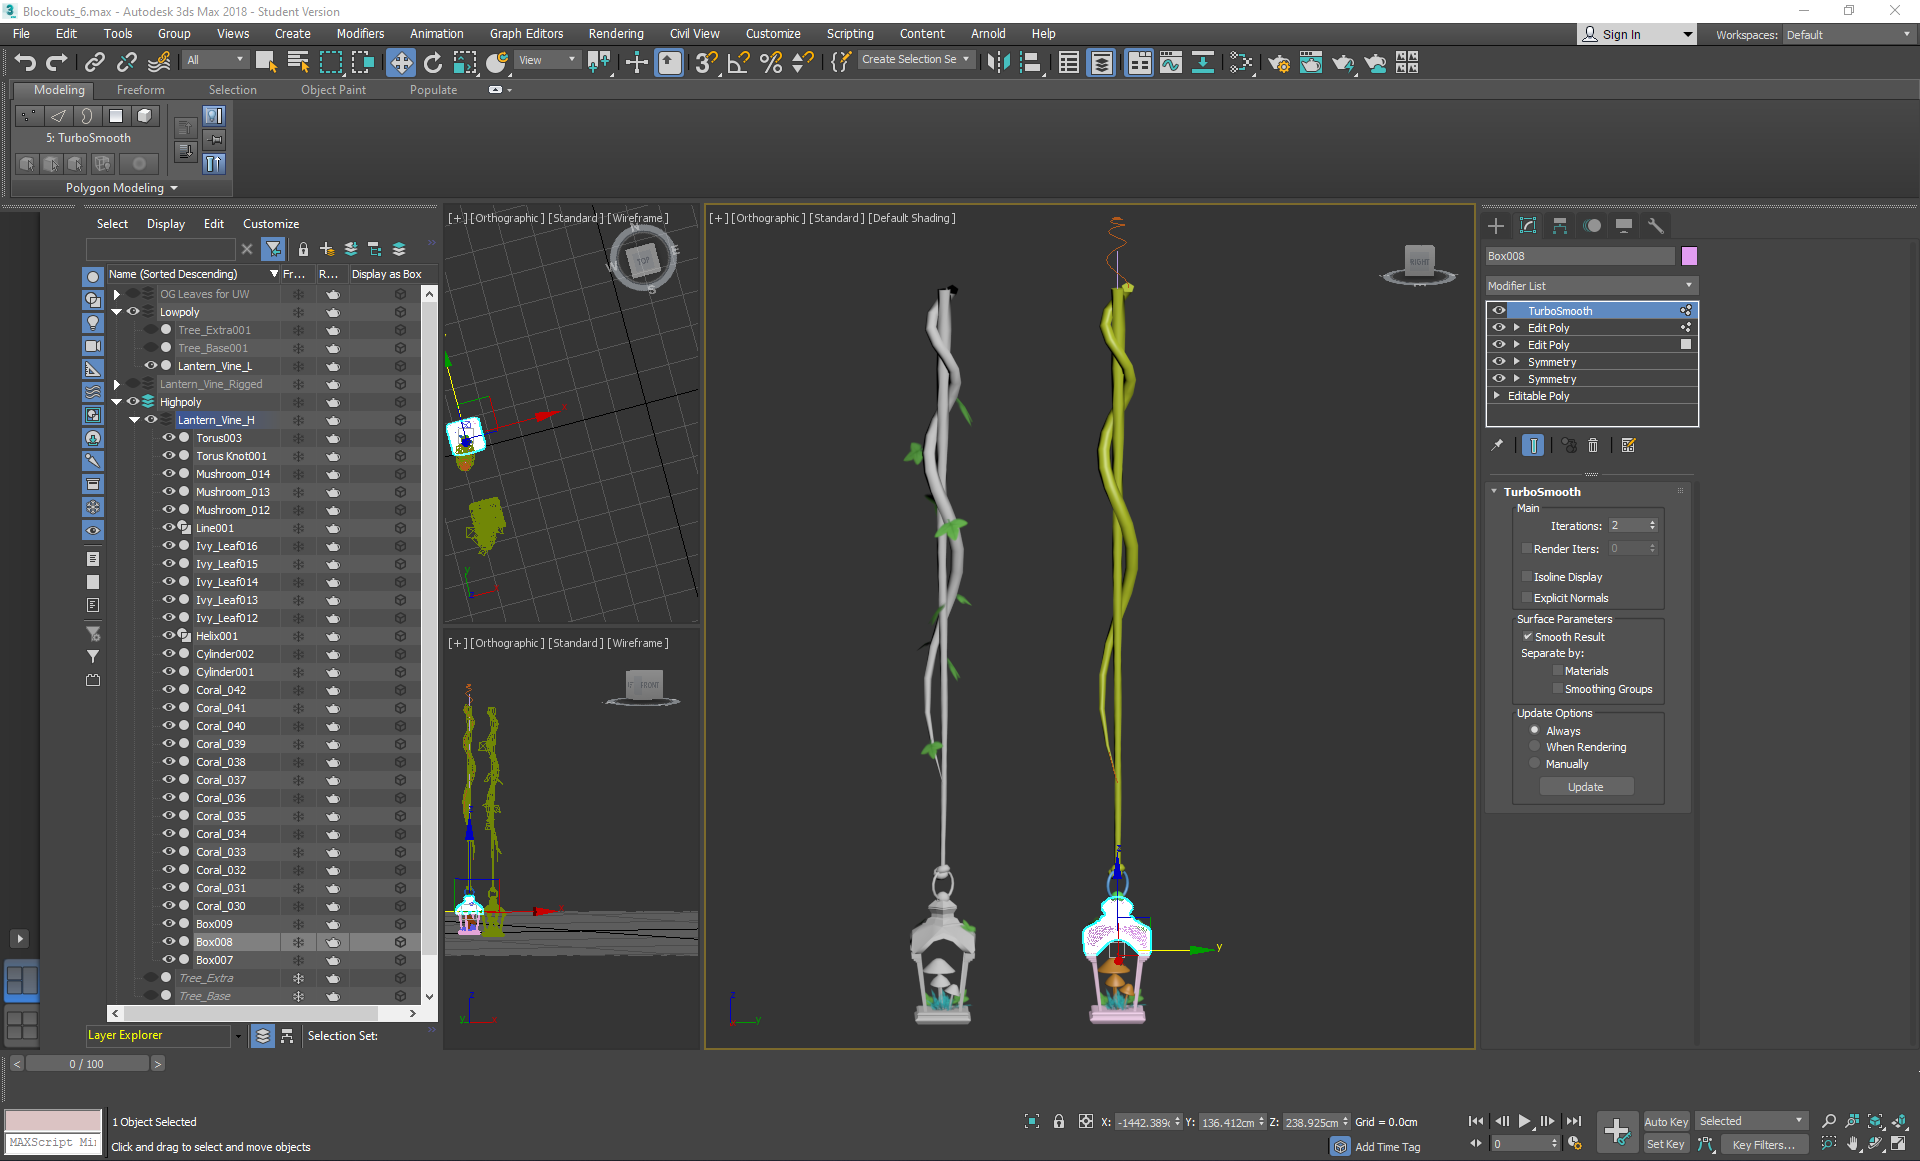
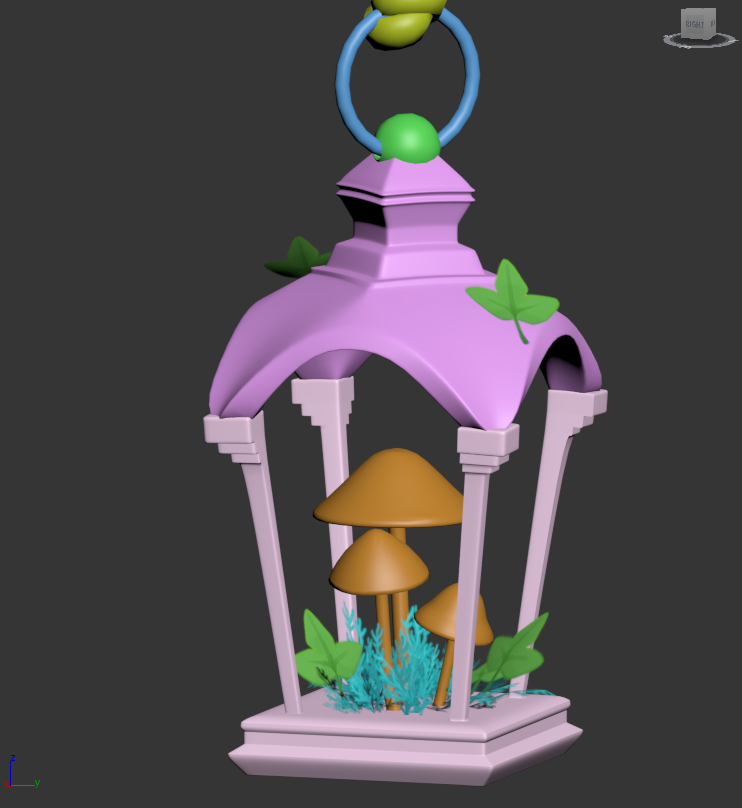
With the lantern metal, I started with a base colour with metalness and a little roughness to represent what the base coat would have been like, then added some dirt/dust roughness over the top and some bumps to make the metal look more worn. I also added edge highlights and dirt occlusion for the areas that would naturally collect dust. After this, I added extra height detail using black and white striped patterns using a mixture of planar projection and tri planar projection so that the lines would meet correctly and loop around, ignoring any seams.
The vines were also fairly straightforward, with me focusing on the base colour, slight surface dust/dirt, edge highlights, occlusion and colour gradients.
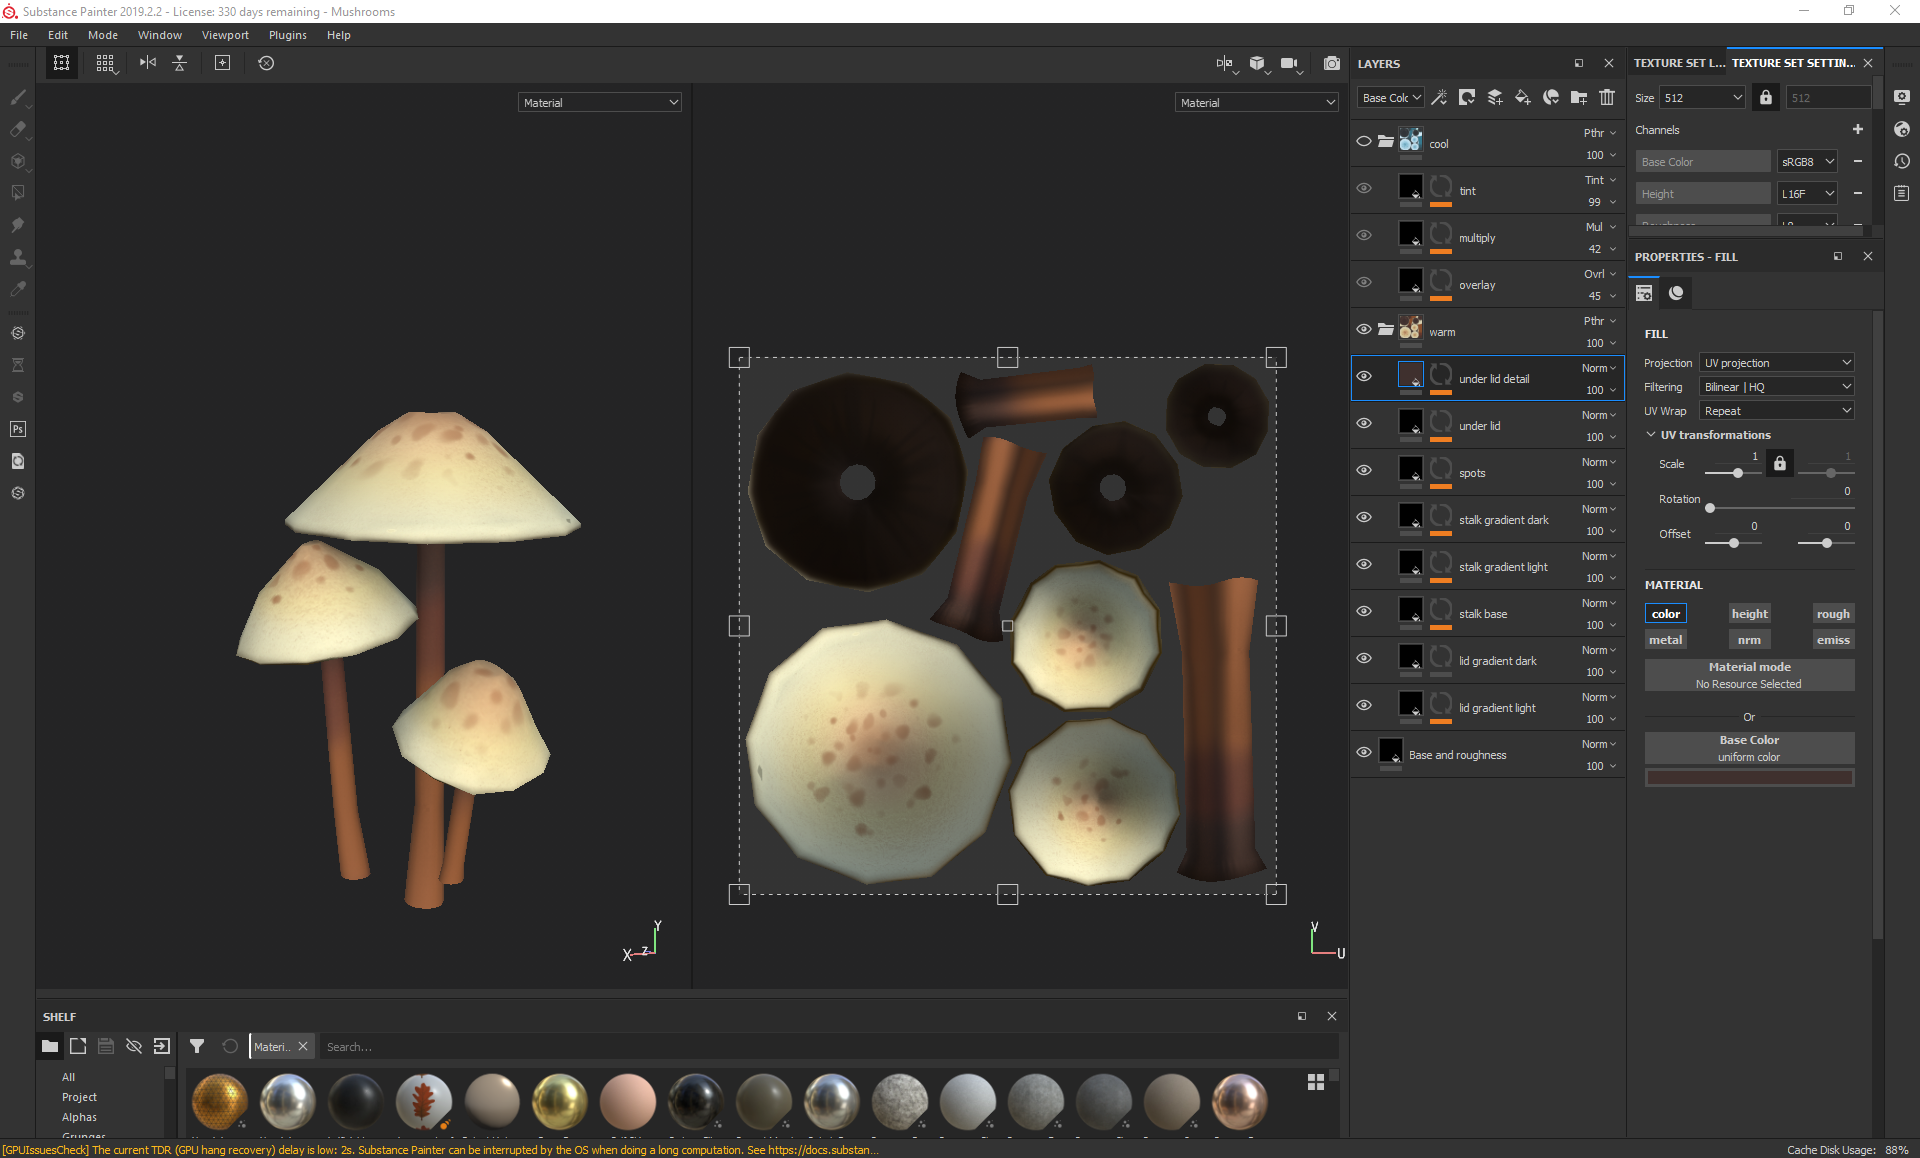
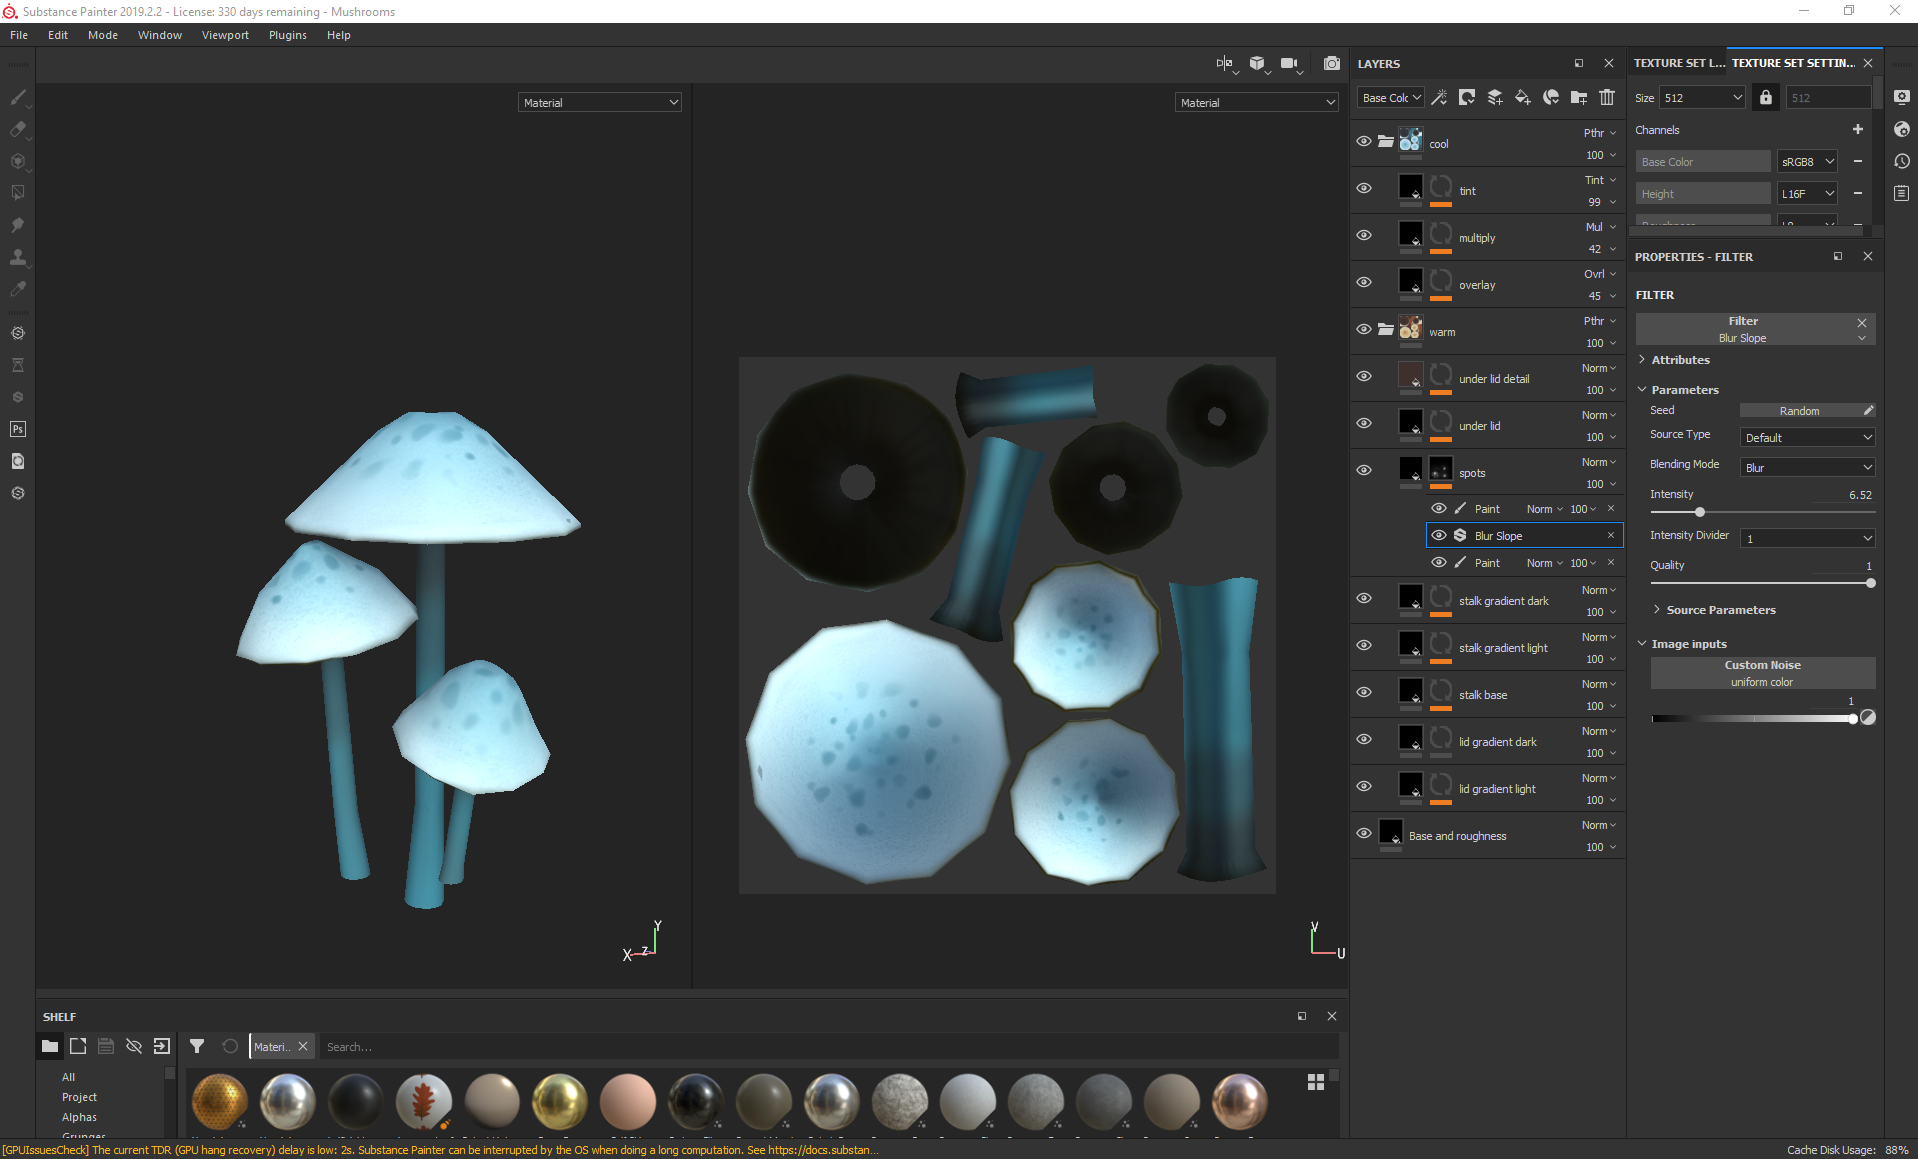
For the mushrooms, I focused on following the level of detail as the rest of the foliage and stuck to painting it in with a soft brush rather than generating anything, although I did add some extra details in the spots, where I used a blur slope to add some tiny specks in the gradient of the lid.
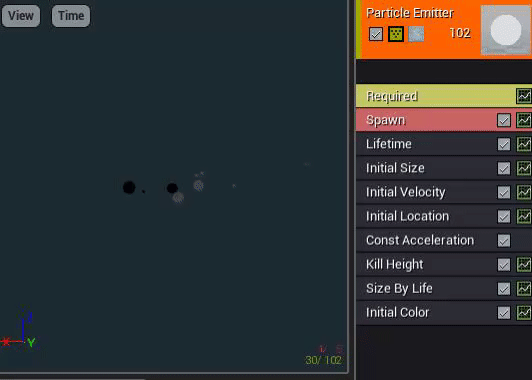
I then created another folder with some colour edits for my later vfx in which the mushrooms would change colour when the character is close and exported all of the substance painter files as targas.
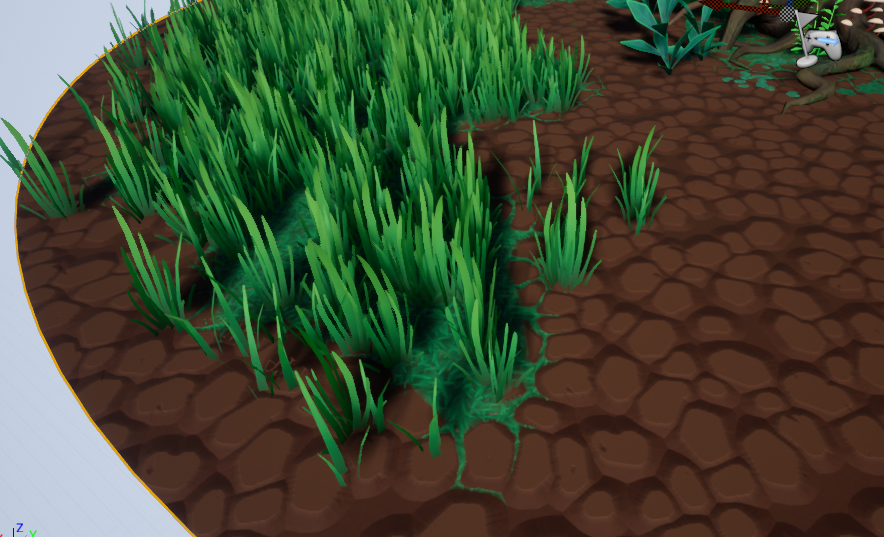
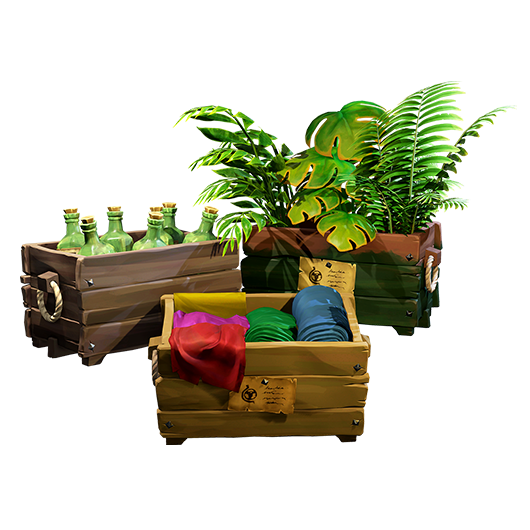
For the plants, to follow the style of the concept, I avoided rendering too much detail into the plants and instead focused on lasso tooling in bold colour changes for the edges of the plants and the stalks, with subtle gradients throughout. for this, I mostly used a basic hard round brush with varying levels of flow and pen pressure and a soft brush for gradients.