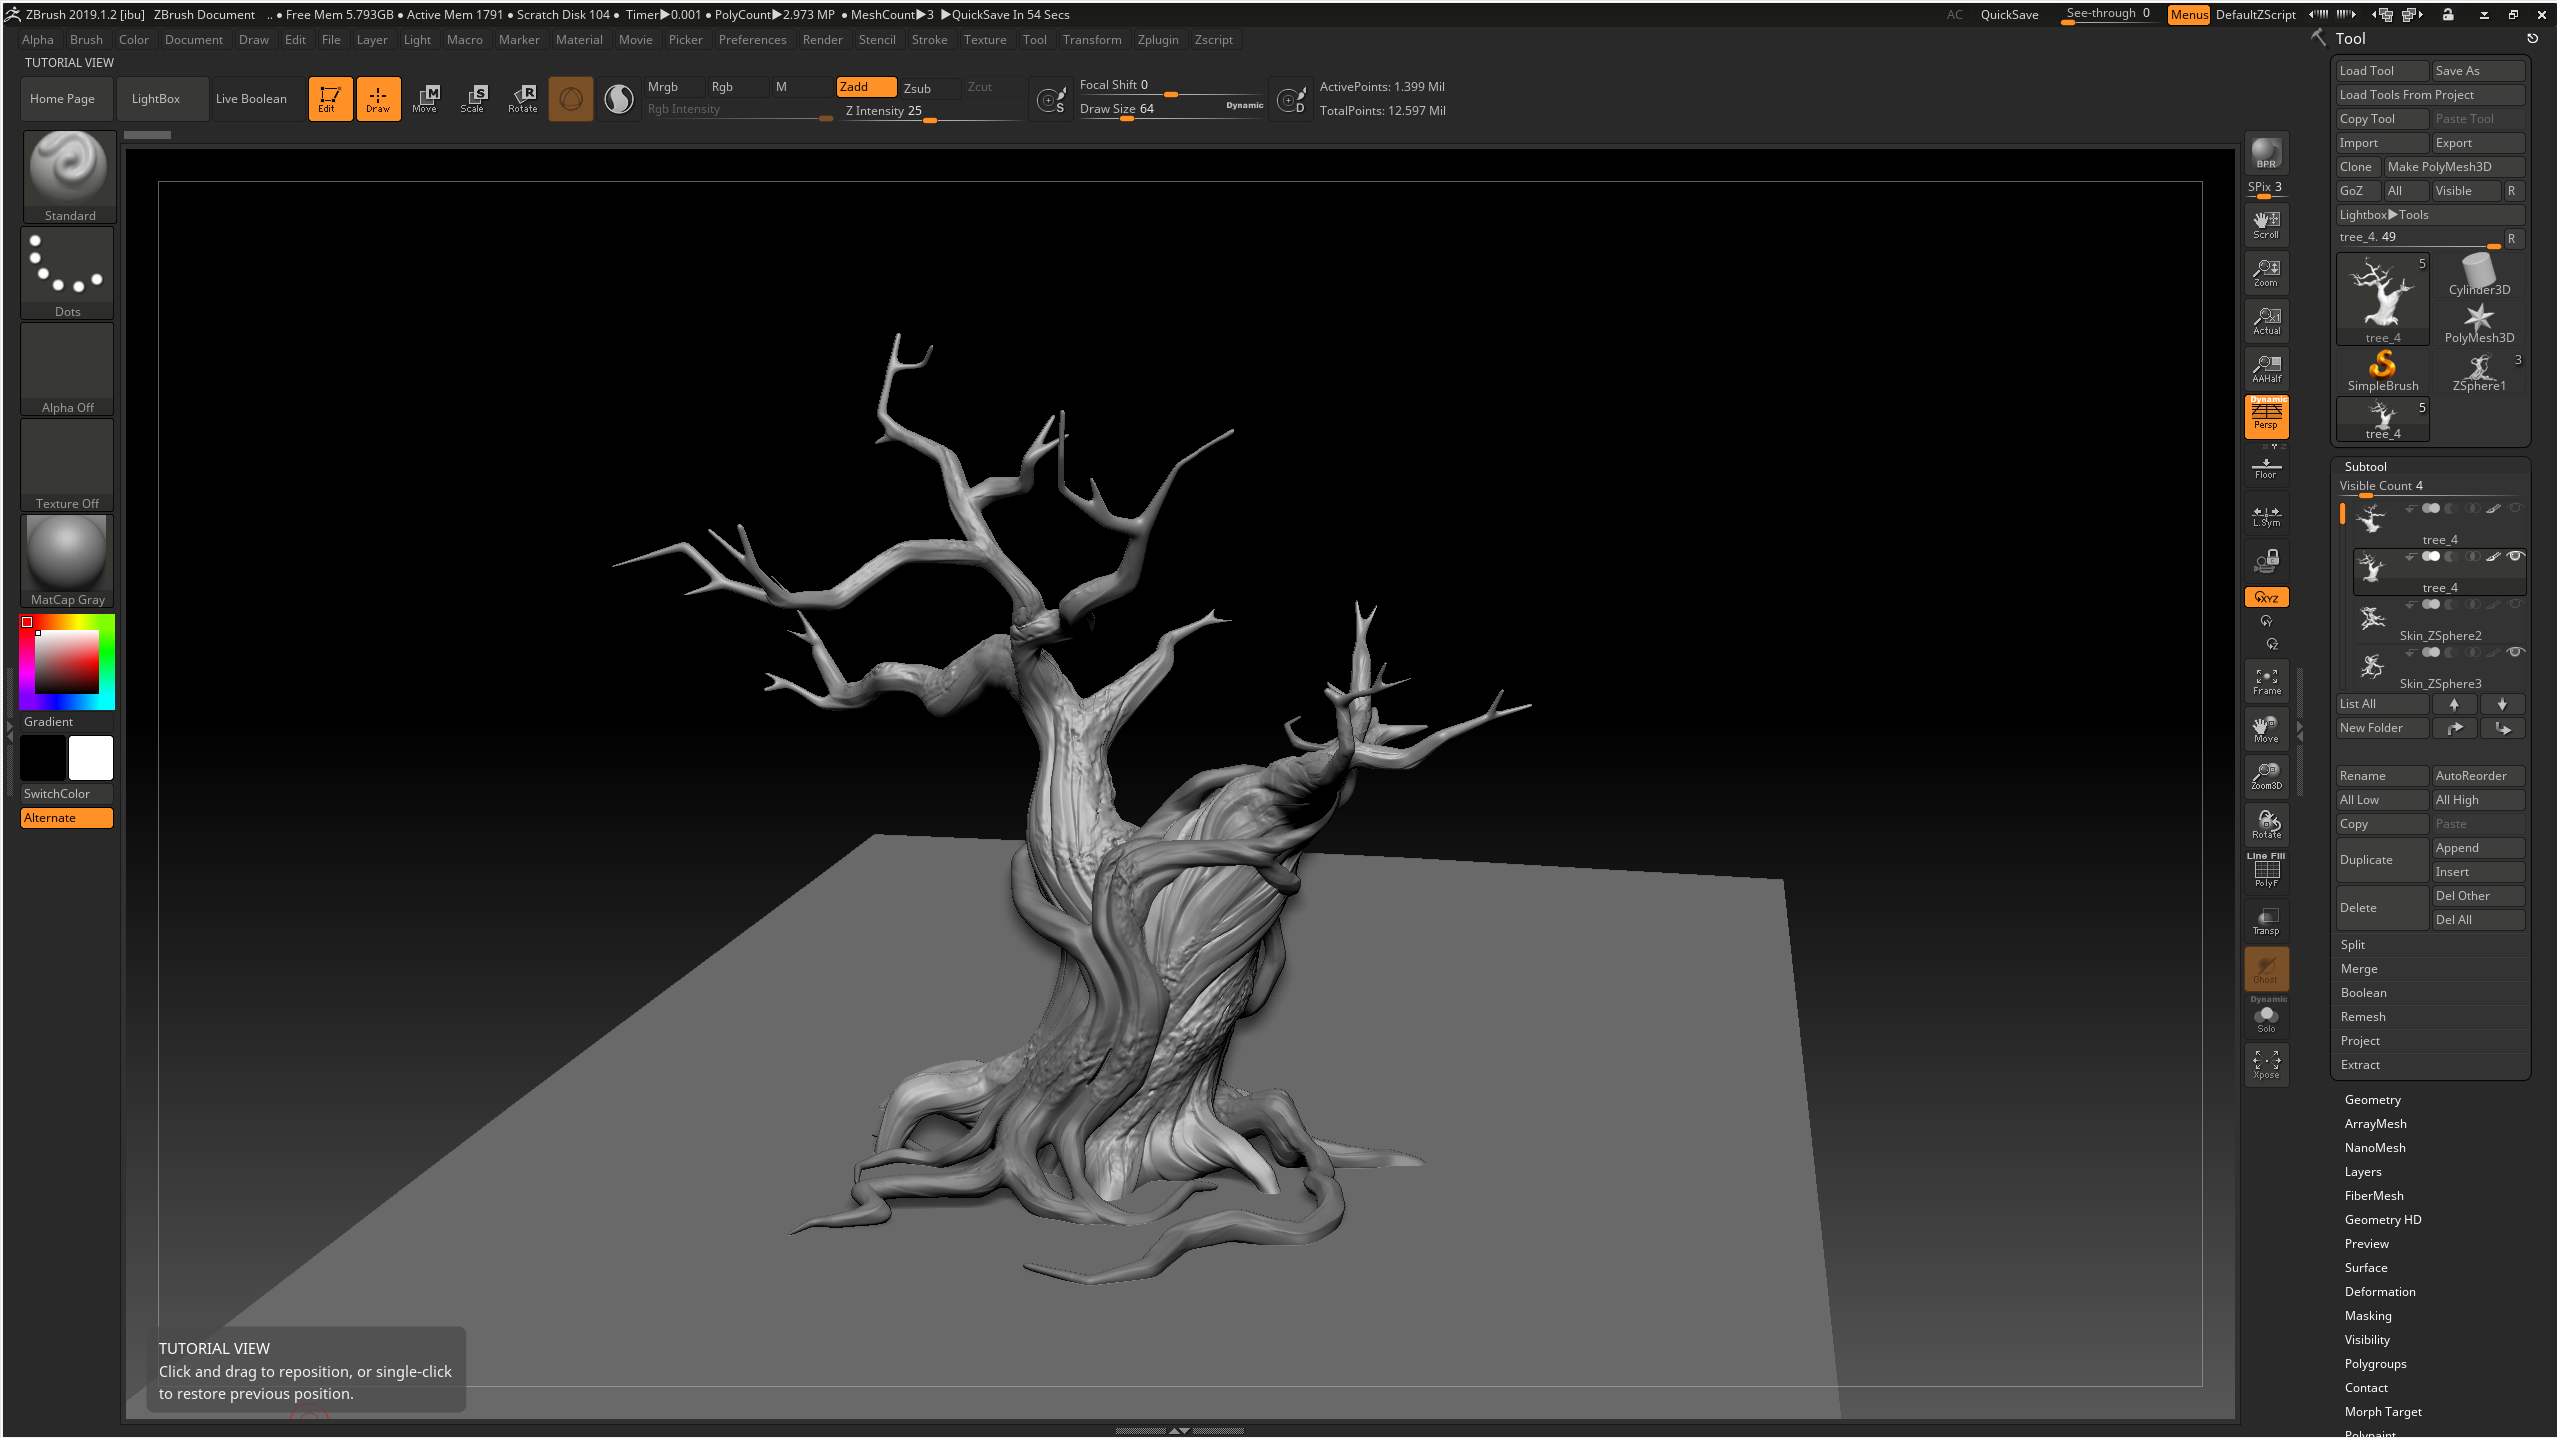
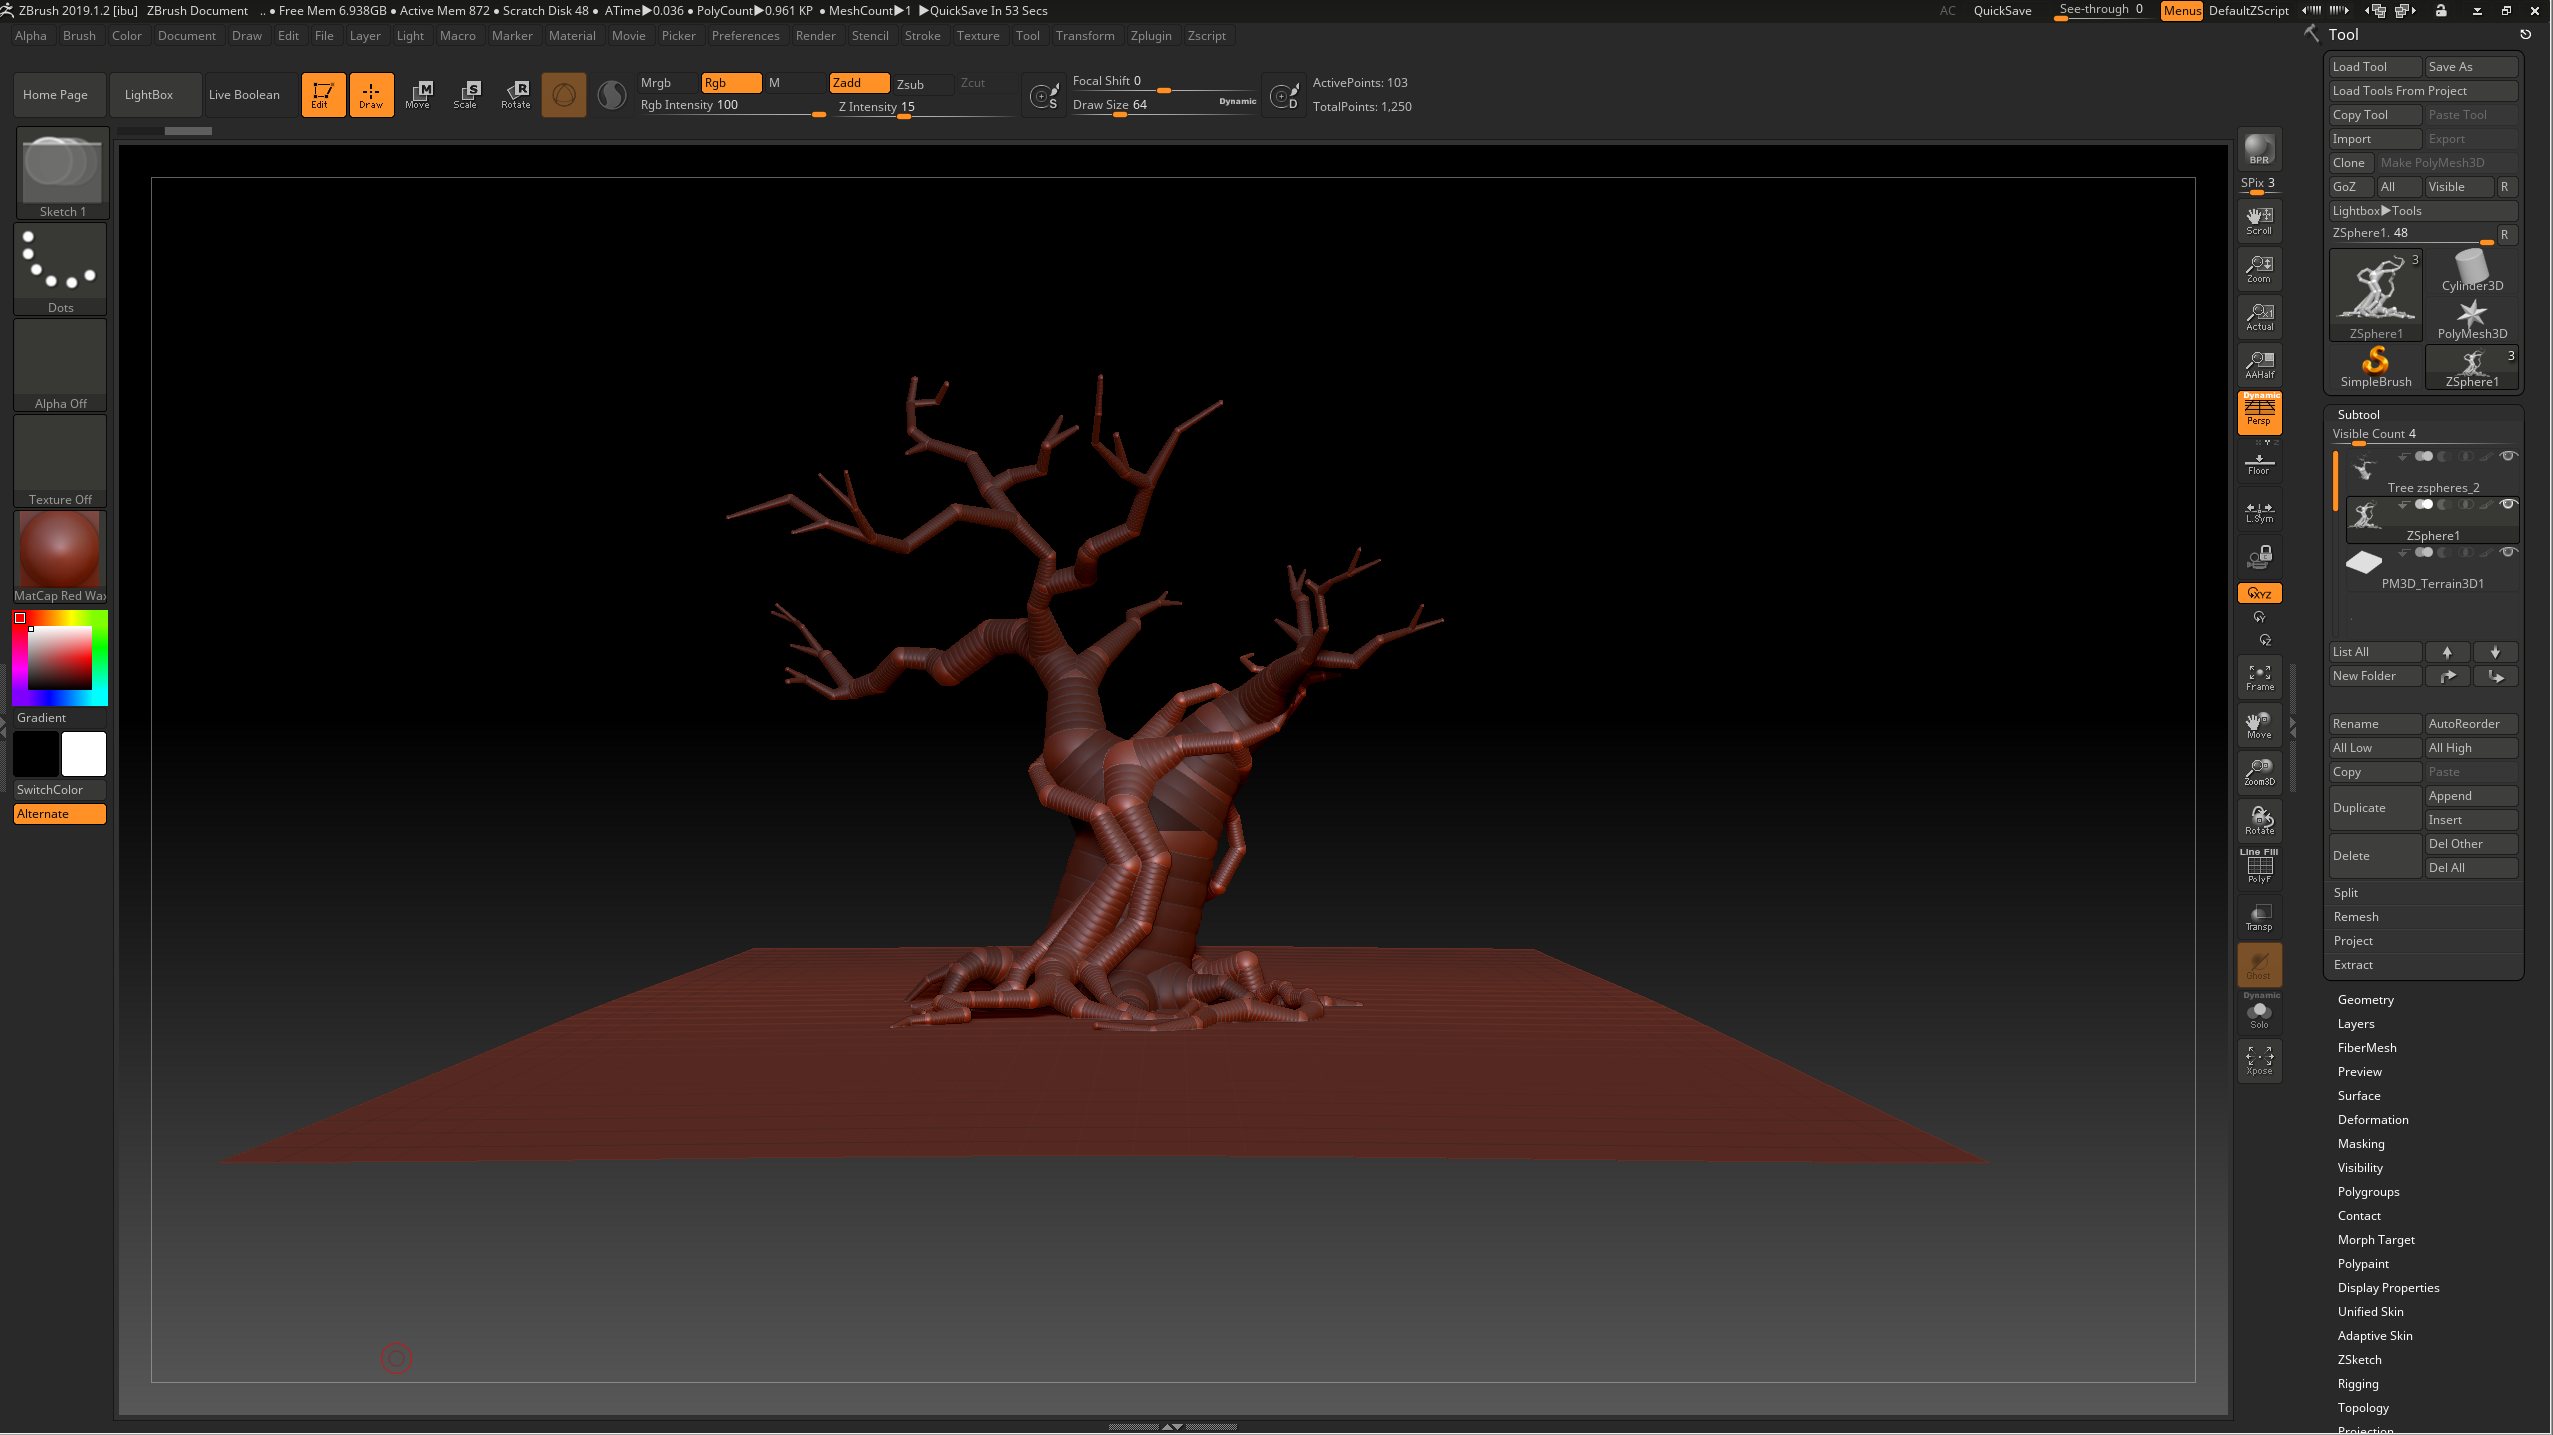
On Friday I finished sculpting the tree and decimated it to be retopped in 3ds max. I primarily used the clay tubes brush to build up the layers of the tree in a fashion that left a grain, trying to follow the form displayed in the concept. I loosely followed the tips displayed in this post: https://www.artstation.com/artwork/mOex1 using the orb cracks brush in some areas to emphasise the gaps. For extra reference, I used some disney tree images like chip n dale's treehouse:
To keep things neat, I kept everything on separate layers, then projected a higher poly version onto a zremesh-ed version to keep the details, while maintaining a tri count that would allow the tree to be exported to 3ds max.
During this, I specifically learnt how to polypaint so that I could keep the thin areas of the branches higher poly than the rest of the sculpt when zremeshing, to avoid the issue of losing geometry to smoothing.
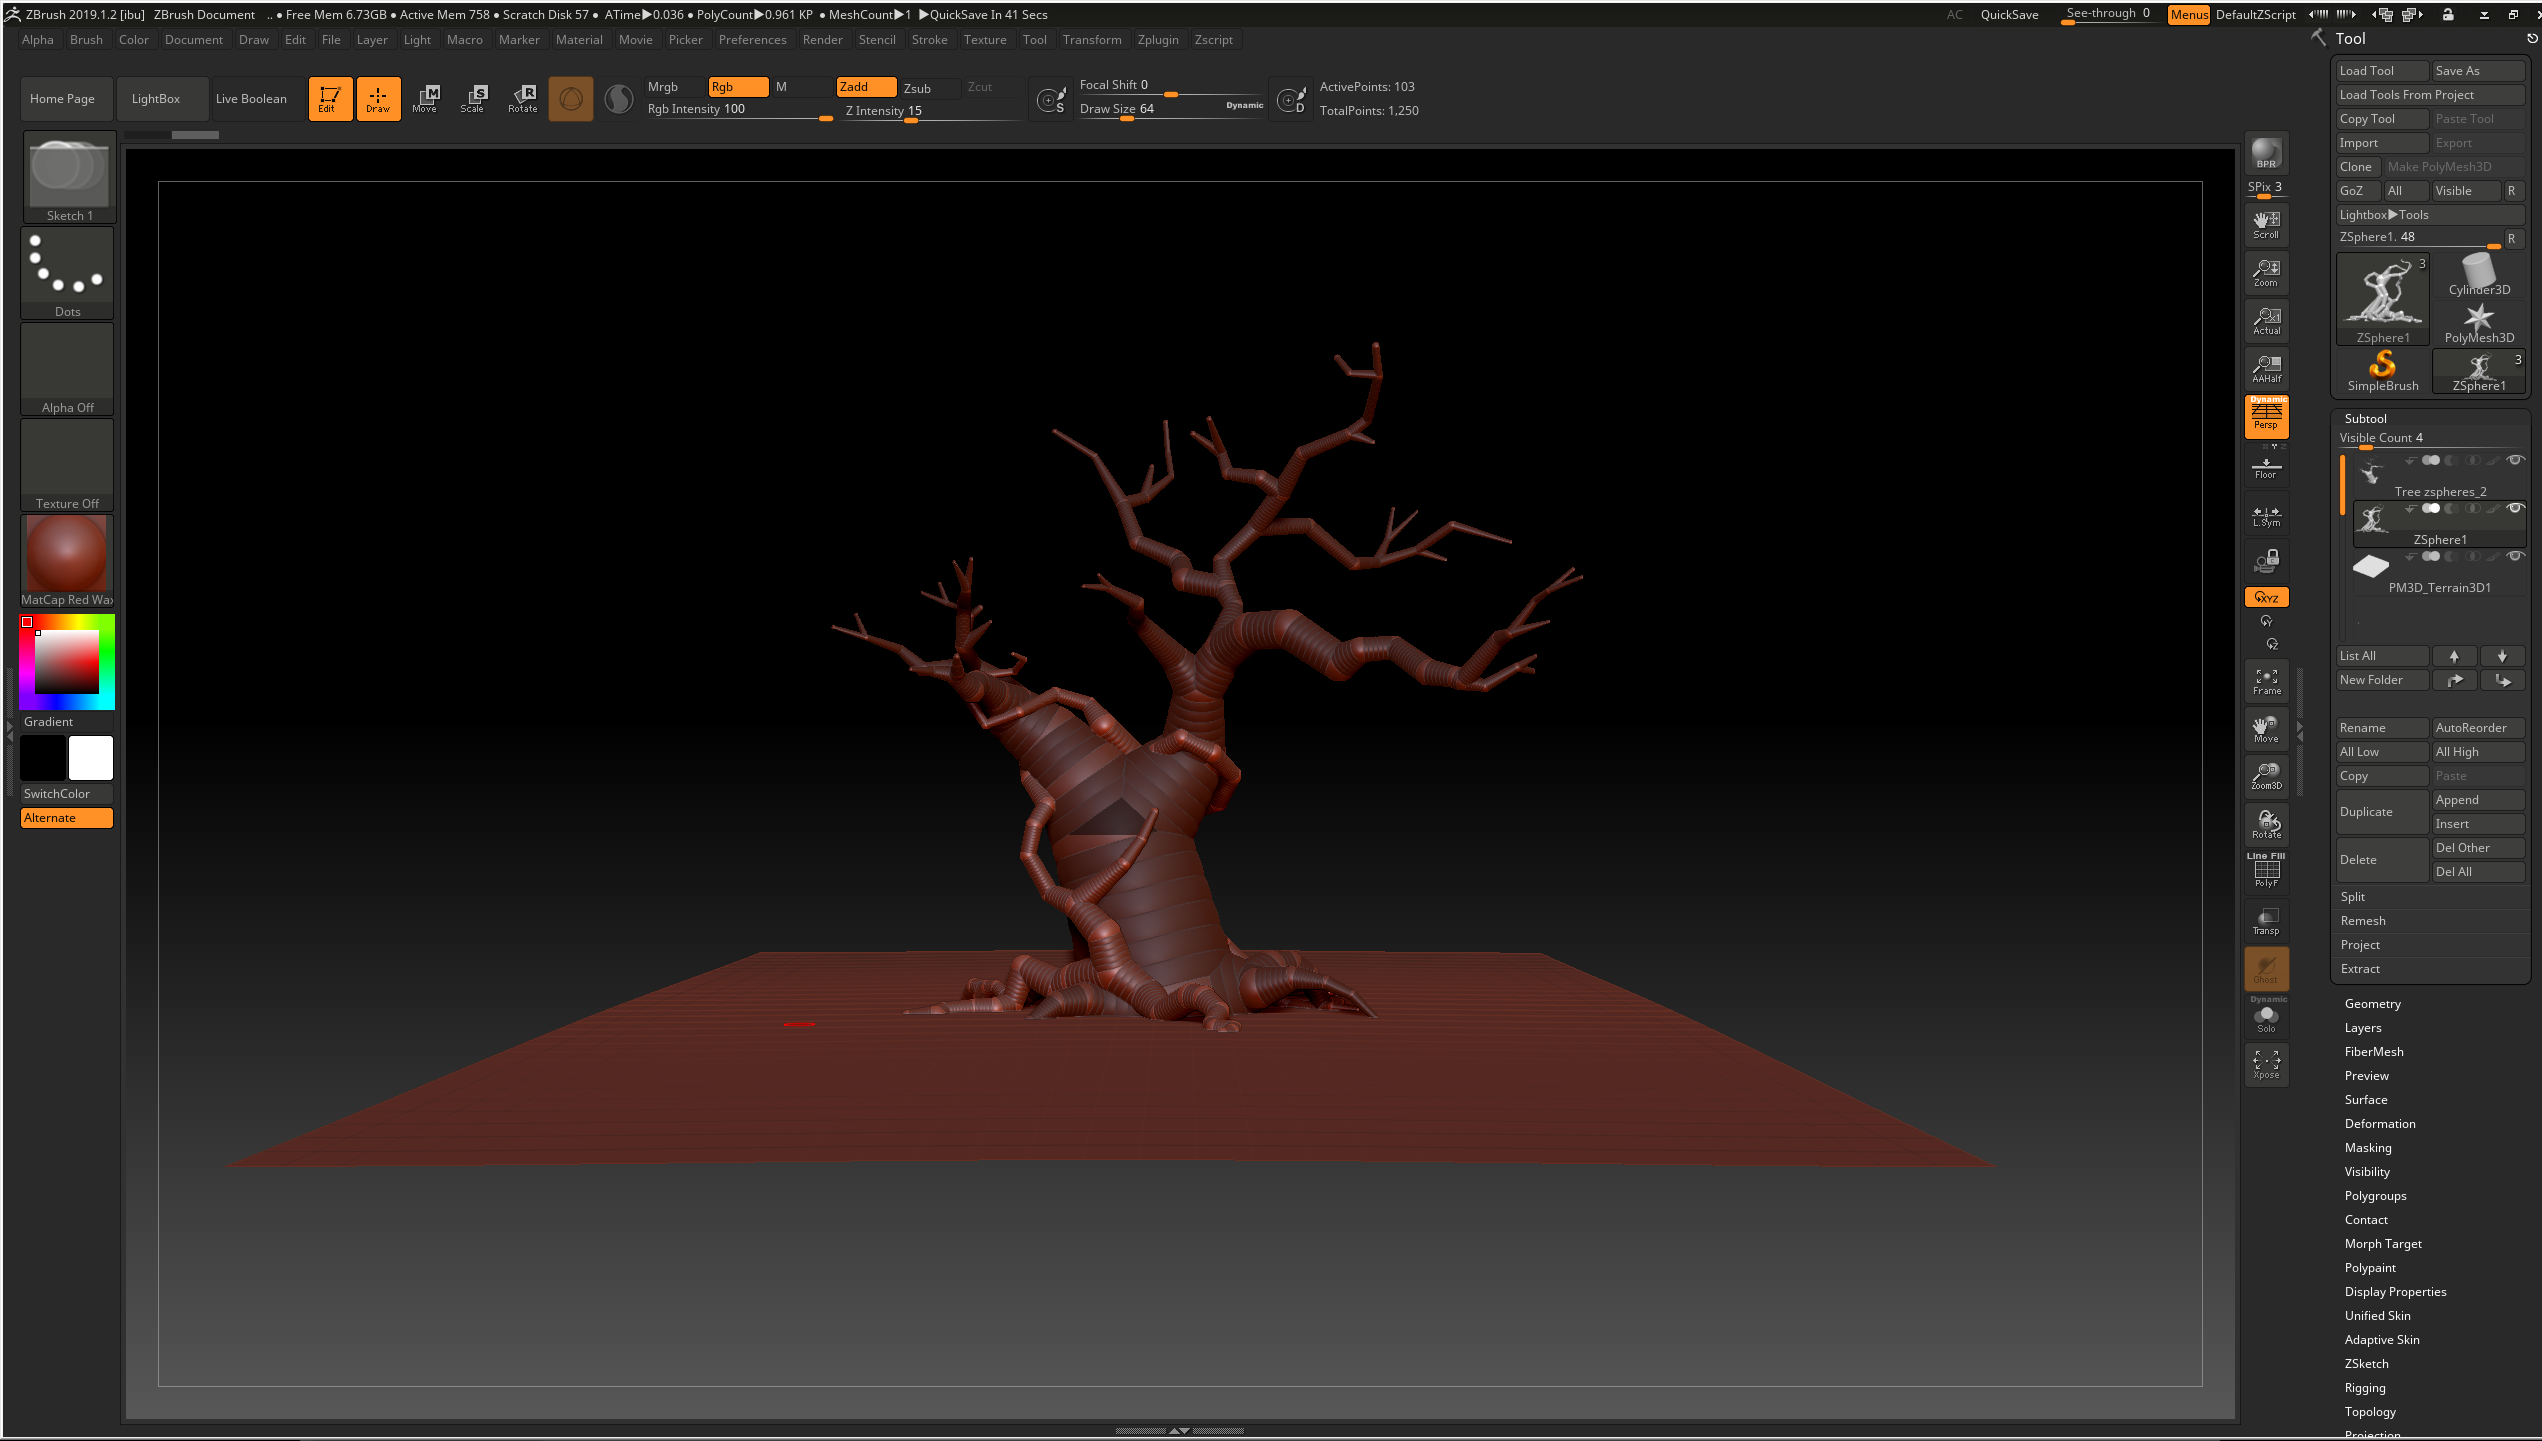
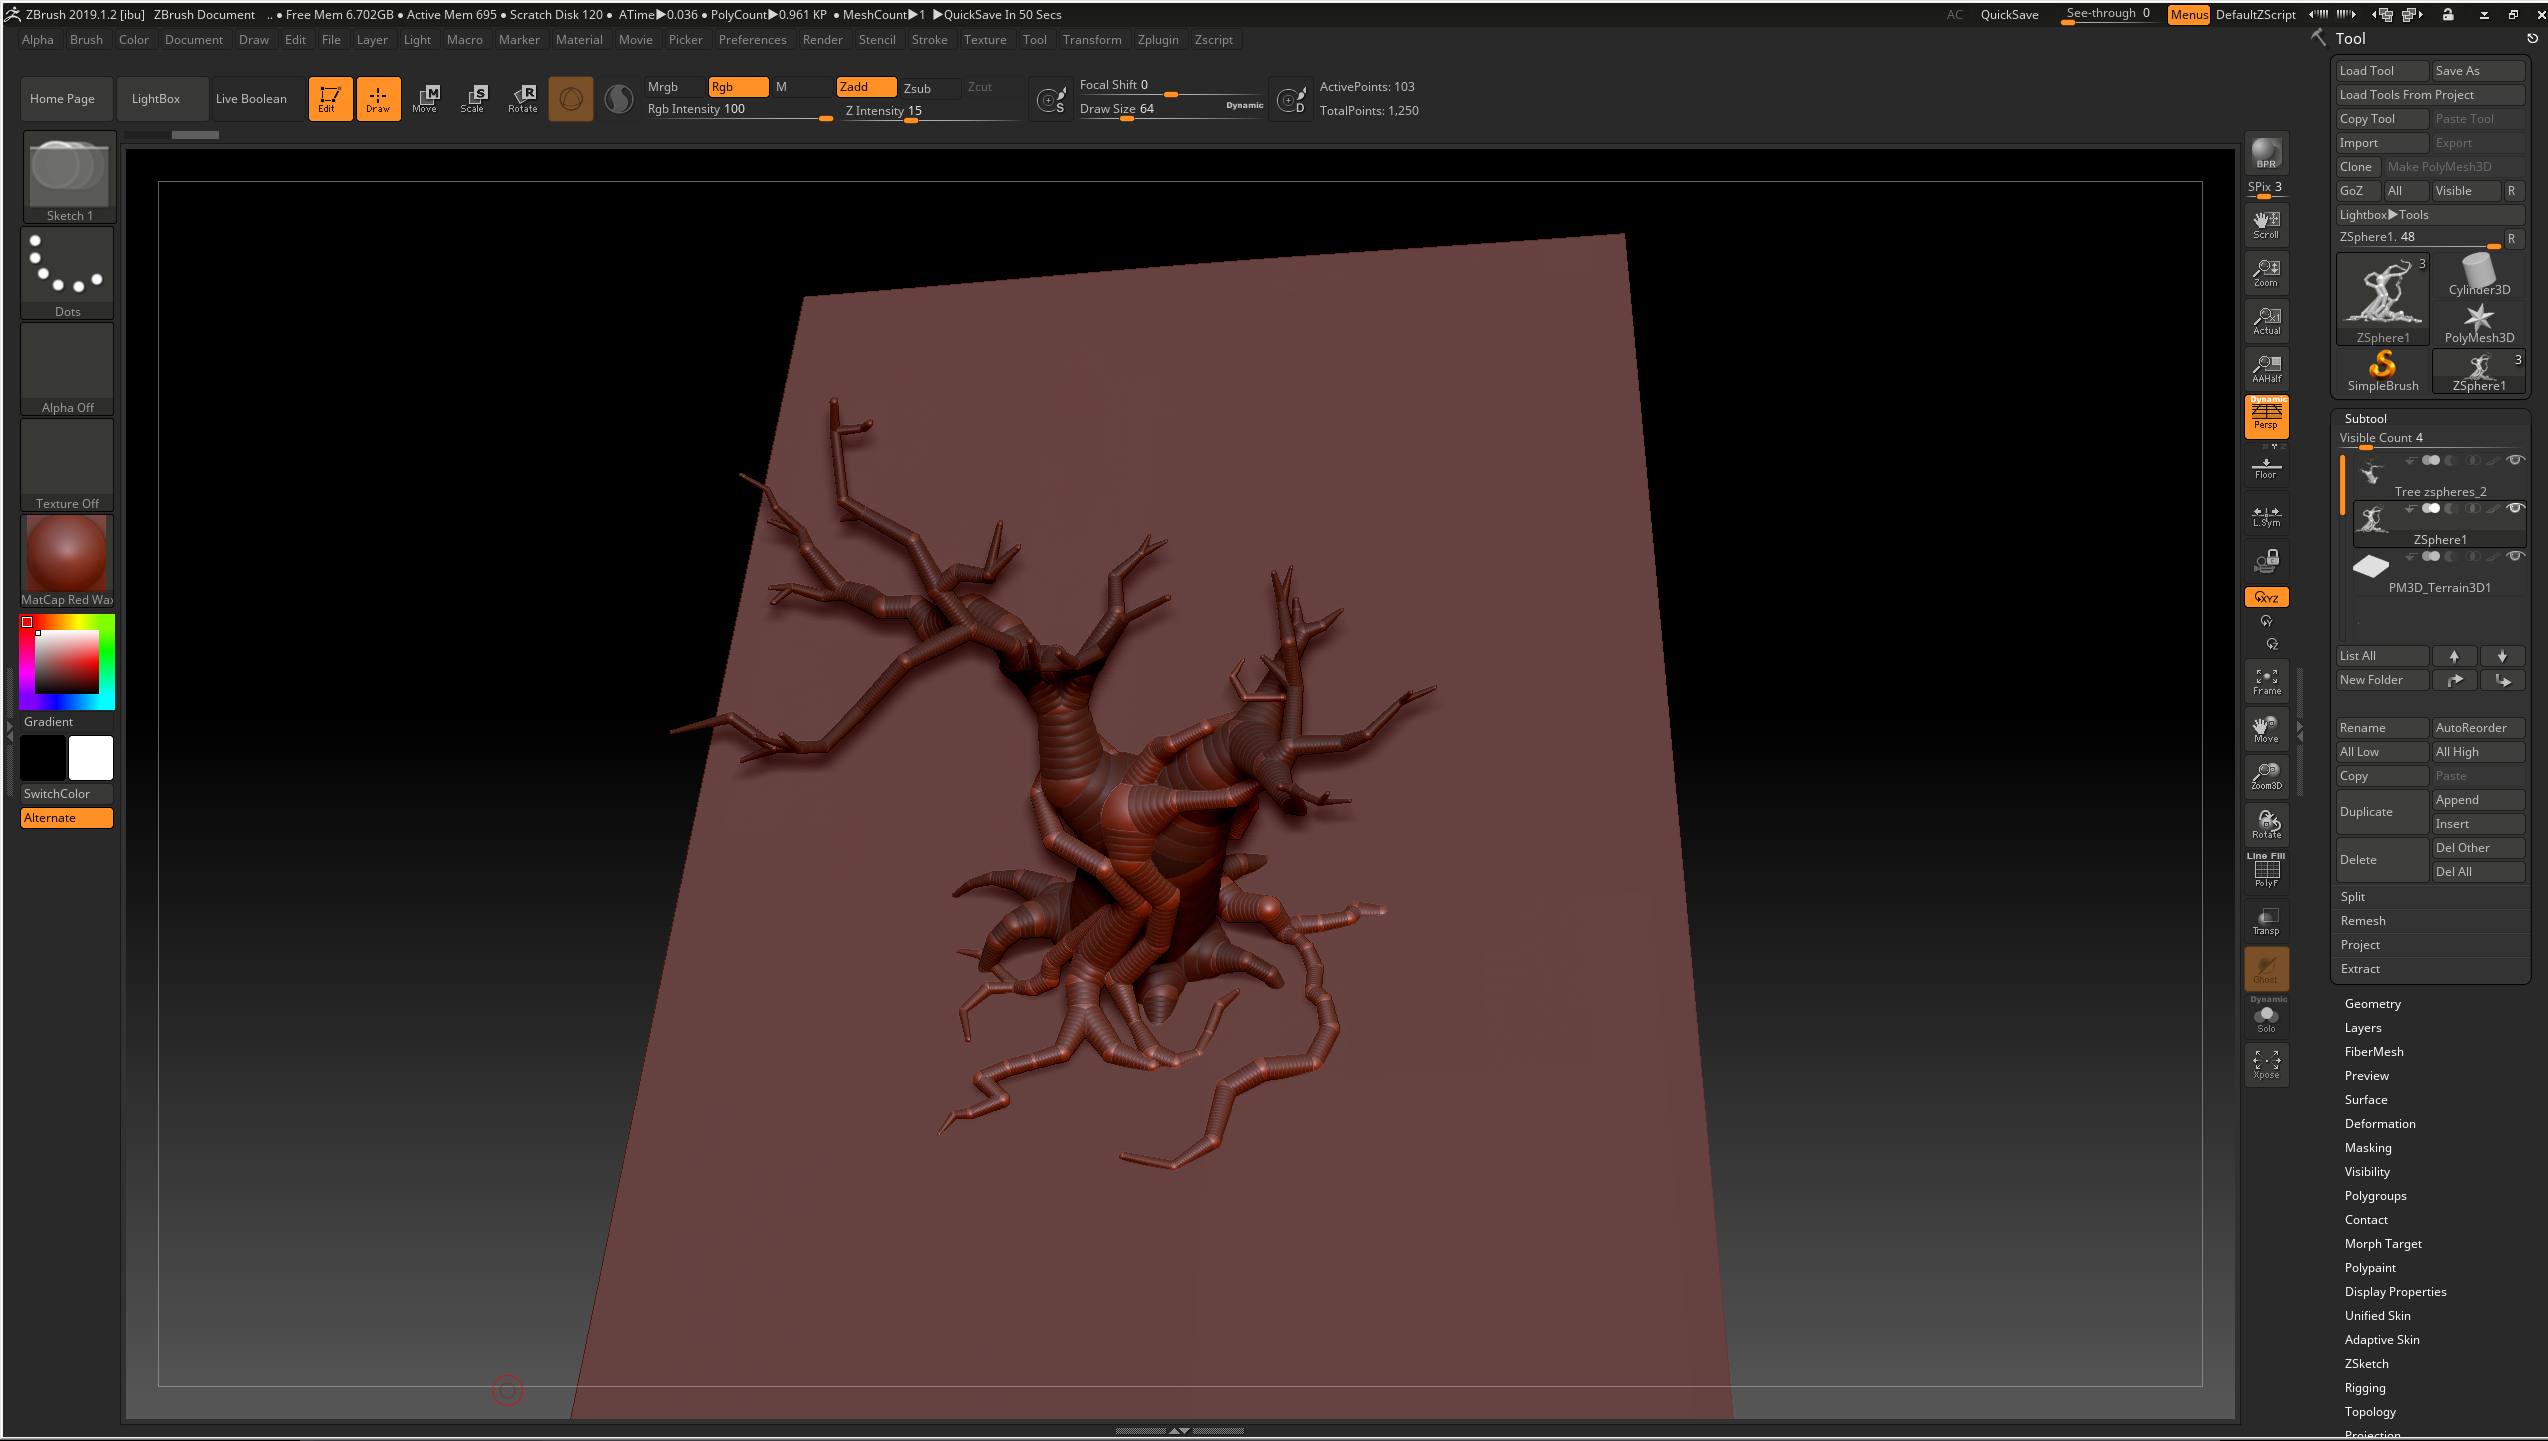
On Thursday, I started working on the tree sculpt. I specifically wanted this part to be sculpted because it was going to be the centrepiece of the plinth and is obviously more shapely than the rest of the foliage. Combining both reference images together, I focused on using one of the references for the roots, as I had to consider how the plants would fit around the tree to match the concept, and the other for the rest of the tree. I decided to use zspheres as they allowed for flexible, snake like branches, keeping to 2 subtools so that I could separate areas and make the sculpting process easier to keep clean and neat later on:
During this process I modelled the tree over the top of the concept images to make sure the branches aligned, then later made adjustments to ensure that the tree wouldn't look flat, as I had the issue of only having one view to work from in the concept image. I had to line up the tree with the concept image several times and settle with some slight changes to ensure that the tree would look good from more than one angle.
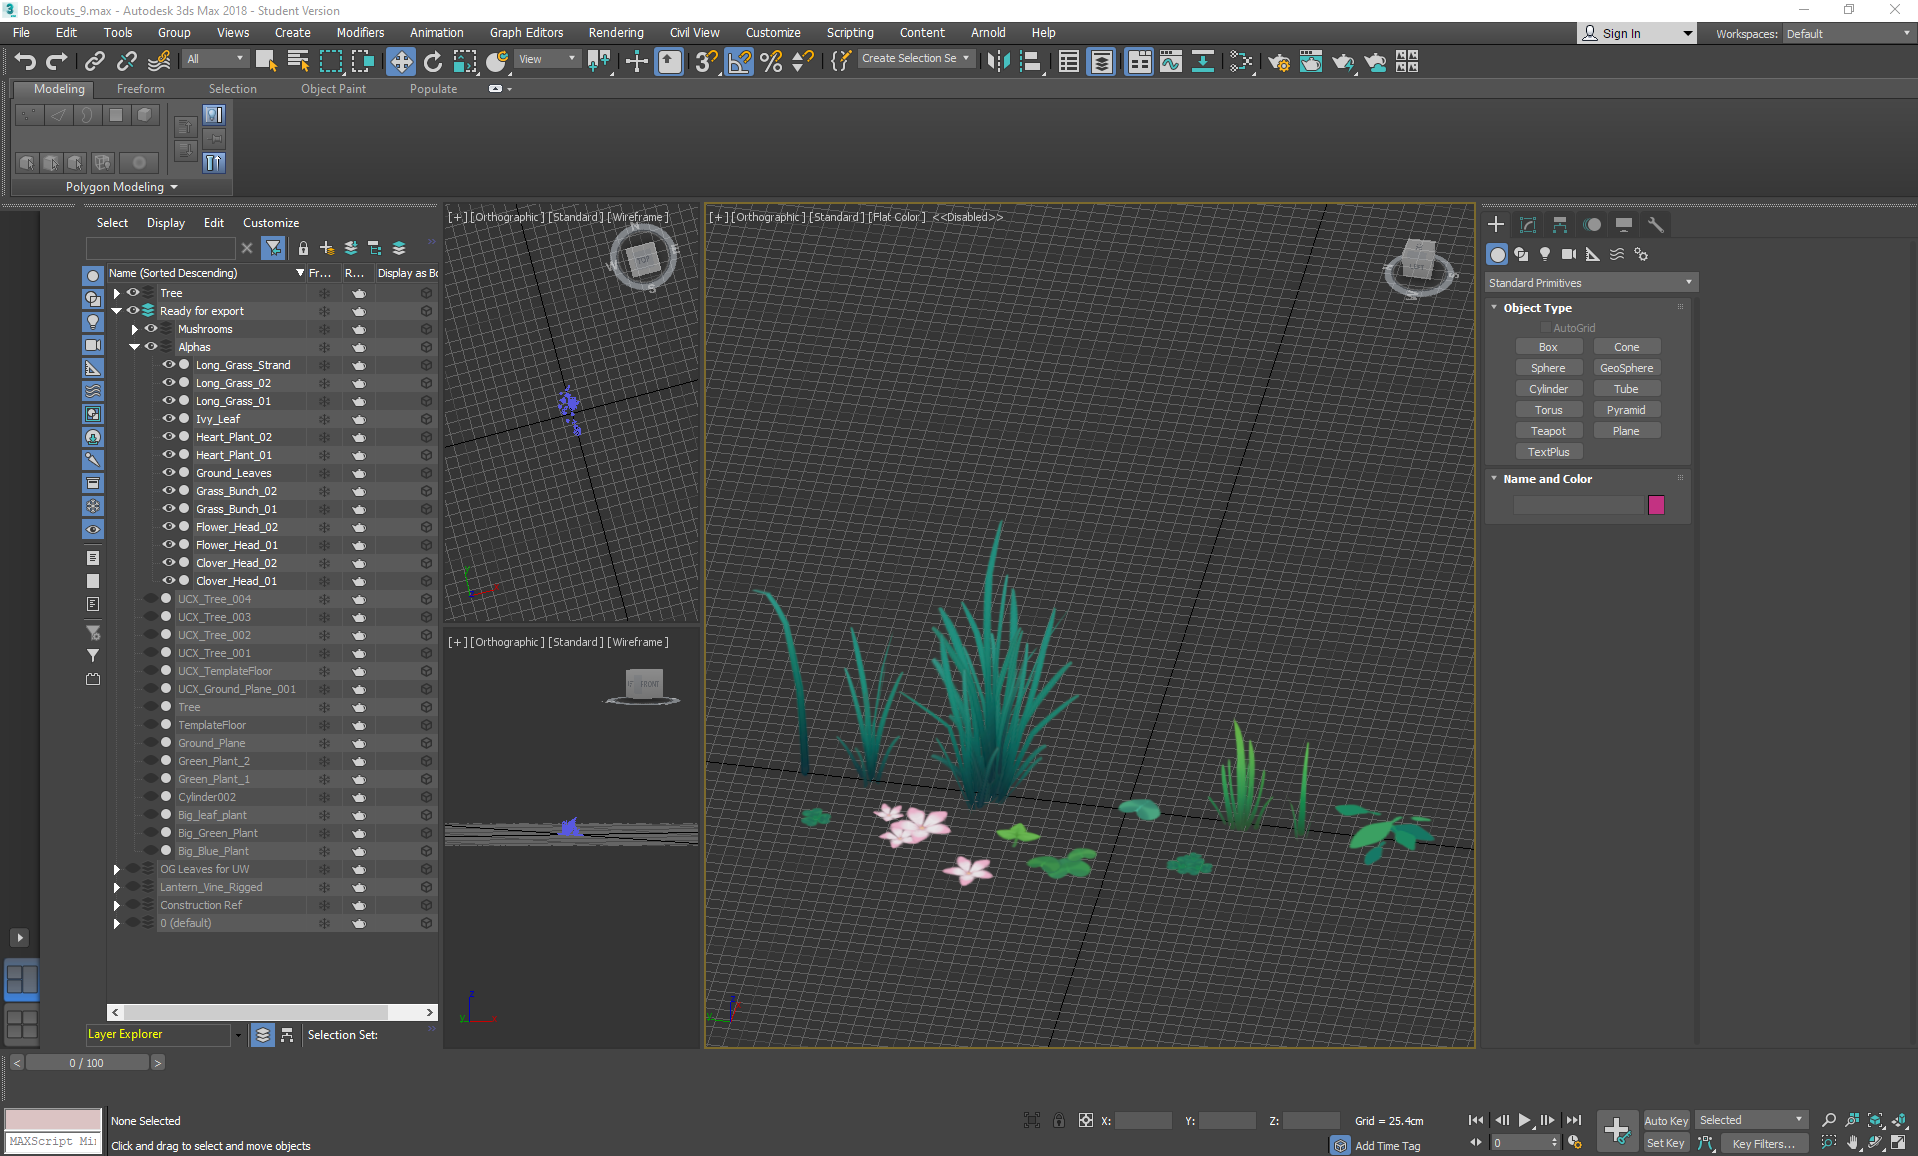
On wednesday I began constructing all of the foliage that would be in the scene, starting with the alphas and ending with the solid/opaque foliage.
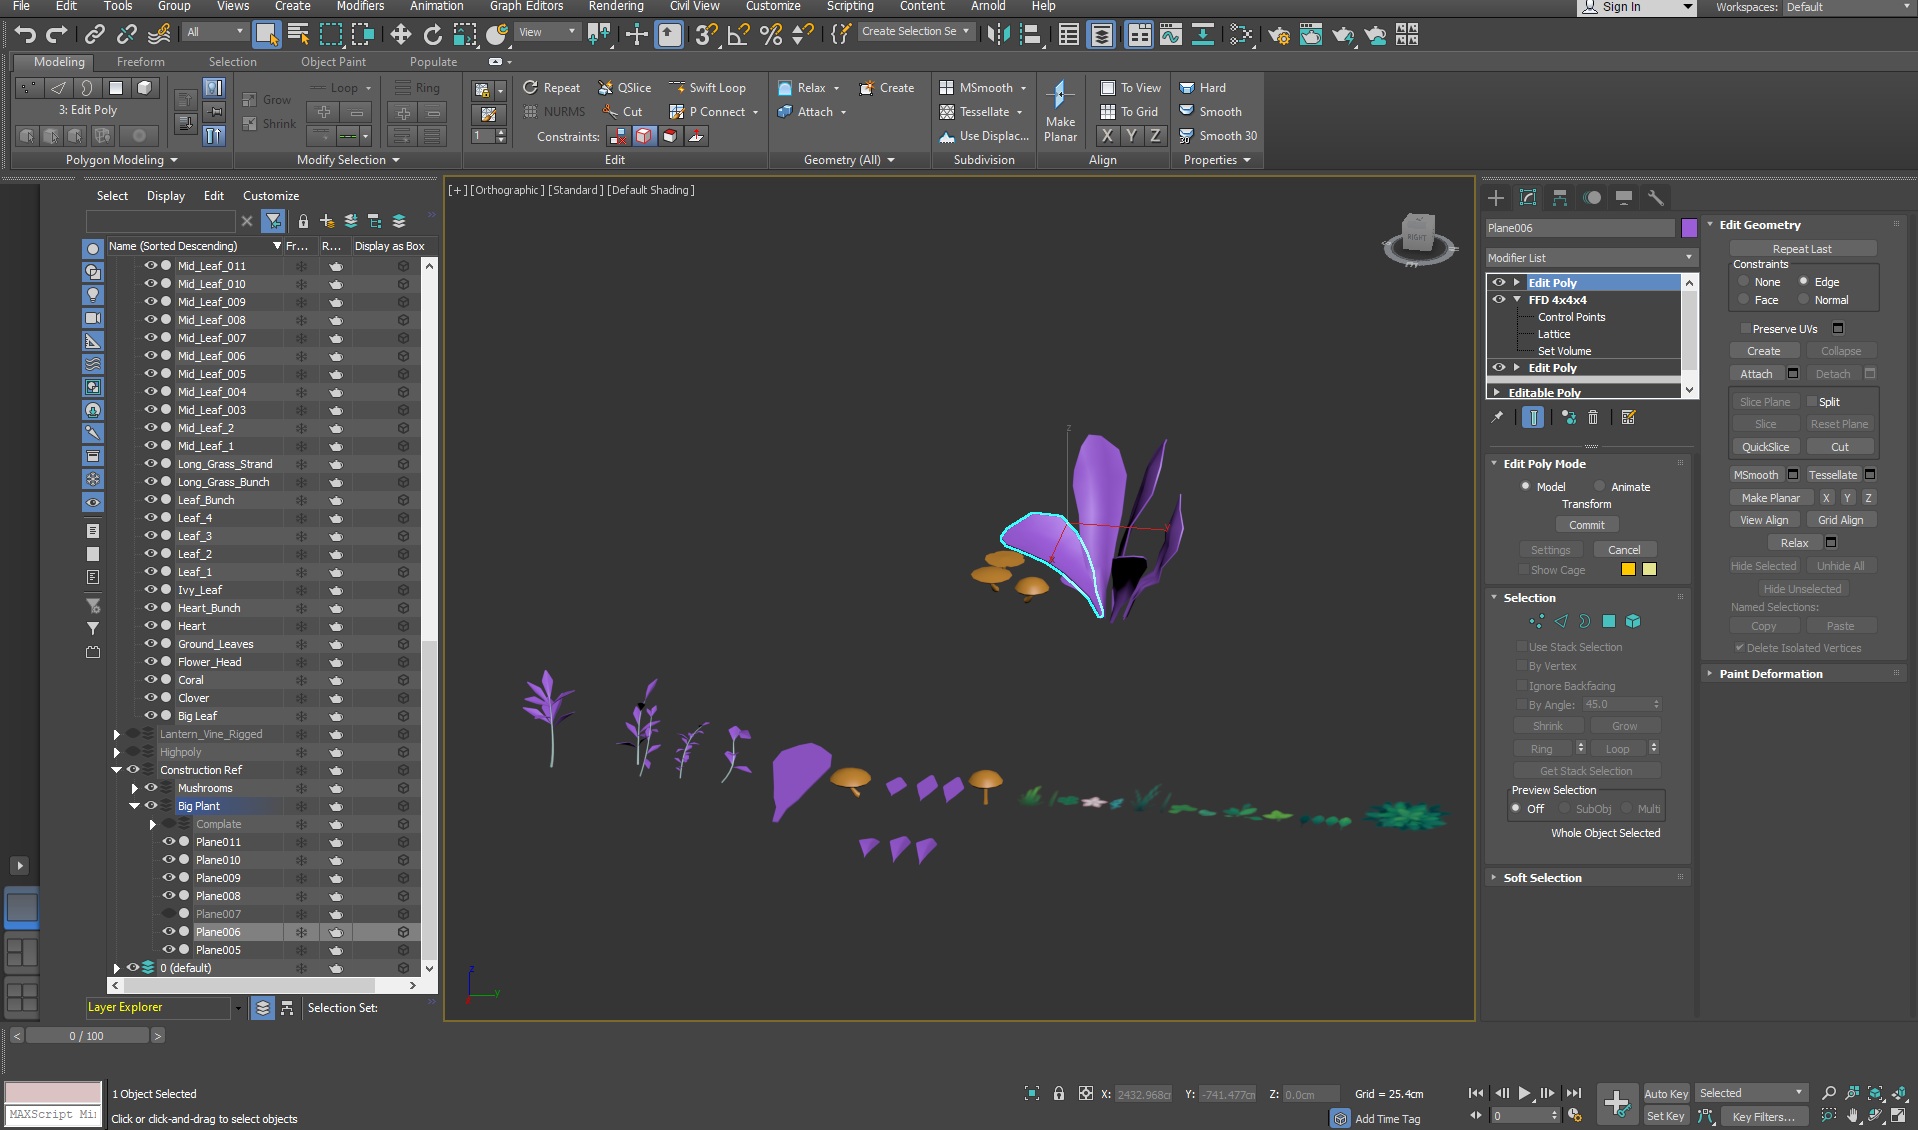
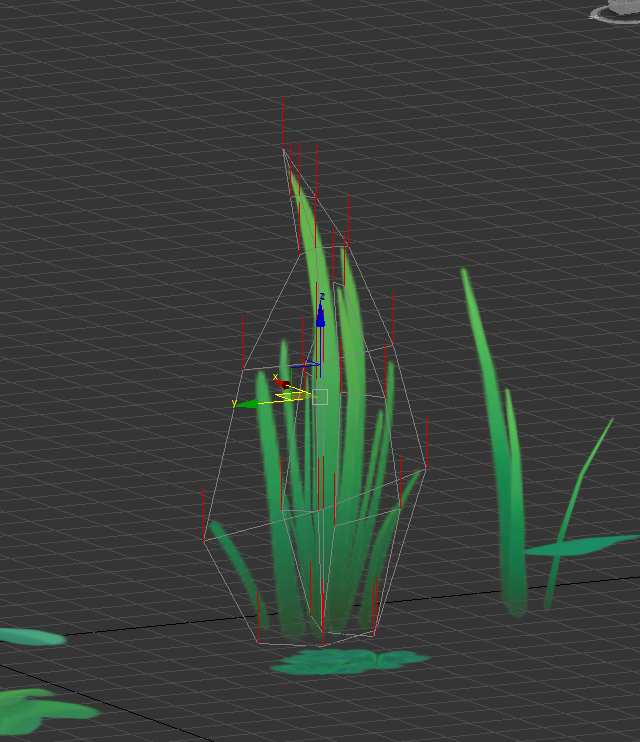
To avoid using too much texture space, I specifically modelled a flat leaf for texturing, then made several reference versions with a ffd modifier stacked onto their individual unique shelves:
I made sure that each alpha was bent slightly or overlapped so that it could be visible from all angles and made sure that the normals were pointing upwards to avoid any bad lighting angles. In the future, if I wanted to be particularly cheap with my budget, I would consider then projecting these alphas onto an even lower poly plane. In other circumstances I would also consider adding normal maps, but the concept was fairly cell shaded and flat, so I decided to utilise that texture space for something else instead.
After merging everything together, I made sure everything was moved to the centre of the grid ready to be exported to UE4, with light maps in place.
On Tuesday I started making the alpha texture sheet for the scene:
I wanted to keep everything to a single 1012 alpha sheet so that I could size everything to a similar pixel density without having to worry about several individual small sheets. I tried to keep the rendering simple yet vibrant to keep to the concepts I was referencing. I left space at the bottom right corner on purpose for if I needed any texture space later in the project for particle effects.
To complete the map, I added Gaussian blur so that the edges of the alphas wouldn't bleed the background colour.
On Monday I once again looked through the briefs and found that a new project had been added: the Foliage VFX. I knew instantly that I wanted to do this one over any of the others and started to gather my reference images.
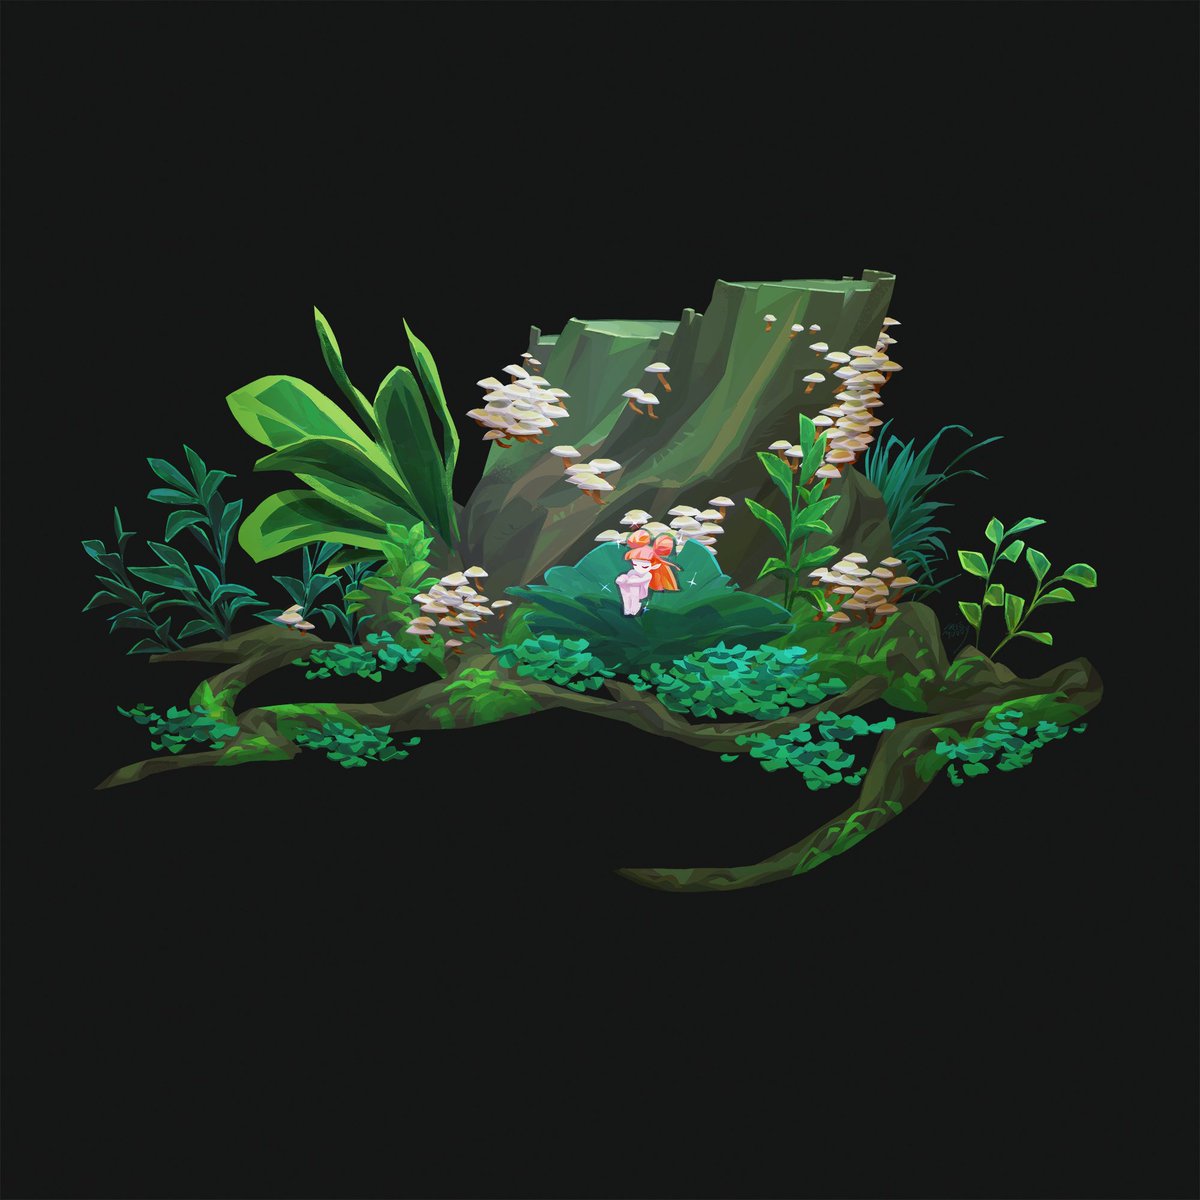
These were the two main influences that I had found on pinterest (click on images for source artists), which I wanted to combine into a small immersive tree diorama:
For this, I then gathered additional reference images:
I collected other alpha sheets to help me think about where I would place different plants and from what angle I should paint them (for example layering the tree leaves into a dome). I used photographs to understand how details left out of the concepts should be rendered for close up viewing, and included reference images from games such as breath of the wild for the way that the assets are presented in a stylised manner.
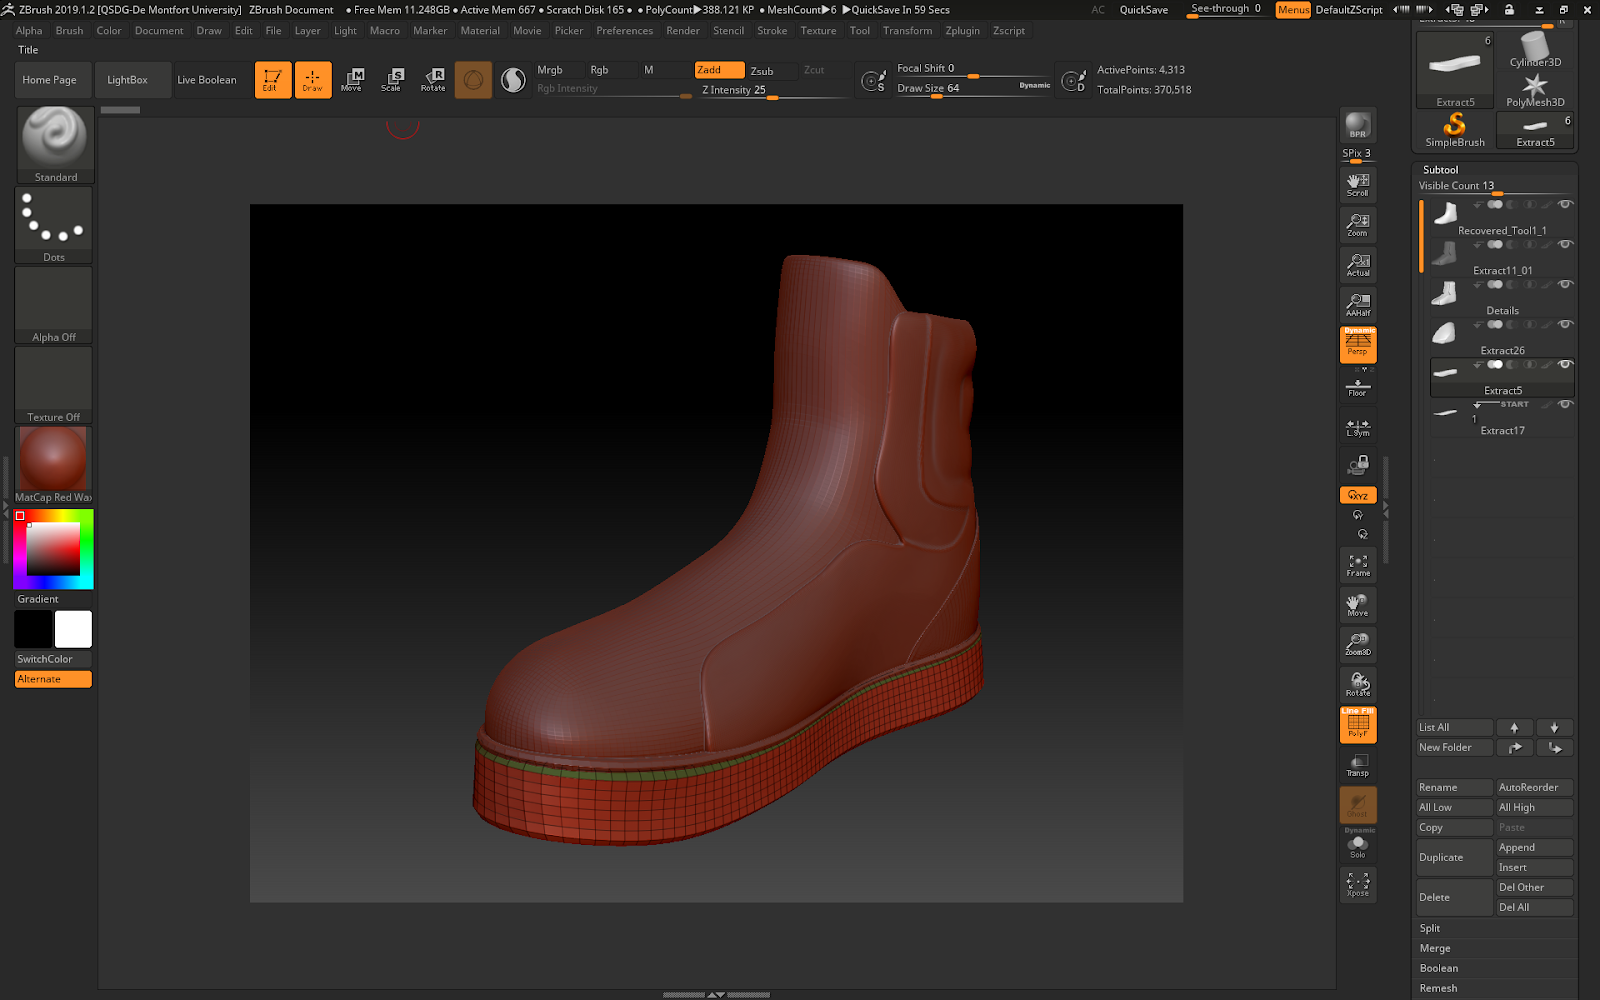
On Friday, I started sculpting the shoes loosely following this guide so that they would be crisp with a flat sole.
With this tutorial I learnt how to use the bend tool to create the bend in the sole, and mask gradients to move sections of the sculpt around.
I used the extract tool for the different parts of the shoe, making sure to create new polygroups in case I needed those areas again. When it came to the detailing stage, I masked off areas with the lasso tool and used the layer brush to take away an even amount of the inverted mask. For the bulging areas I used form soft and dam standard.
On thursday I went back into zbrush and extracted the pants. I decided to use reference with a more shiny material so that it would be easier to identify where the folds are:
I then noticed that the folds were too extreme, so I smoothed, dam standarded and pinched areas until I had some well defined folds that weren't too sharp as a good middleground between the reference image and the concept.
On Wednesday I felt particularly ill and had to take the day off, but not before exporting the character sculpt into Marvelous to replace the default model:
After messing around with the program for a bit, I decided that it was too much of a risk to spend too much time learning it while I'm on a schedule. I chose to spend the next day sculpting the joggers in zbrush and to re-evaluate whether or not I should use marvelous later in the project when I'm making the jacket and shirt, as those would have more areas that hang off of the body.
On Tuesday I opened zbrush and created a blockout from a zsphere, paying attention to the anatomy reference on my pureref file:
I wanted to use this time to practice sculpting bodies and to get back into the flow of zbrush, so I decided to loosely sculpt in some muscle definition before making the clothes:
I didn't want to waste too much time on muscles that wouldn't be seen later in the sculpt, so I stopped here and moved onto testing whether or not marvelous would be a good choice for my next step.
I used Monday to gather up reference material for the sculpt and to find the concept I wanted to use. I created a pureref file based around a concept by Catlesstail on twitter:
As the concept was a helmeted character and the head on the concept seemed to be a little too small to fit a human head inside, I decided to adapt the proportions a little to fit the brief.
Now that the concept had been decided upon, I went on a research binge to find as much real life reference as possible to strengthen the concept, especially in terms of materials.
I paid particular attention to obtaining multiple views of different kinds of clothes so that I could combine them into a cohesive sculpt.
Friday's work consisted on making sure the particle effect worked properly within the scene.
Particle effect:
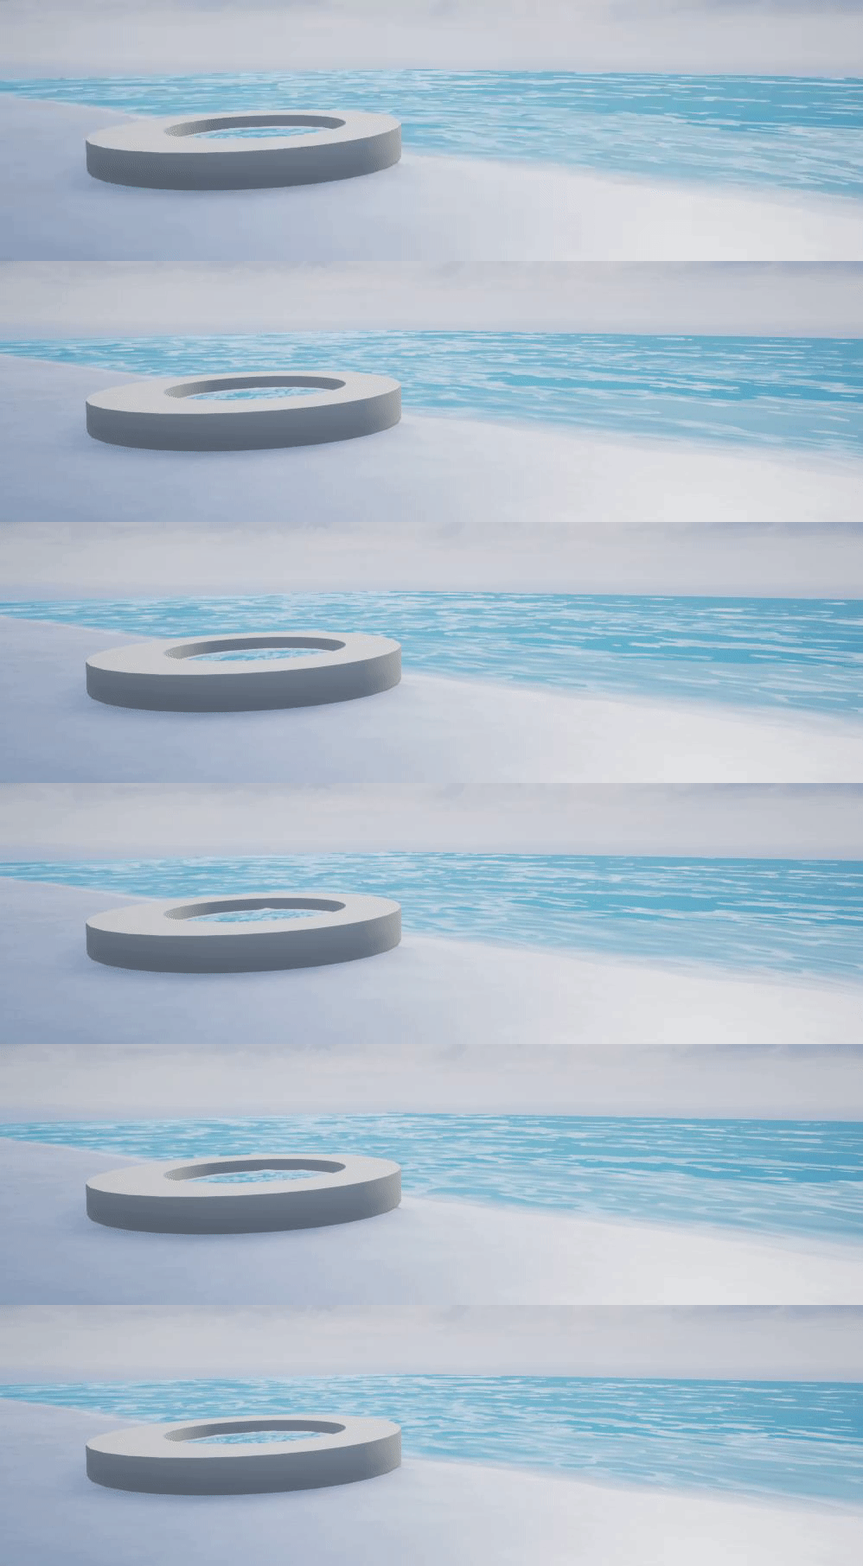
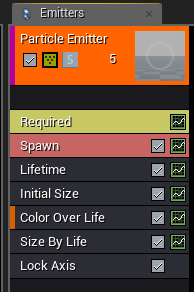
For the particle effect, I added colour over life to make the ripple fade out and size over life to increase the size over time. The Lock Axis was so that the particle effect wouldn't follow the camera view and would instead lay flay on the surface of the water. I set the initial size to 100 and the lifetime to 5.0, but these may be changed later when placing items in the water feature.
Blueprint:
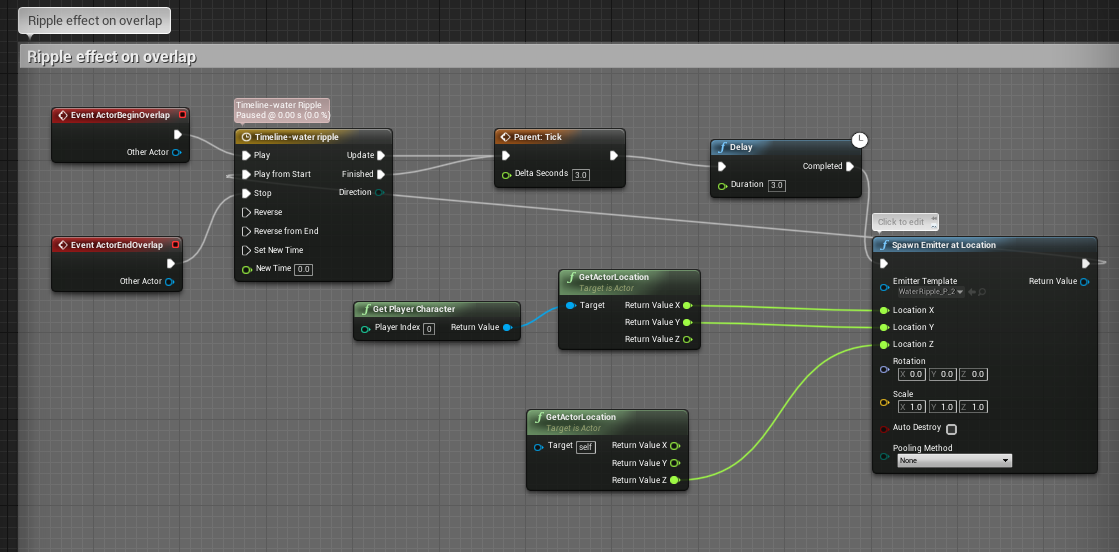
For the blueprint, I scrapped what the ripple guide wanted and implemented my own. I wanted the particle effect to spawn once the actor was in the water and to end when they left it, so I plugged an Event ActorBeginOverlap and Event ActorEndOverlap into a Timeline node. I then tried to plug this straight into the Spawn Emitter at Location node, which used the GetActorLocation node which in turn had to be plugged into Get Player Character. This came up with an issue however, as it would retrieve the character location only once as they hit the water, but would only spawn the particle in that location, not following the character's movements at all. This would have been fine, but I wanted more dynamic water! I wanted it to react to where things were, or had been moved to.
This was where I then tried just using the Event Tick node with the Delay node, as seen in the guide I used yesterday. This was just as bad though, as it spawned the particle effect even out of the water. It was then that I discovered the add call to parent function while clicking on things just for the sake of the off chance of finding something useful. This made it so that I could plug the timeline node into the Tick node, but I knew it would be expensive and pointless to have it generate every tick of the engine, so I changed the delta seconds to 3.0, and the delay to another 3.0, using it like a refresh button on the particle spawn node. Luckily for me, the Timeline node had a play from start section that I could plug the Spawn Emitter at Location into. This meant that upon the actor touching the water, the Tick node would refresh the particle effect spawn event every 3 seconds with a 3 second delay, which in turn meant that a new location would be received every 3/6 seconds- following the position of the actor!
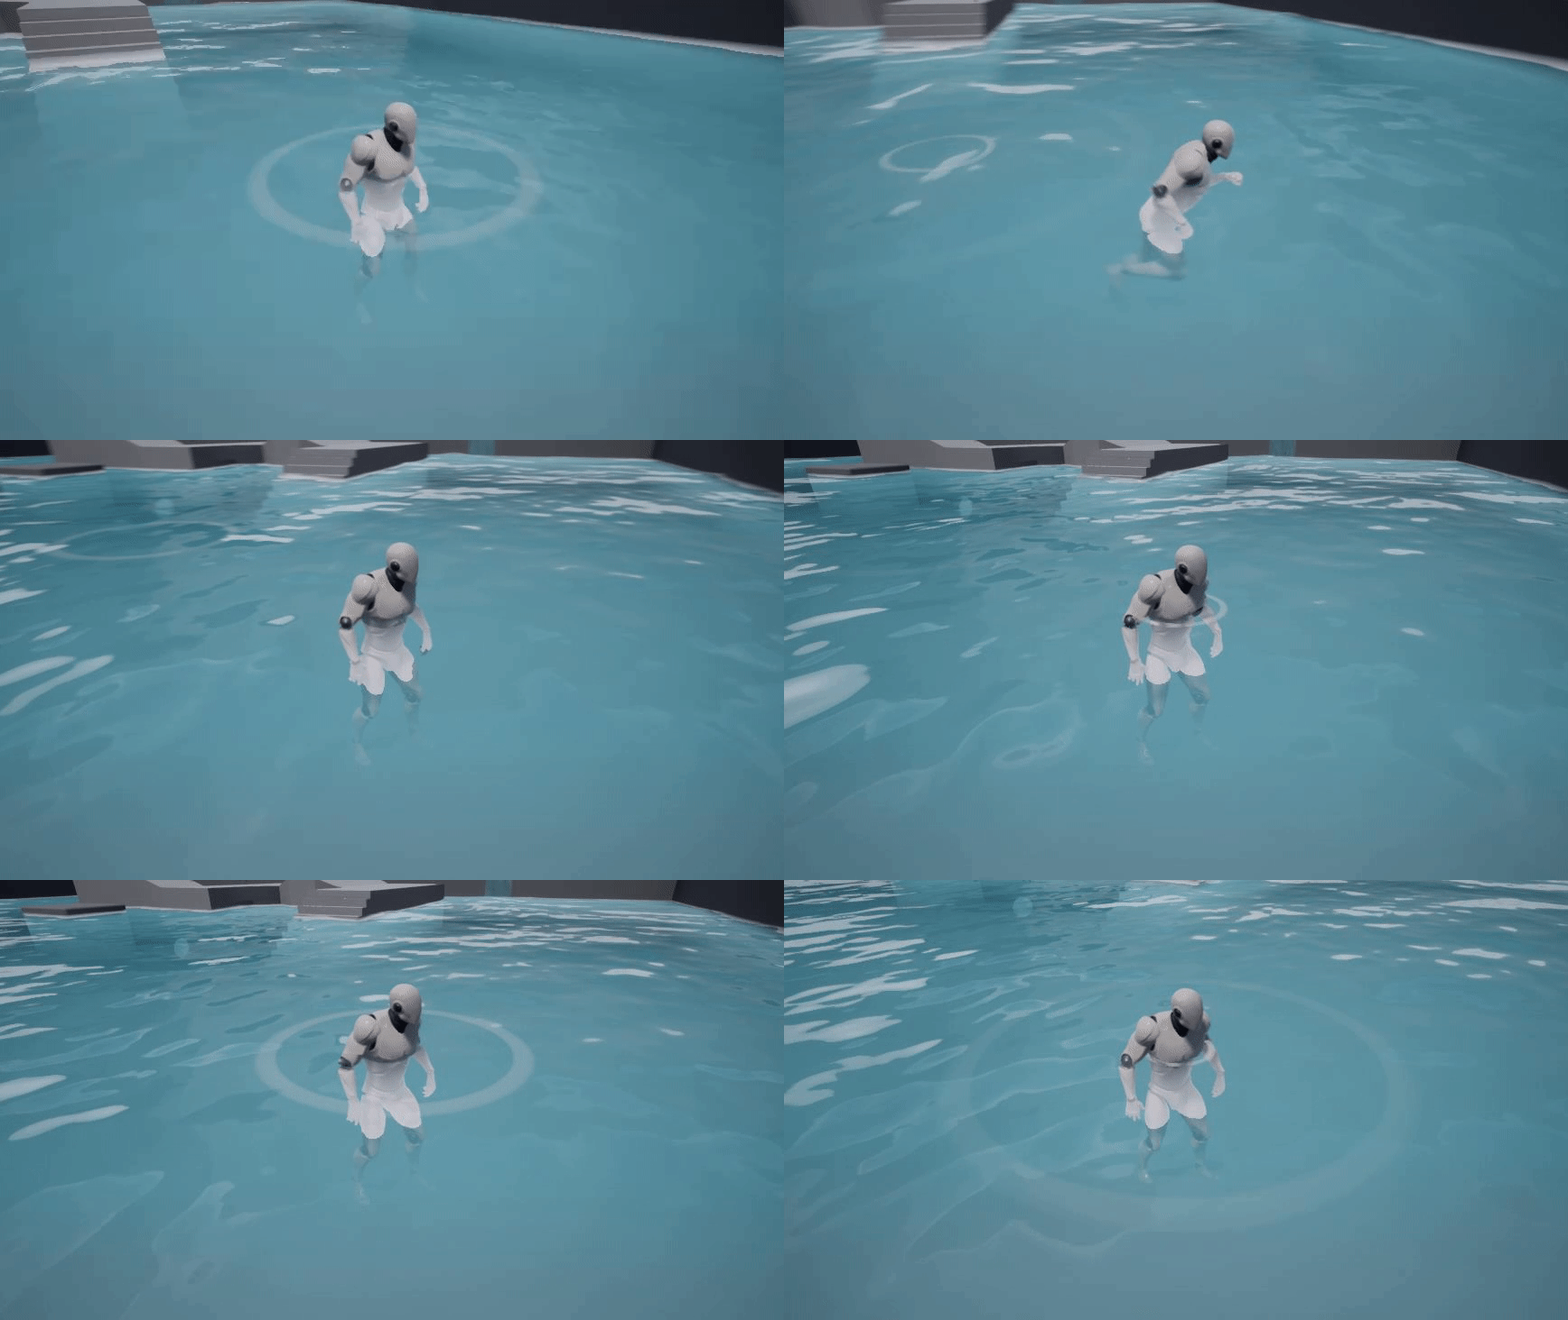
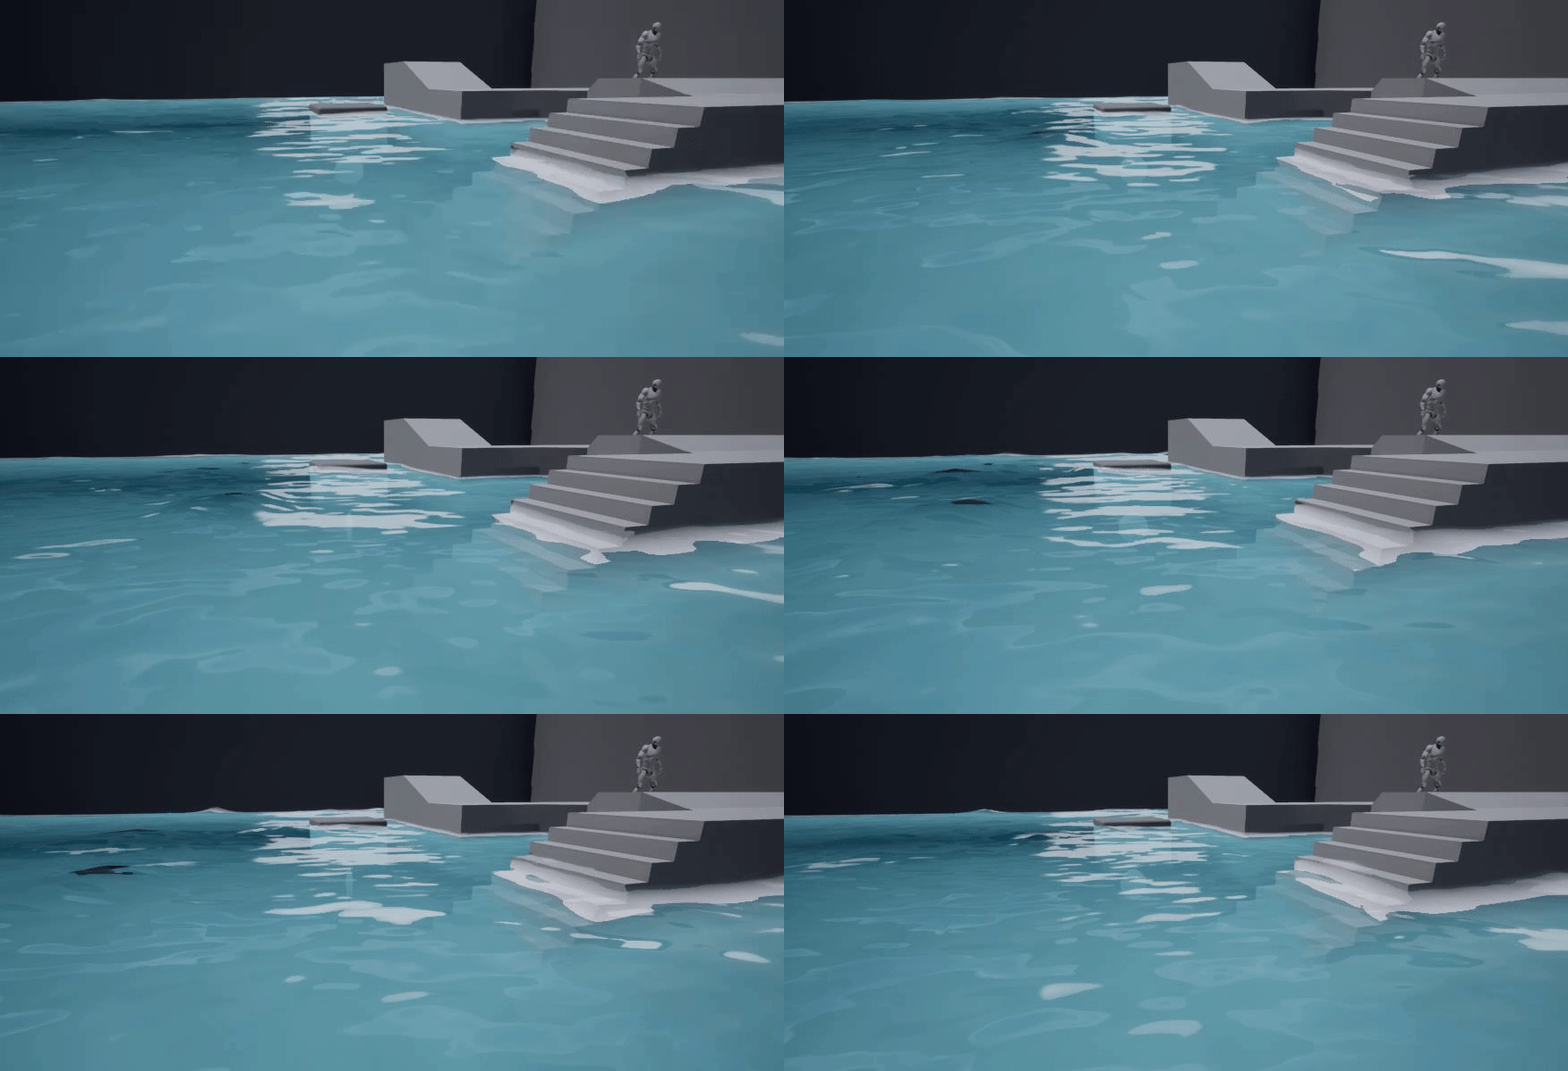
After this success however, I discovered that the particle effect was spawning at the waist of the player character and not on the water surface. I wasn't sure how to tackle this problem so I had to ask a lecturer to help. Through this however, I was taught that I could split the structure pin of the location node, which was originally plugged into only the GetActorLocation node. I could now plug the Location X and Location Y into the position of the actor, while the actual height (Location Z) could be plugged into the location of the water surface itself. The ripple could finally be generated on the surface of the water depending on where the character (or lily pads in the future) were placed!
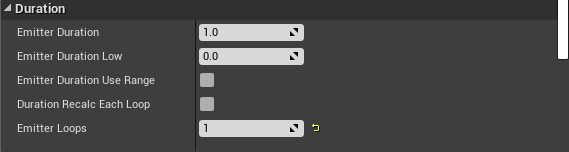
When I was messing with the blueprint, I realised that I needed the emitter to have 1 loop, emitting once and then stopping. This was to prevent the ripple effect from being spawned constantly in one location regardless of where the actor was, based on where the actor had been previously. I needed these excess ripples to be killed immediately after ending.
After Wednesday's blunder, I realised that any more time spent on the water shader itself could waste time, so I set to work on the next thing on my list: particle effects.
I wanted to make the water more dynamic before anything else, so I decided to work on a ripple effect for floating items which could also be recycled for the stream of water later down the line.
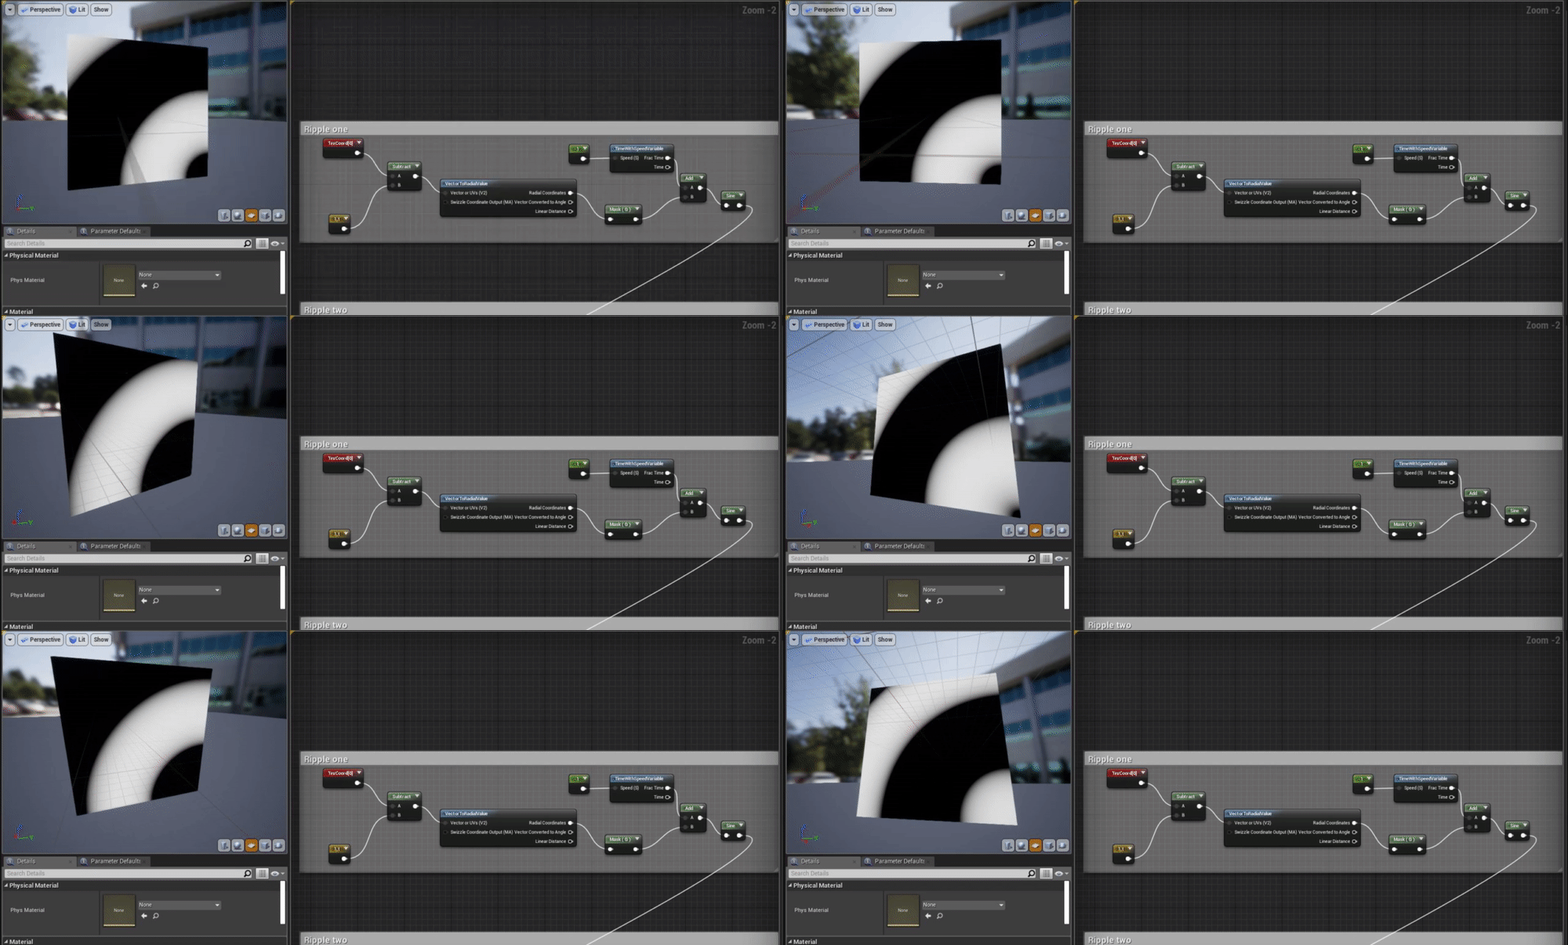
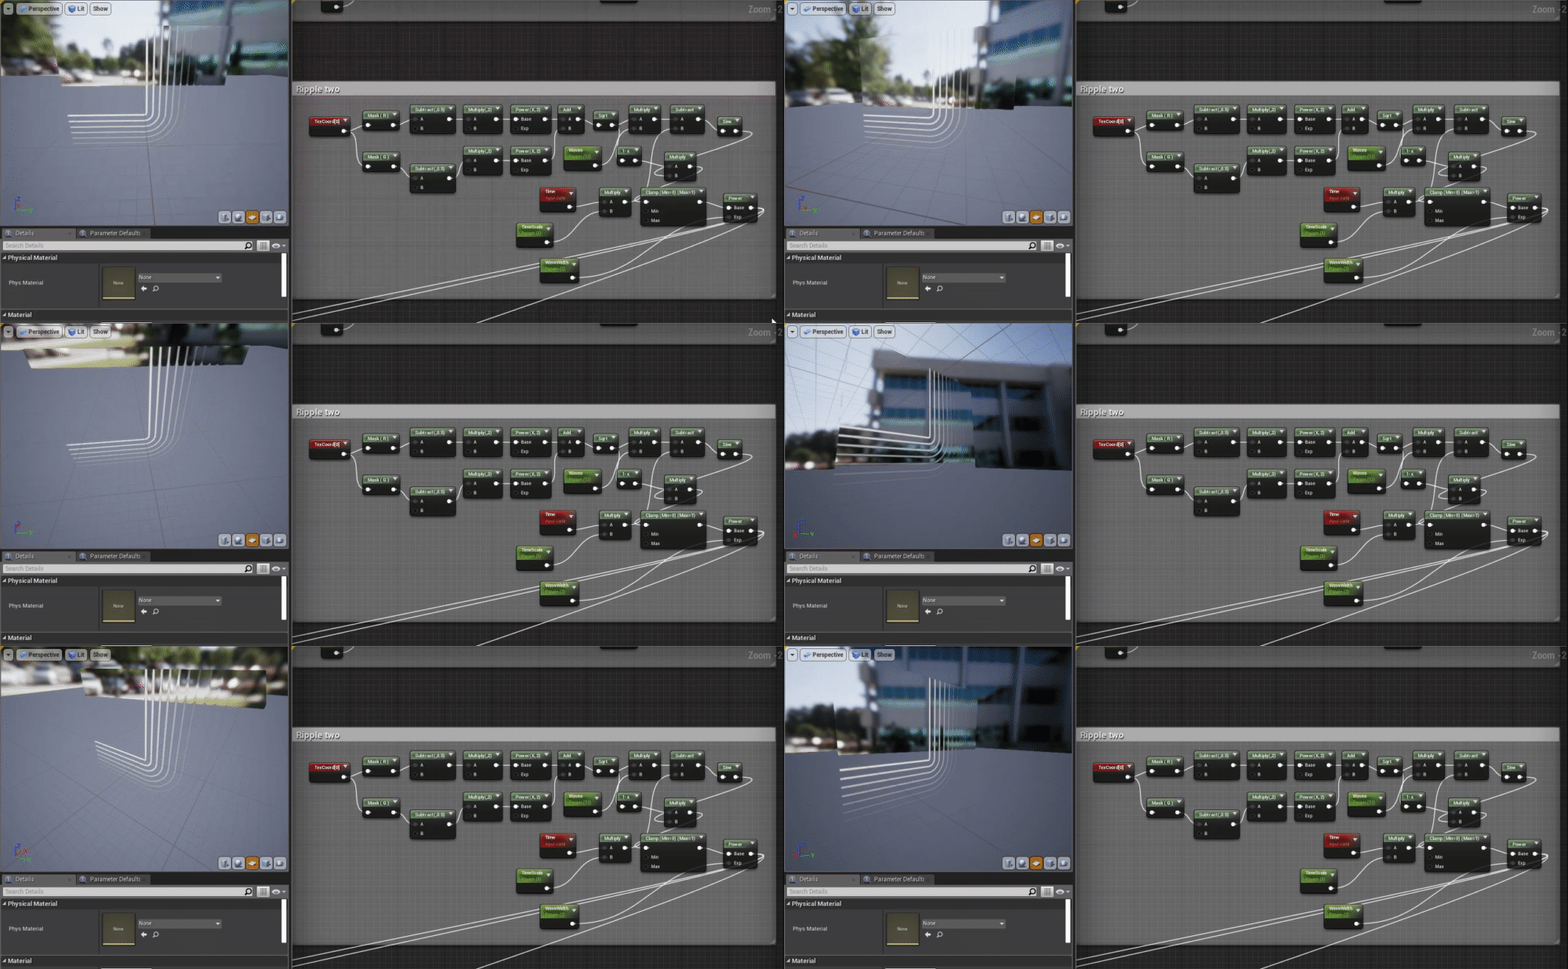
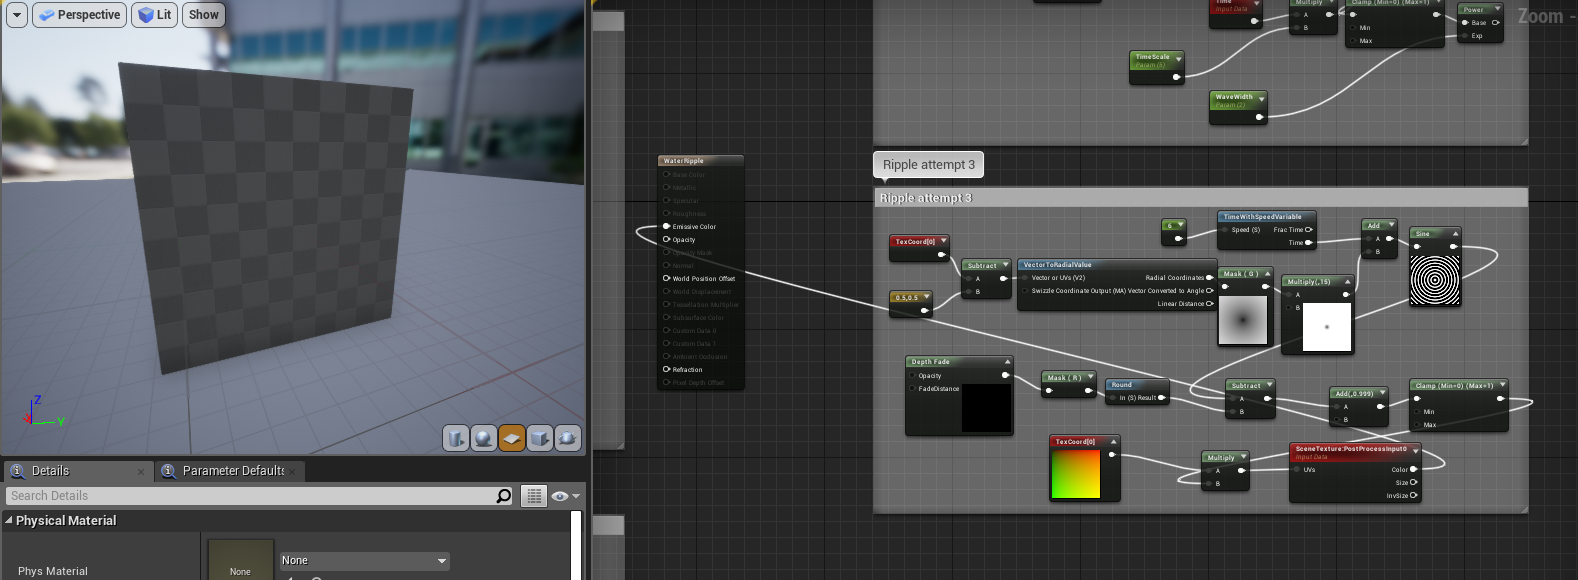
I ended up trying out multiple guides to create the ripple effect, testing out each one and then using the one that I liked the best- both in aesthetics and usefulness later down the line. I also tried to exclusively use textures generated from the nodes themselves in order to increase my knowledge of the software.
I gave up on this effect as it wasn't central, nor was it faded, but I kept it in case I wanted to fade and tweak it myself later and use it for a waterfall ripple effect.
I scrapped this attempt as the nodes were incredibly difficult to read and the end result looked nothing like the example image, making it difficult to figure out where I went wrong, as I had no correct example to refer to and learn from.
I scrapped attempt 3 after plugging it into the texture preview and seeing nothing, as I was then made unsure if it would work considering the guide was for a post processing effect rather than a particle effect.
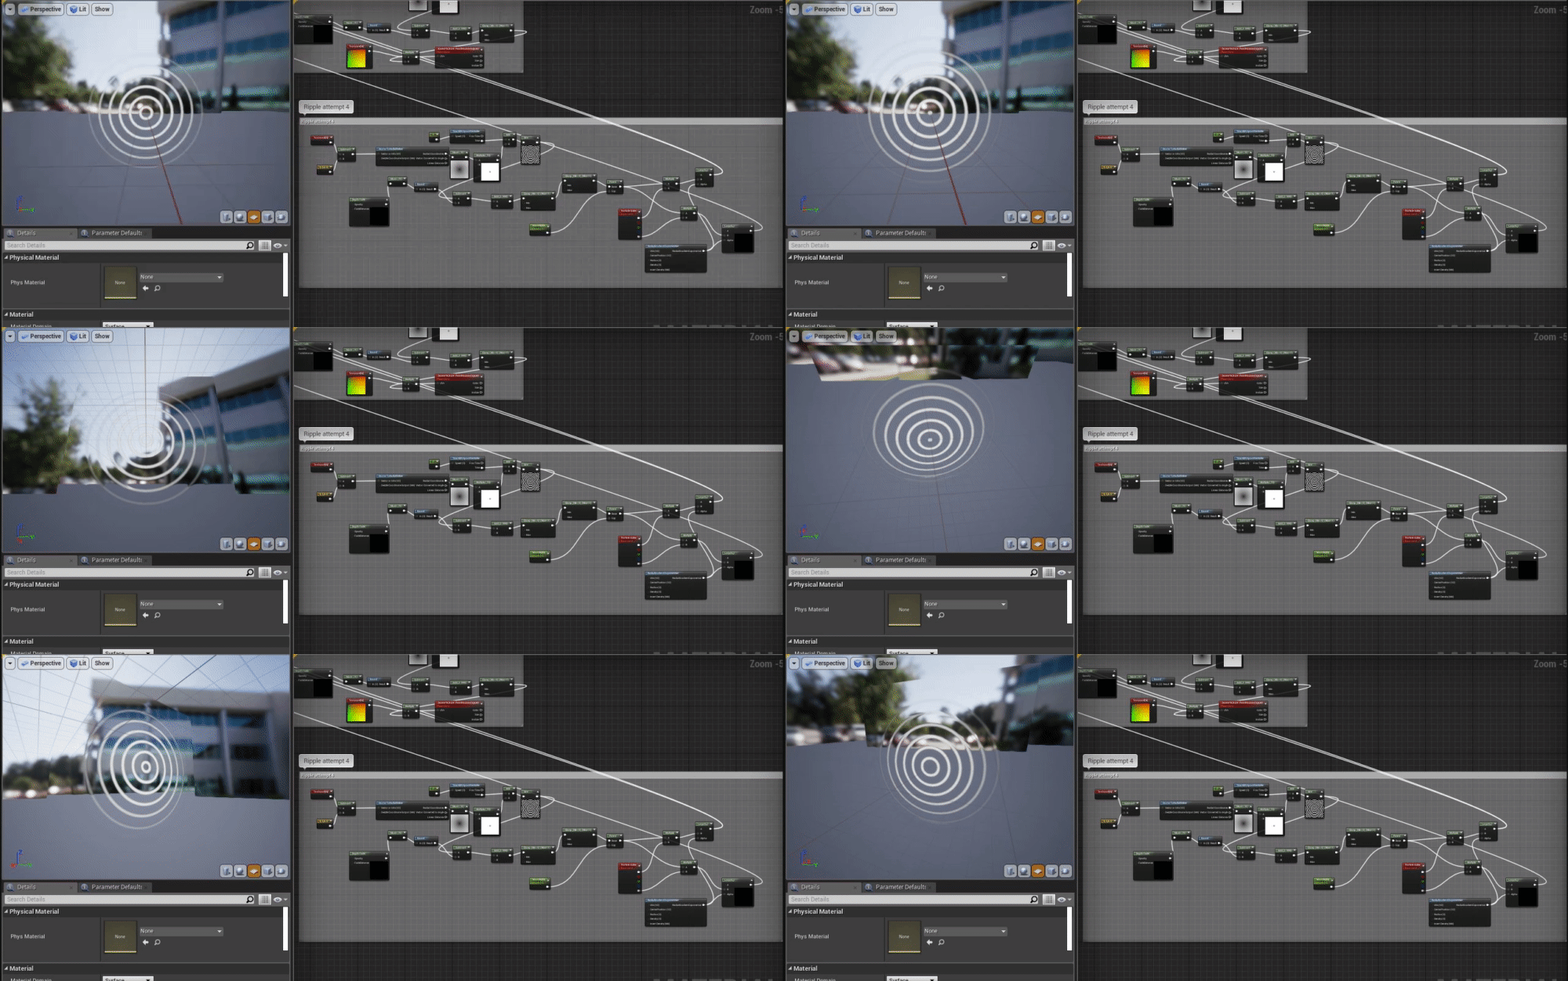
Attempt 4:
This was where I ended up using what I had learnt from the previous attempts to combine them together into a useable texture that generated from the center, while still being usable for a particle effect.
This was much closer to what I wanted, but the refraction on the outside wasn't being masked properly and I realised that the frequency of ripples was a little distracting, so I decided to try again one more time.
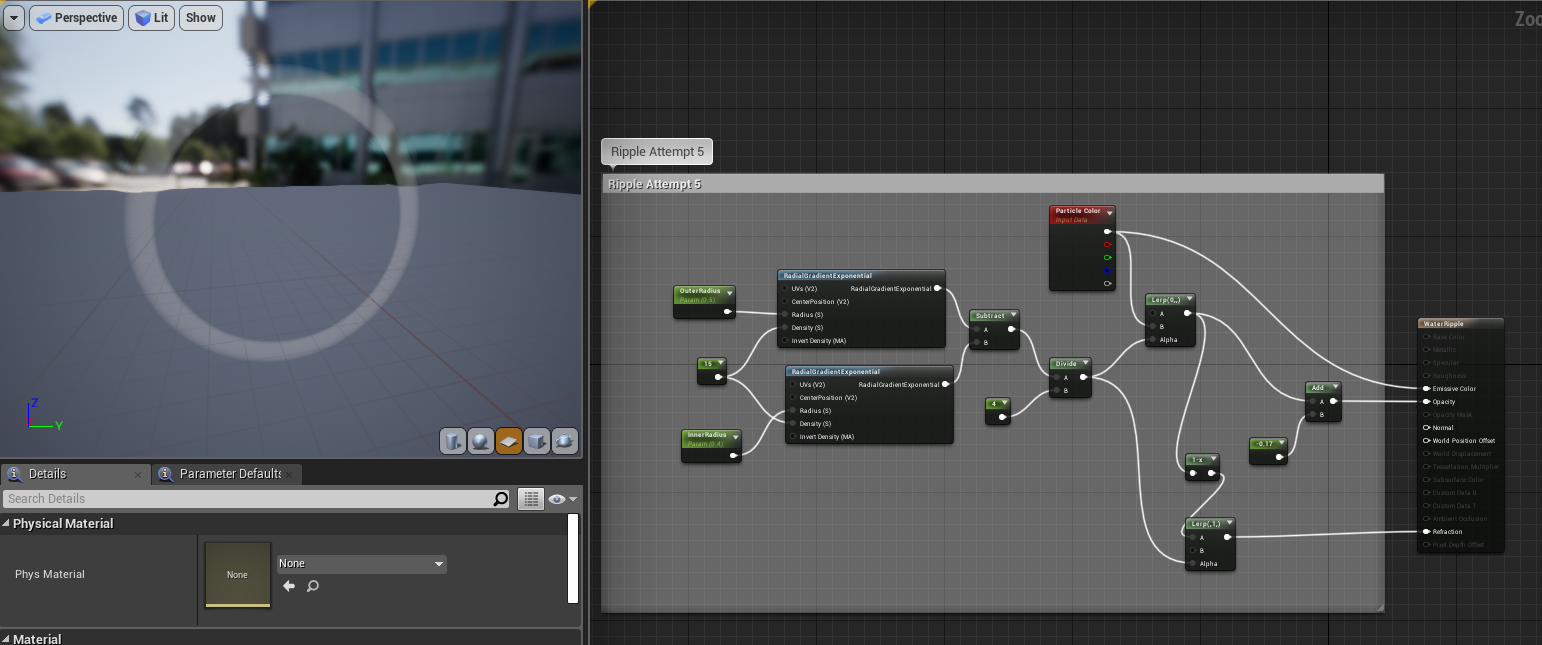
Attempt 5:
This time I decided to use another guide, but used my previous knowledge to tweak it and generate the texture myself.
This material didn't have any panning textures, but it wasn't needed as I could animate it within the particle effect settings myself. I decided that I wanted to add some distortion to the ripples, but to focus on the blueprints in the meantime.
I tried to follow the guide as closely as possible:
I made all of the render targets and materials as stated
I created all of the components, as per the guide
Making sure to add all of the blueprints so that the custom components would work within the blueprint
Then I delved into the event blueprints, omitting sections that involved coding that I knew I didn't need, such as blueprints that would enable the character to shoot a stream of water towards the water. I tried to do this delicately so that it wouldn't break the rest of the events that were connected to the parts that I took out.
Finally I completed the construction graph as seen in the guide.
After pressing compile I waited and got.......... nothing. I asked a lecturer to look over the blueprints to see if they could pinpoint where it was going wrong, and managed to find a few areas where param2D textures had been named wrongly. This managed to fix the base colour and general look of the water, but still none of the animations or reactive parts of the water surface worked. After all of this, I was also told that the guide was for Unreal Engine 4.13, therefore could have major holes when used in a newer version (which I was using). It was at this point that I decided to give up on this particular shader, but it was a learning experience and helped to level up my knowledge of blueprints a little bit- enough to get my way around most of the blueprints later down the line without having to look at guides anyway. For now though, it was back to (almost) square one.
I ended up not following these tutorials in particular as the particle effects were too misty, and were unfit to be used for a small scale water feature where the water is pouring more gently.
I deemed this video to be useful in the future for when I make a trickling water particle effect that generates a splash particle effect upon hitting the water surface.
This video in particular was used as a inspiration and guide to creating a ripple effect, however, I ended up heavily changing the blueprint shown in order to make the ripple react directly to the water coming into contact with an actor.
I ended up using this tutorial as a loose guide to create a scrolling texture for falling water, however I will be comparing it to the effect of using a particle effect for slower and smaller amounts of water in order to keep it as realistic to the intensity of water as possible.
This tutorial was considered in case I wanted to make lily pads and other things float on top of the water, but will most likely be kept to a stretch goal if I have time closer to the end of the project.
I found this tutorial unhelpful, but very interesting as I'd love to know what the spline in the middle of the waterfall is for, and how the ends of the mesh generate the splash particle effect on play. Just like the buoyancy tutorial however, I will most likely shelf this enquiry until I decide on whether I'll be using a panning texture for the stream effect or a particle effect, as they will require different blueprints to react with the water surface.
Finally, I found a complete blueprint guide to creating a fluid, reactive surface in UE4:
I decided to test this out, and if it worked I would scrap my previous water shader for this one, adding in any edits that I needed to create the perfect water.
I noticed that I particularly enjoyed making particle effects last year and have always wanted to know how water is made in engine, so this was the perfect brief for me.
Monday:
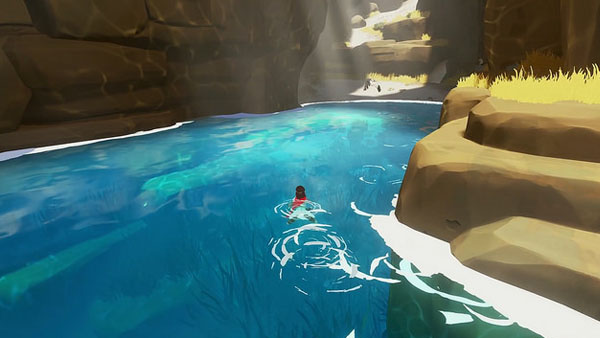
On Monday I spent the majority of the day collecting reference images on pinterest and finding as many tutorials as possible to make the different elements required of me by the brief. This included shader guides, particle effect guides and blueprint guides. I wanted to create water vfx that acts realistically in its waves and ripples, but still has a stylised tone to it, much like the water seen in RIME and Sea of Thieves:
I collected image and video reference of both stylised and realistic water in different situations: still water, ocean water, pond water, ripples caused by floating items and droplets of water disturbing the surface. I wanted to create a stylised garden pond with plants floating on the top, with a water droplet particle effect trickling down from above, causing a ripple and splash effect on impact.
At the end of the day, I used this written guide and following videos to create my water shader.
I studied and replicated the nodes shared by Olivier Cannone to understand the effect each part had on the material, then changed elements of it to achieve the effect I desired.
This breakdown was particularly useful to figure out what an industry standard material would be built to look and act like, which helped me to create a cheap shader that would be game ready.
This guide was also helpful when I had issues following the written guide, and helped me to understand the function and purpose of all of the nodes I was using. This in turn made it easier for me to change them to my own needs in line with what I wanted out of the shader without as much unknown error.
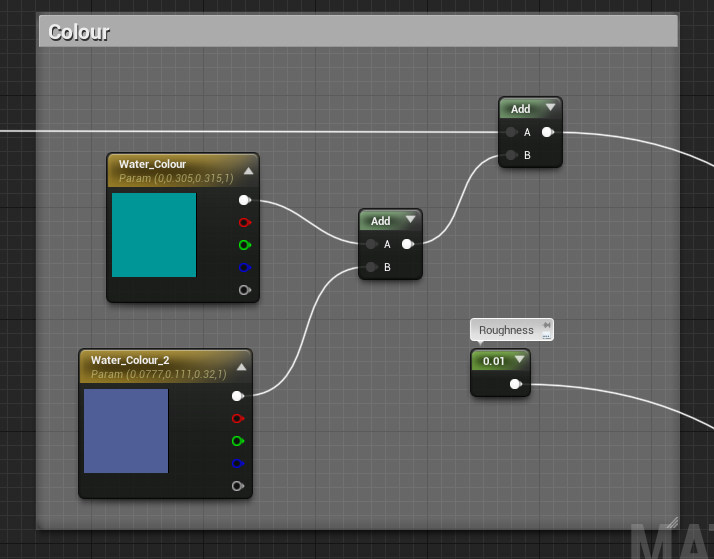
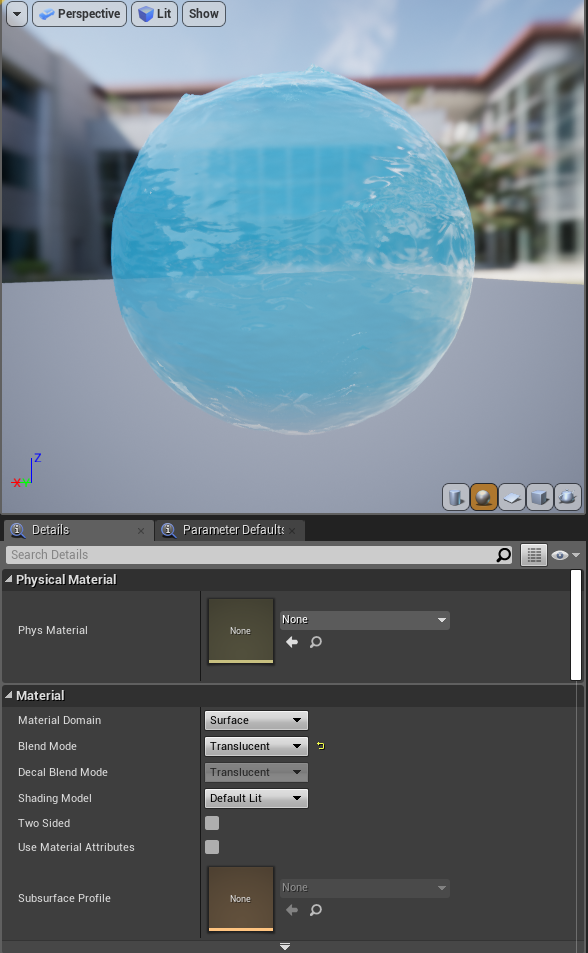
This created an adequate effect, but I may scrap or change it later if it doesn't fit with the clean pond water image.
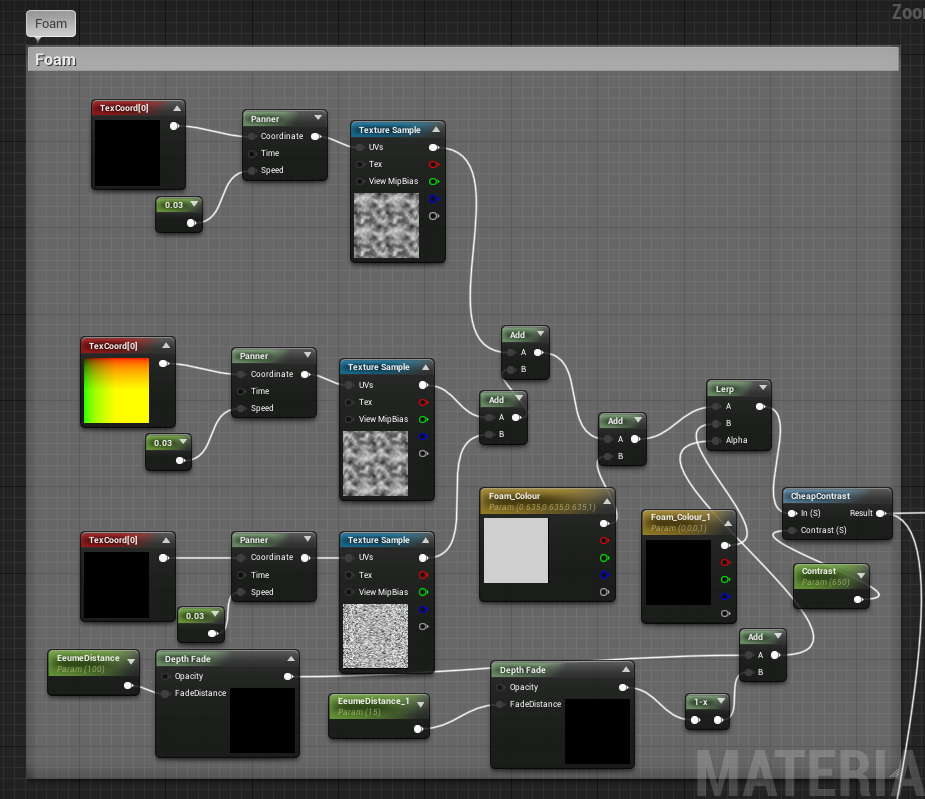
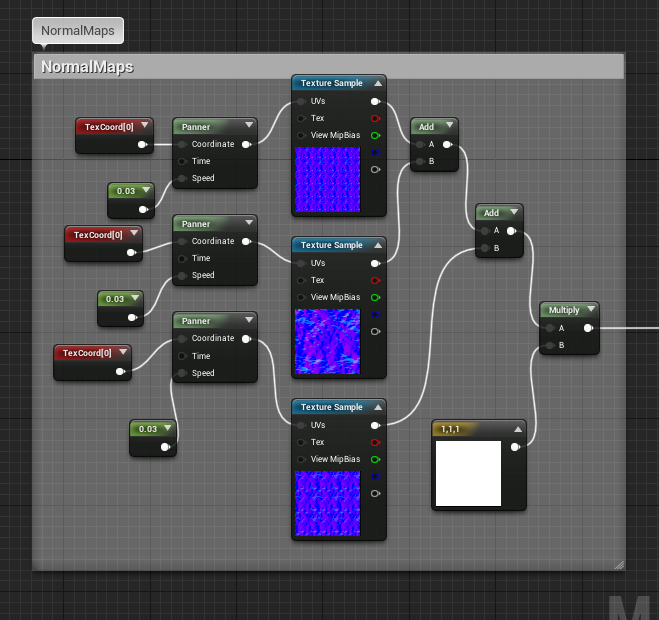
I used TexCoord nodes to change the tiling size of the textures I created from photoshop cloud and noise filters, then the panner node was used to scroll the textures in different directions to emulate movement.
When following the guide, using a depth fade and
lerp here made the water pink, so I removed it and
simply added the colours together. Later, when
tweaking the colours, I re-added the depth fade nodes
and changed the colours, but I suspect I will change
them again after modelling the water feature to be
a darker, more translucent green more in line with the
reference images used.
I created the normal maps by layering the photoshop cloud
filter effect a few times and adding a water ripple image over
the top, then adding a few brush strokes and generating a
normal map from it.
The pink water that made me scrap the previous colour settings
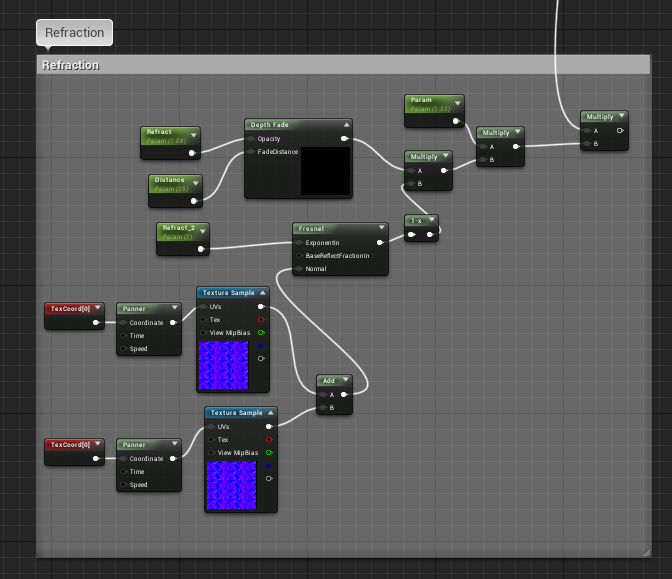
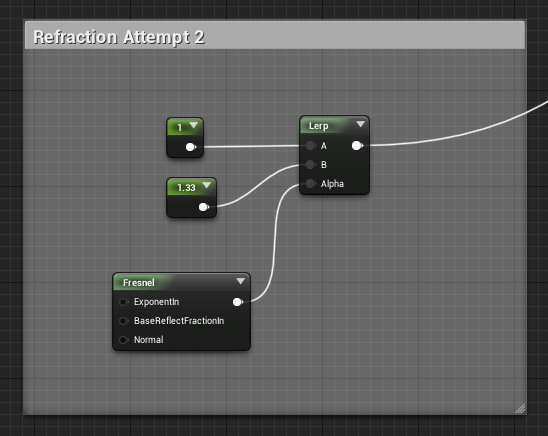
I abandoned this refraction attempt after realising that I could make it much simpler with an effect that I preferred:
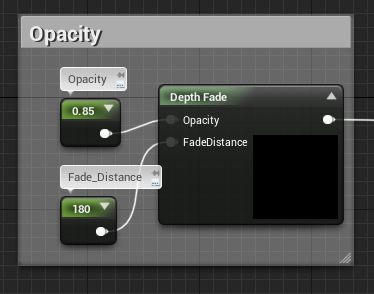
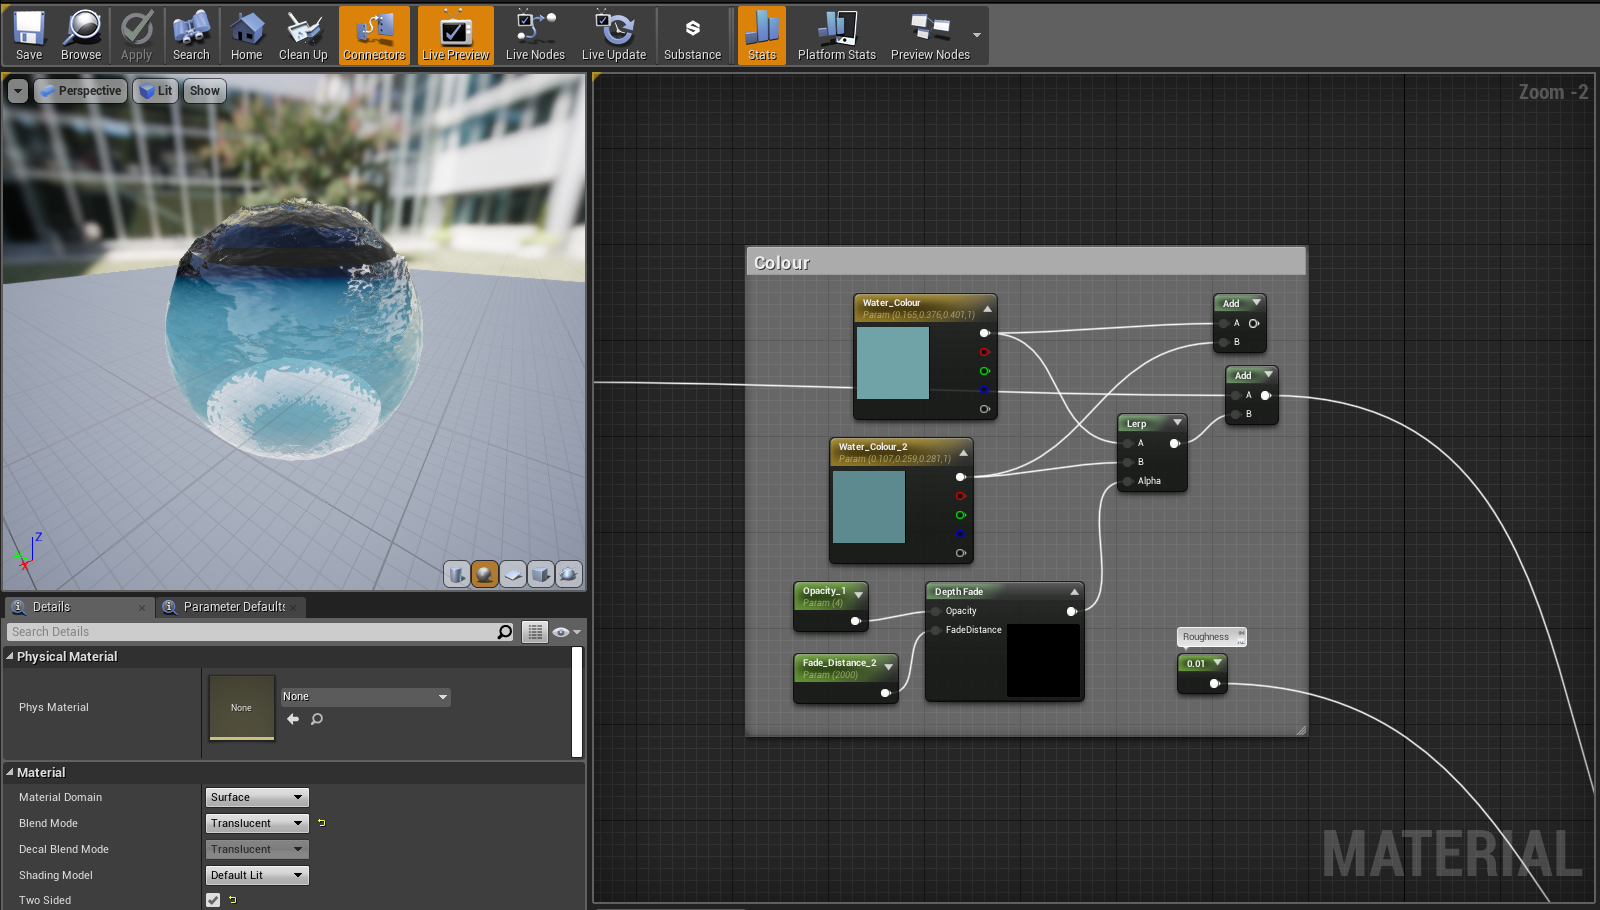
I used depth fade for opacity so that the water would become more opaque the deeper it went, to simulate the layers of water between the eye and an object submerged in it.
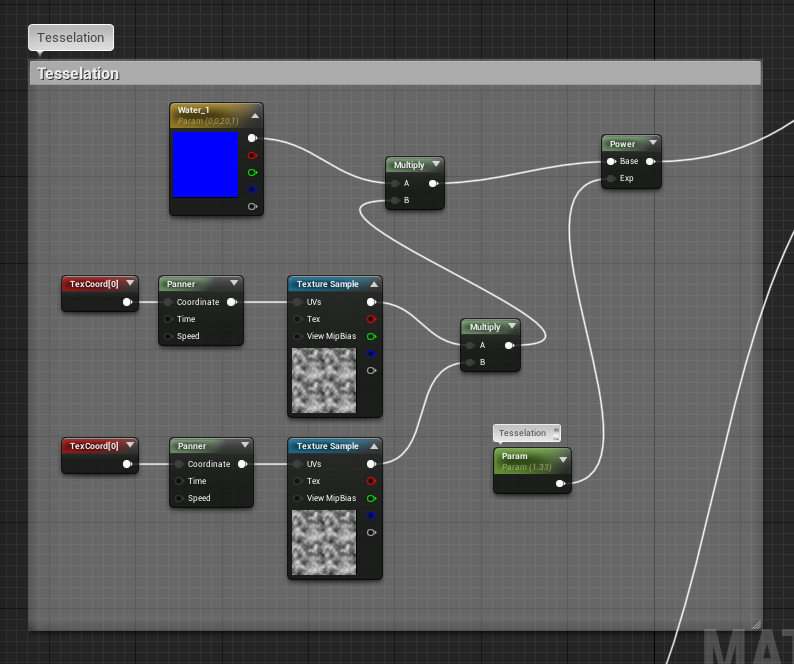
Here I did a similar effect to what I did for the normal, but this time panning two textures to create surface tessellation to create silhouette detail in the waves.
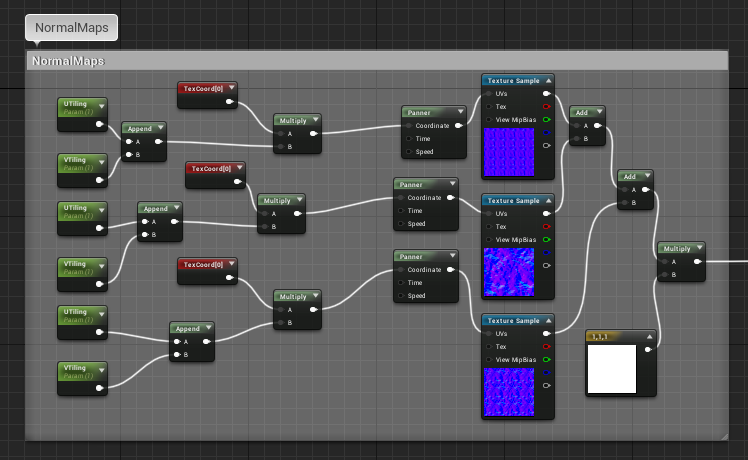
The final effect was satisfying and looked dynamic, but I noticed that when scaling the plane down, it scaled the texture tiling down with it, creating too much detail in the normal. To fix this, I added UTiling Scalar parameters that could be changed easily in the material instance settings:
Material after tweaking the colours and depth fade more