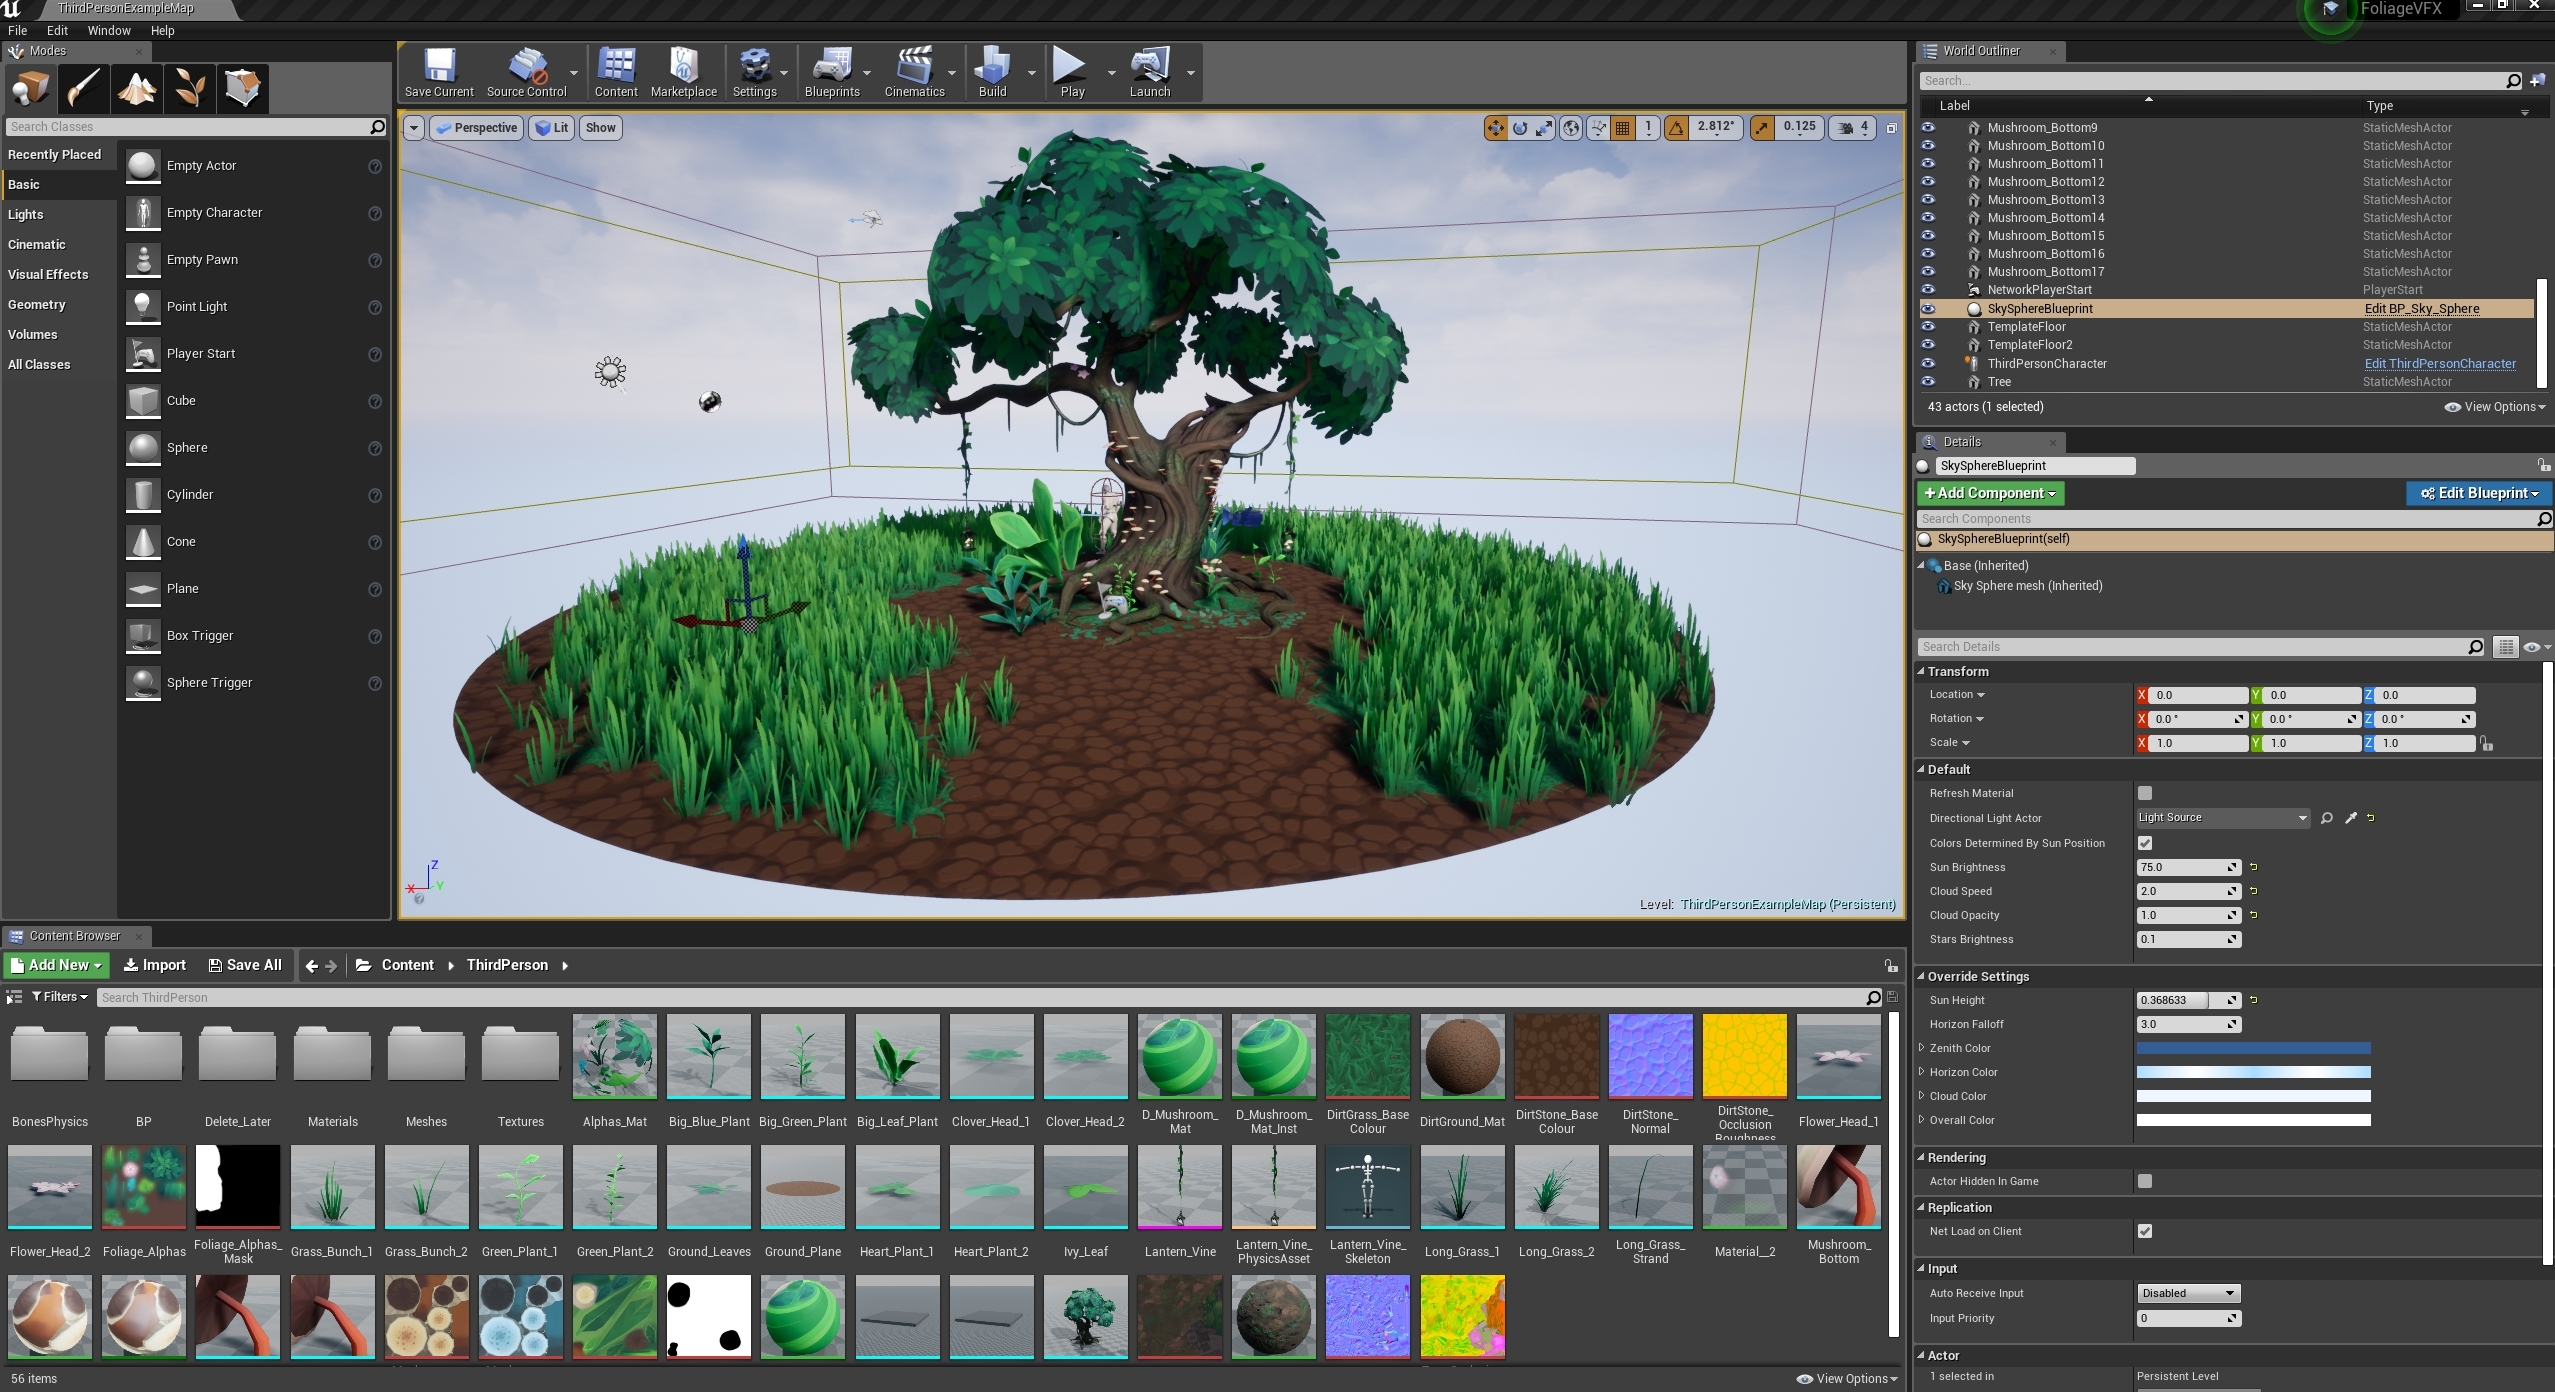
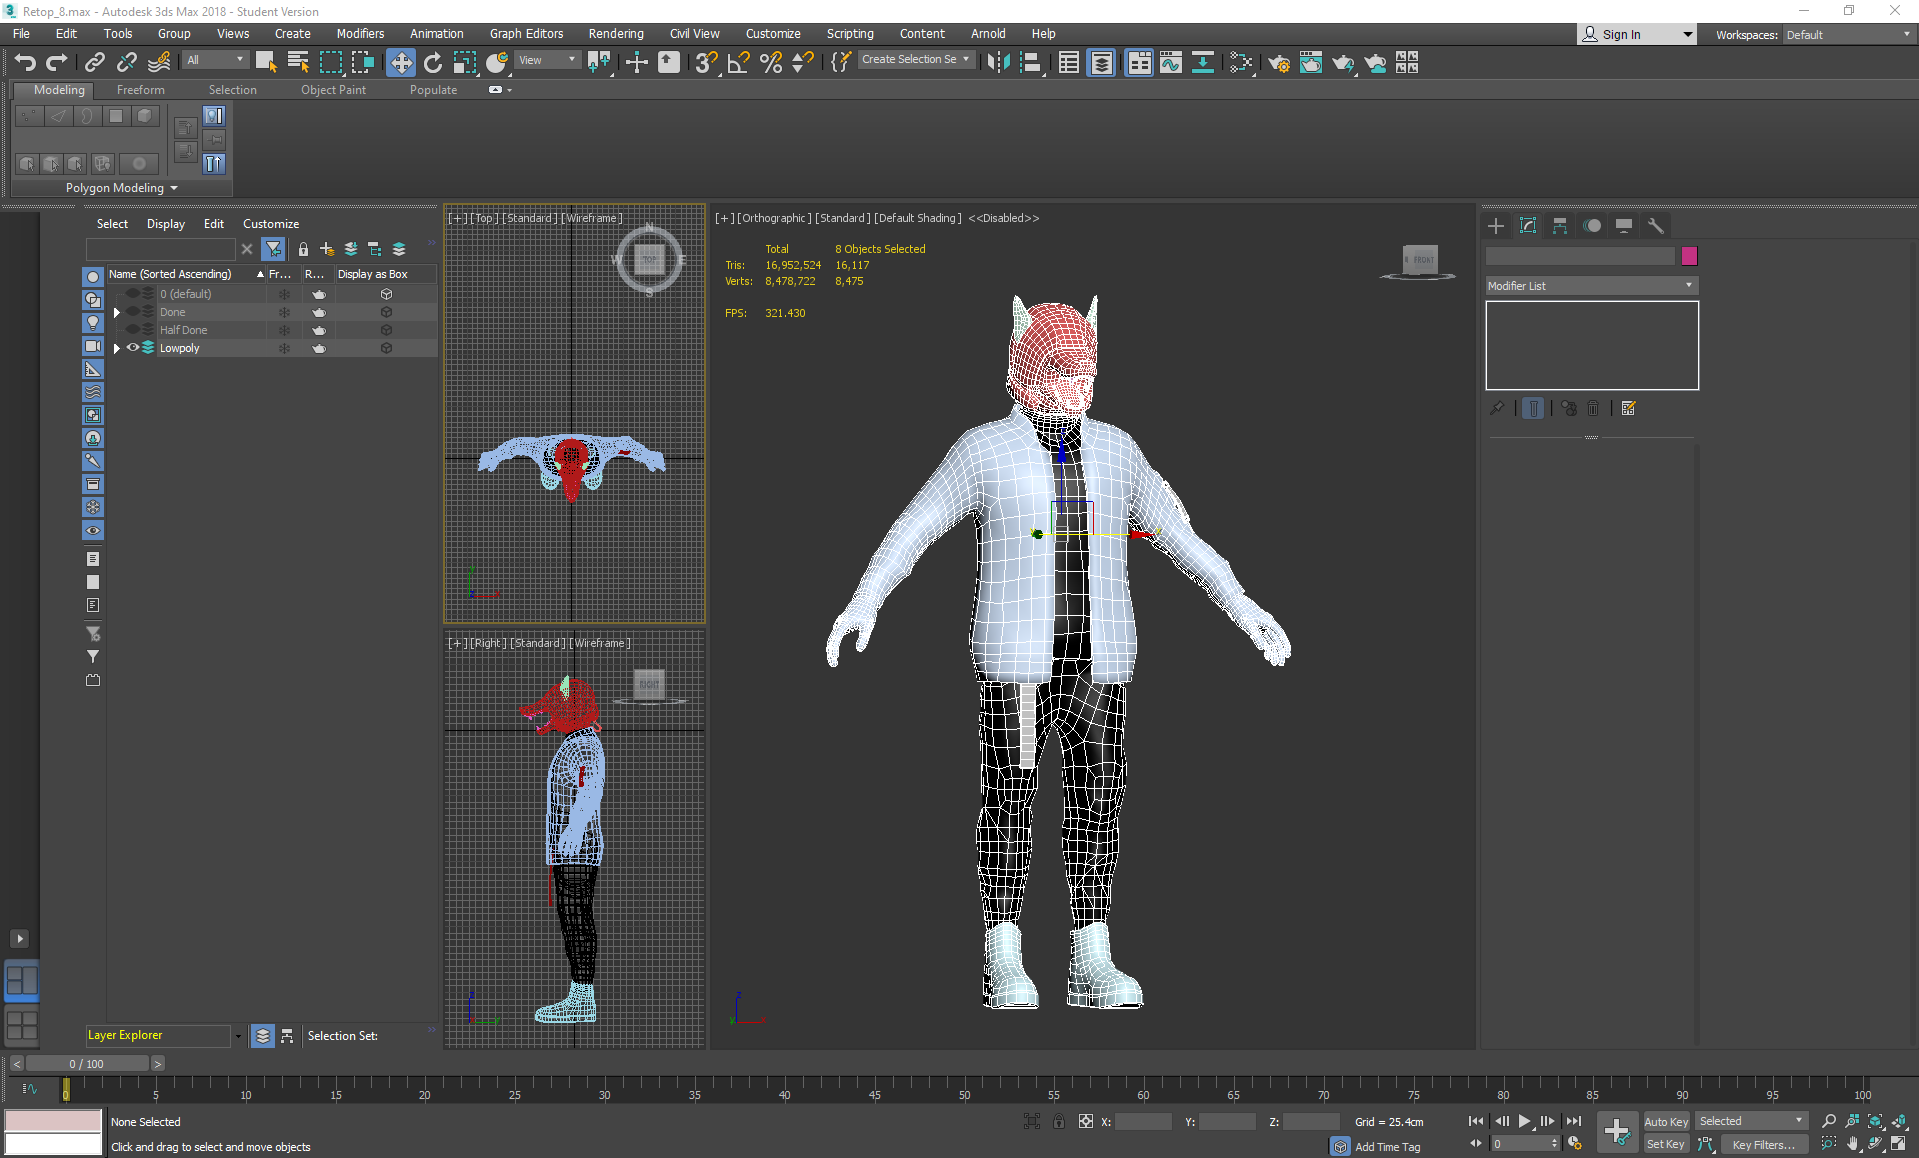
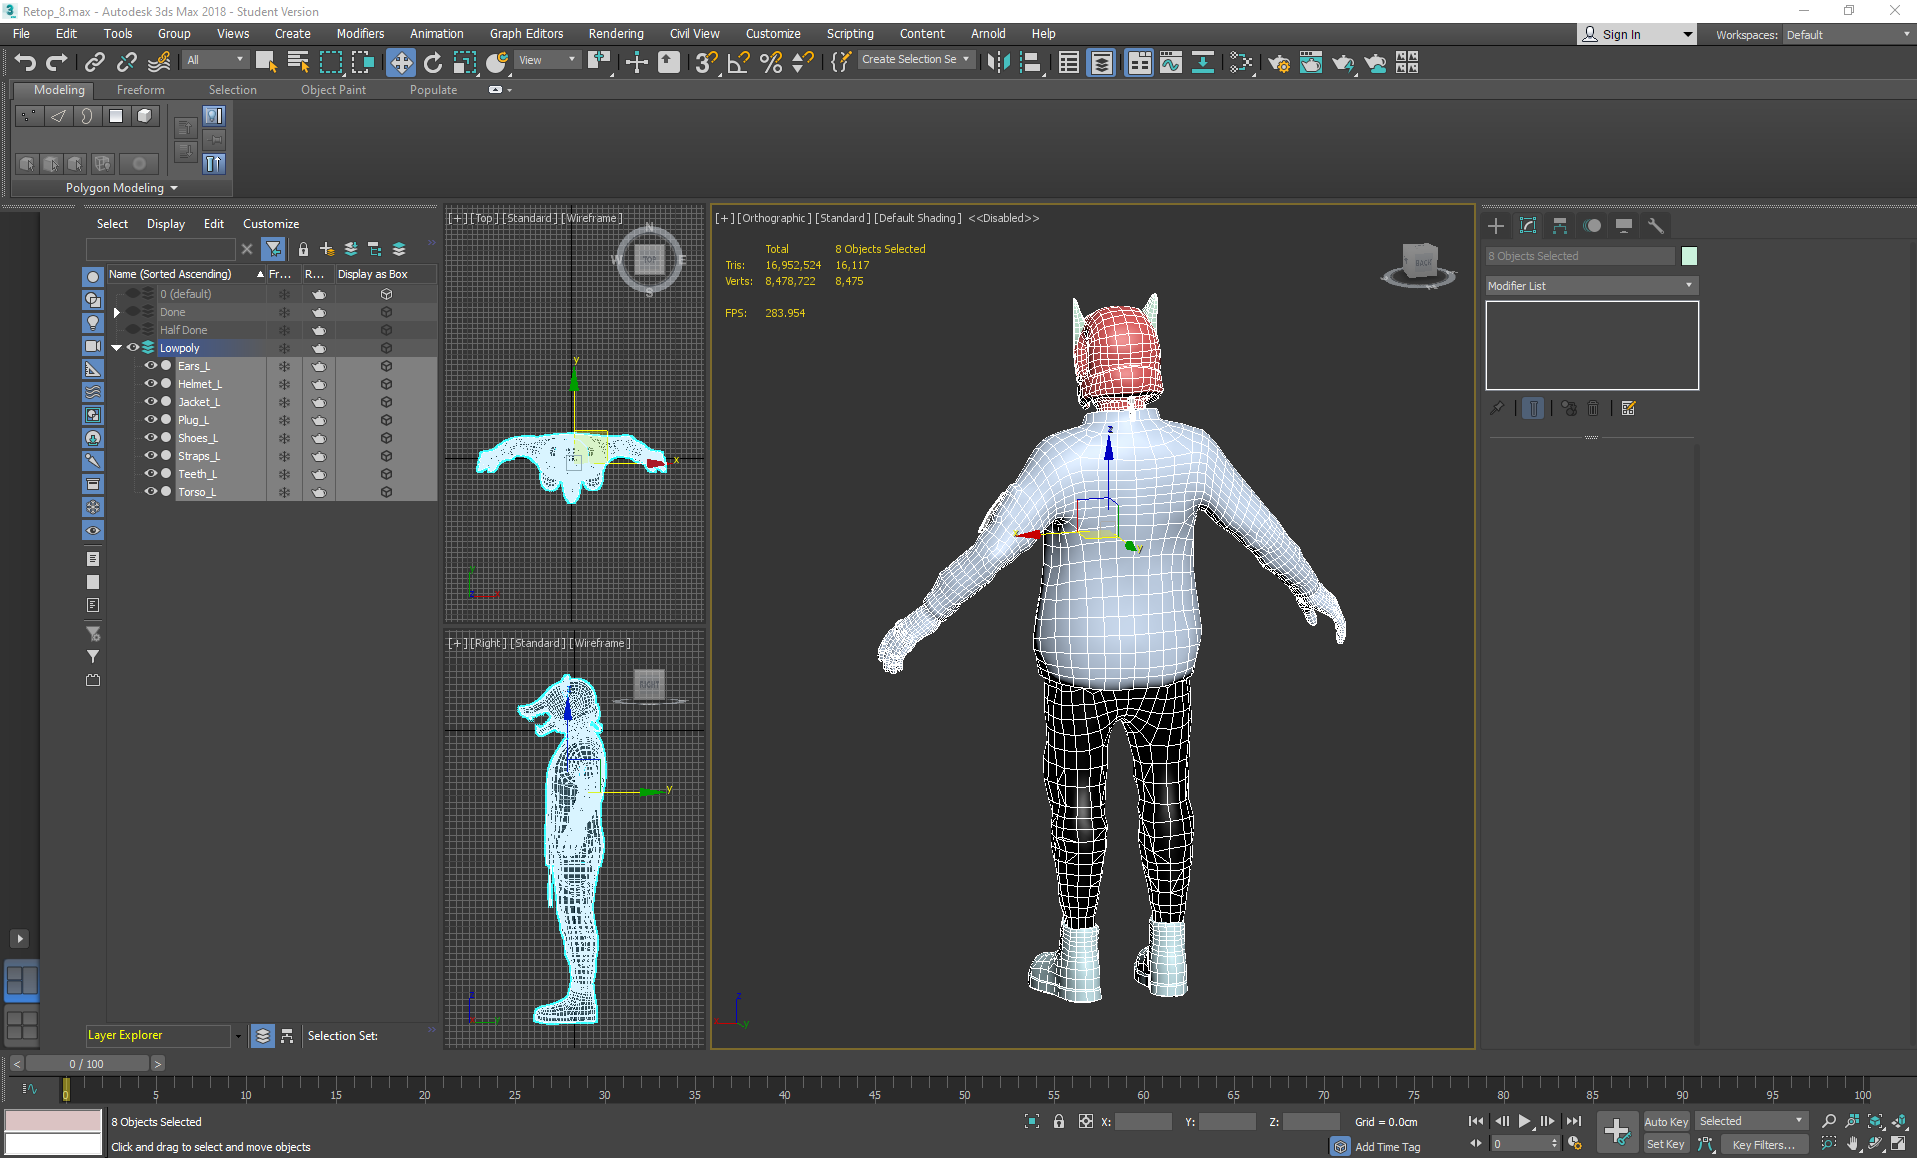
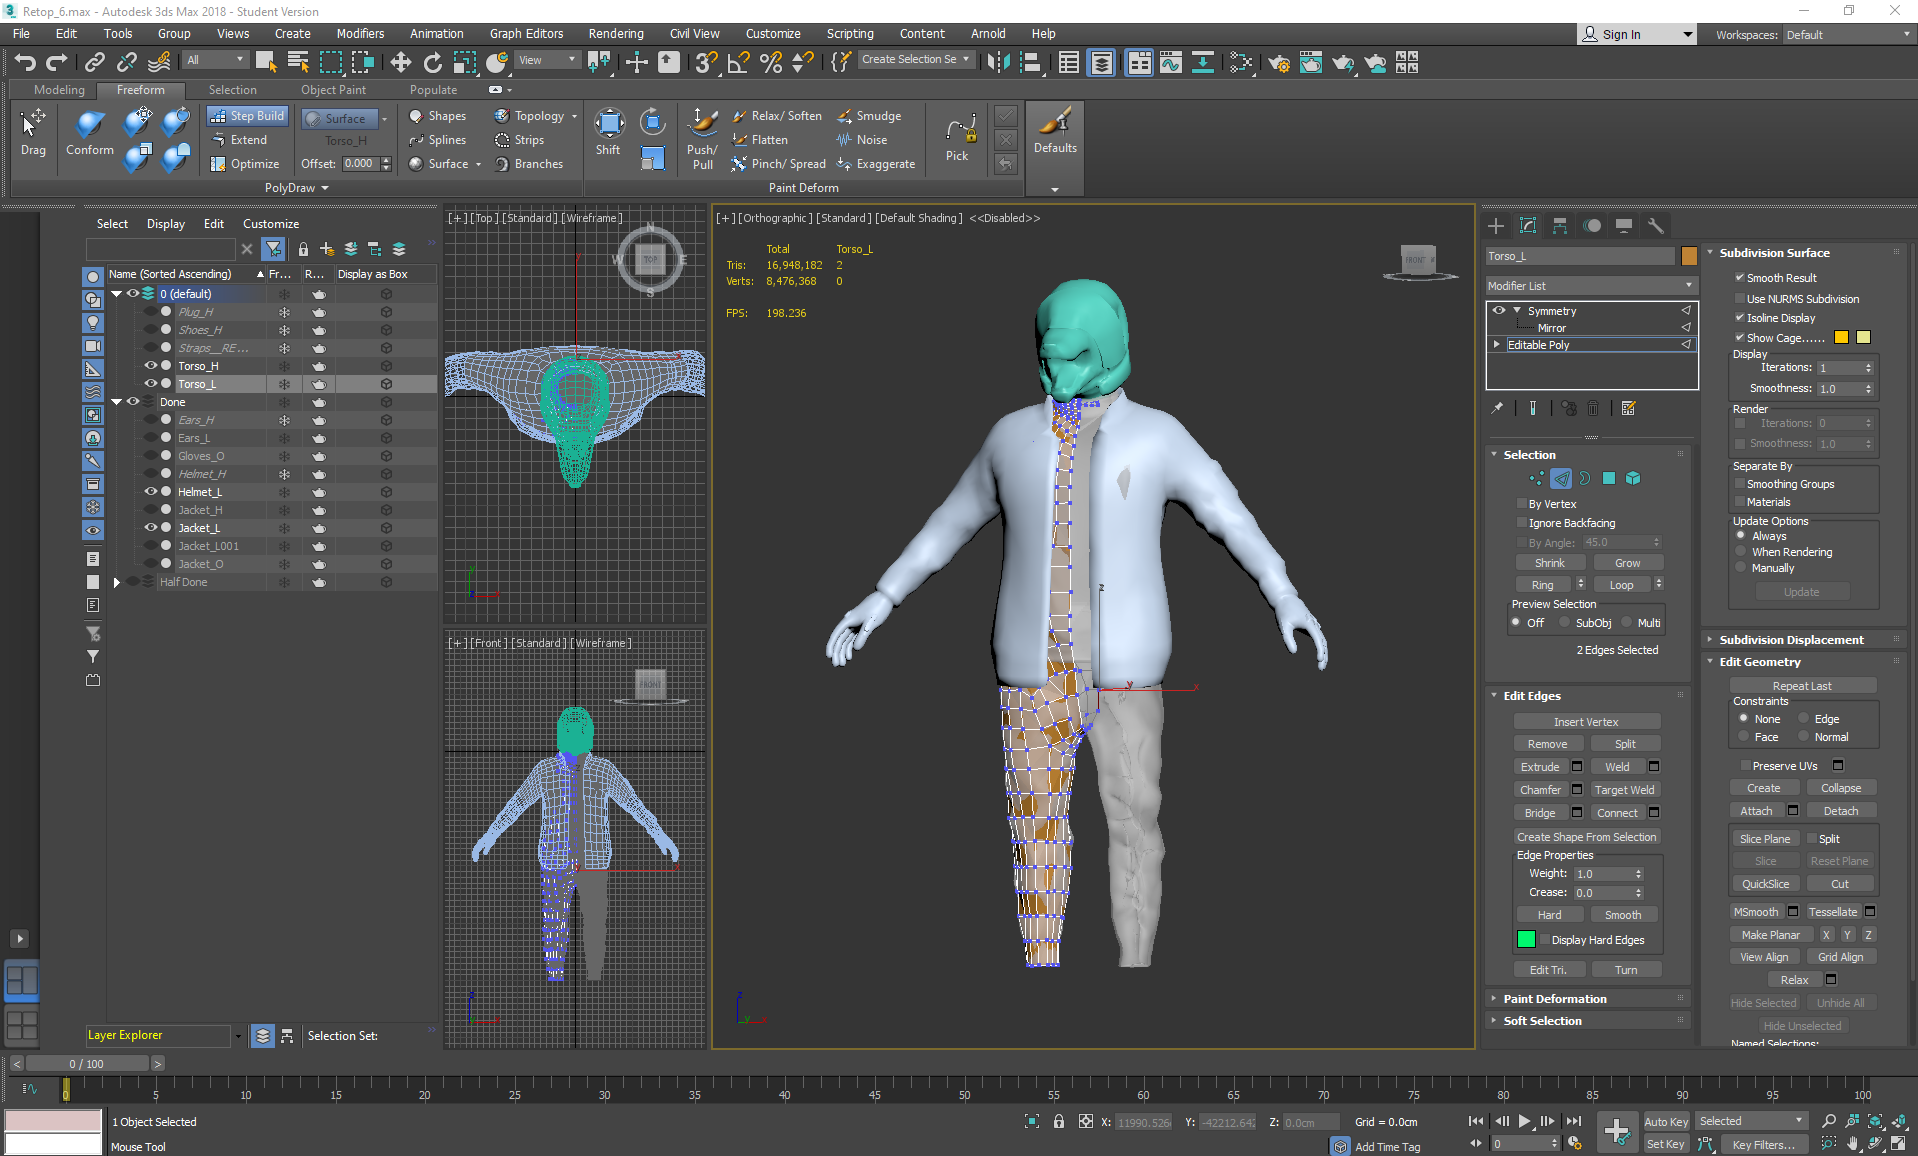
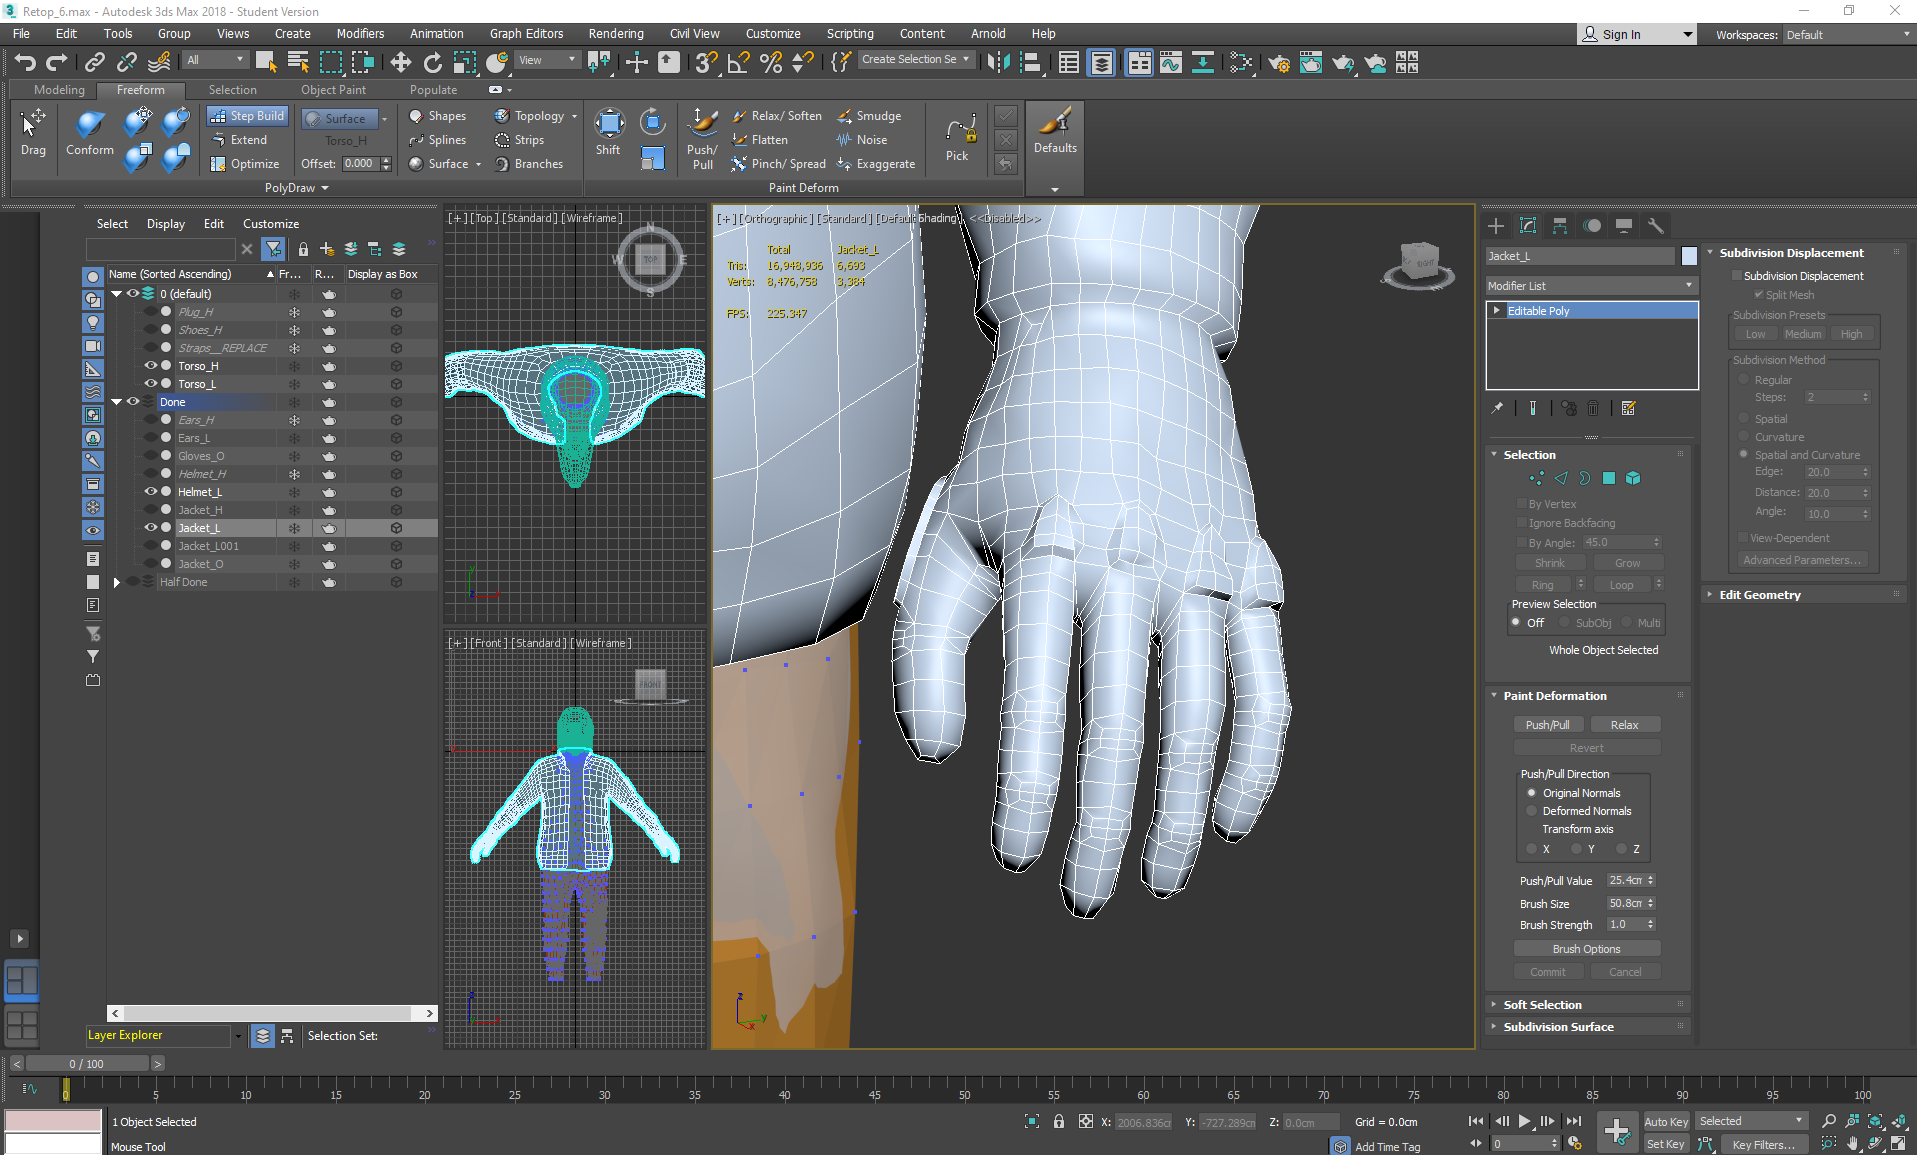
On Friday I brought everything together into the scene:
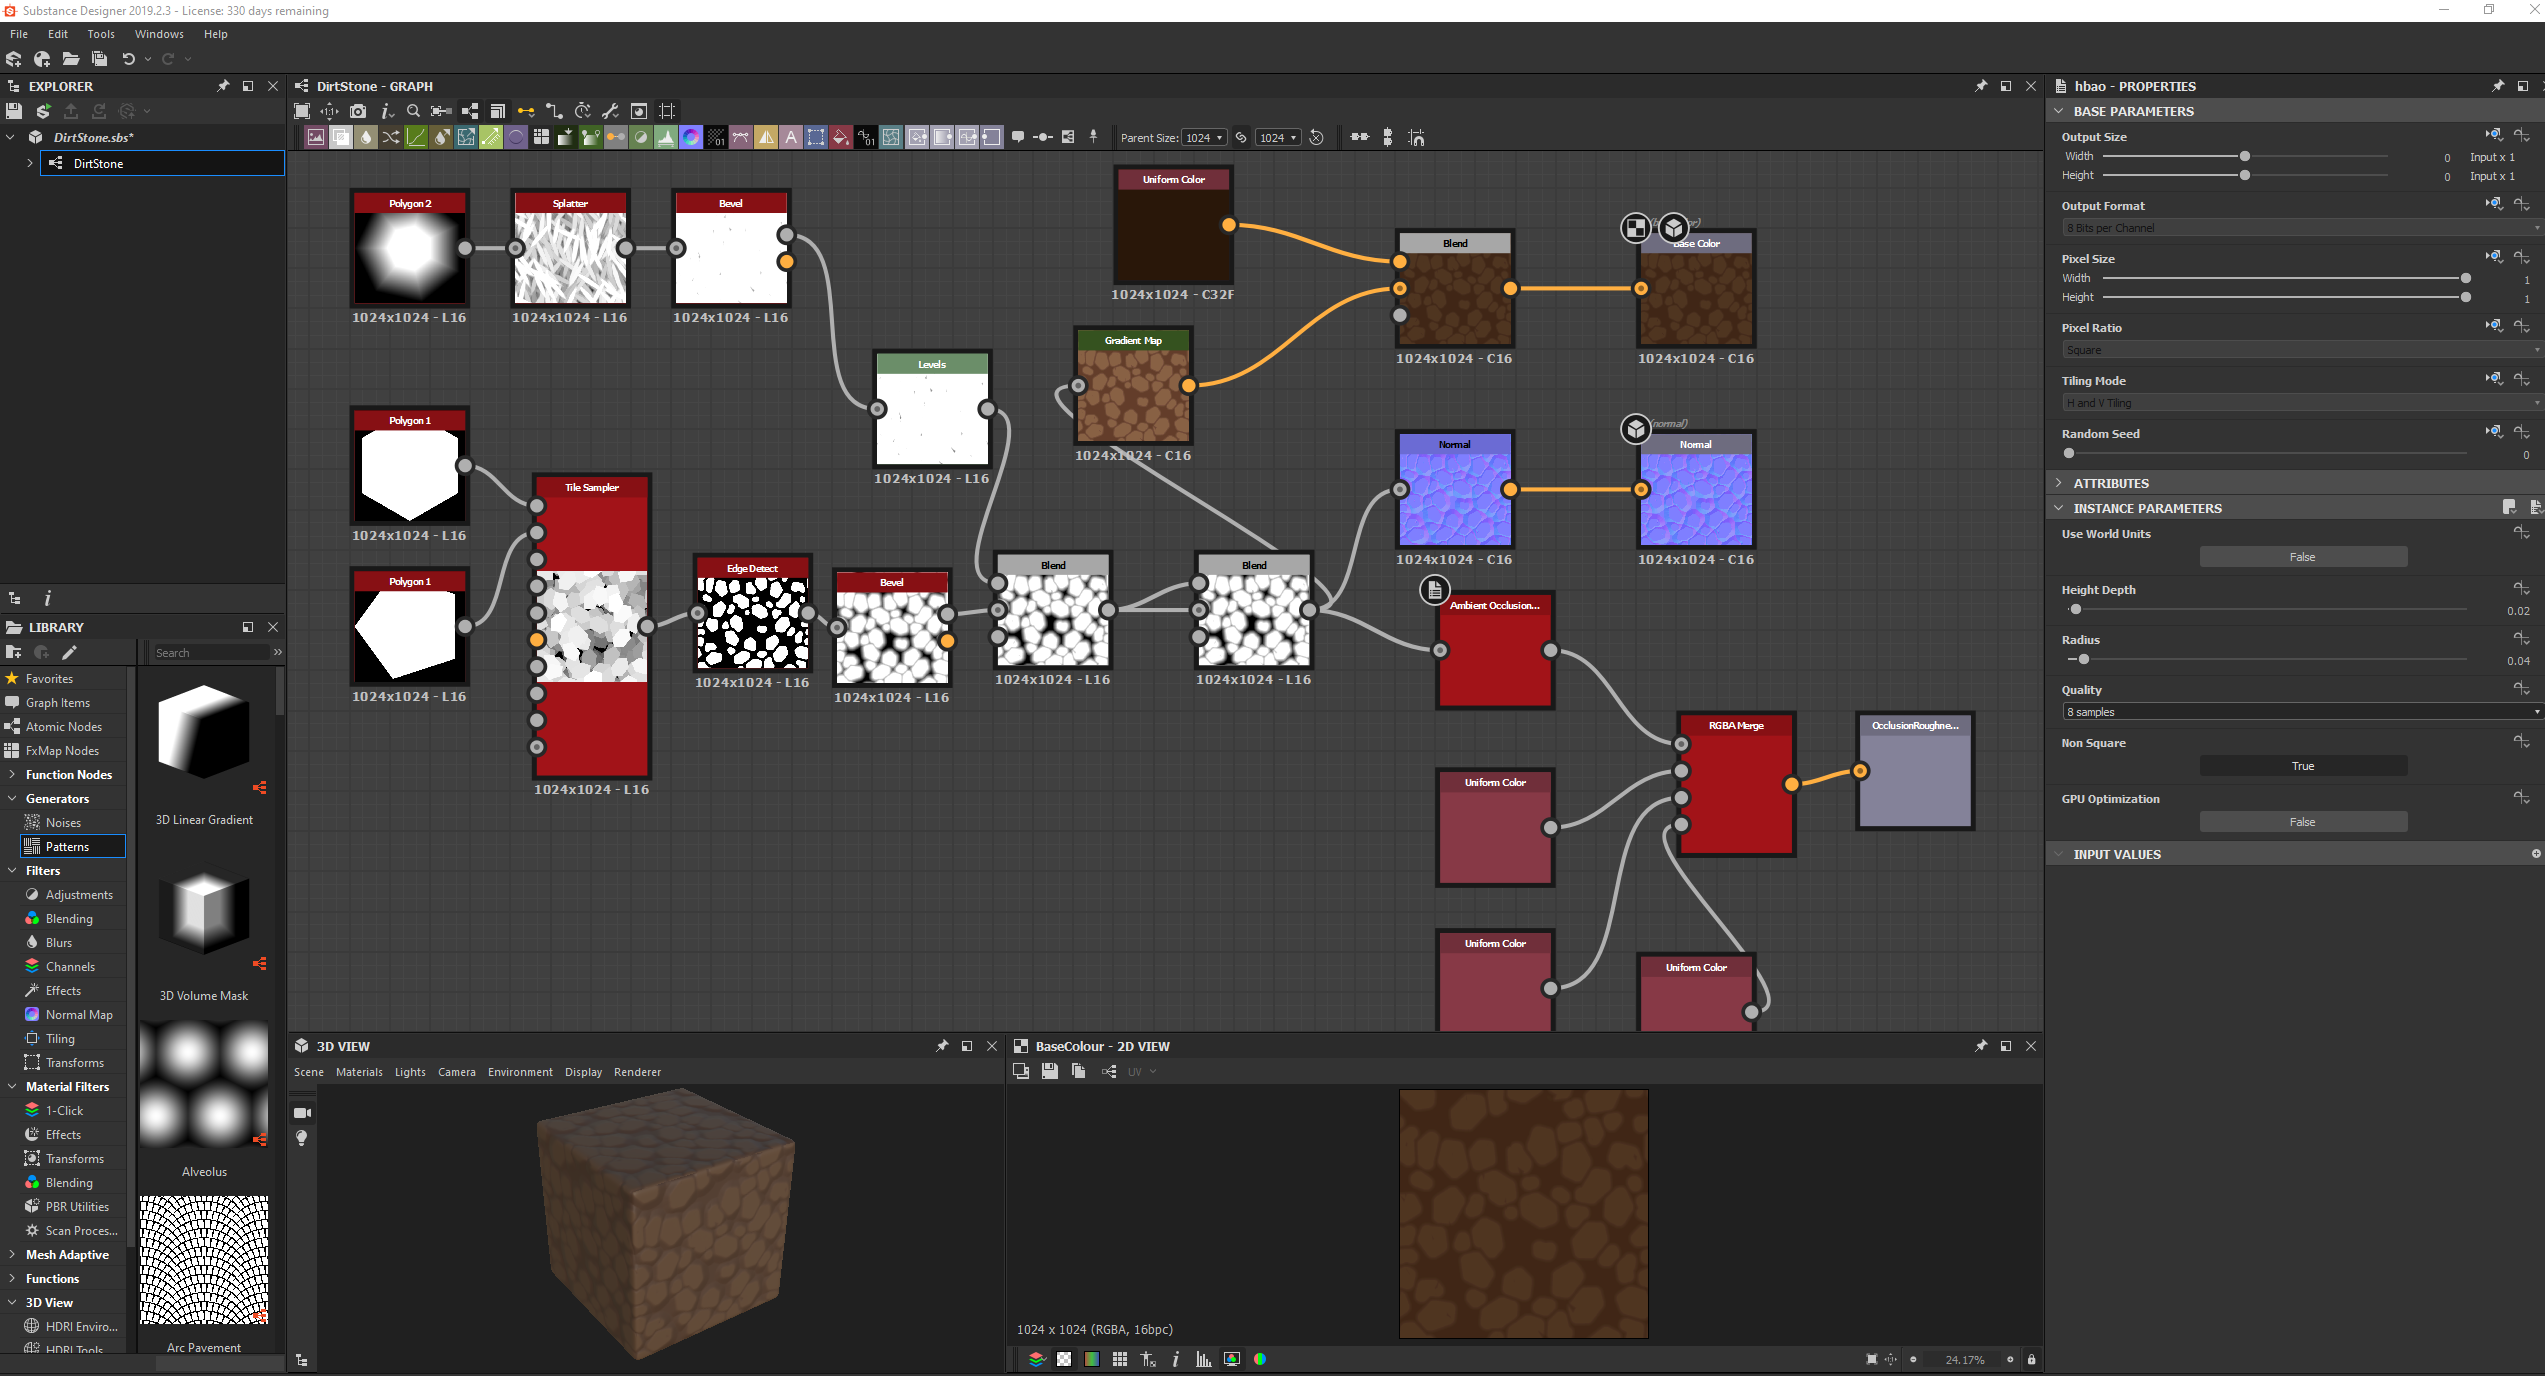
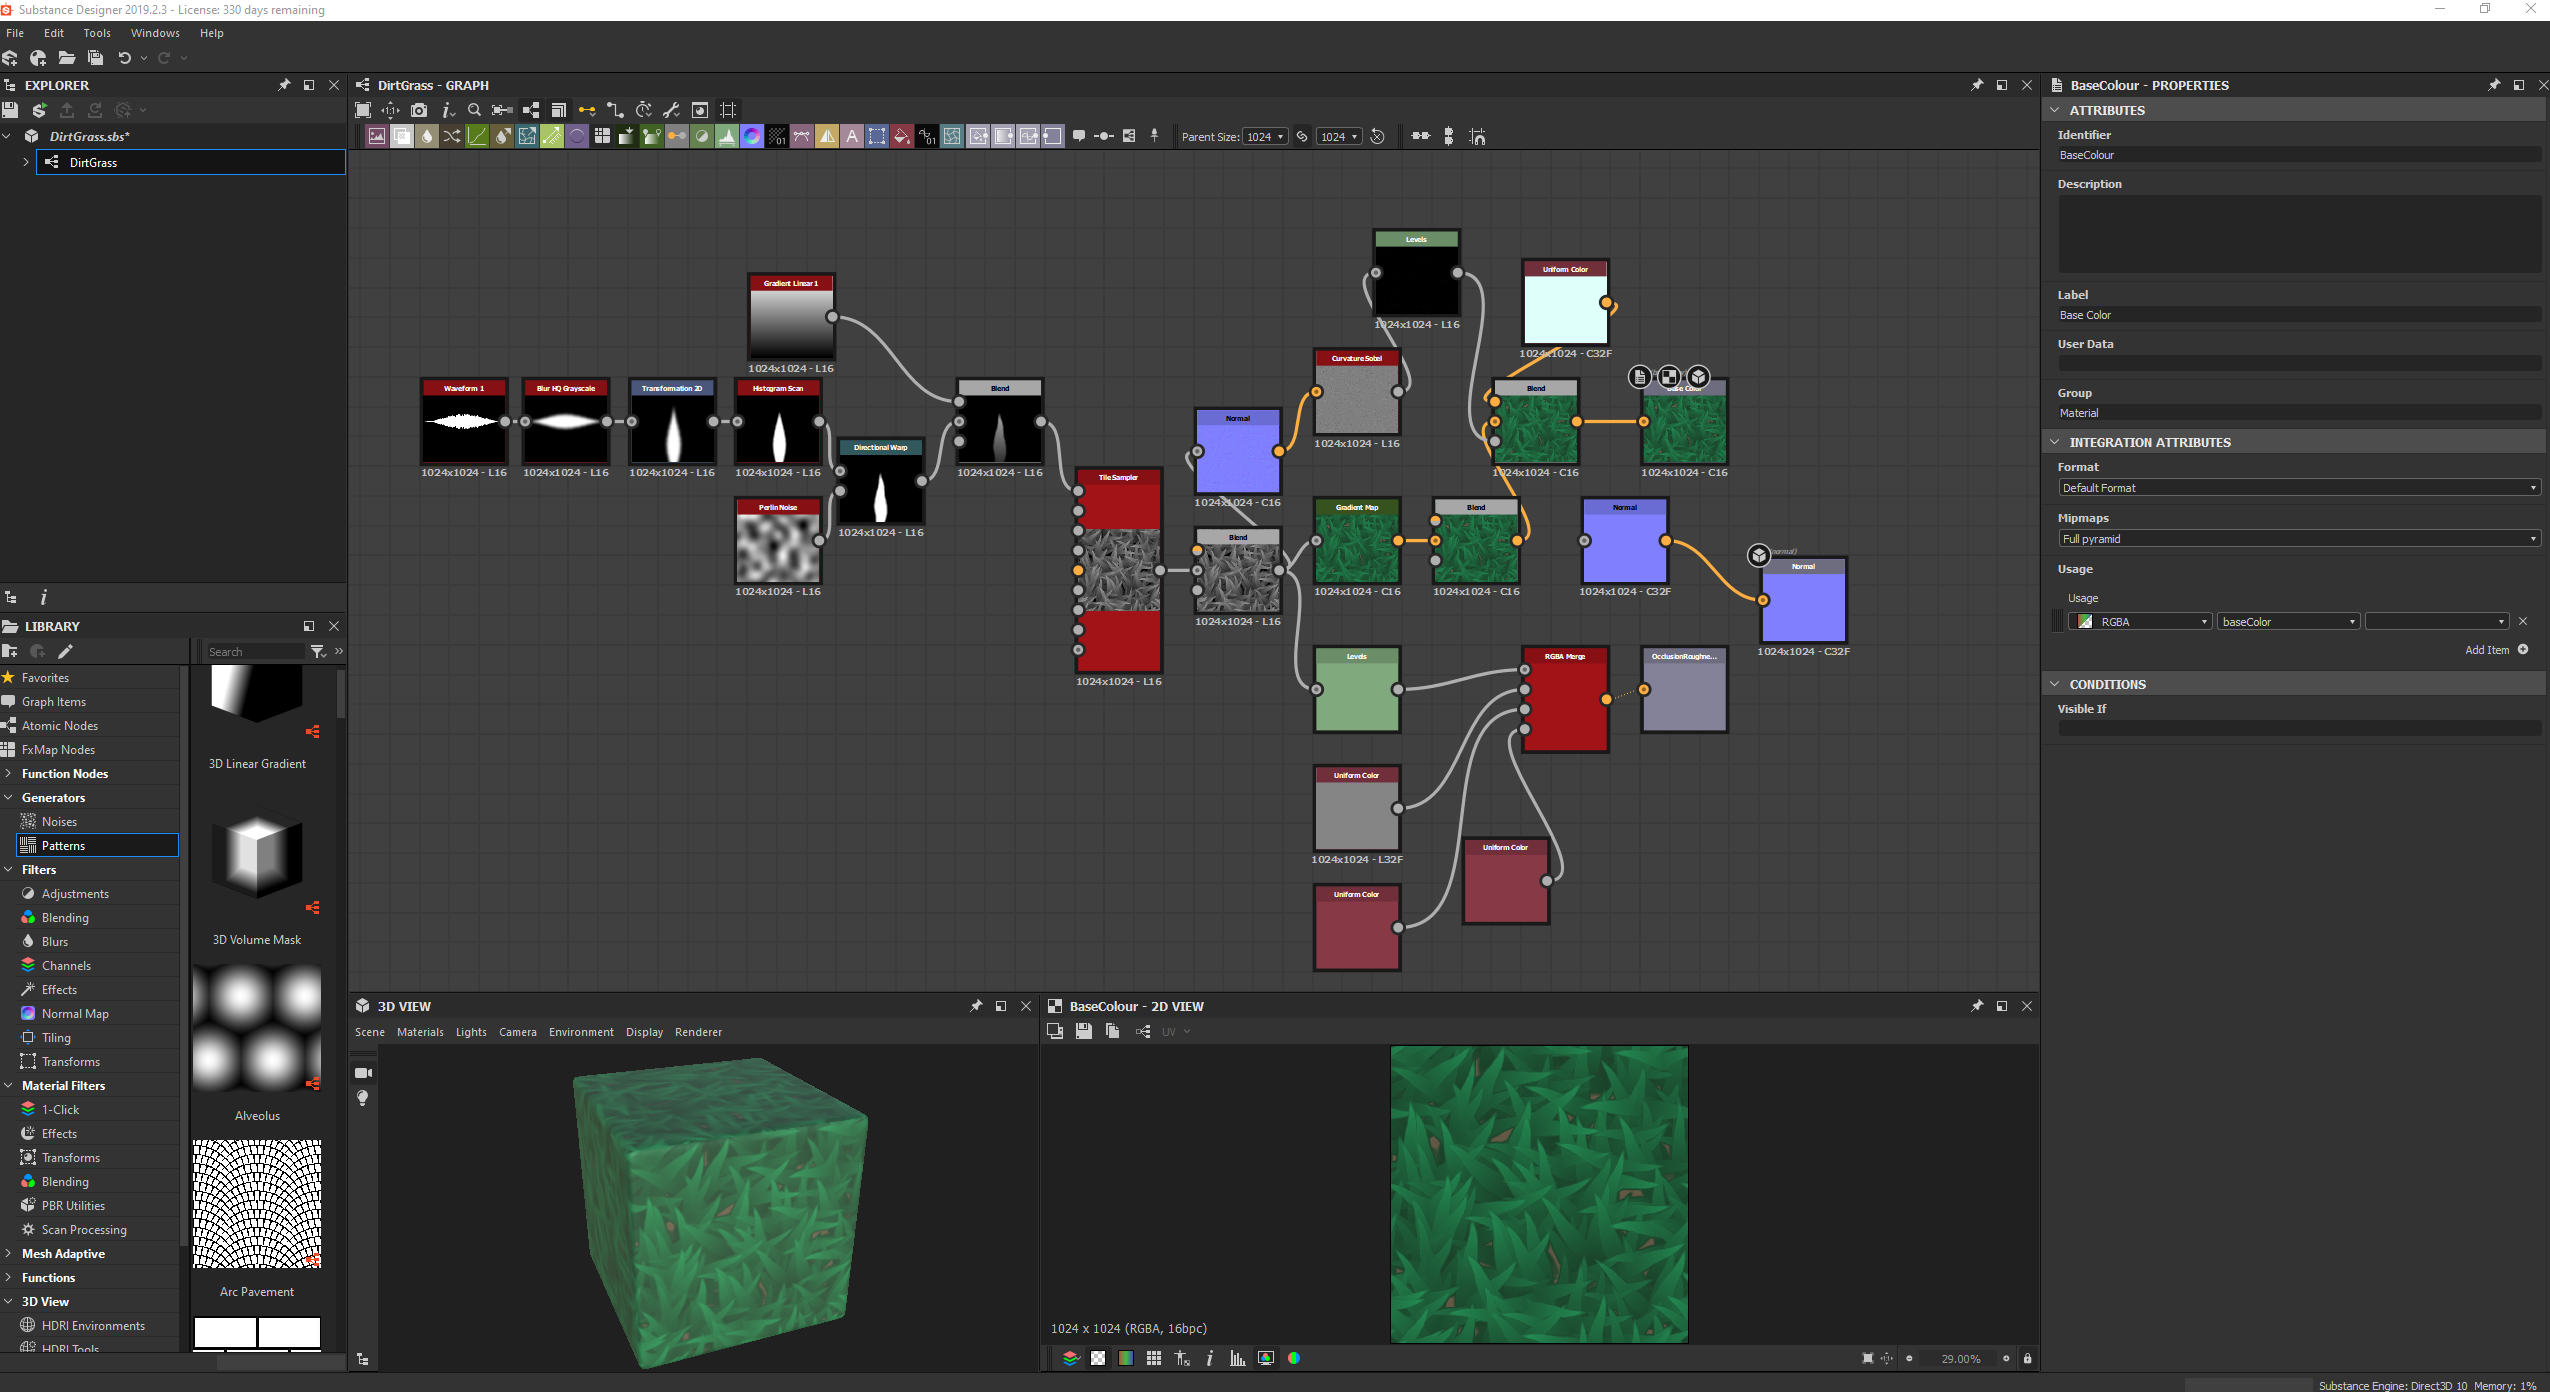
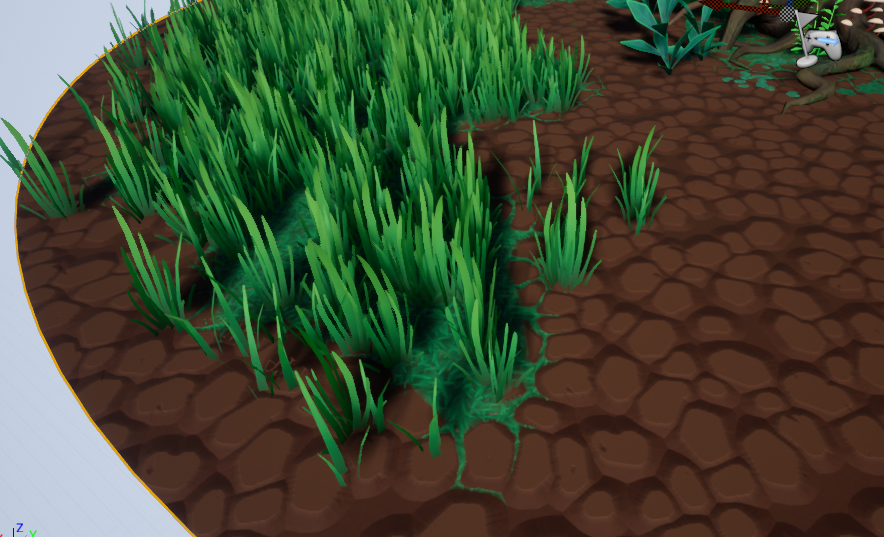
Before doing this however, I quickly compiled together 2 tiling textures in substance designer, a dirt rock texture and a grass texture:
To save texture space for other things, I had to scrap the AO/MR maps for the grass and add that information in the material editor instead.
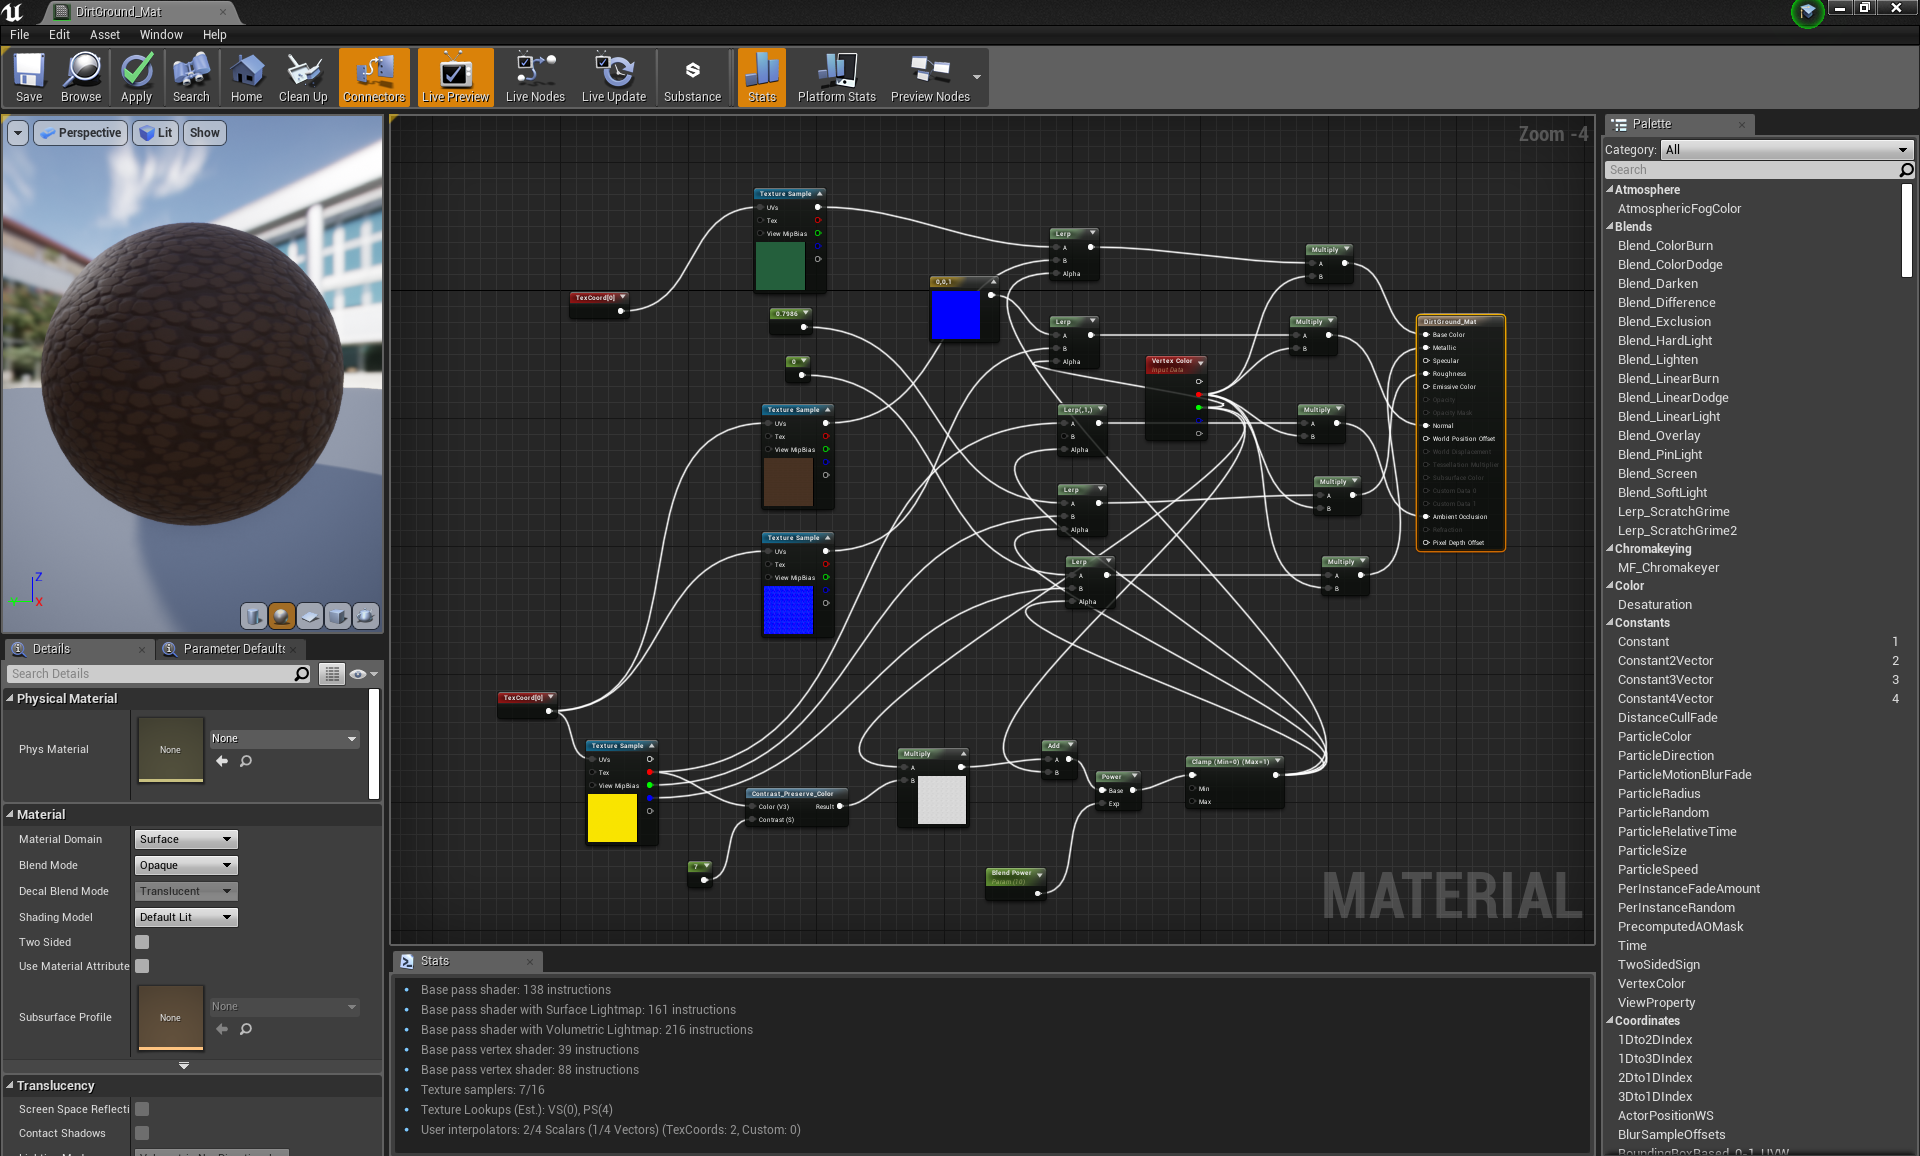
In UE4 material editor I then combined the two textures in perpetration for vertex painting. I also added the AO map for the dirt stones into the equation, in place of a height map (to save texture space). I added a contrast filter to it and used it to identify where the gaps between stones were, so that I could gradient out the grass through the cracks for a more realistic/immersive effect:
Saturday, November 30, 2019
Friday, November 29, 2019
Foliage VFX: Week 2 Thursday
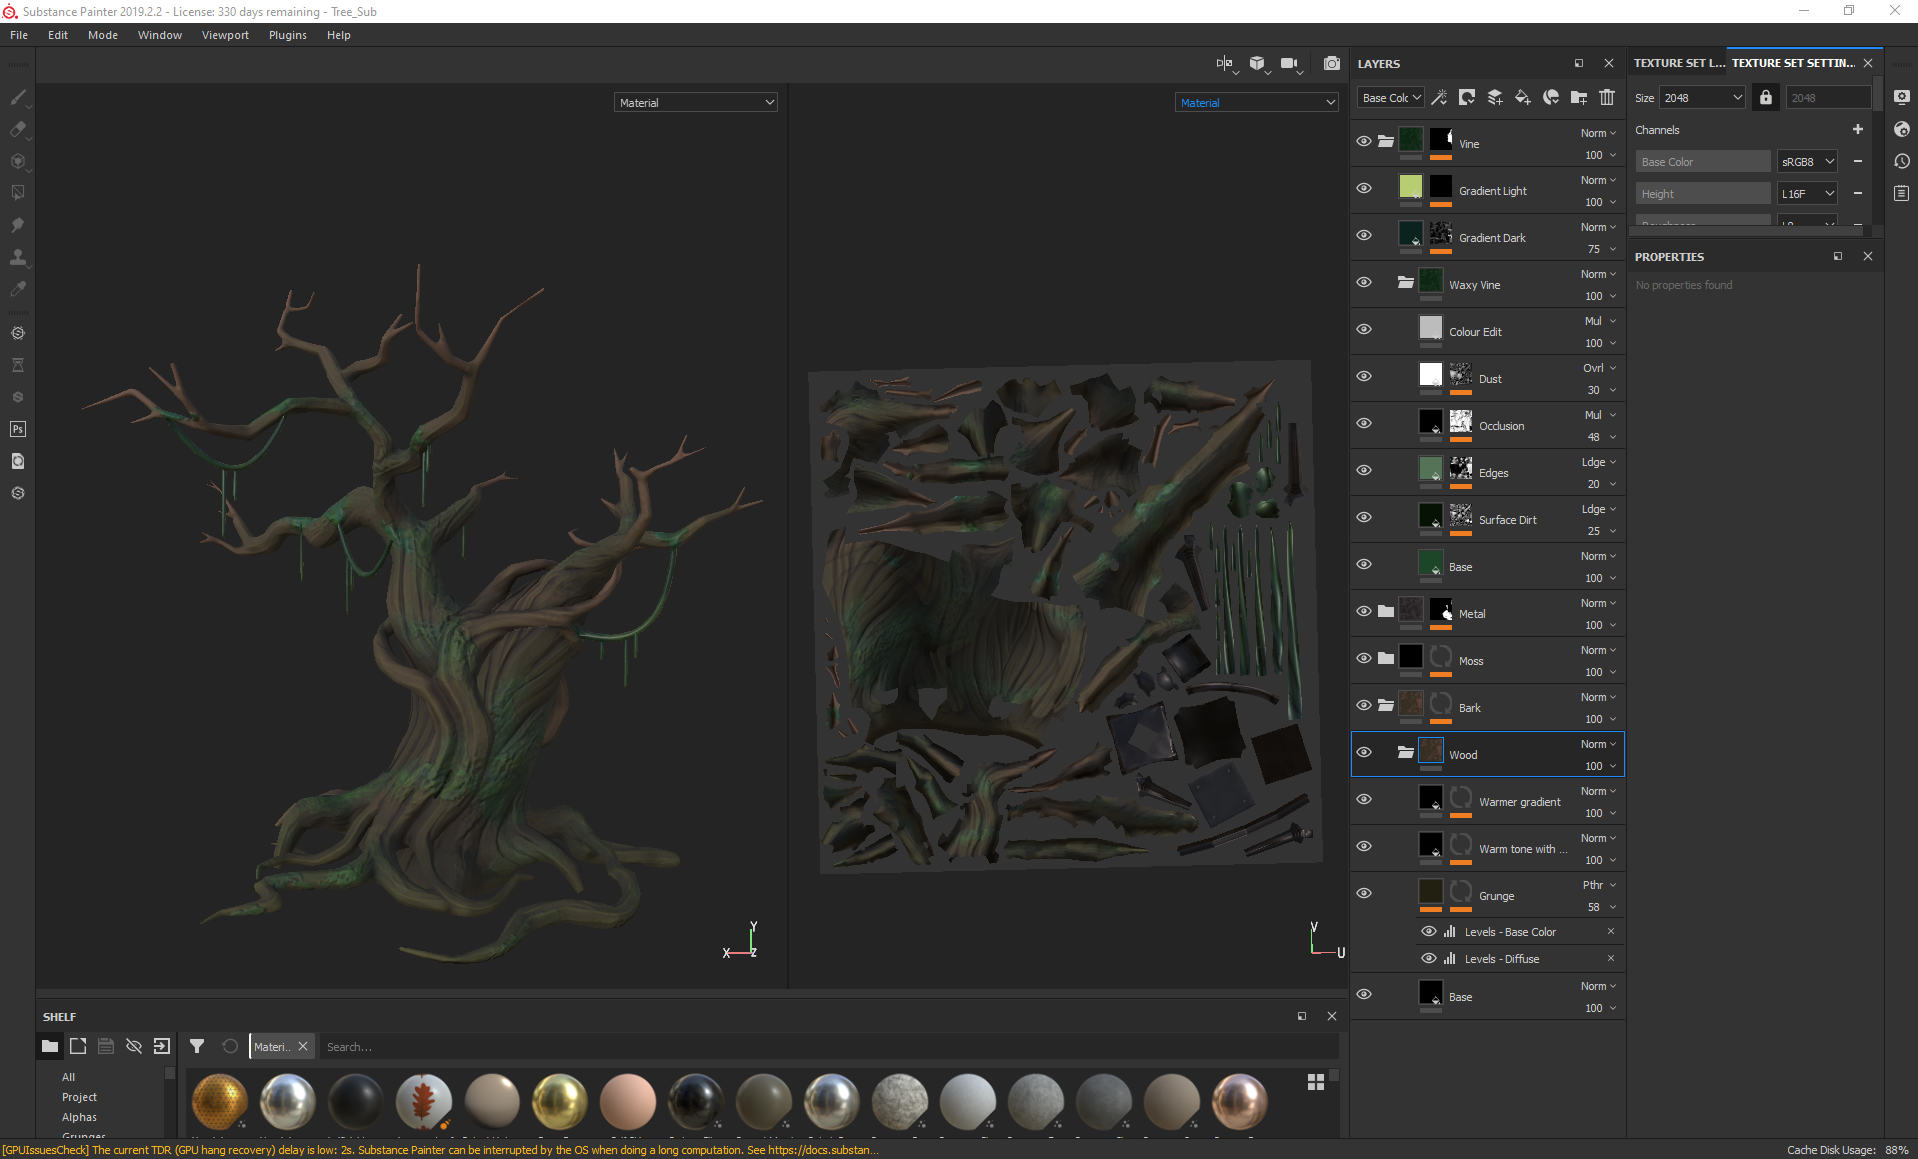
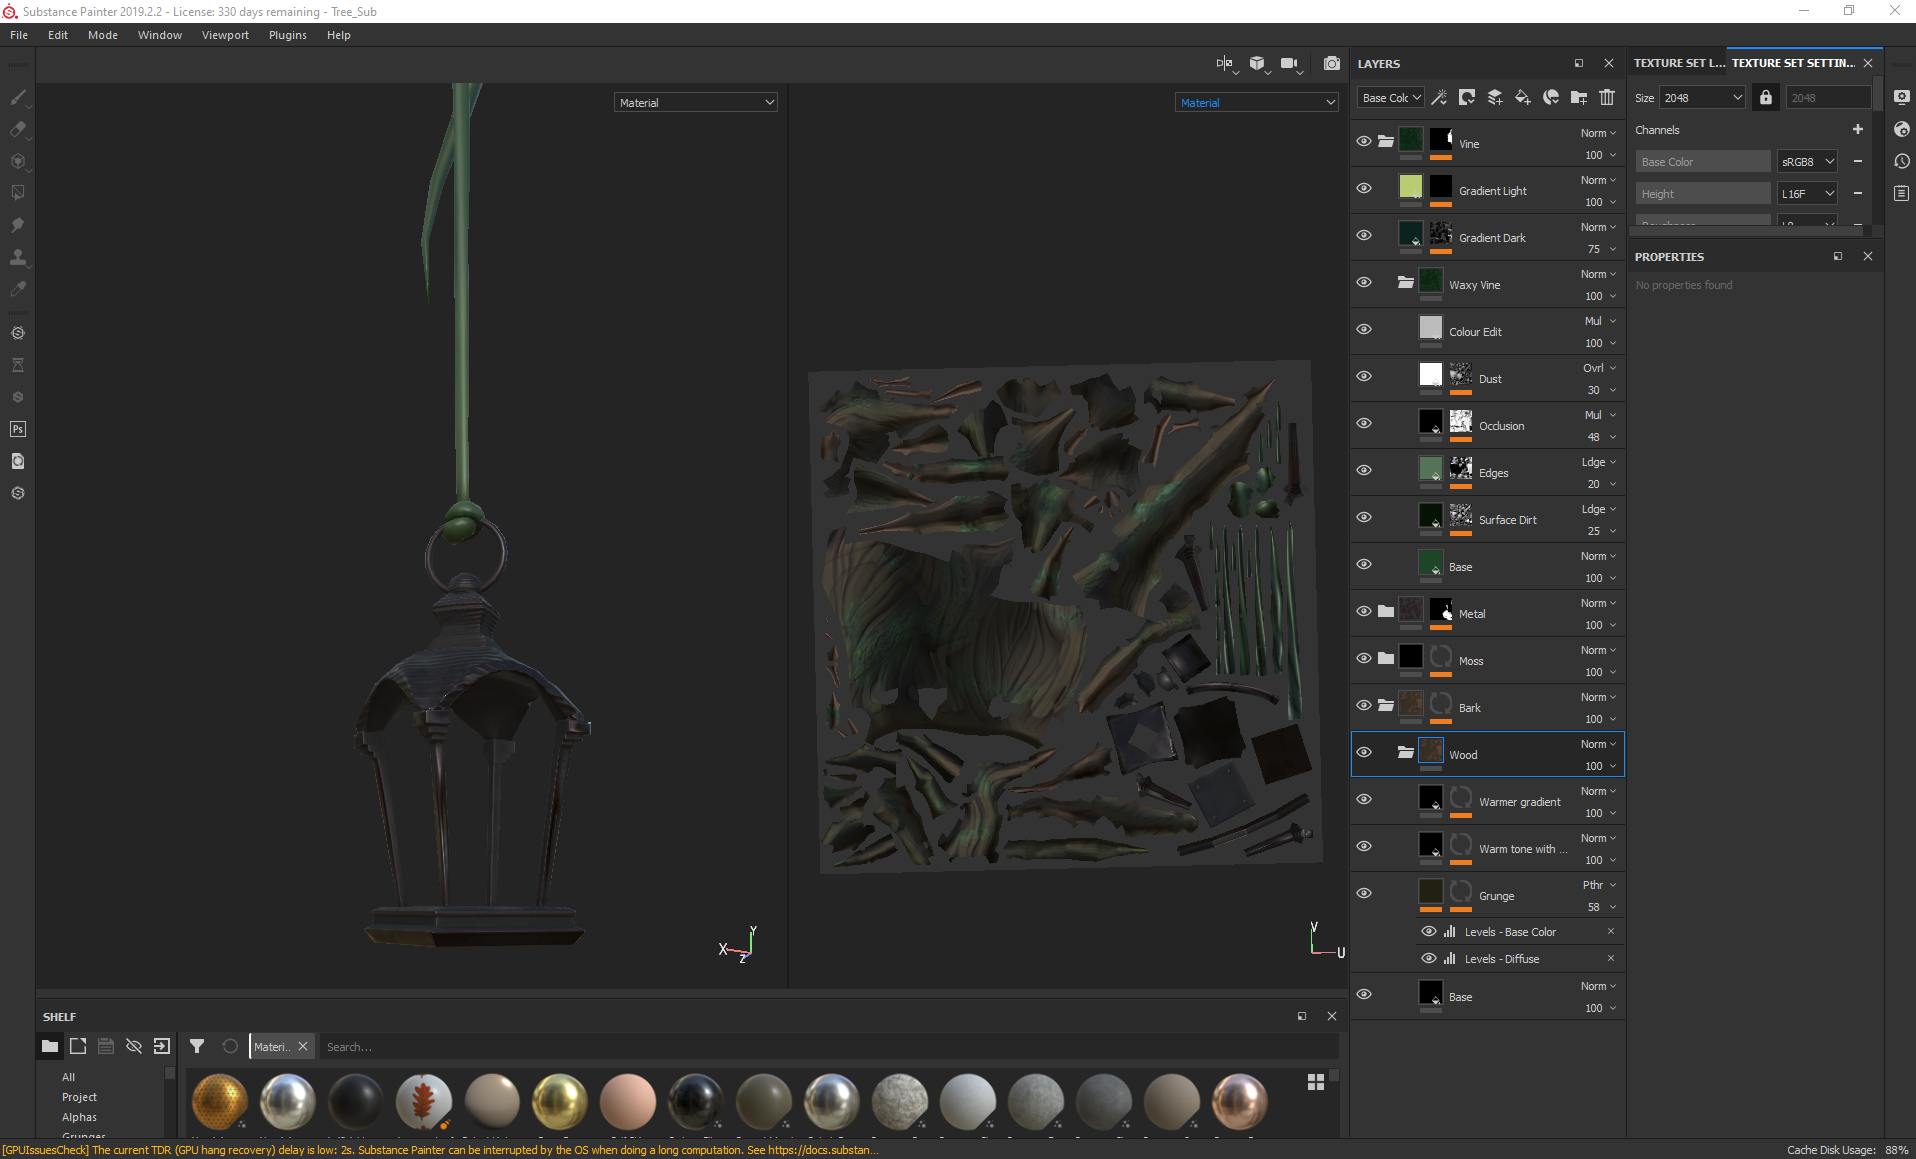
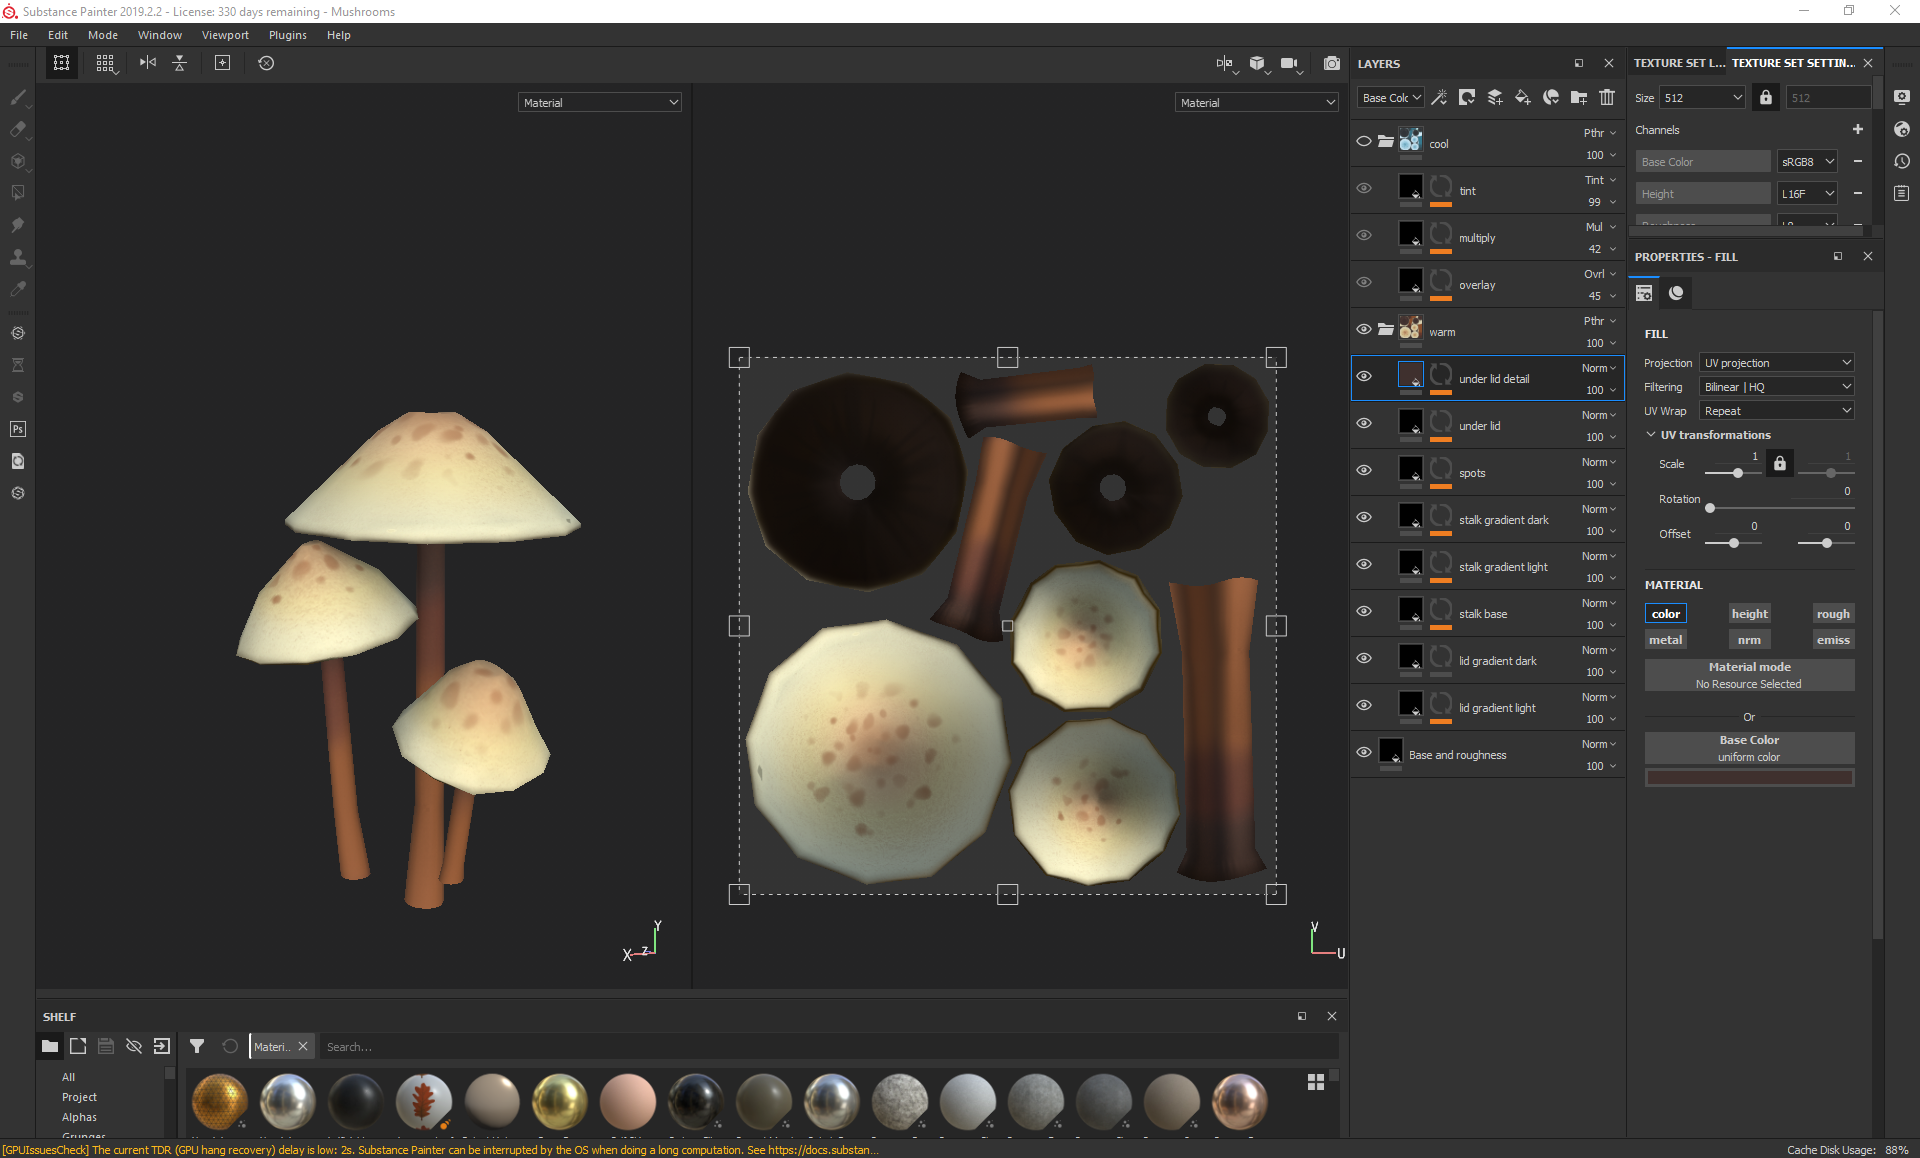
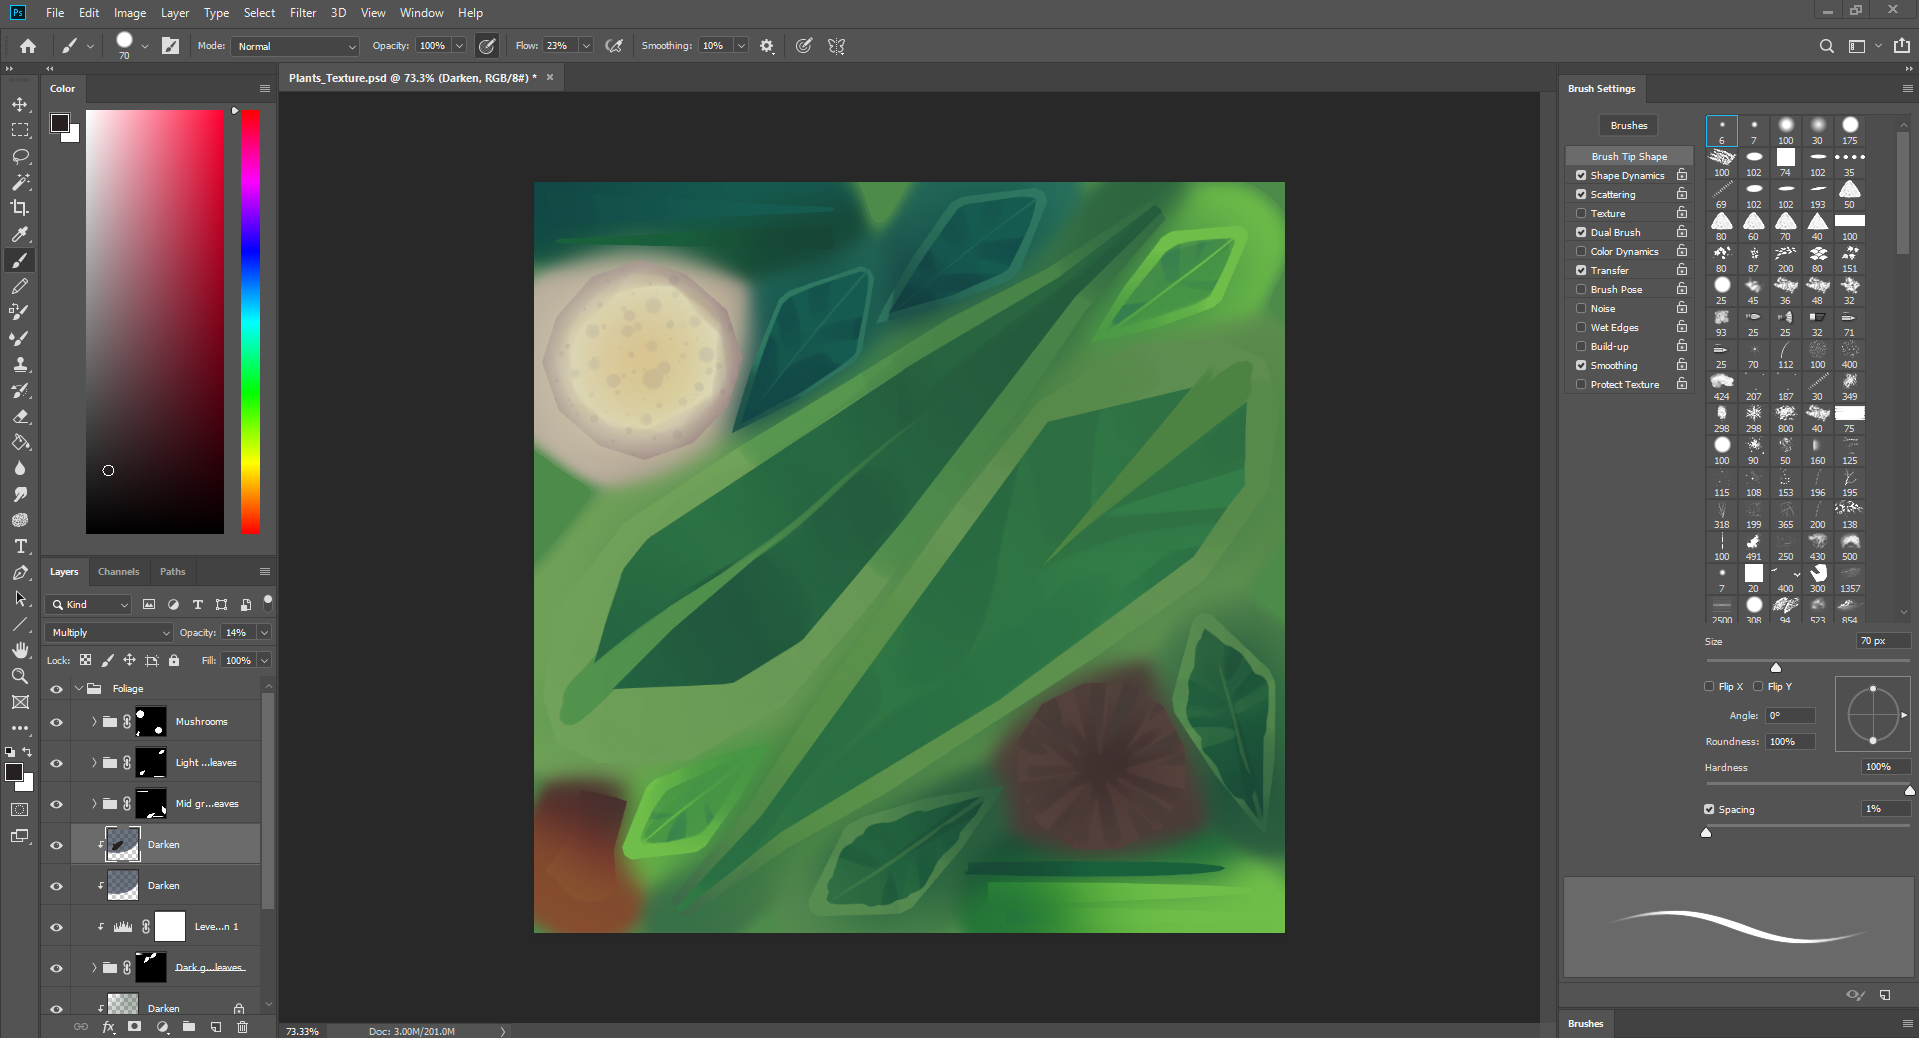
On Thursday I began texturing everything, starting with the plants in photoshop and ending with the tree and lantern in substance painter, trying to maintain a similar style throughout that matched the two concepts I was referencing:
For the tree I started with a green toned base colour, then added grunge through editing the levels to emphasise the cracks. Over this, I added a warmer brown tone using the curvature map with a levels edit as a bitmap mask, so that the green would still be seen in some sharper areas. Over that, I used a mask editor and a soft brush to paint on even brighter and warmer areas to give the tree more life and colour variation, all the while making sure that none of the other layers were interfering too much with the roughness of the bark. Later, I also added a mask editor to add a purple hue to the cracks and ao to add more depth to the tree.
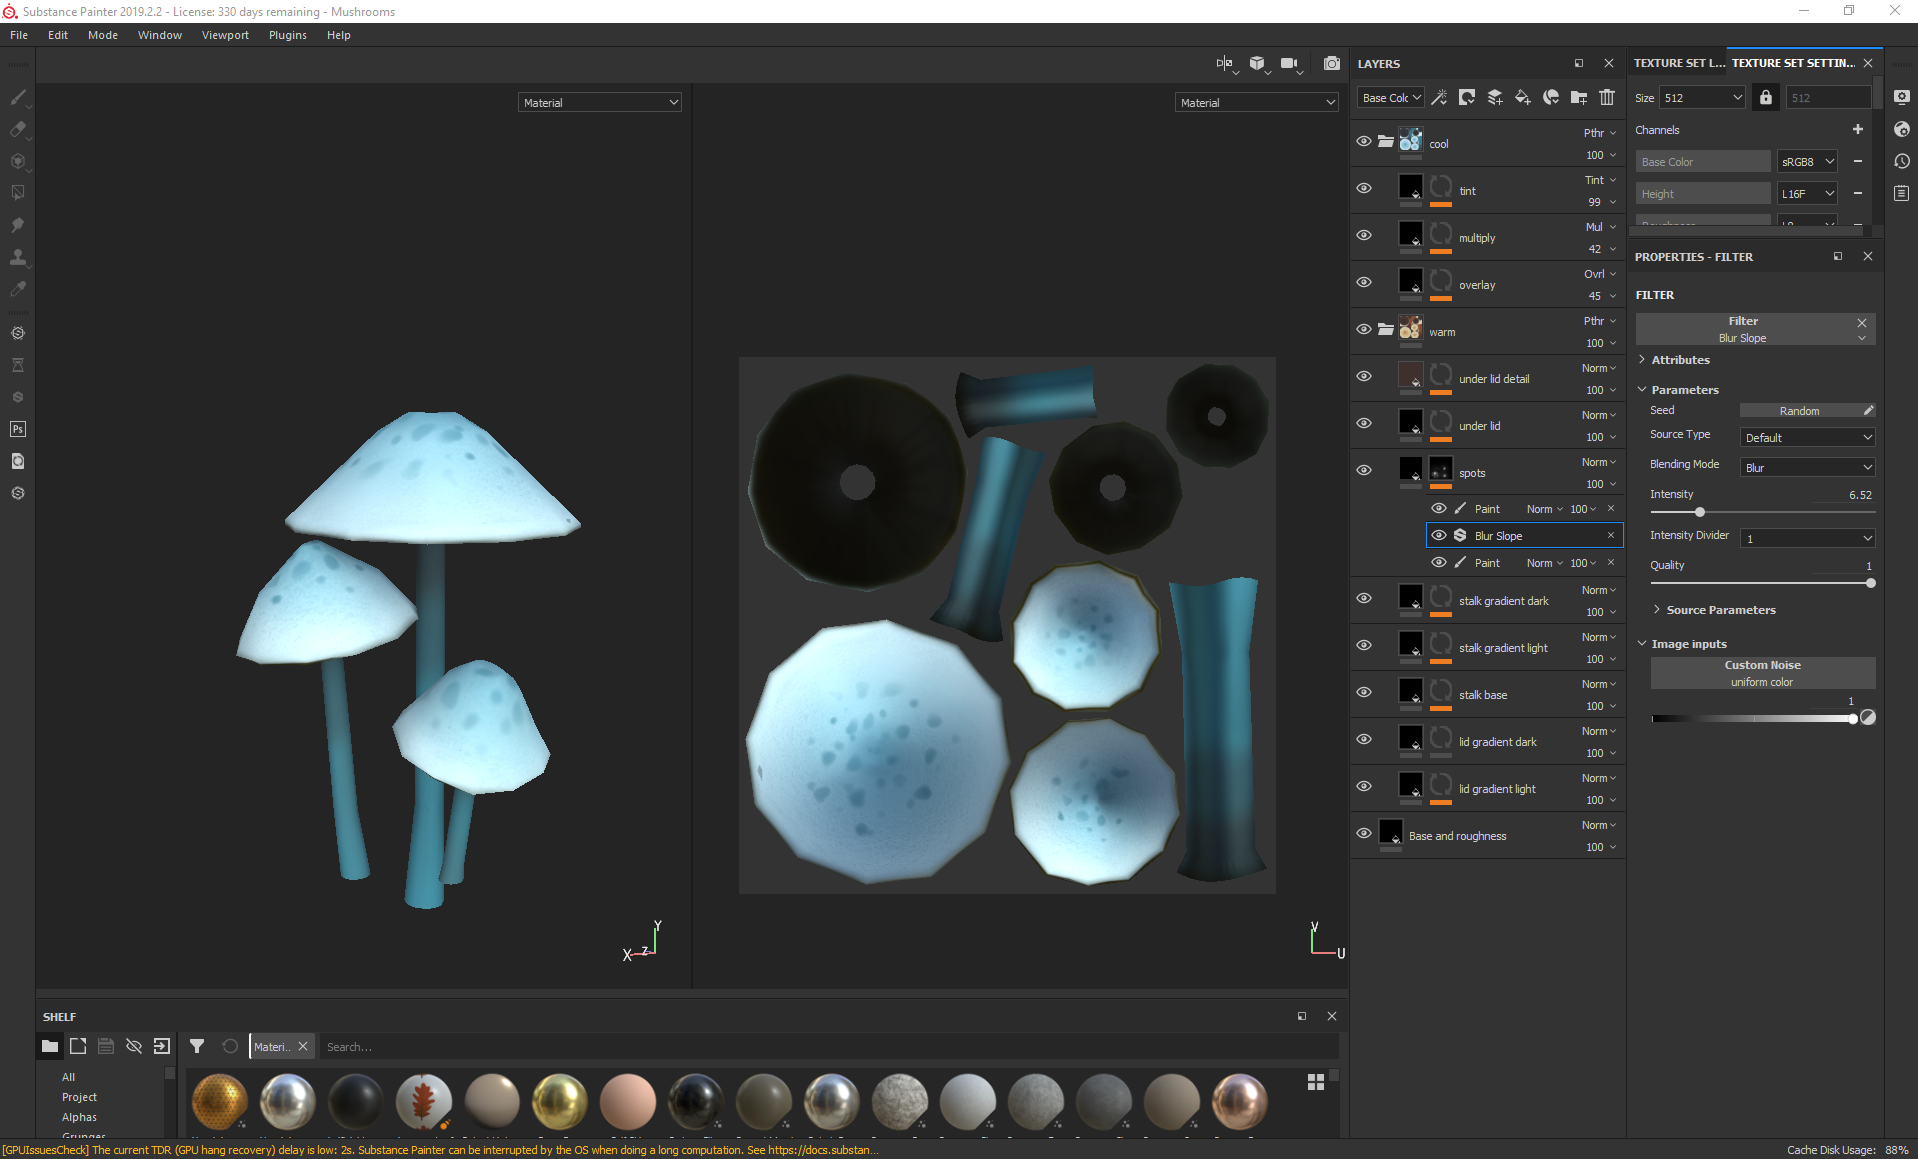
For the moss, I used a combination of the artistic heavy sponge and blur slope to go over the areas where I had added rough moss details in the sculpt, then going over the mask in a few different hues and values to create variety in the moss colour.
With the lantern metal, I started with a base colour with metalness and a little roughness to represent what the base coat would have been like, then added some dirt/dust roughness over the top and some bumps to make the metal look more worn. I also added edge highlights and dirt occlusion for the areas that would naturally collect dust. After this, I added extra height detail using black and white striped patterns using a mixture of planar projection and tri planar projection so that the lines would meet correctly and loop around, ignoring any seams.
The vines were also fairly straightforward, with me focusing on the base colour, slight surface dust/dirt, edge highlights, occlusion and colour gradients.
For the mushrooms, I focused on following the level of detail as the rest of the foliage and stuck to painting it in with a soft brush rather than generating anything, although I did add some extra details in the spots, where I used a blur slope to add some tiny specks in the gradient of the lid.
I then created another folder with some colour edits for my later vfx in which the mushrooms would change colour when the character is close and exported all of the substance painter files as targas.
For the plants, to follow the style of the concept, I avoided rendering too much detail into the plants and instead focused on lasso tooling in bold colour changes for the edges of the plants and the stalks, with subtle gradients throughout. for this, I mostly used a basic hard round brush with varying levels of flow and pen pressure and a soft brush for gradients.
Thursday, November 28, 2019
Foliage VFX: Week 2 Wednesday
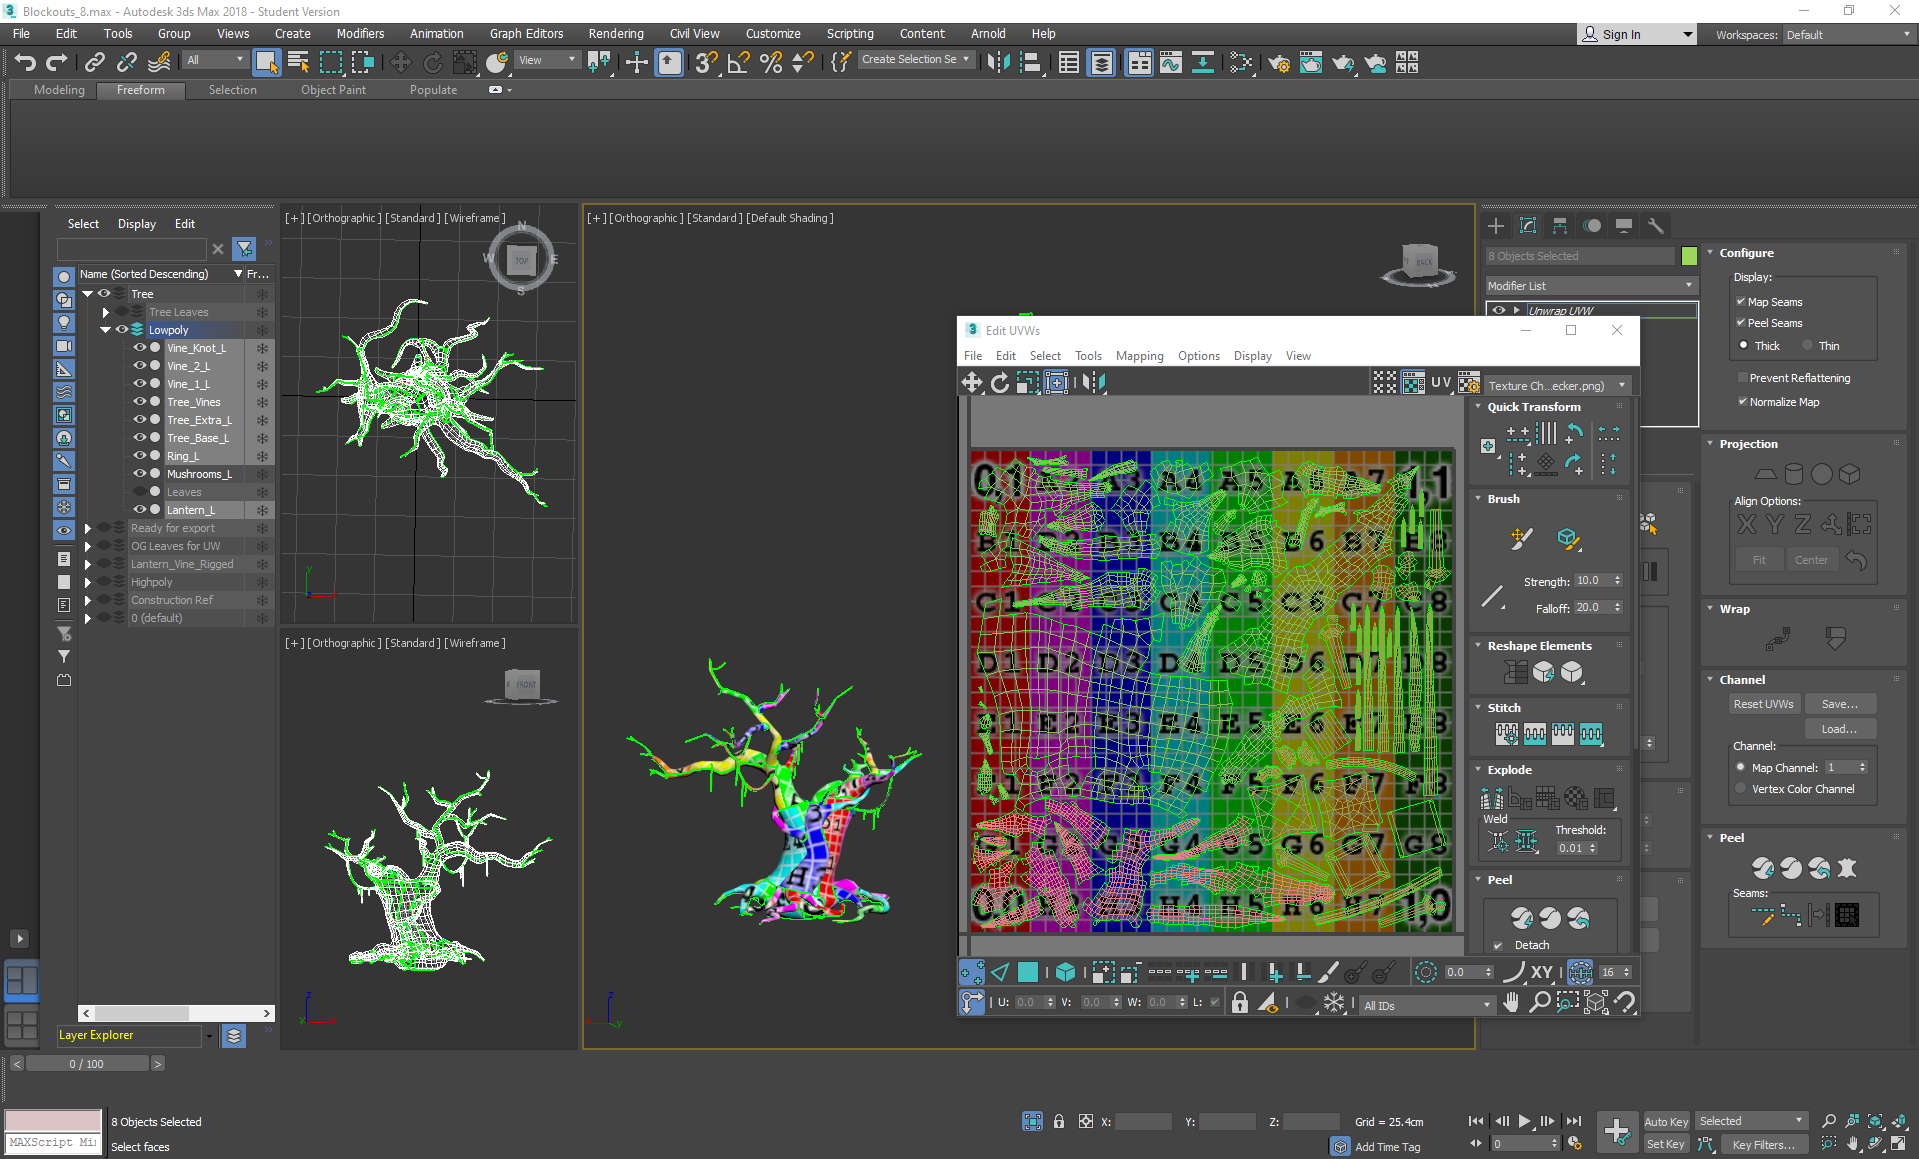
On Wednesday I unwrapped anything that hadn't already been unwrapped (in which my reference copies of the lowpoly plants came in handy) as well as the tree, keeping an eye on my texture budget and assigning maps accordingly. I mapped out a plan to use the following maps: 512 alphas, 256 mushrooms, 1024 tree + vines, 512 opaque plants, 512 tileable texture 1 and 512 tileable texture 2. This ate into my budget for additional maps a little bit, but I had accounted for that earlier by sacrificing some normal maps.
I tried to avoid leaving much unused texture space as I wasn't intending on modelling anything else after this.
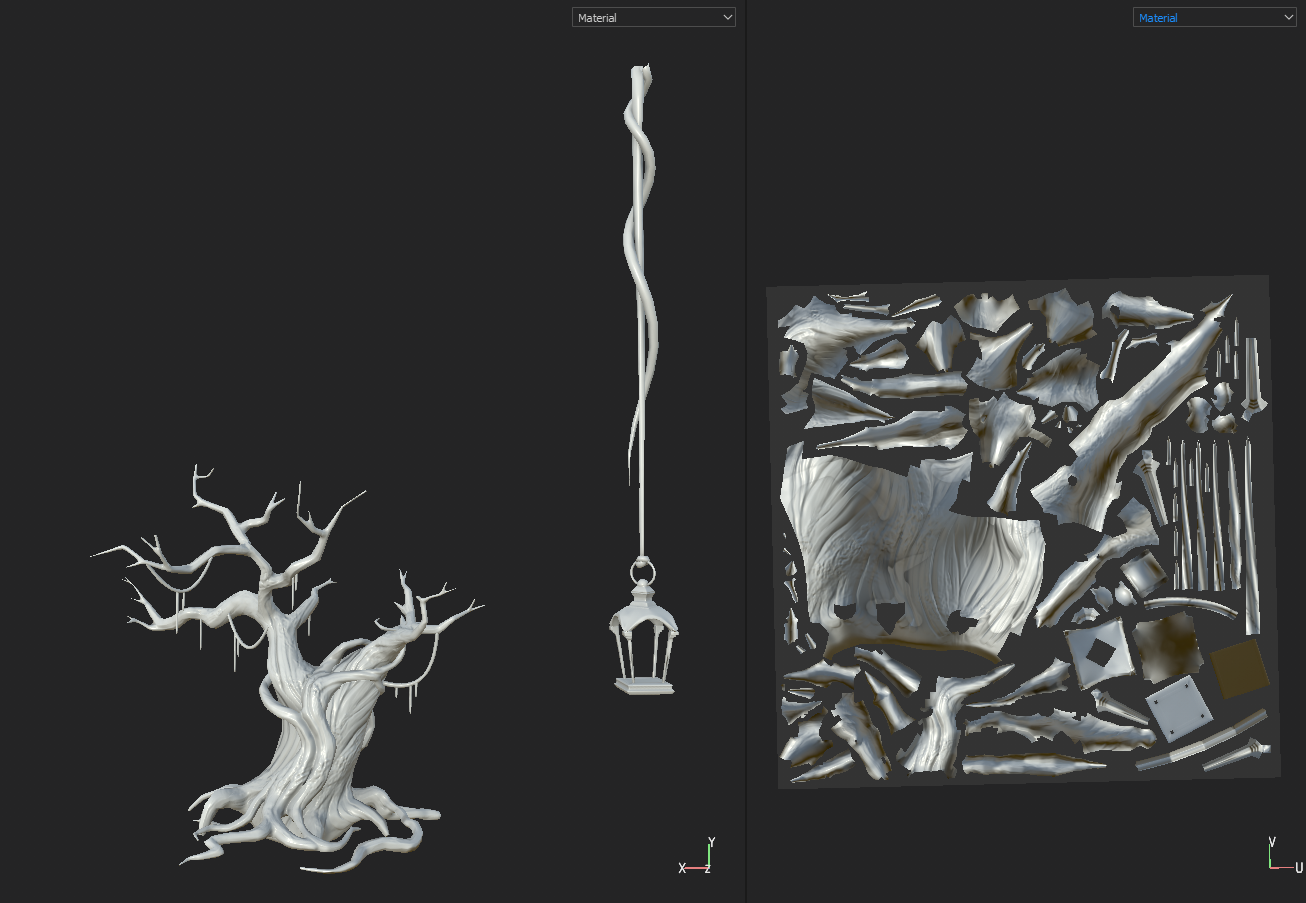
I exported the tree, lantern and vine into marmoset to bake normal maps without them printing onto each other, then placed them into substance painter ready for texturing:
I baked the lantern at a slightly higher resolution than the tree as I wanted it to be a bigger focus, but then resized it after texturing so that it would fit on the tree branches properly.
Wednesday, November 27, 2019
Foliage VFX: Week 2 Tuesday
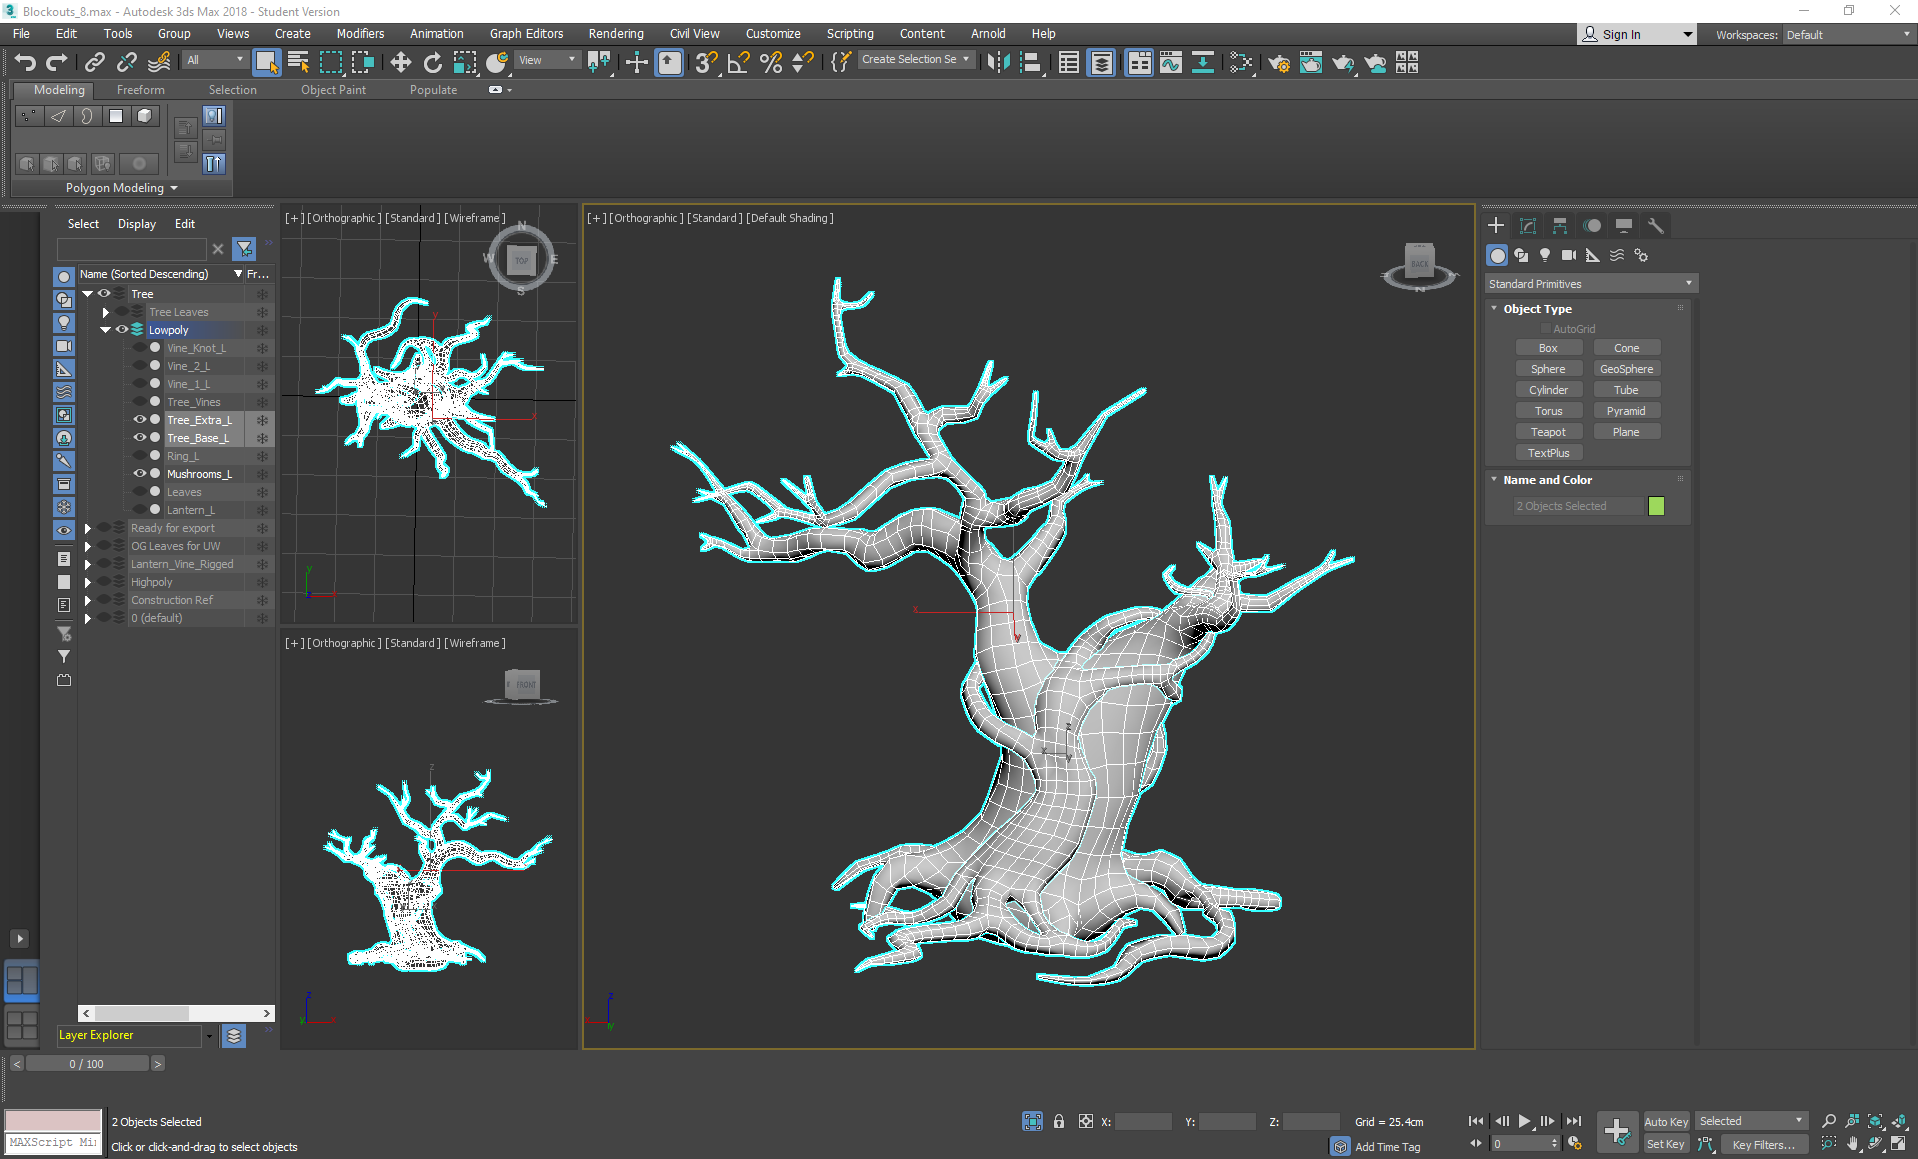
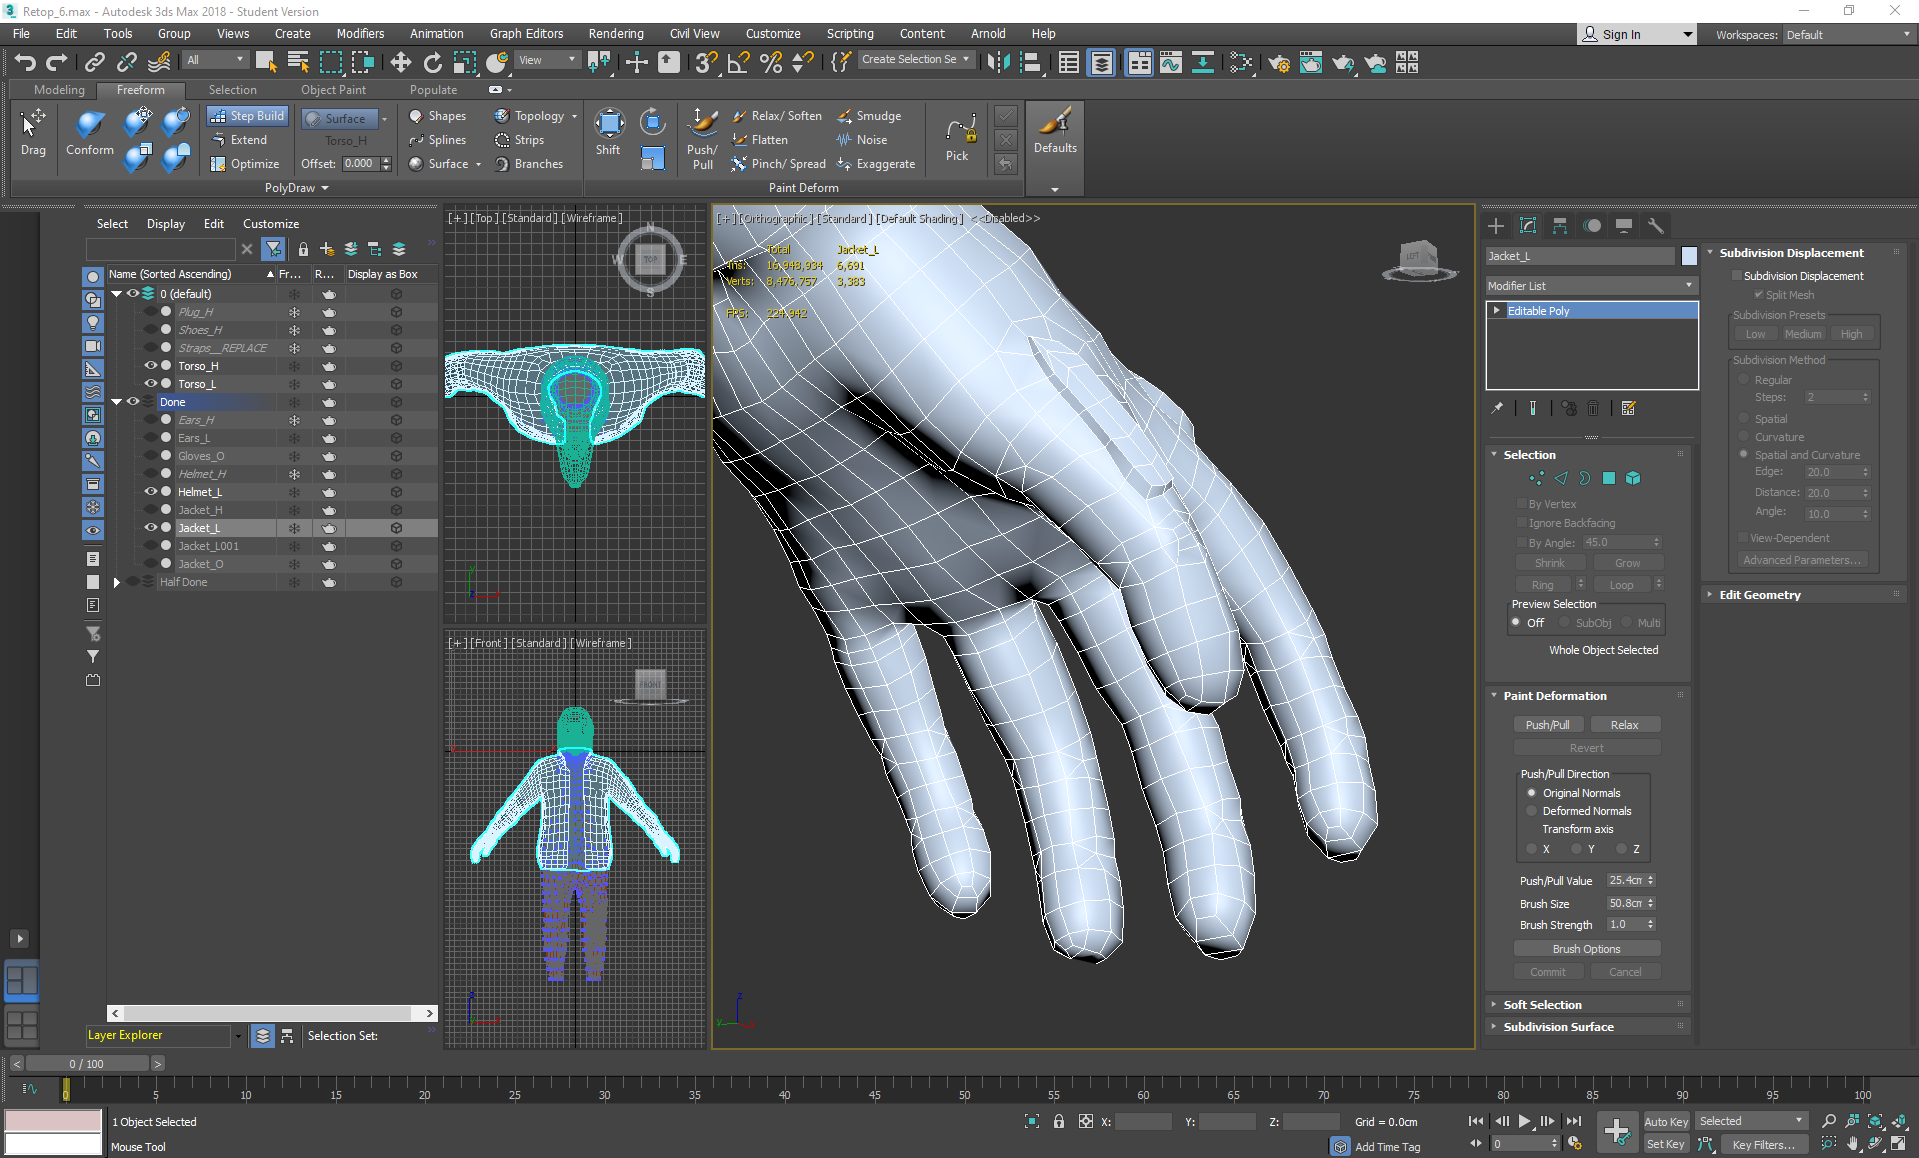
On Tuesday I went back to the tree and started the tedious task of re-topping, using a mixture of step build and strip modelling cylinders (then adding swift loops and conforming them to the highpoly surface), using the conform relax tool in some areas along the way to keep the geometry even. I did this to keep the surface as close to the high poly version as possible, while also saving as much time as possible.
Tuesday, November 26, 2019
Foliage VFX: Week 2 Monday
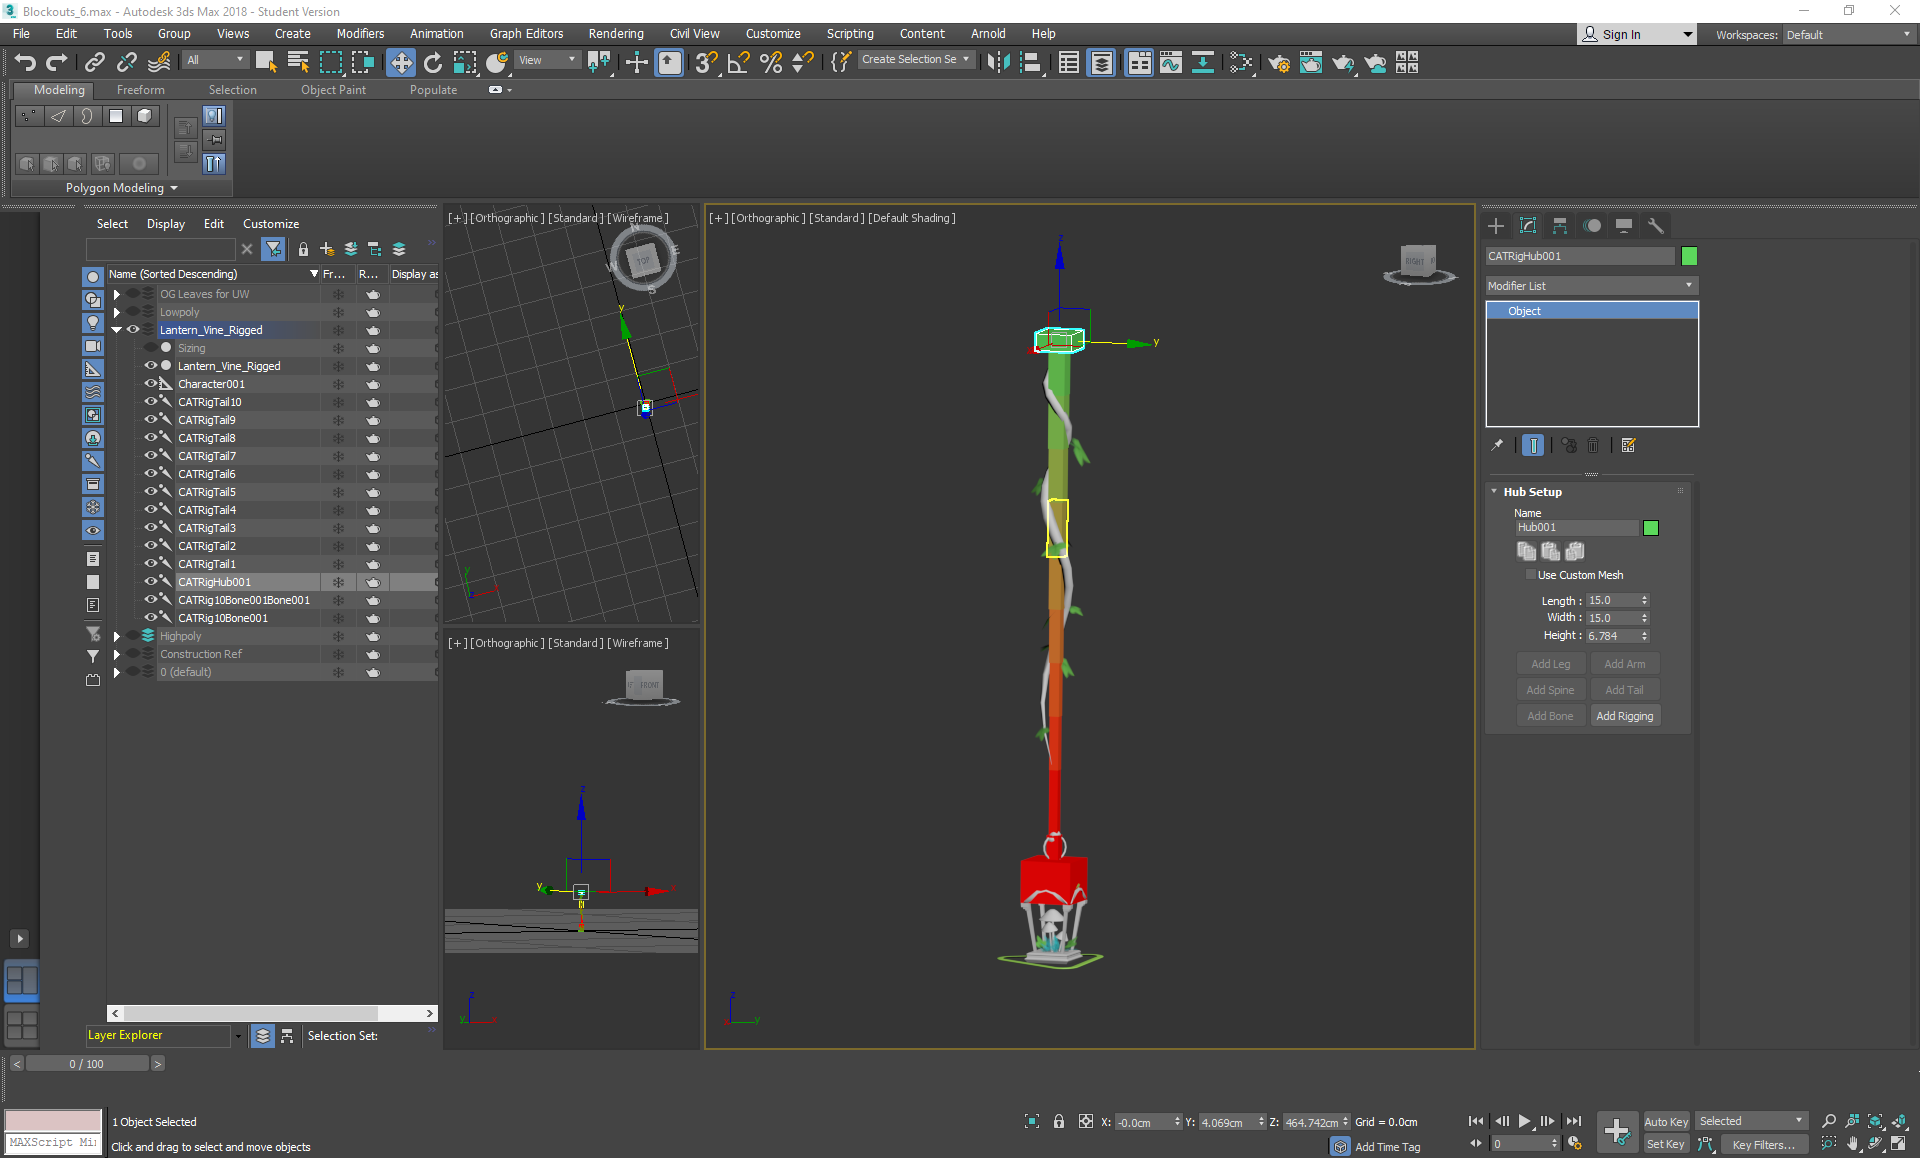
On Monday I decided to ignore the tree for a bit and to start focusing on the vine lanterns:
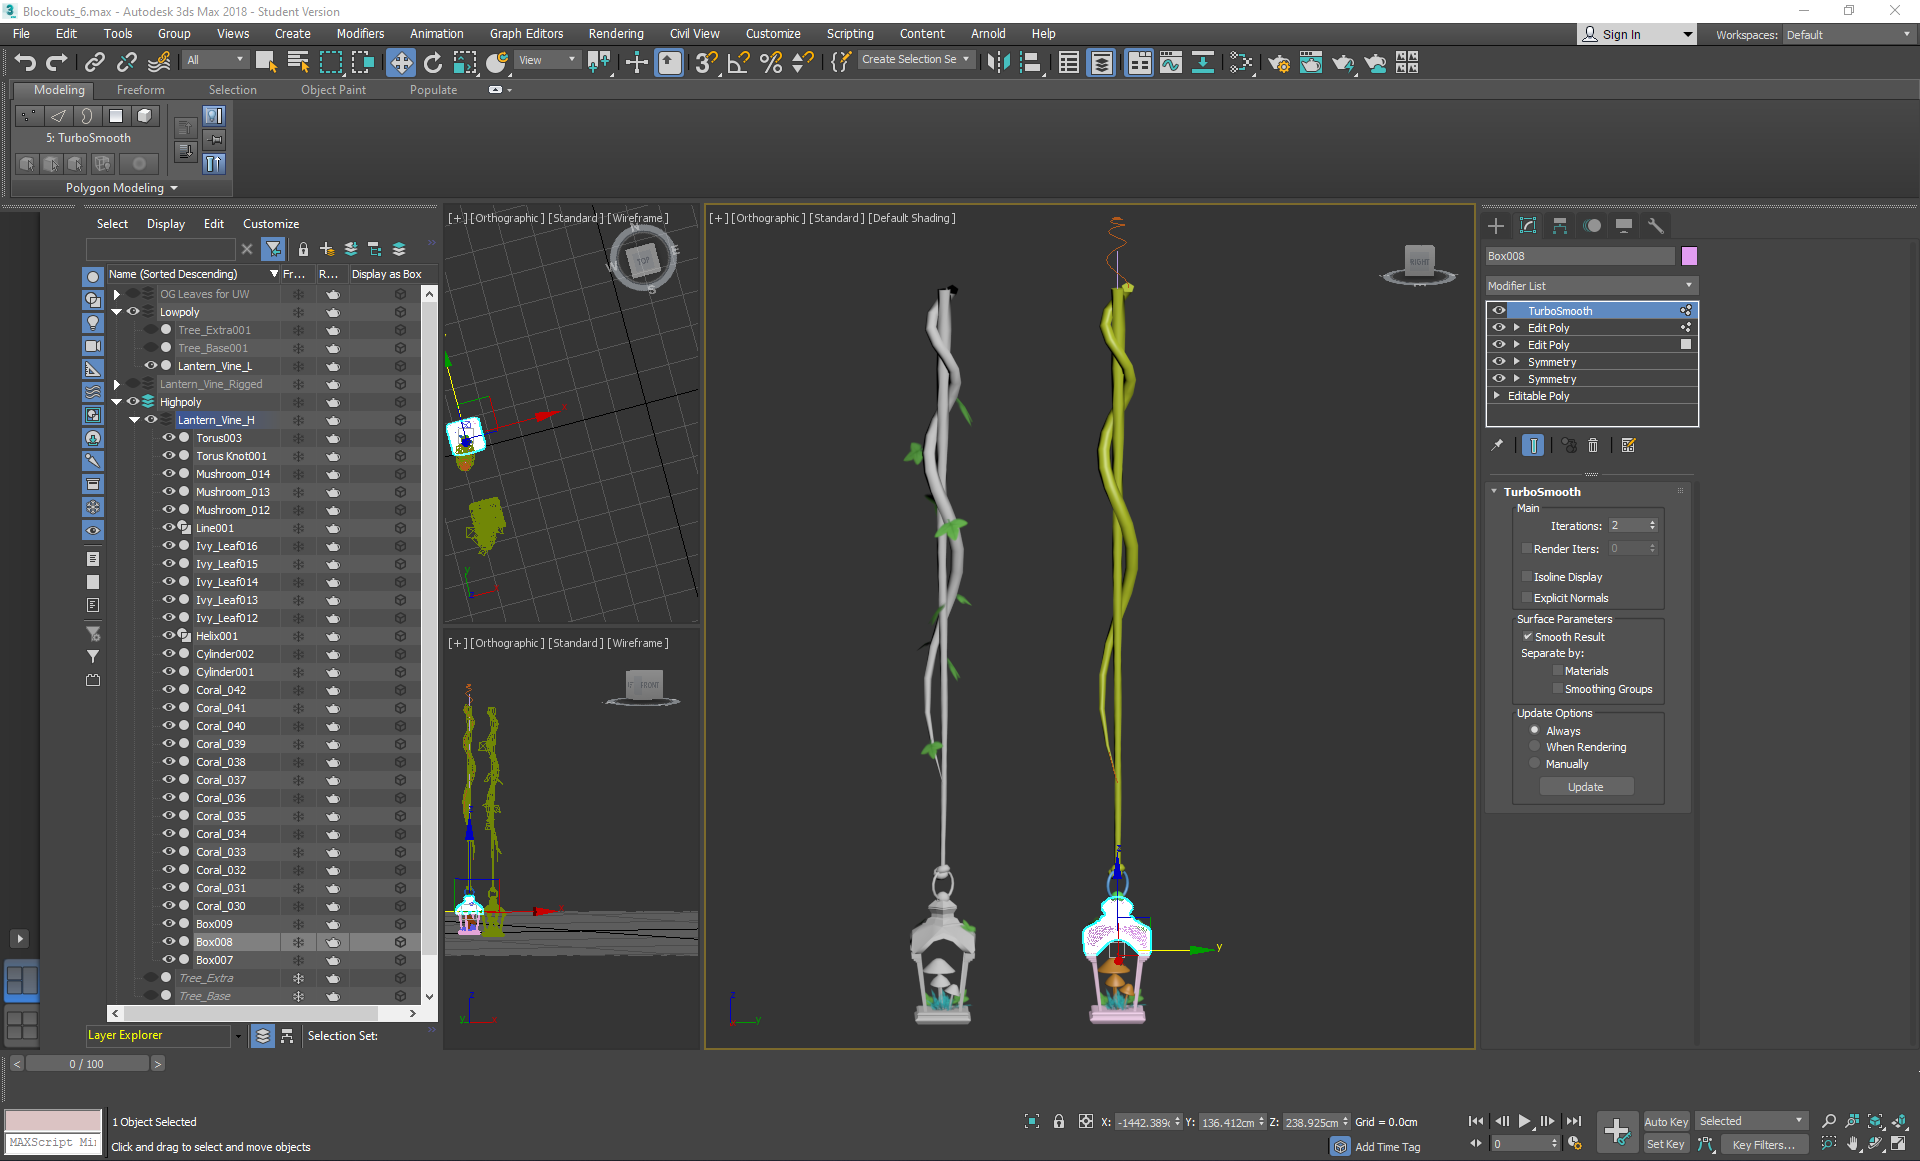
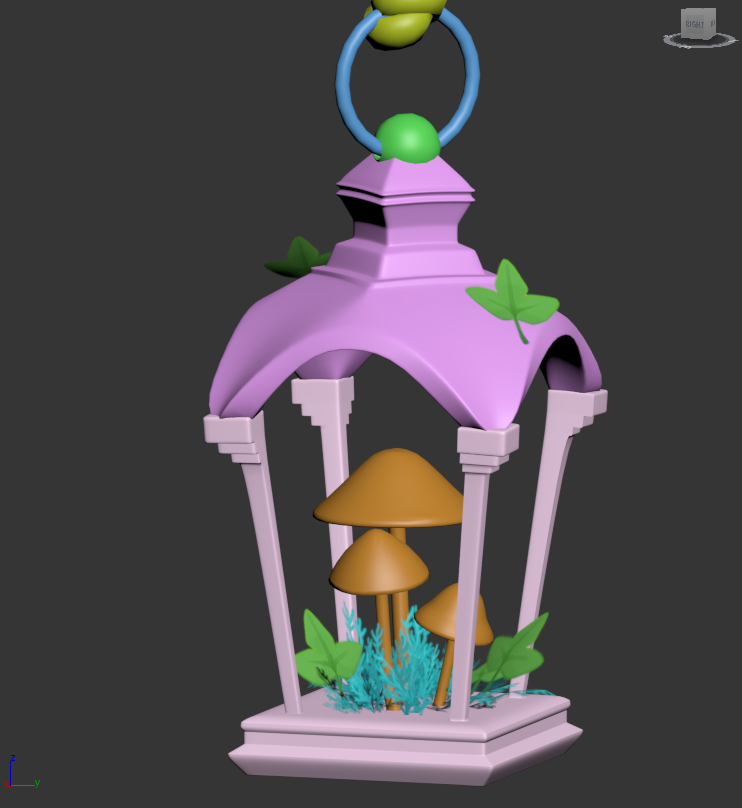
I used a lot of symmetry and box modelling to create a highpoly and lowpoly version of a lantern attached to a vine, using a line and helix splines on path deforming binding (WSM) modifiers to shape cylinders into a vine shape, then using the animation position constraint to attach leaves along them. I used a torus knot to create the knot at the end, and tried to position the metal ring so that it would come out of the knot in realistic areas rather than clipping straight through the flesh of it.
I intentionally rotated the top a little despite the reference I was using in order to create some more interest and contrast in the way that it was built:
After this was completed, I then went on to create the bones of the vine, as I wanted it to have physics within the scene.
I followed this tutorial using CAT bones and rigging it to the mesh, then went back to it later in the week to follow their guide on exporting to UE4 and implementing a light.
Saturday, November 23, 2019
Foliage VFX: Week 1 Friday
On Friday I finished sculpting the tree and decimated it to be retopped in 3ds max. I primarily used the clay tubes brush to build up the layers of the tree in a fashion that left a grain, trying to follow the form displayed in the concept. I loosely followed the tips displayed in this post: https://www.artstation.com/artwork/mOex1 using the orb cracks brush in some areas to emphasise the gaps. For extra reference, I used some disney tree images like chip n dale's treehouse:
To keep things neat, I kept everything on separate layers, then projected a higher poly version onto a zremesh-ed version to keep the details, while maintaining a tri count that would allow the tree to be exported to 3ds max.
During this, I specifically learnt how to polypaint so that I could keep the thin areas of the branches higher poly than the rest of the sculpt when zremeshing, to avoid the issue of losing geometry to smoothing.
Friday, November 22, 2019
Foliage VFX: Week 1 Thursday
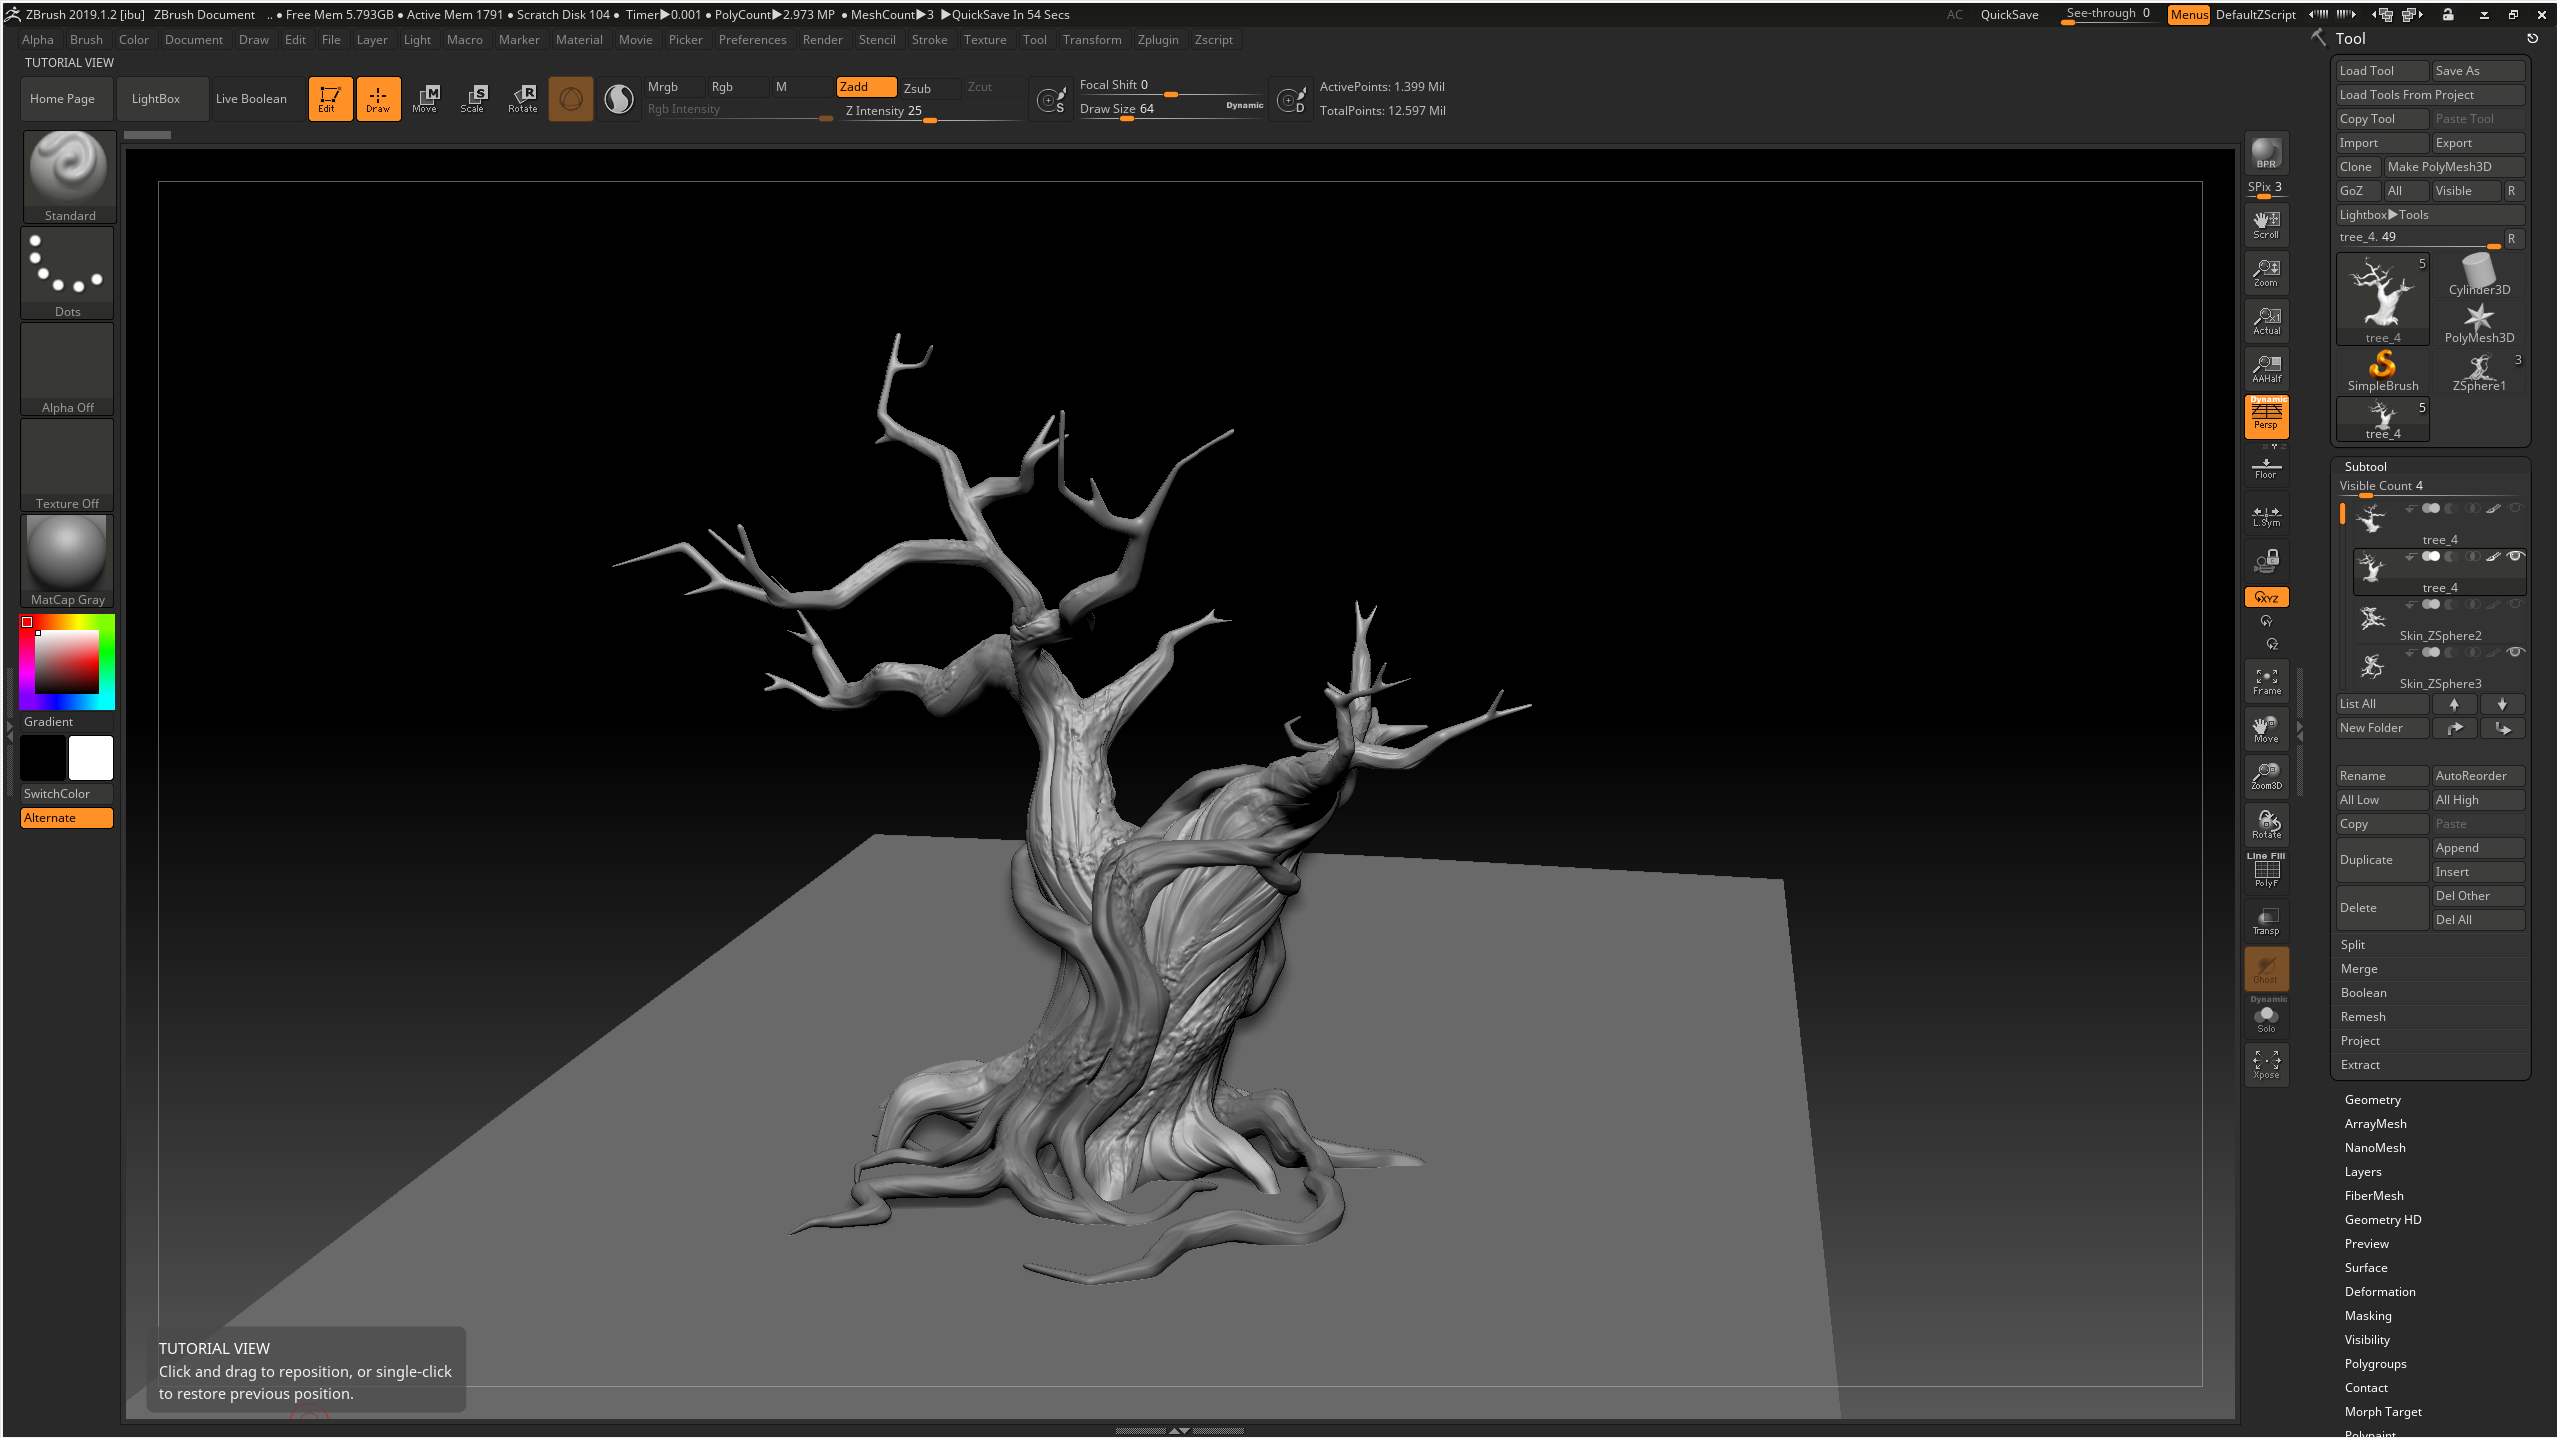
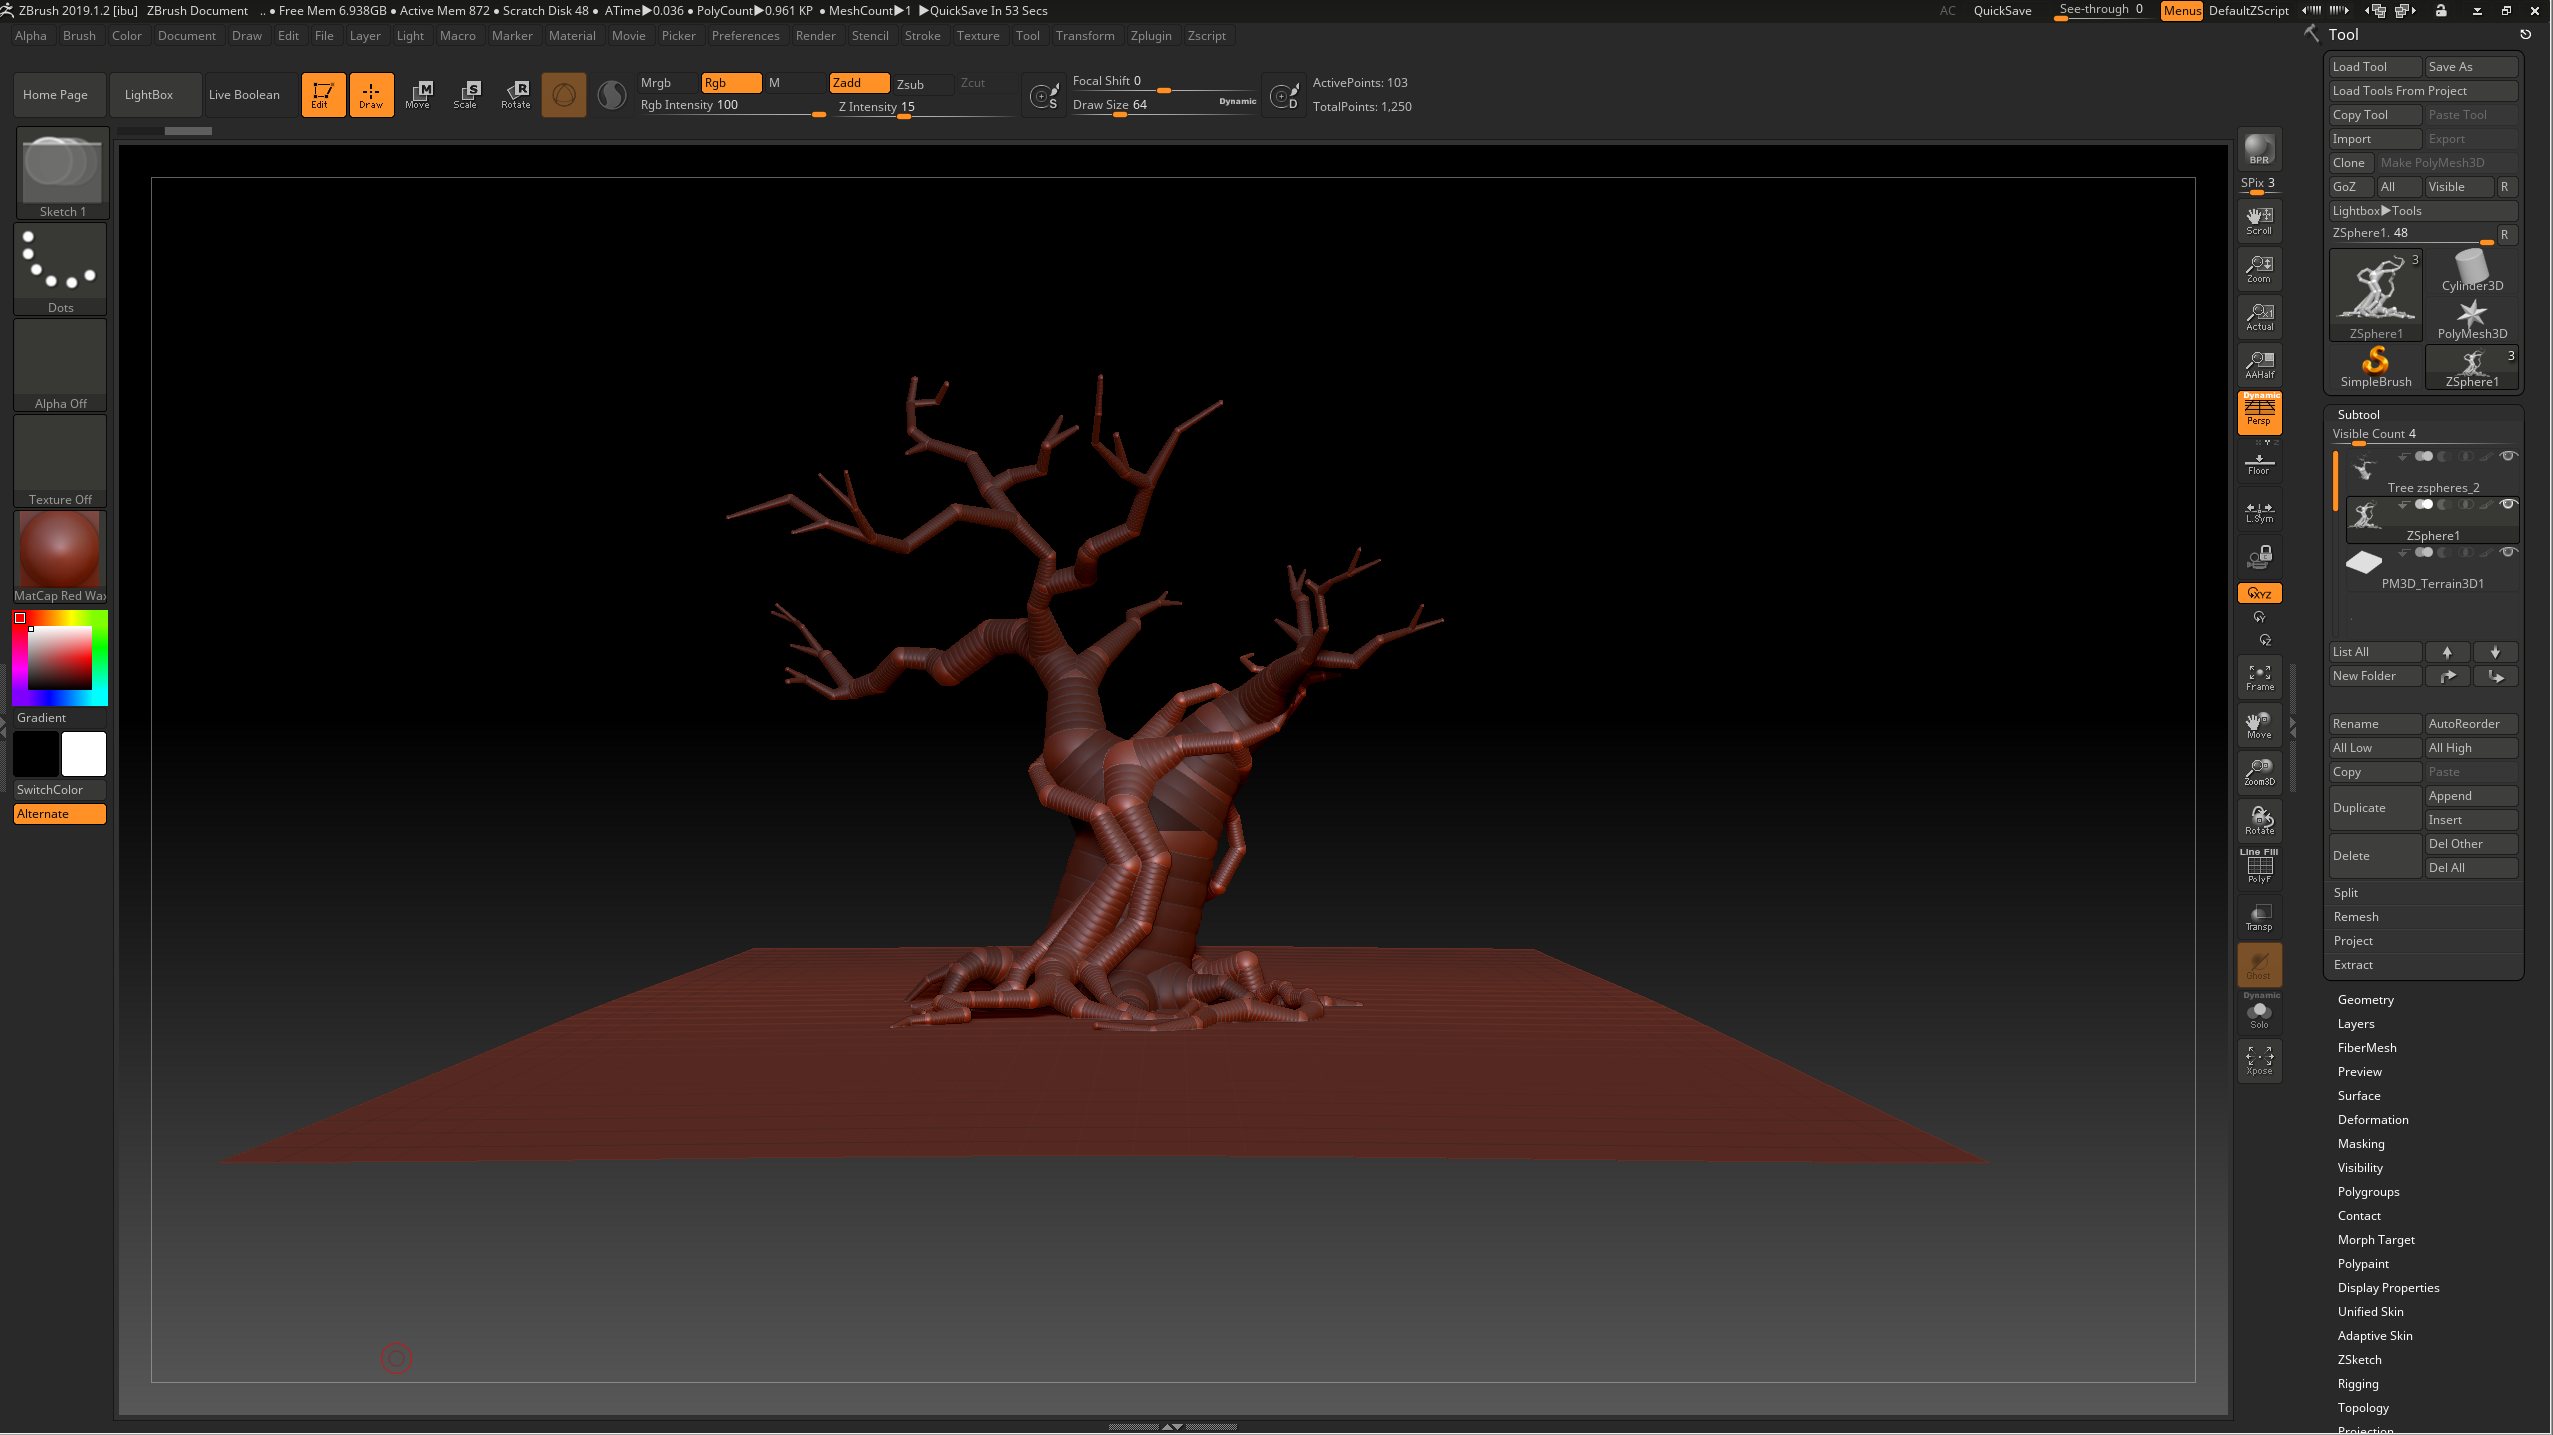
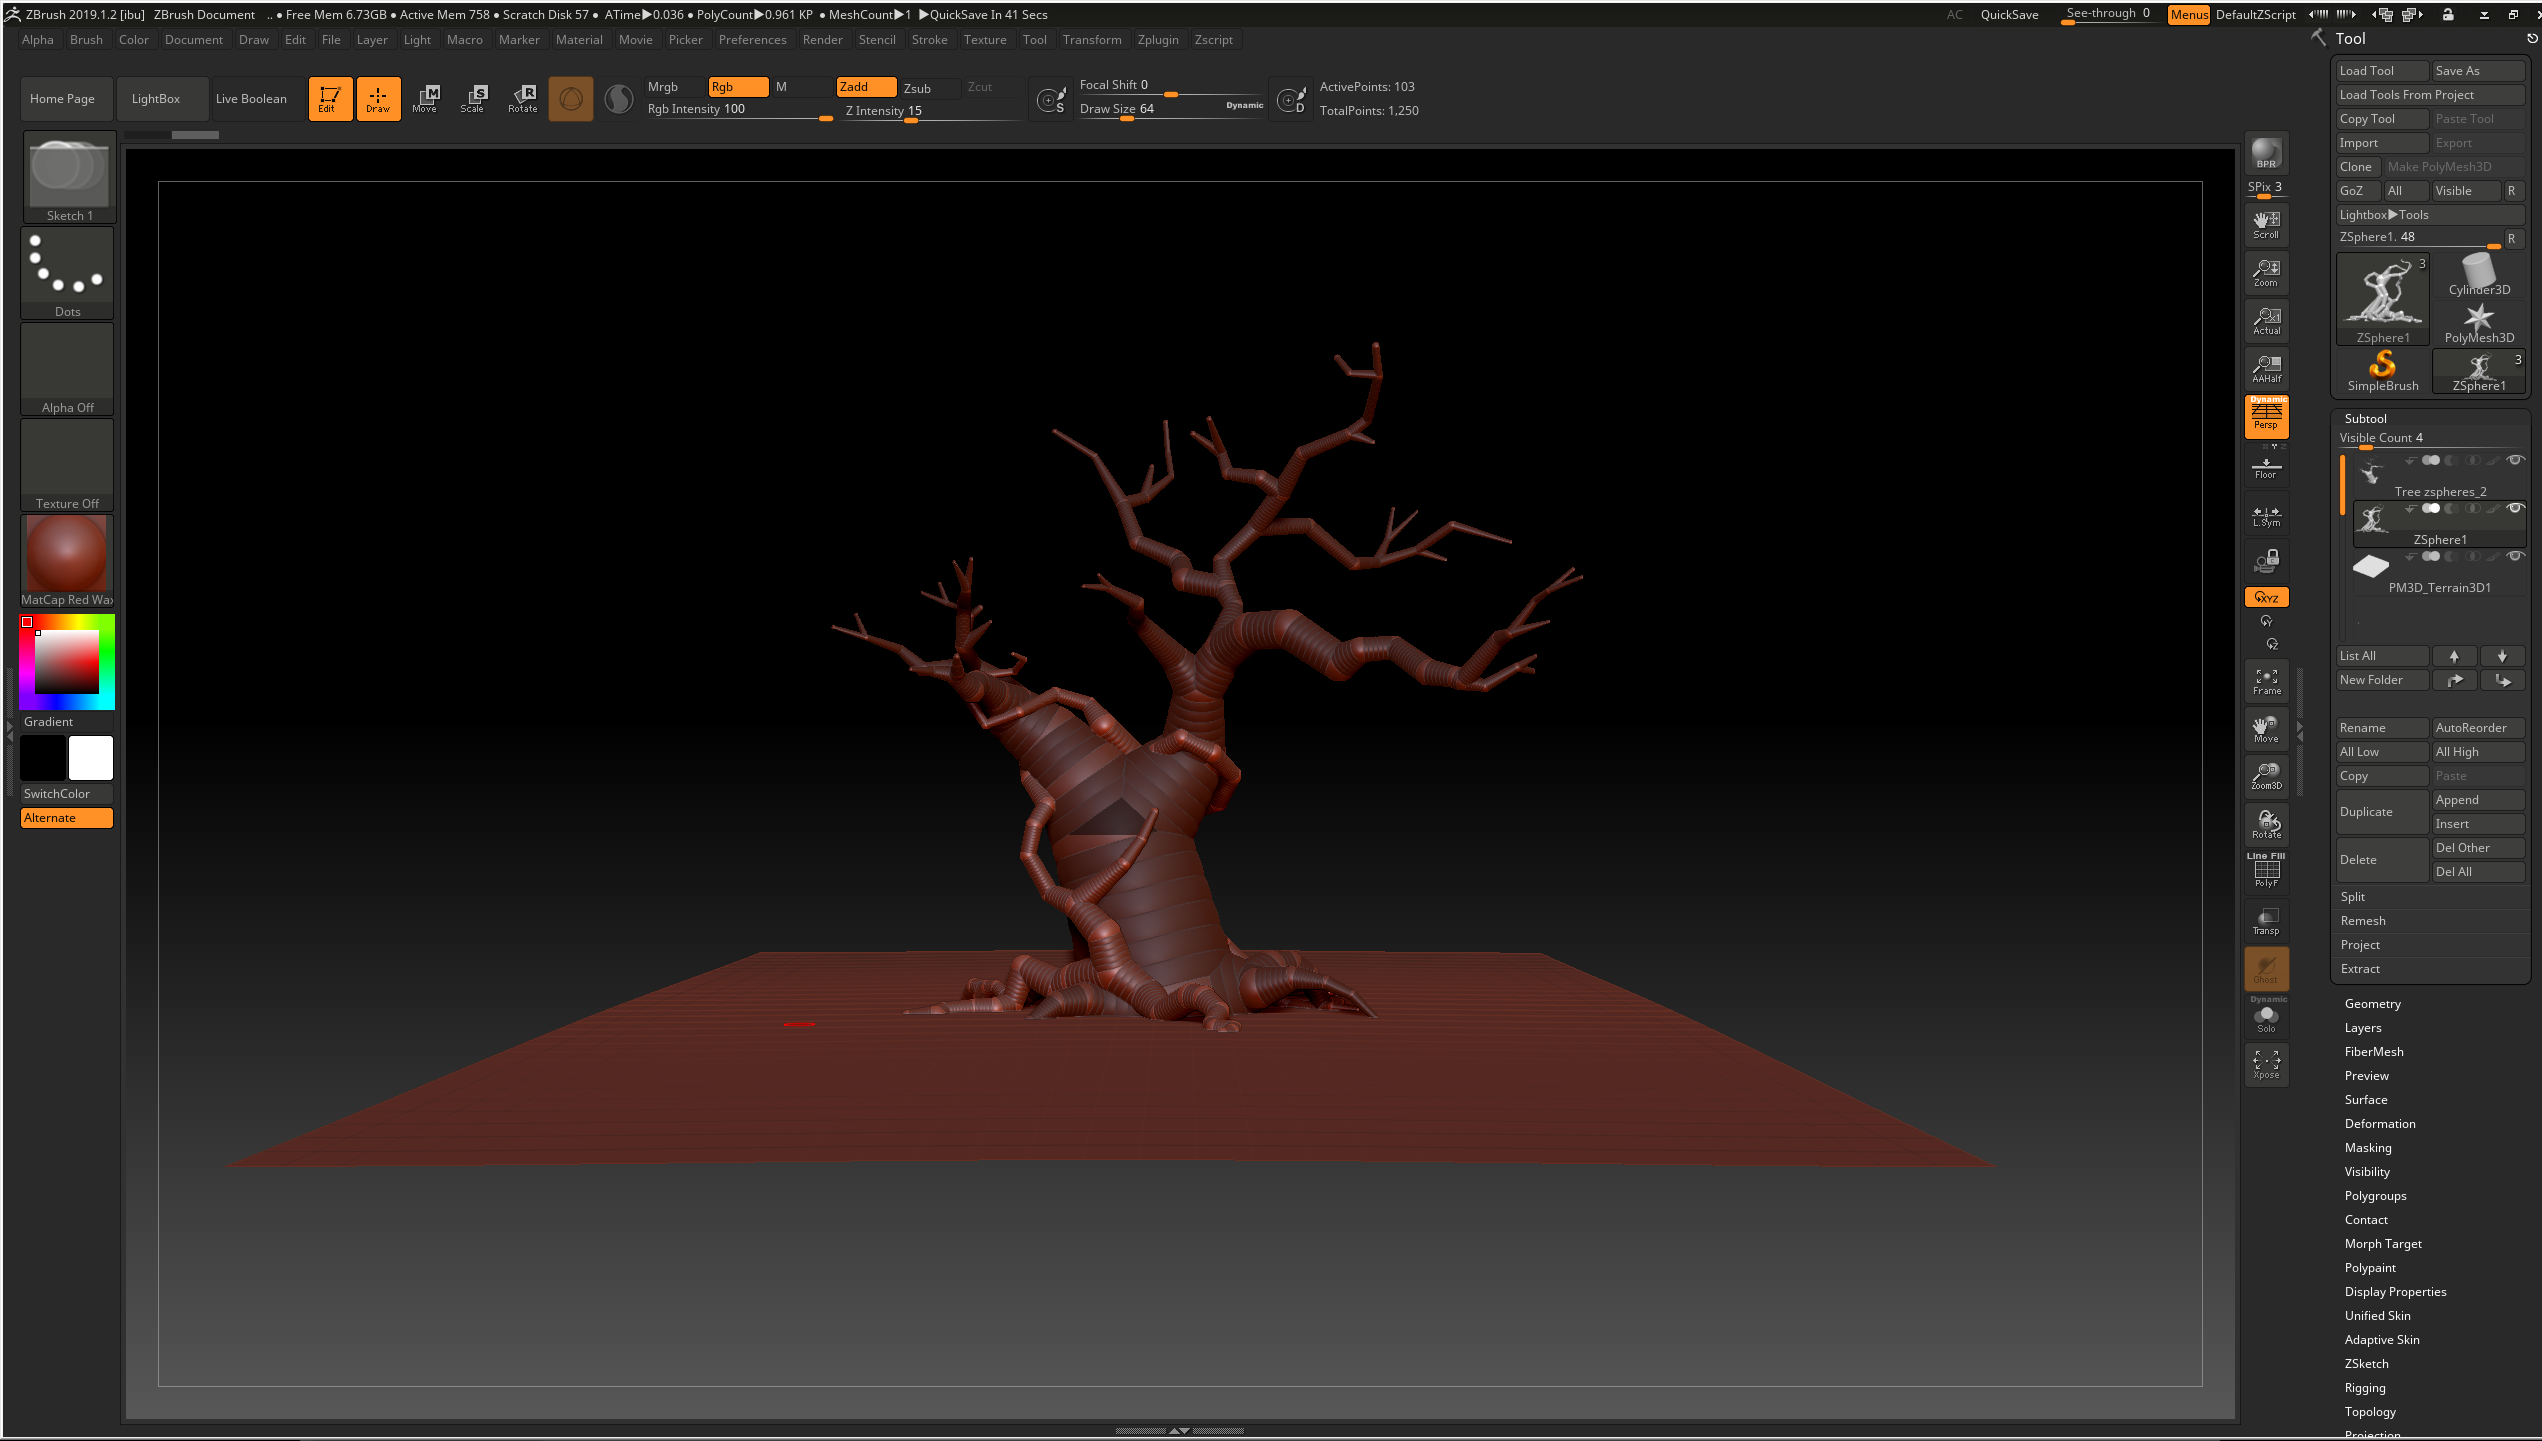
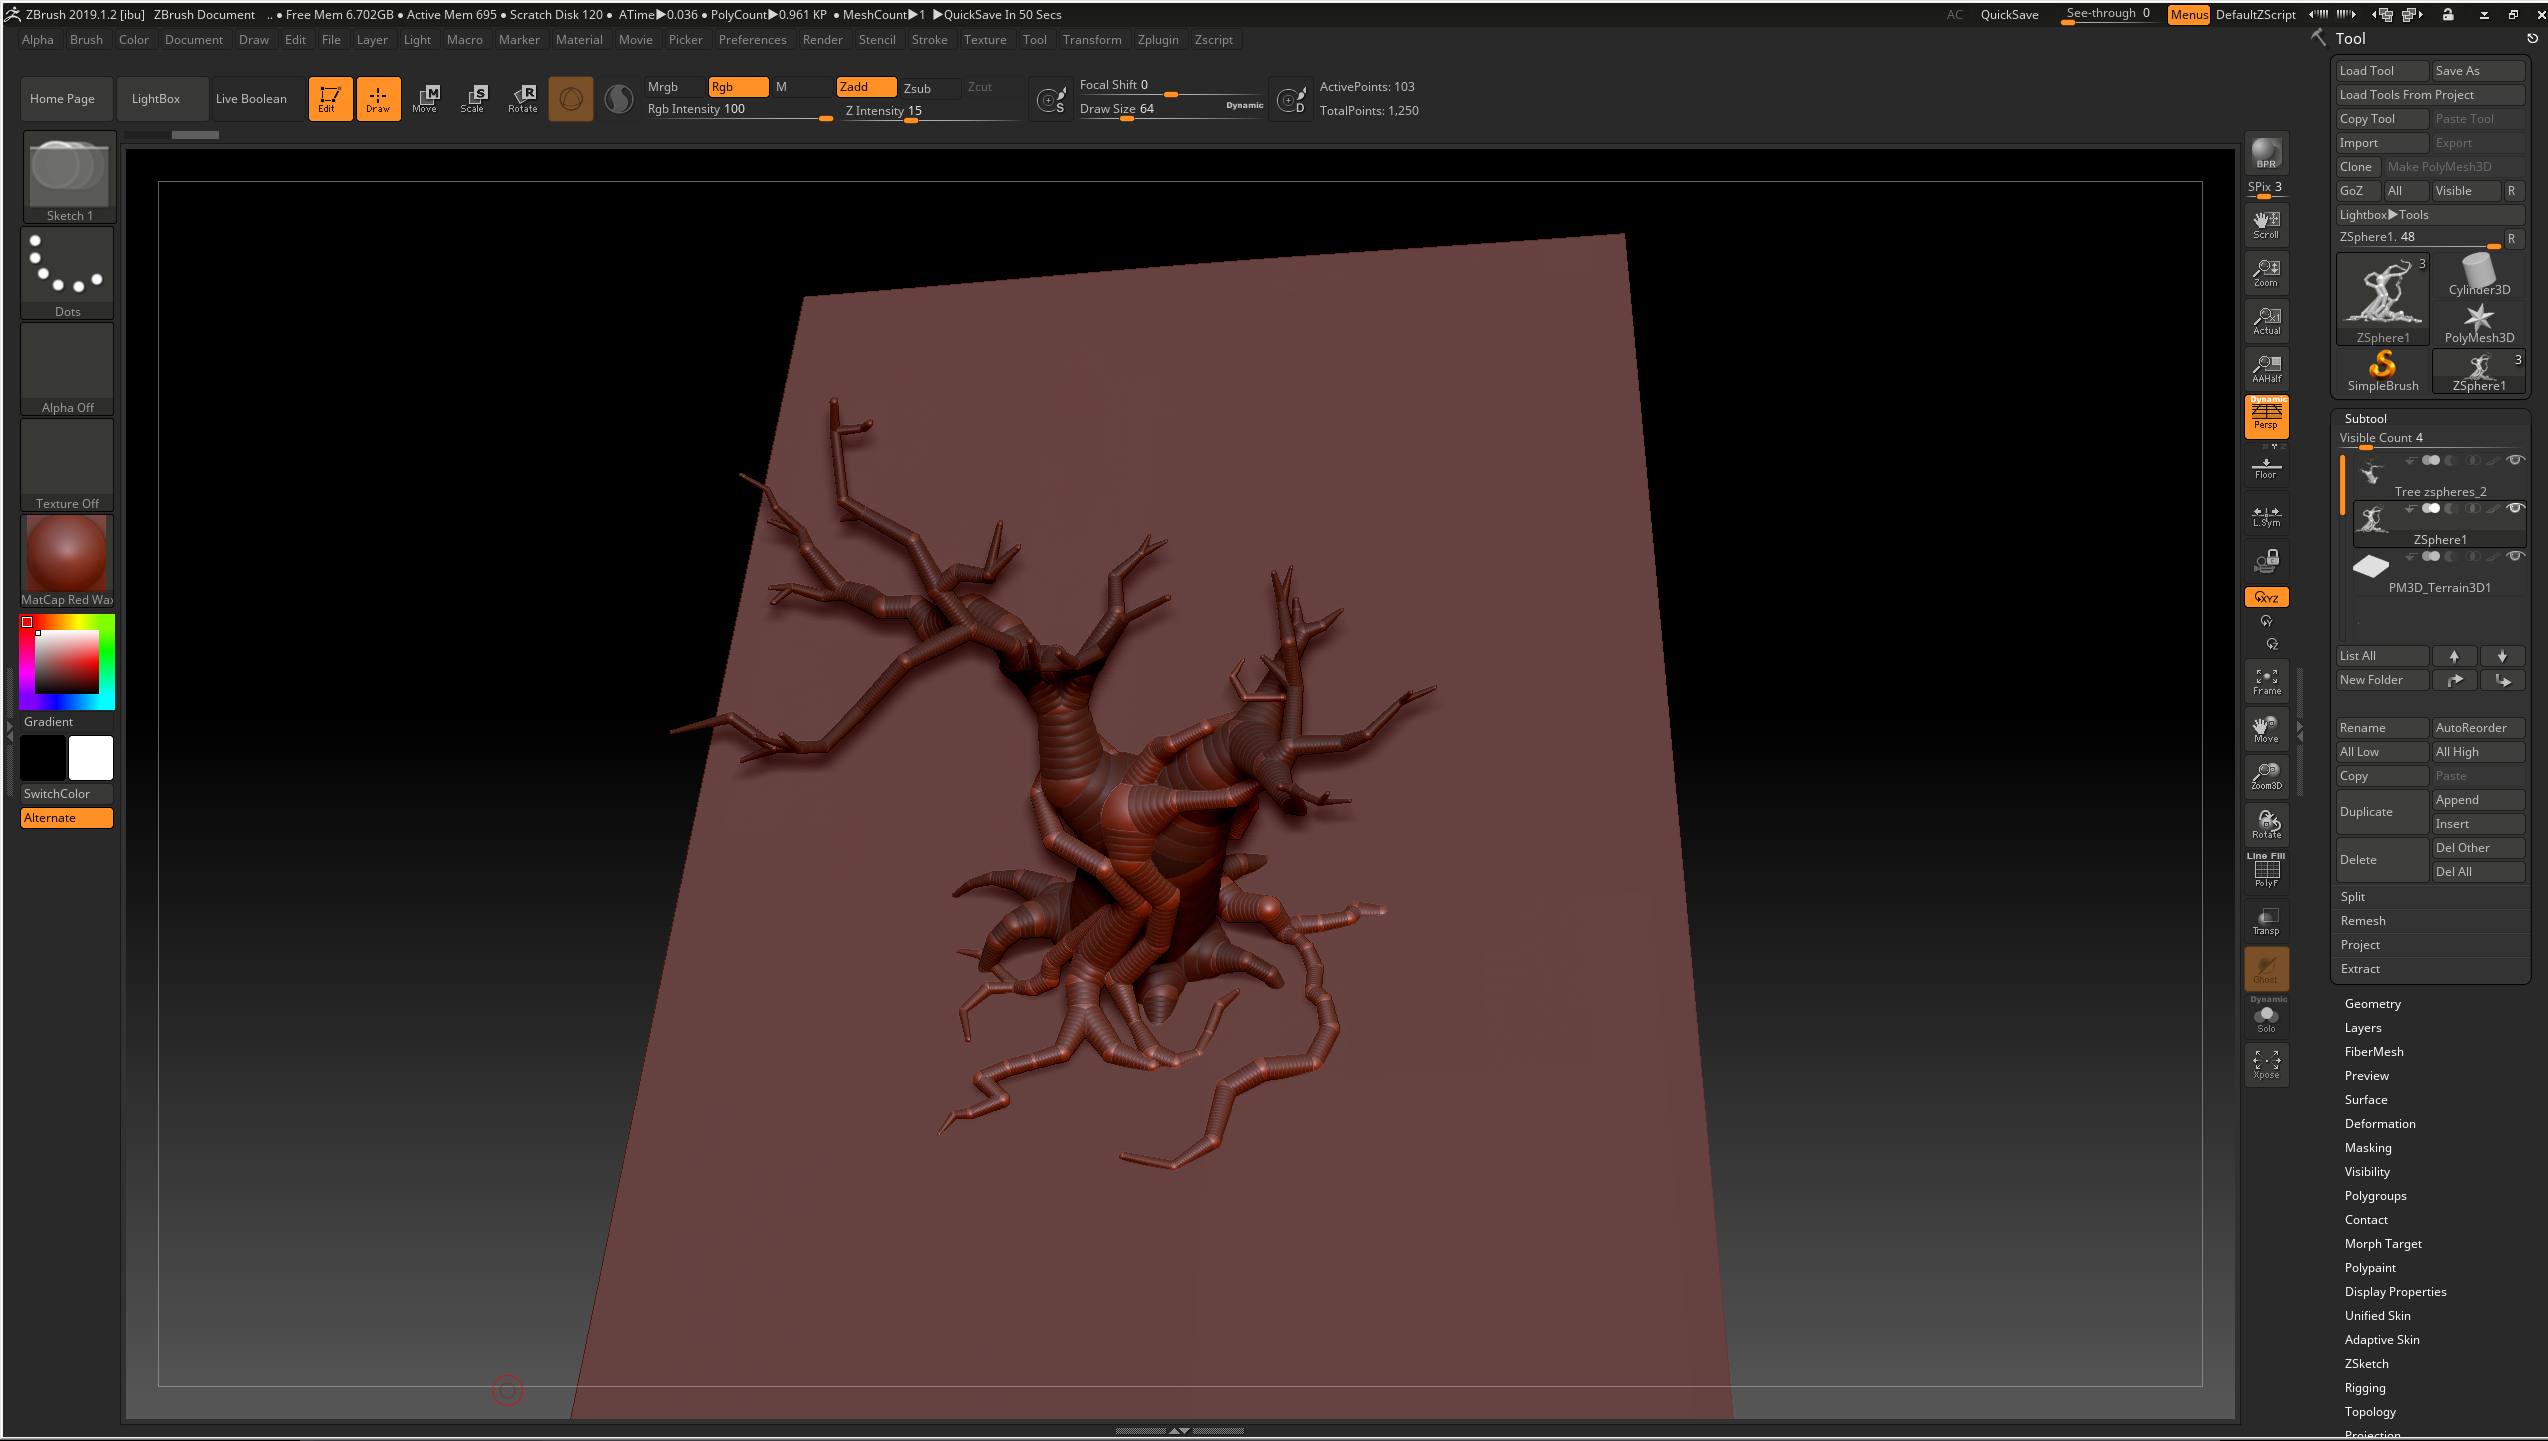
On Thursday, I started working on the tree sculpt. I specifically wanted this part to be sculpted because it was going to be the centrepiece of the plinth and is obviously more shapely than the rest of the foliage. Combining both reference images together, I focused on using one of the references for the roots, as I had to consider how the plants would fit around the tree to match the concept, and the other for the rest of the tree. I decided to use zspheres as they allowed for flexible, snake like branches, keeping to 2 subtools so that I could separate areas and make the sculpting process easier to keep clean and neat later on:
During this process I modelled the tree over the top of the concept images to make sure the branches aligned, then later made adjustments to ensure that the tree wouldn't look flat, as I had the issue of only having one view to work from in the concept image. I had to line up the tree with the concept image several times and settle with some slight changes to ensure that the tree would look good from more than one angle.
Thursday, November 21, 2019
Foliage VFX: Week 1 Wednesday
On wednesday I began constructing all of the foliage that would be in the scene, starting with the alphas and ending with the solid/opaque foliage.
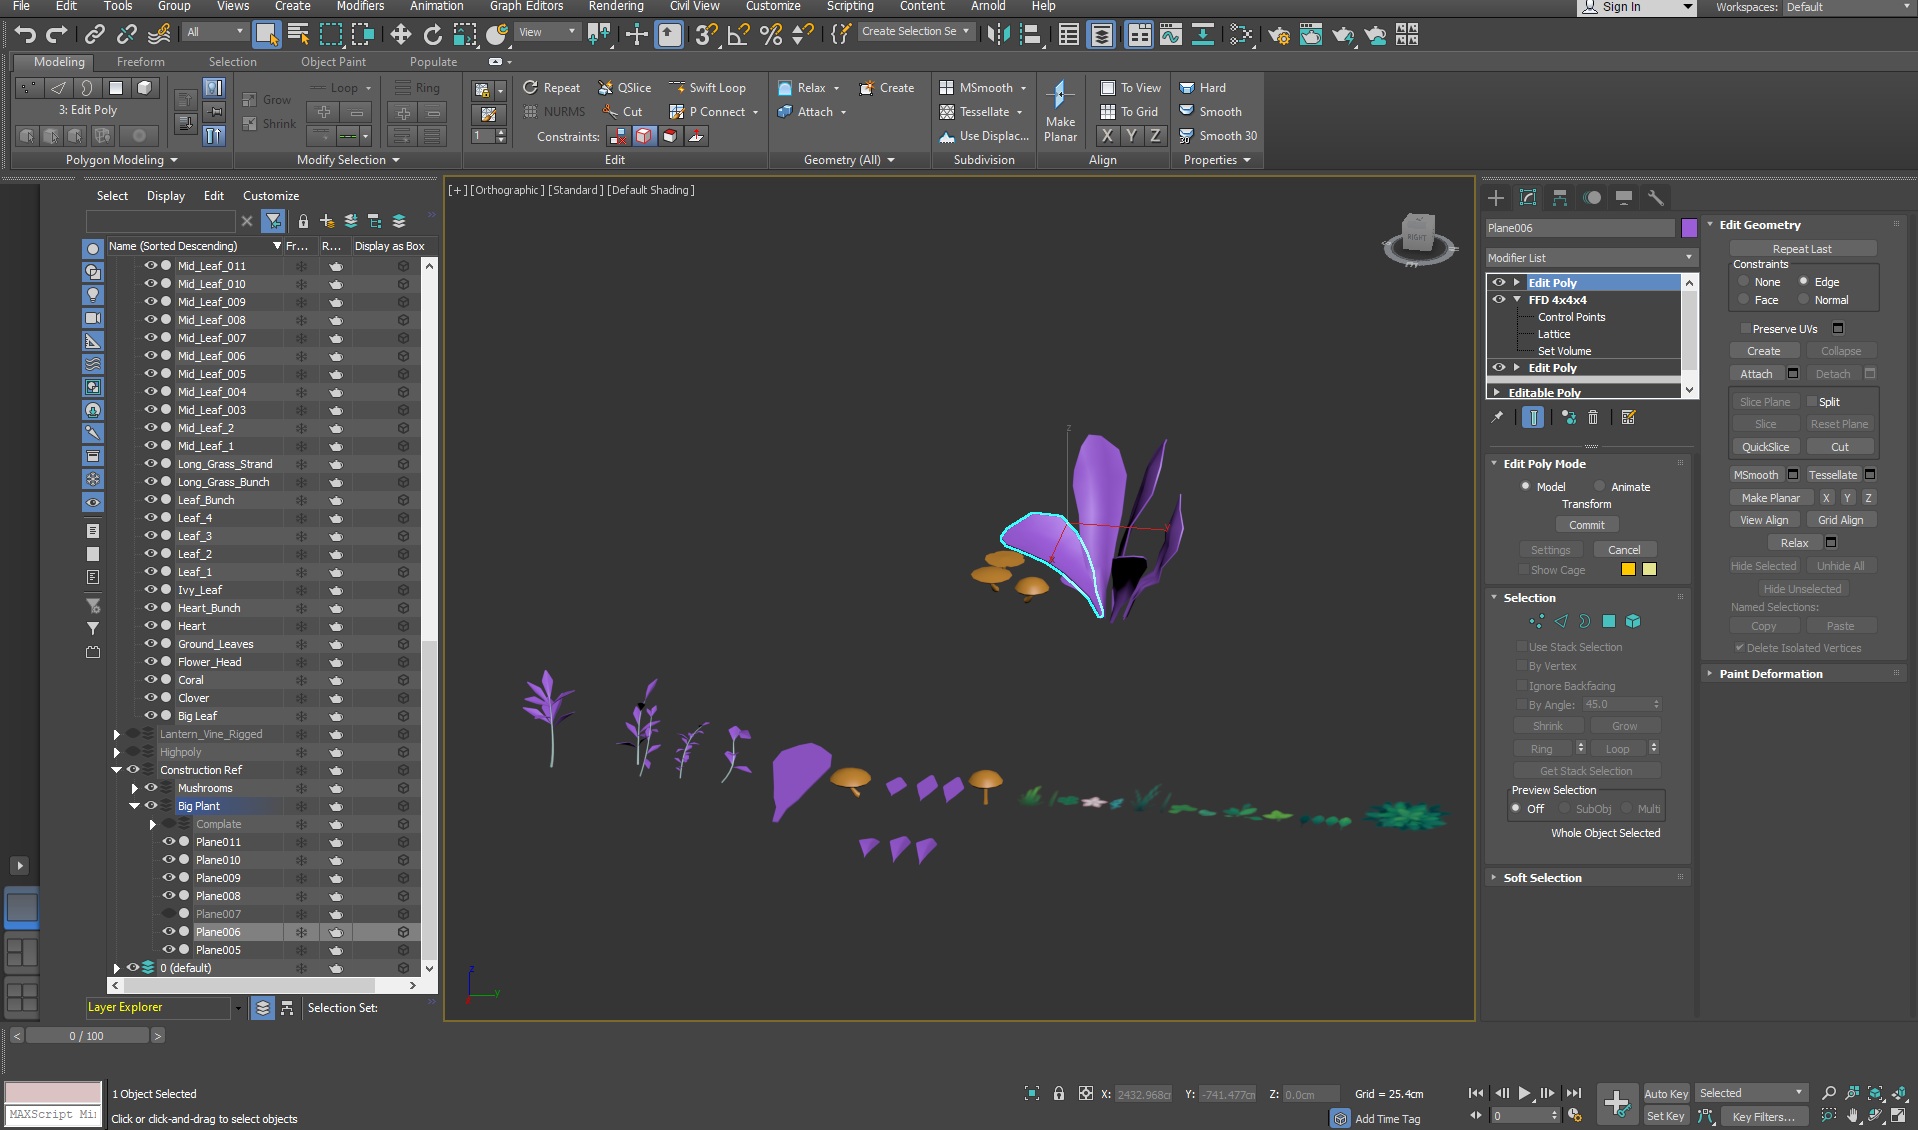
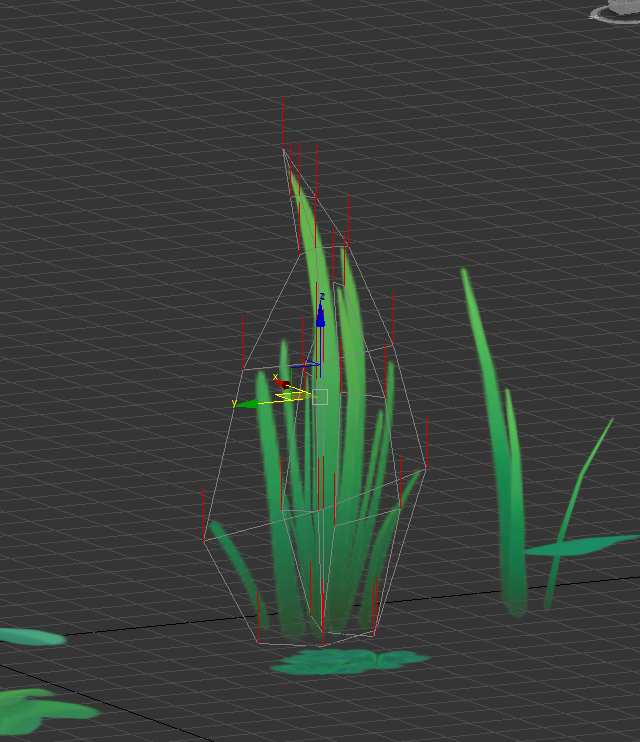
To avoid using too much texture space, I specifically modelled a flat leaf for texturing, then made several reference versions with a ffd modifier stacked onto their individual unique shelves:
I made sure that each alpha was bent slightly or overlapped so that it could be visible from all angles and made sure that the normals were pointing upwards to avoid any bad lighting angles. In the future, if I wanted to be particularly cheap with my budget, I would consider then projecting these alphas onto an even lower poly plane. In other circumstances I would also consider adding normal maps, but the concept was fairly cell shaded and flat, so I decided to utilise that texture space for something else instead.
After merging everything together, I made sure everything was moved to the centre of the grid ready to be exported to UE4, with light maps in place.
Wednesday, November 20, 2019
Foliage VFX: Week 1 Tuesday
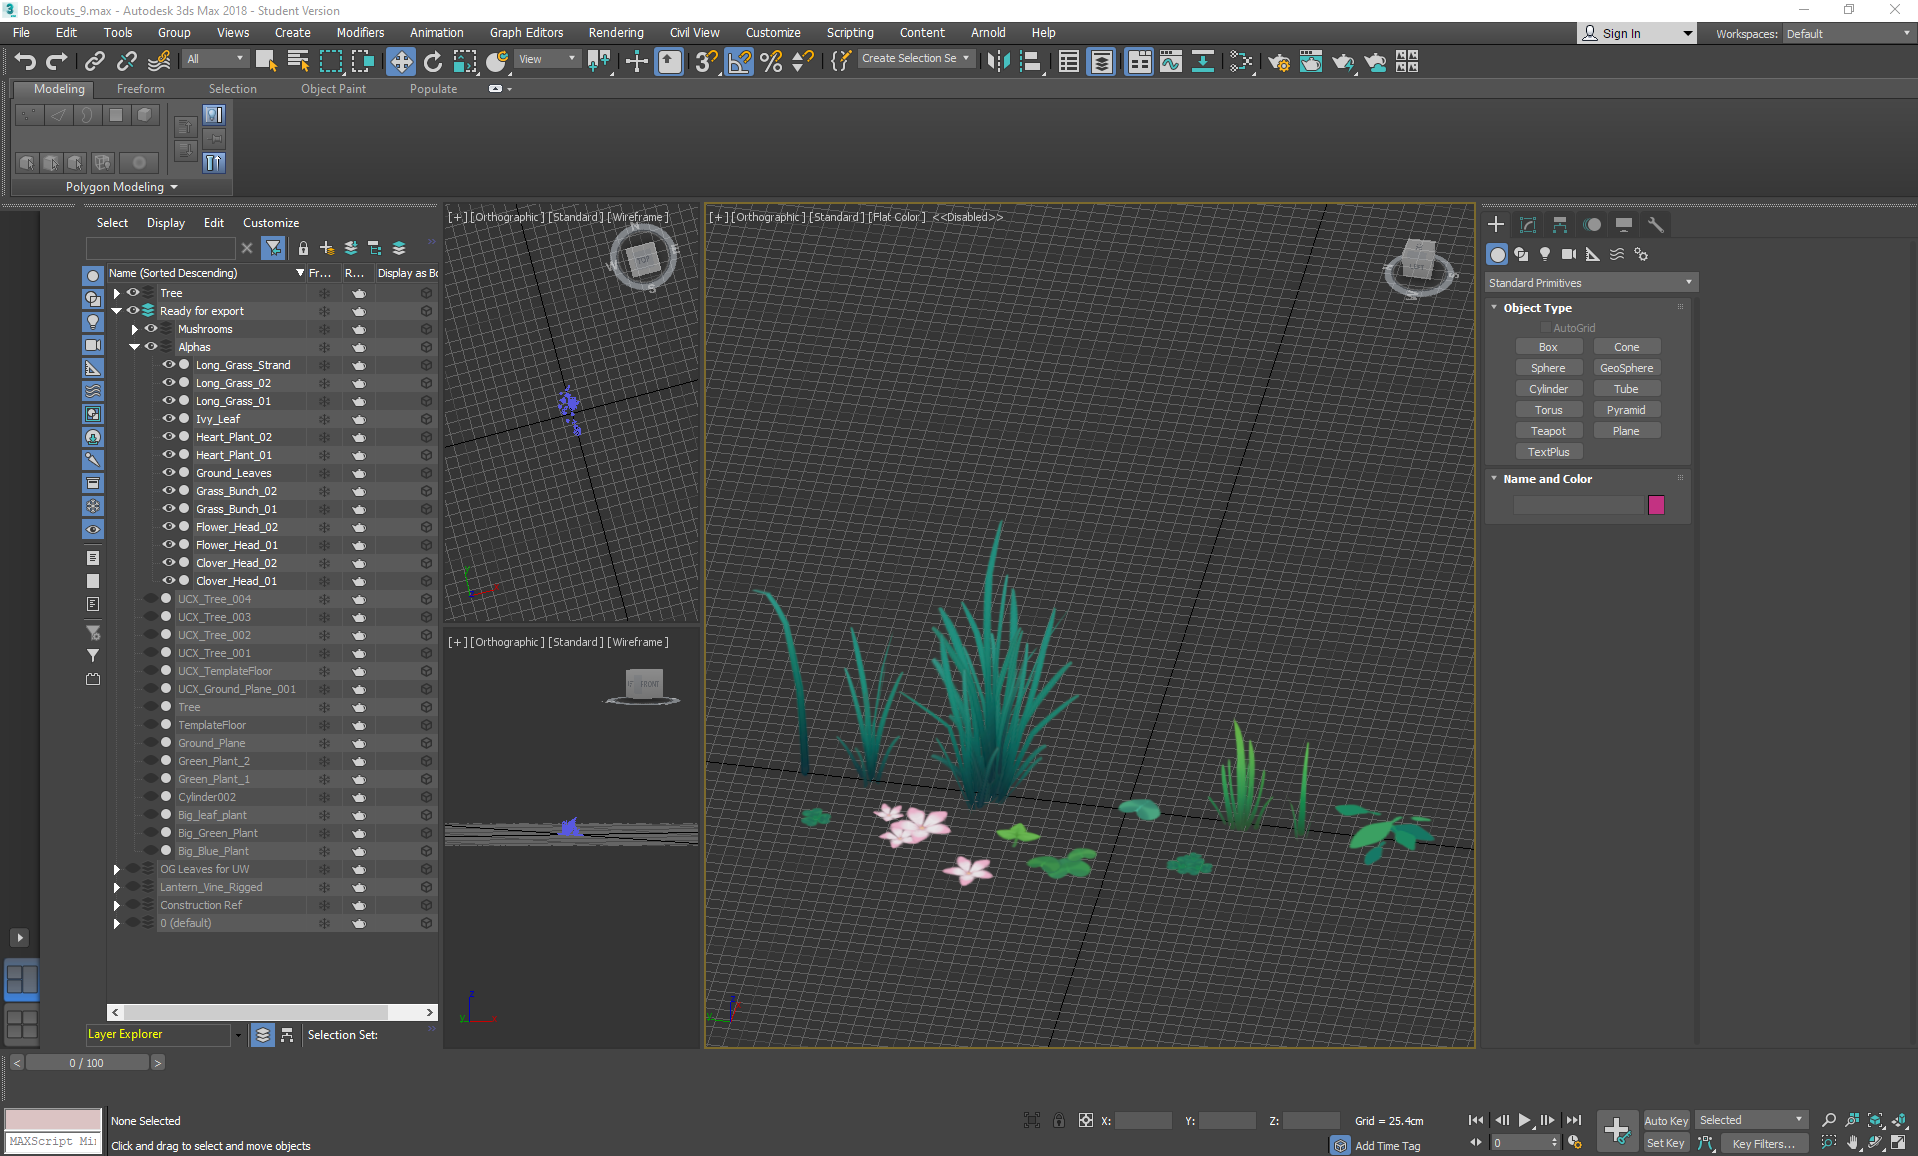
On Tuesday I started making the alpha texture sheet for the scene:
I wanted to keep everything to a single 1012 alpha sheet so that I could size everything to a similar pixel density without having to worry about several individual small sheets. I tried to keep the rendering simple yet vibrant to keep to the concepts I was referencing. I left space at the bottom right corner on purpose for if I needed any texture space later in the project for particle effects.
To complete the map, I added Gaussian blur so that the edges of the alphas wouldn't bleed the background colour.
To complete the map, I added Gaussian blur so that the edges of the alphas wouldn't bleed the background colour.
Monday, November 18, 2019
Foliage VFX: Week 1 Monday
On Monday I once again looked through the briefs and found that a new project had been added: the Foliage VFX. I knew instantly that I wanted to do this one over any of the others and started to gather my reference images.
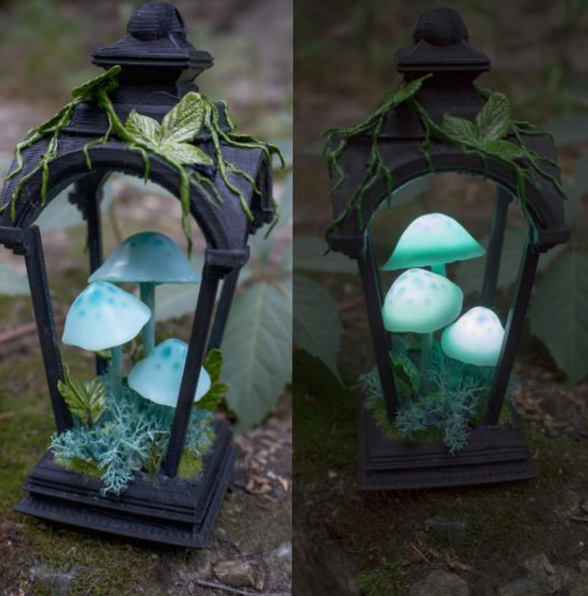
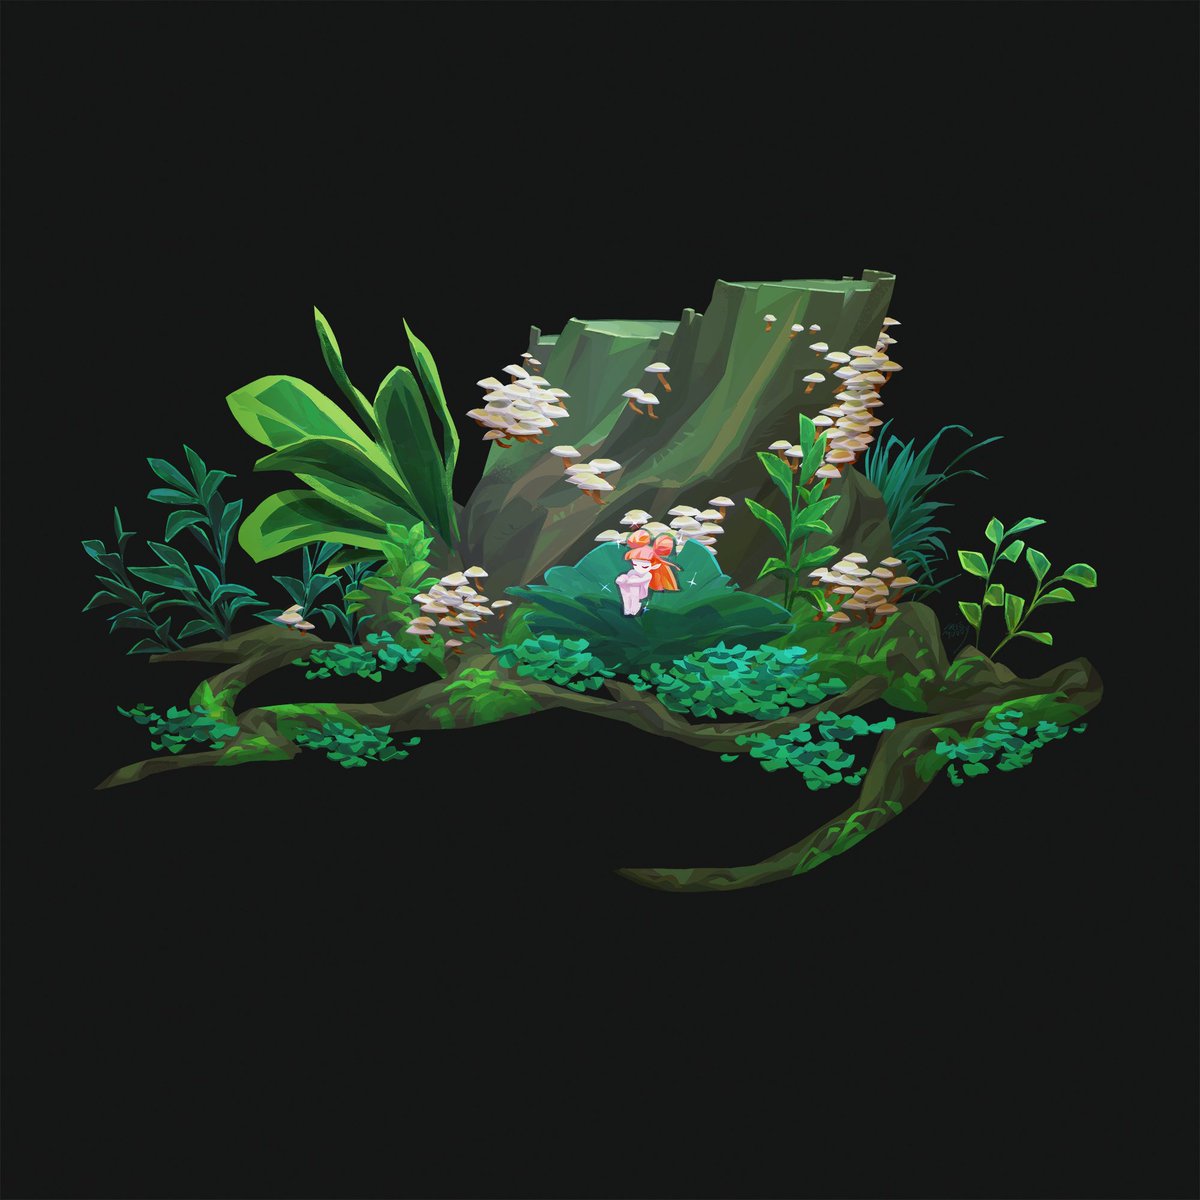
These were the two main influences that I had found on pinterest (click on images for source artists), which I wanted to combine into a small immersive tree diorama:

For this, I then gathered additional reference images:
I collected other alpha sheets to help me think about where I would place different plants and from what angle I should paint them (for example layering the tree leaves into a dome). I used photographs to understand how details left out of the concepts should be rendered for close up viewing, and included reference images from games such as breath of the wild for the way that the assets are presented in a stylised manner.
Extra artists referenced:
Link, Link, Link, Link, Link, Link, Link, Link, Link
These were the two main influences that I had found on pinterest (click on images for source artists), which I wanted to combine into a small immersive tree diorama:


For this, I then gathered additional reference images:
I collected other alpha sheets to help me think about where I would place different plants and from what angle I should paint them (for example layering the tree leaves into a dome). I used photographs to understand how details left out of the concepts should be rendered for close up viewing, and included reference images from games such as breath of the wild for the way that the assets are presented in a stylised manner.
Extra artists referenced:
Link, Link, Link, Link, Link, Link, Link, Link, Link
Thursday, November 14, 2019
Helmeted Character: Week 4 Friday
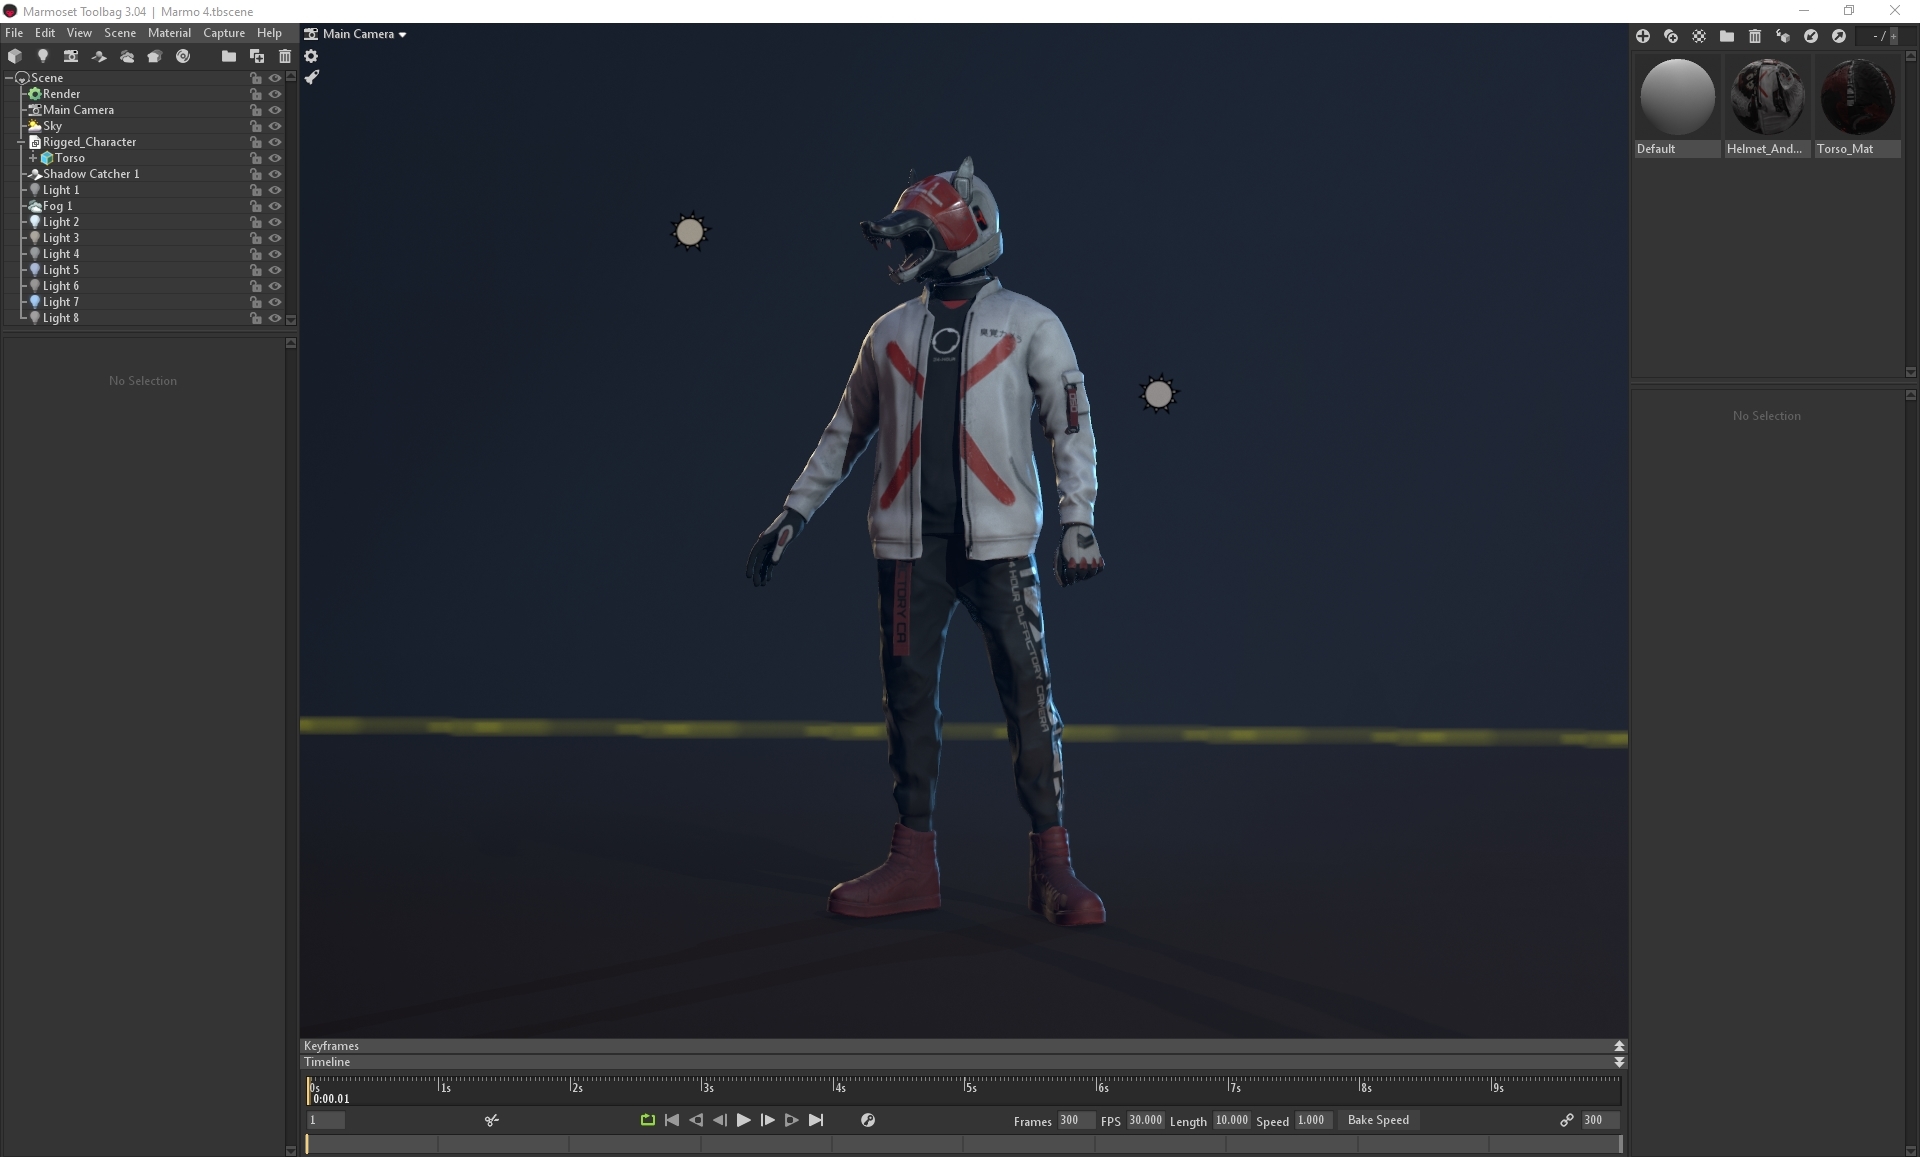
On Friday I exported the rigged mesh into marmoset and applied the textures for the final render scene. I added lighting for the main lighting, side lighting, a blue light from the sky, a reflective light from the ground and a rim light from the back, as well as fog and a shadow catcher:
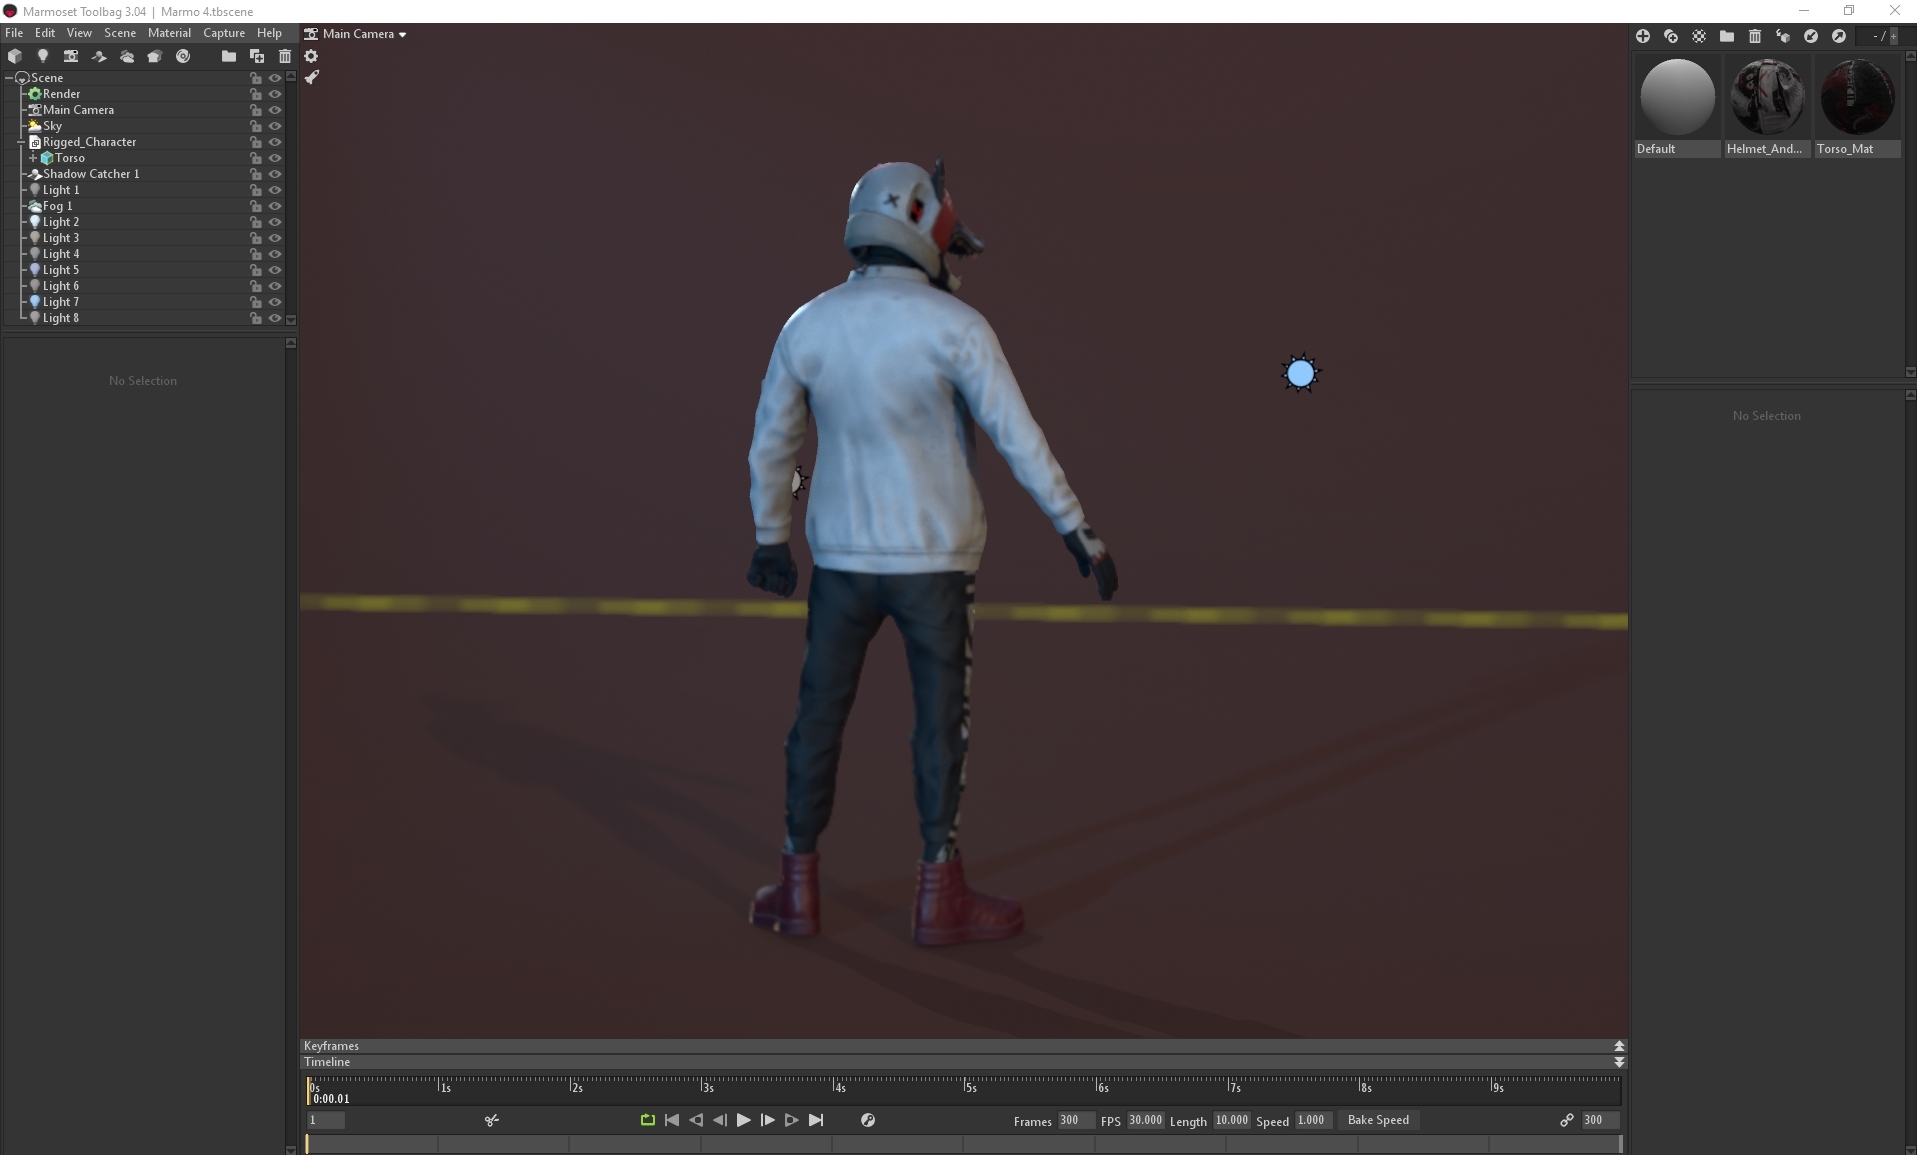
I messed around with different scene colours, in which I came to a final 2 that I was pleased with, brown and blue:
I messed around with different scene colours, in which I came to a final 2 that I was pleased with, brown and blue:
In the end, I decided on the blue, as it had more hue contrast and made the character pop more. After this, I went back to the textures and added some more edgewear and dirt, especially to the helmet and jacket, then started testing out the camera lens options, going between 35mm, 50mm and 85mm lenses to see which one gave the best effect:
Helmeted Character: Week 4 Thursday
On Thursday I exported the textures as Normal maps, OcclusionRoughnessMetallic maps and Emission maps, then started on rigging the character. I had received crit from Teo that the legs seemed a little short, and luckily hadn't connected the shoes topology to the joggers, so I moved the shoes downwards a little to create longer shins, then moved some of the knee topology downwards (making sure to be on preserve UVs to avoid distorting the texture).
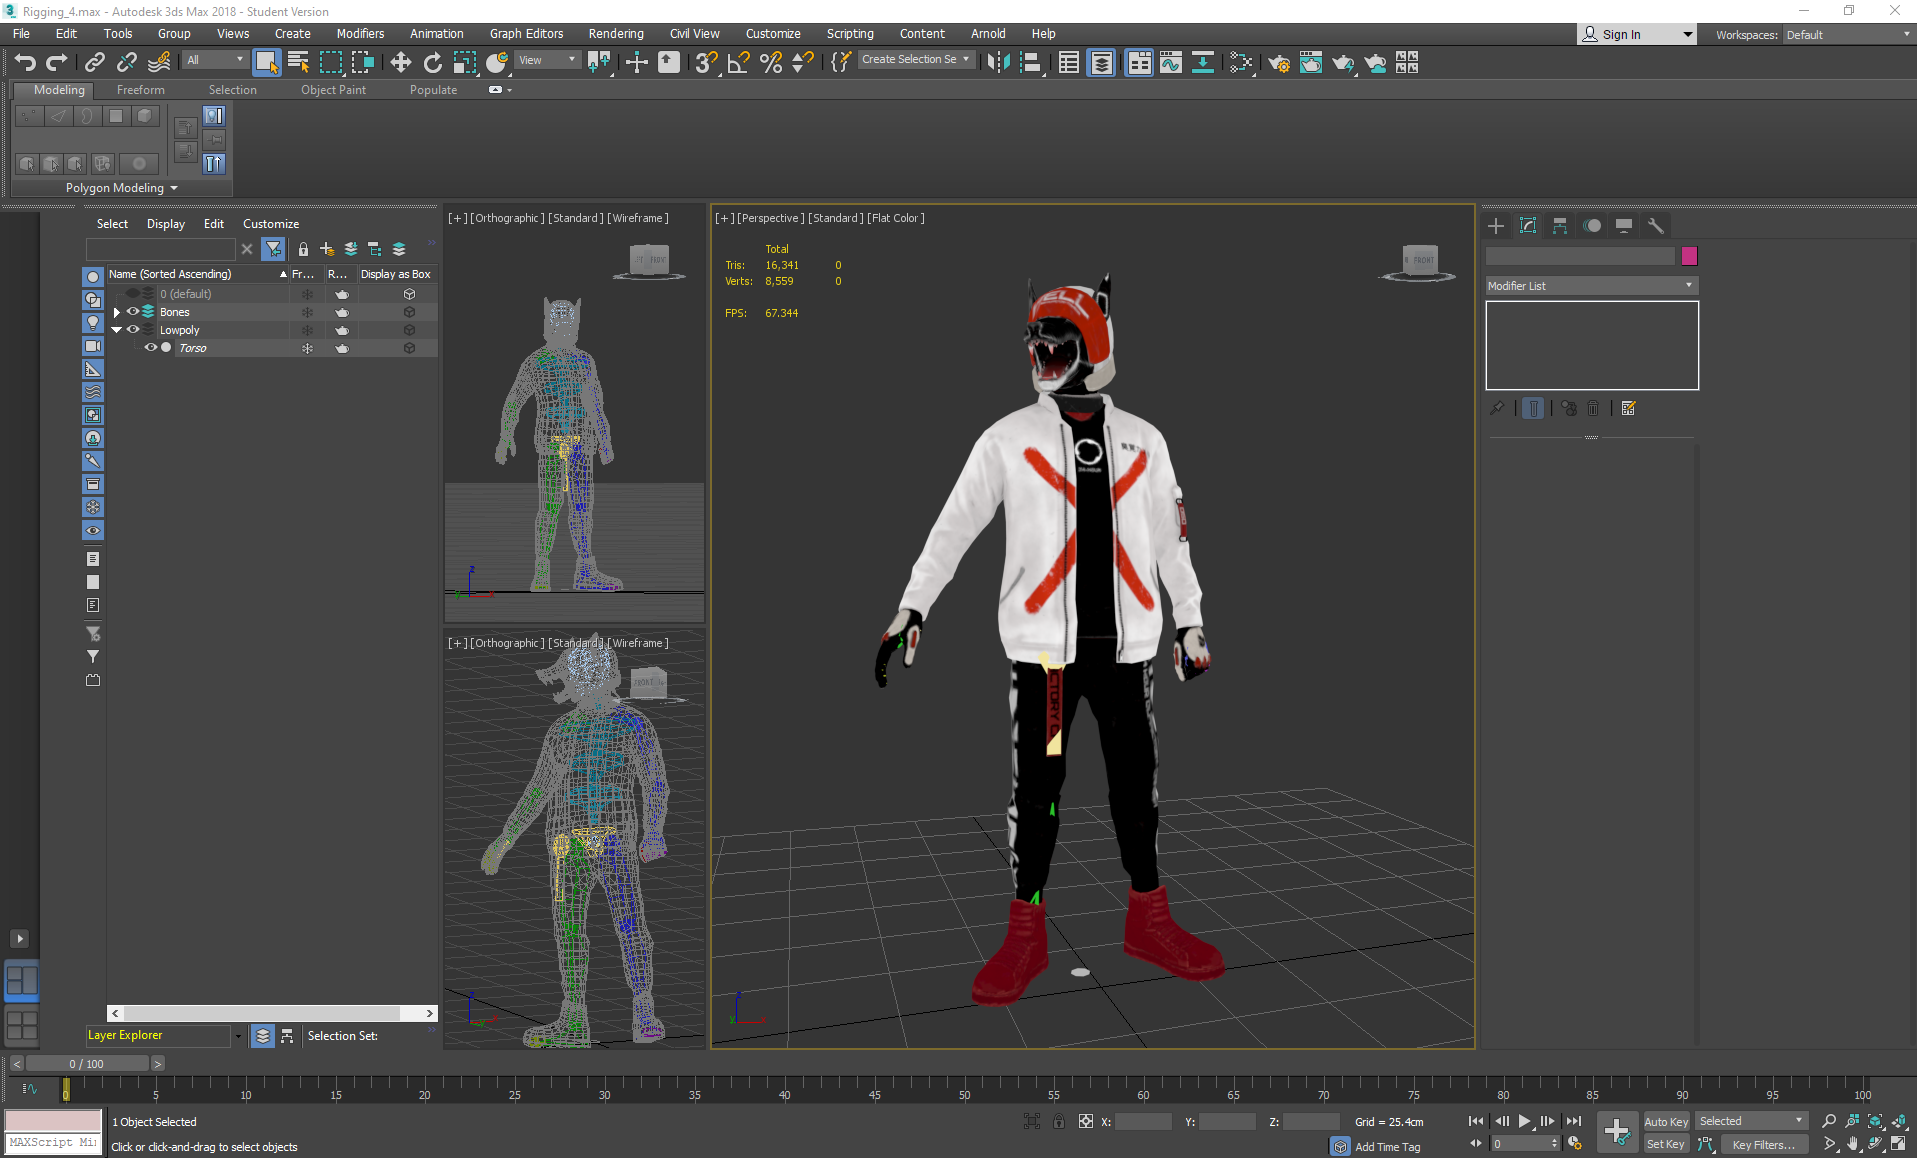
After this, I began rigging by freezing the torso and adding a biped skeleton to a bones folder, positioning the limbs and then mirroring them to save time. I used a tail bone for the strap on the joggers as it would move along with the body, as I discovered that ponytail bones move along with the head.
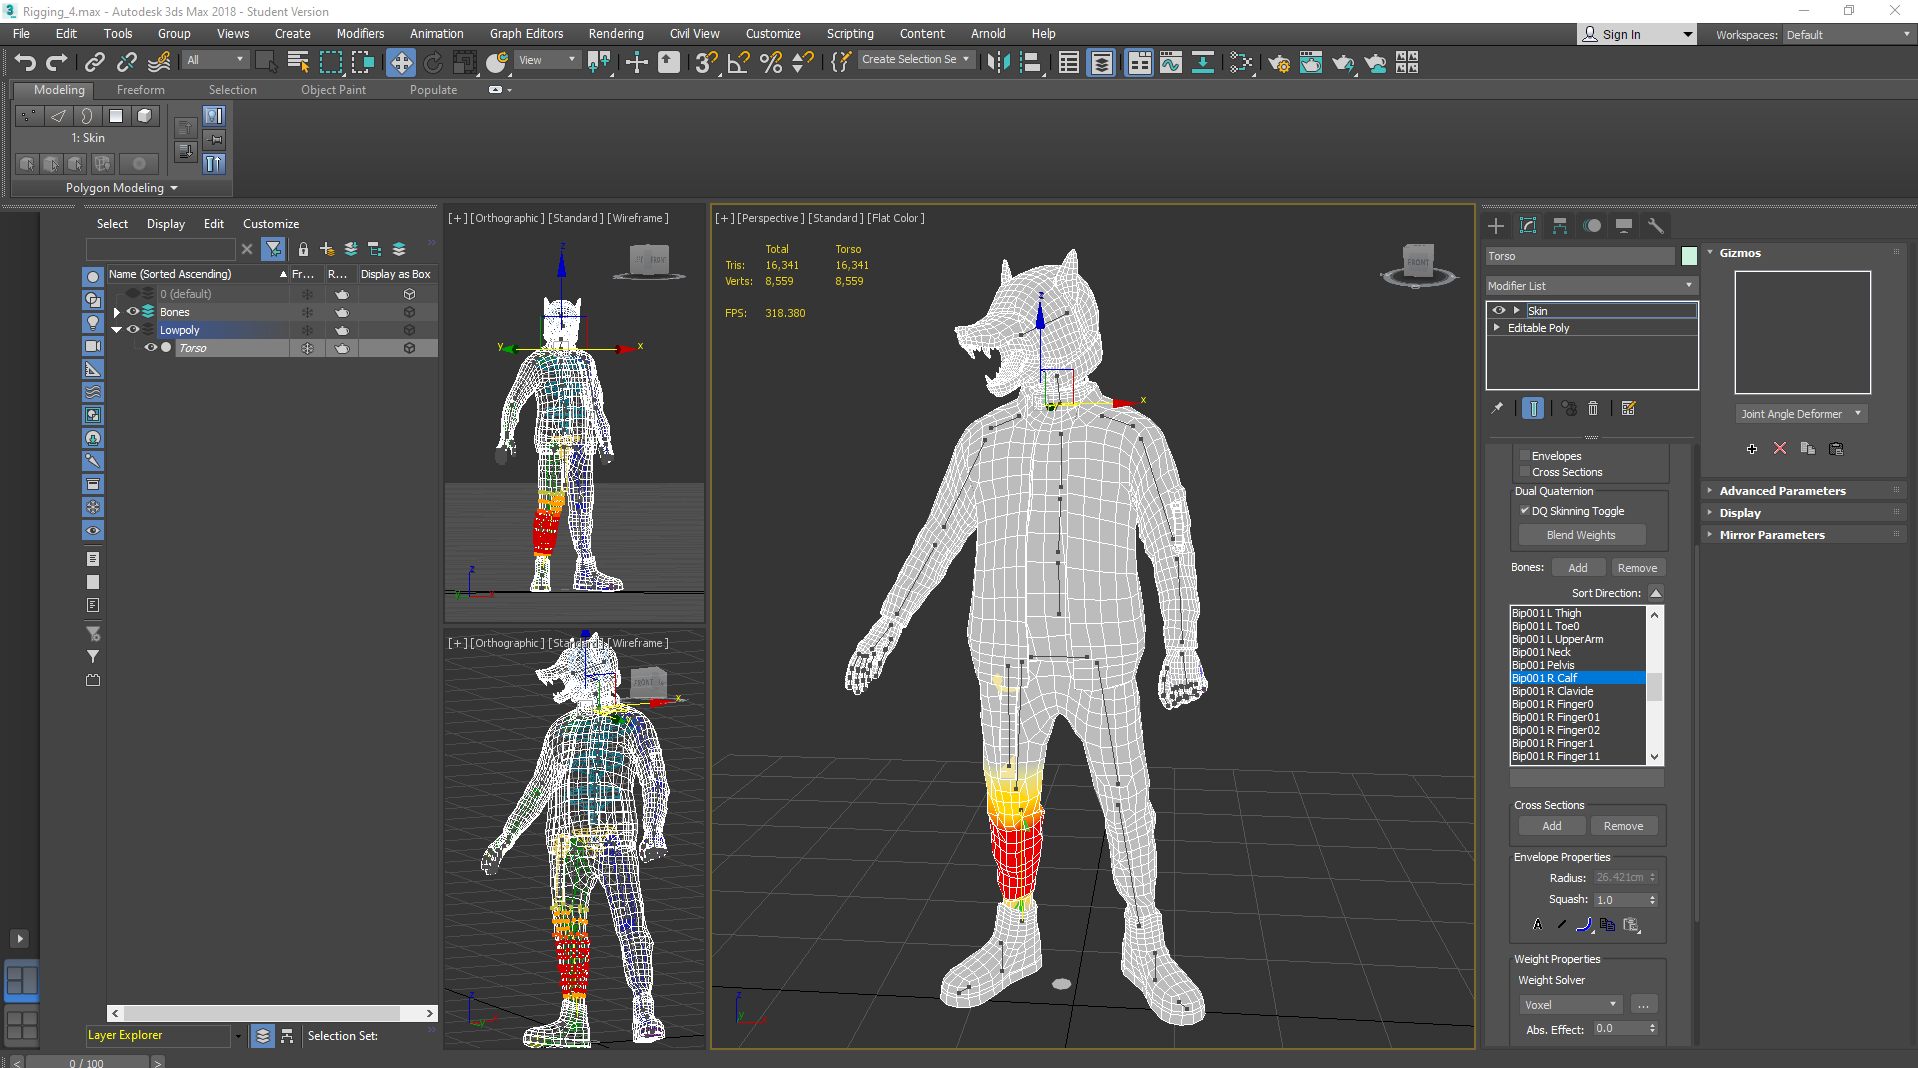
I applied a skin modifier to the mesh and started assigning weights systematically through the list of added bones, focusing only on one side again so that I could mirror it and then edit any errors.
After this, I left figure mode and went into animation more to pose the character somewhat based on the concept's pose- with a closed fist, wide stance and head turned to the side. I planted the feet so that they would always be on the ground and set keys whenever I moved a limb into place until I was happy with the pose, then checked to see if there were any areas in the weighting that I had missed and corrected them:
Wednesday, November 13, 2019
Helmeted Character: Week 4 Wednesday
On Wednesday I continued to texture the character, this time on the torso map.
I used the same techniques and masks on this map, with the addition of using symmetry on the trousers print for the white lines, then the subtracted text (editing any mirrored letters afterwards) and then adding the '24 HOUR OLFACTORY CAMERA' text without symmetry afterwards. I added some slight shine to the text as it would be printed onto the joggers and straps using a different material. I also added emission maps to the '4's and the triangle section beneath the collar to reflect the brightness seen in the concept.
For the print on the t-shirt, I used a coffee stain alpha and then painted in the 3 blobs, once again using a text alpha for the '24-HOUR' area.
Tuesday, November 12, 2019
Helmeted Character: Week 4 Tuesday
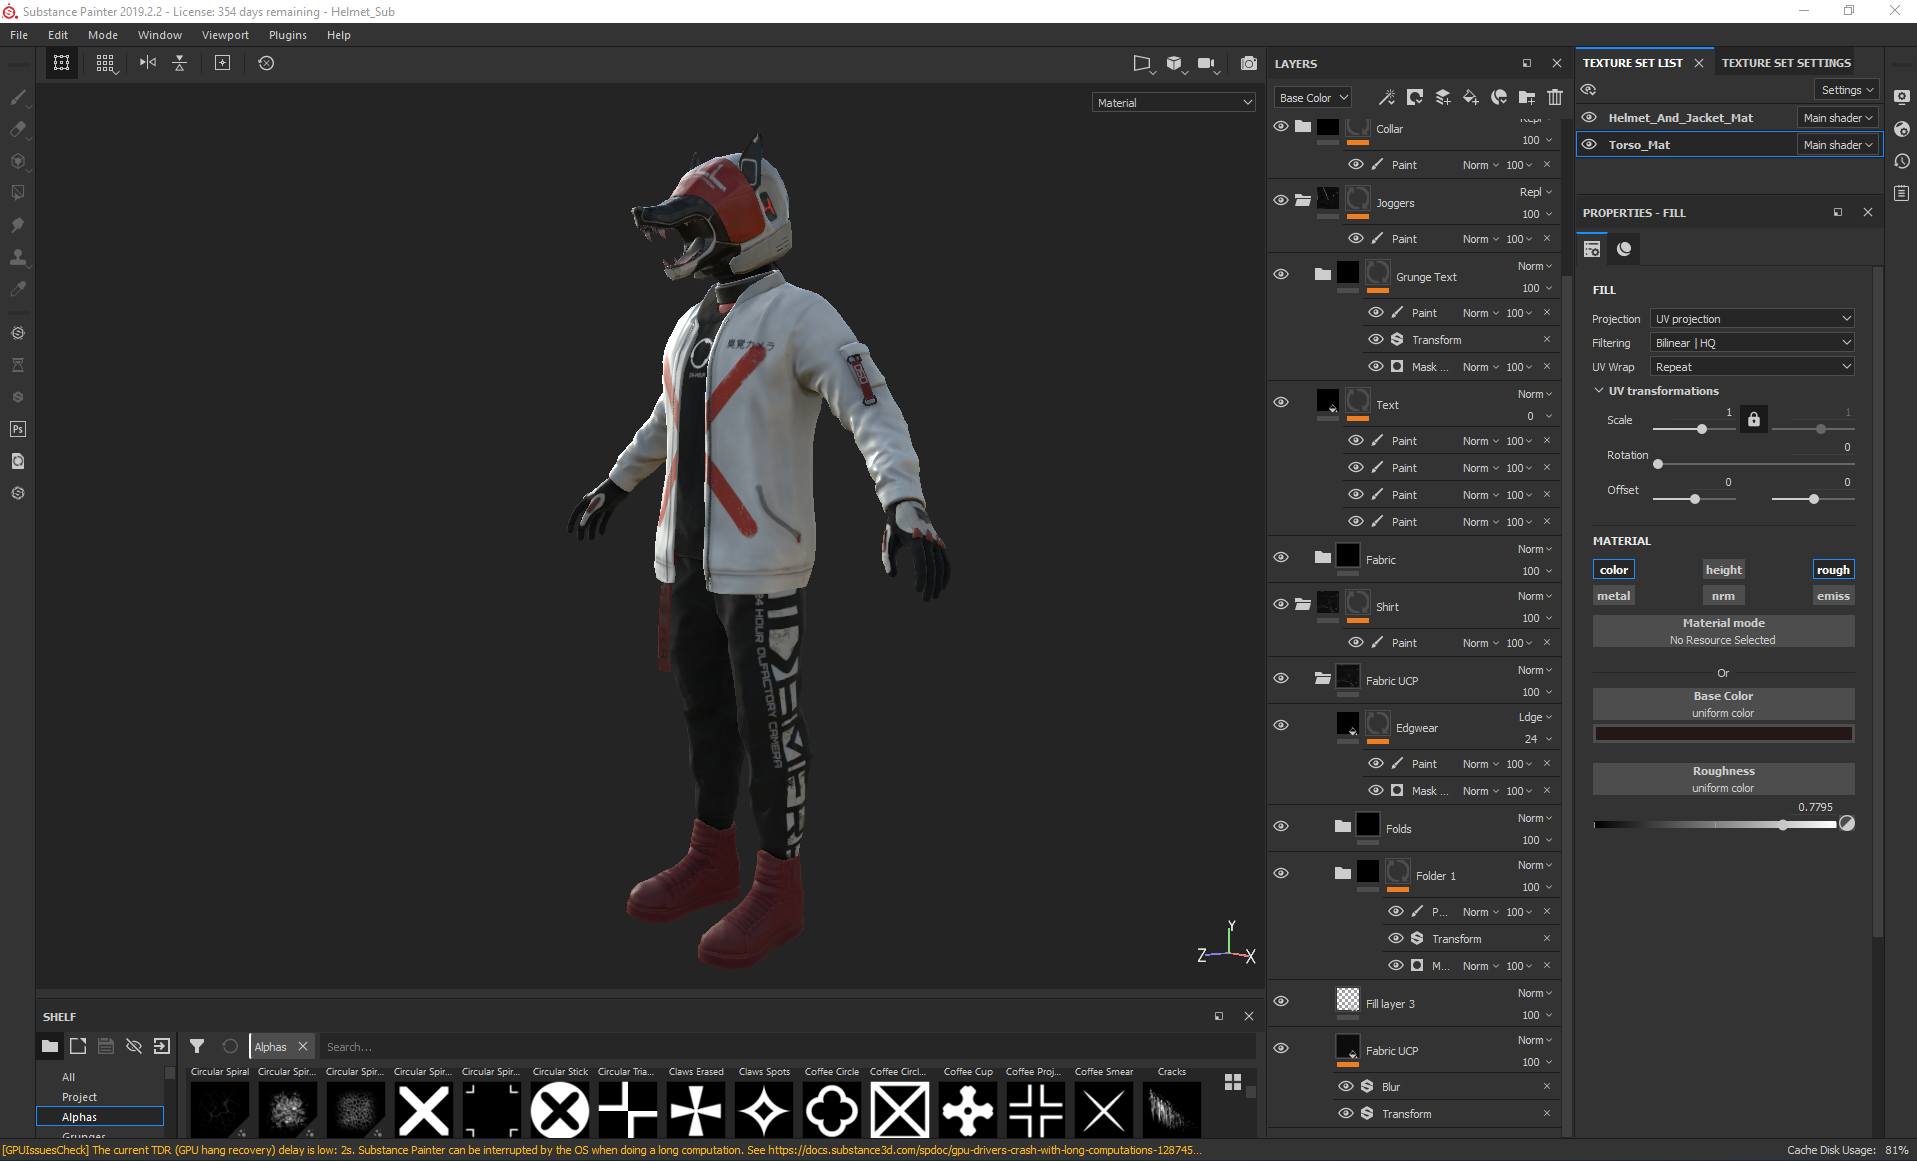
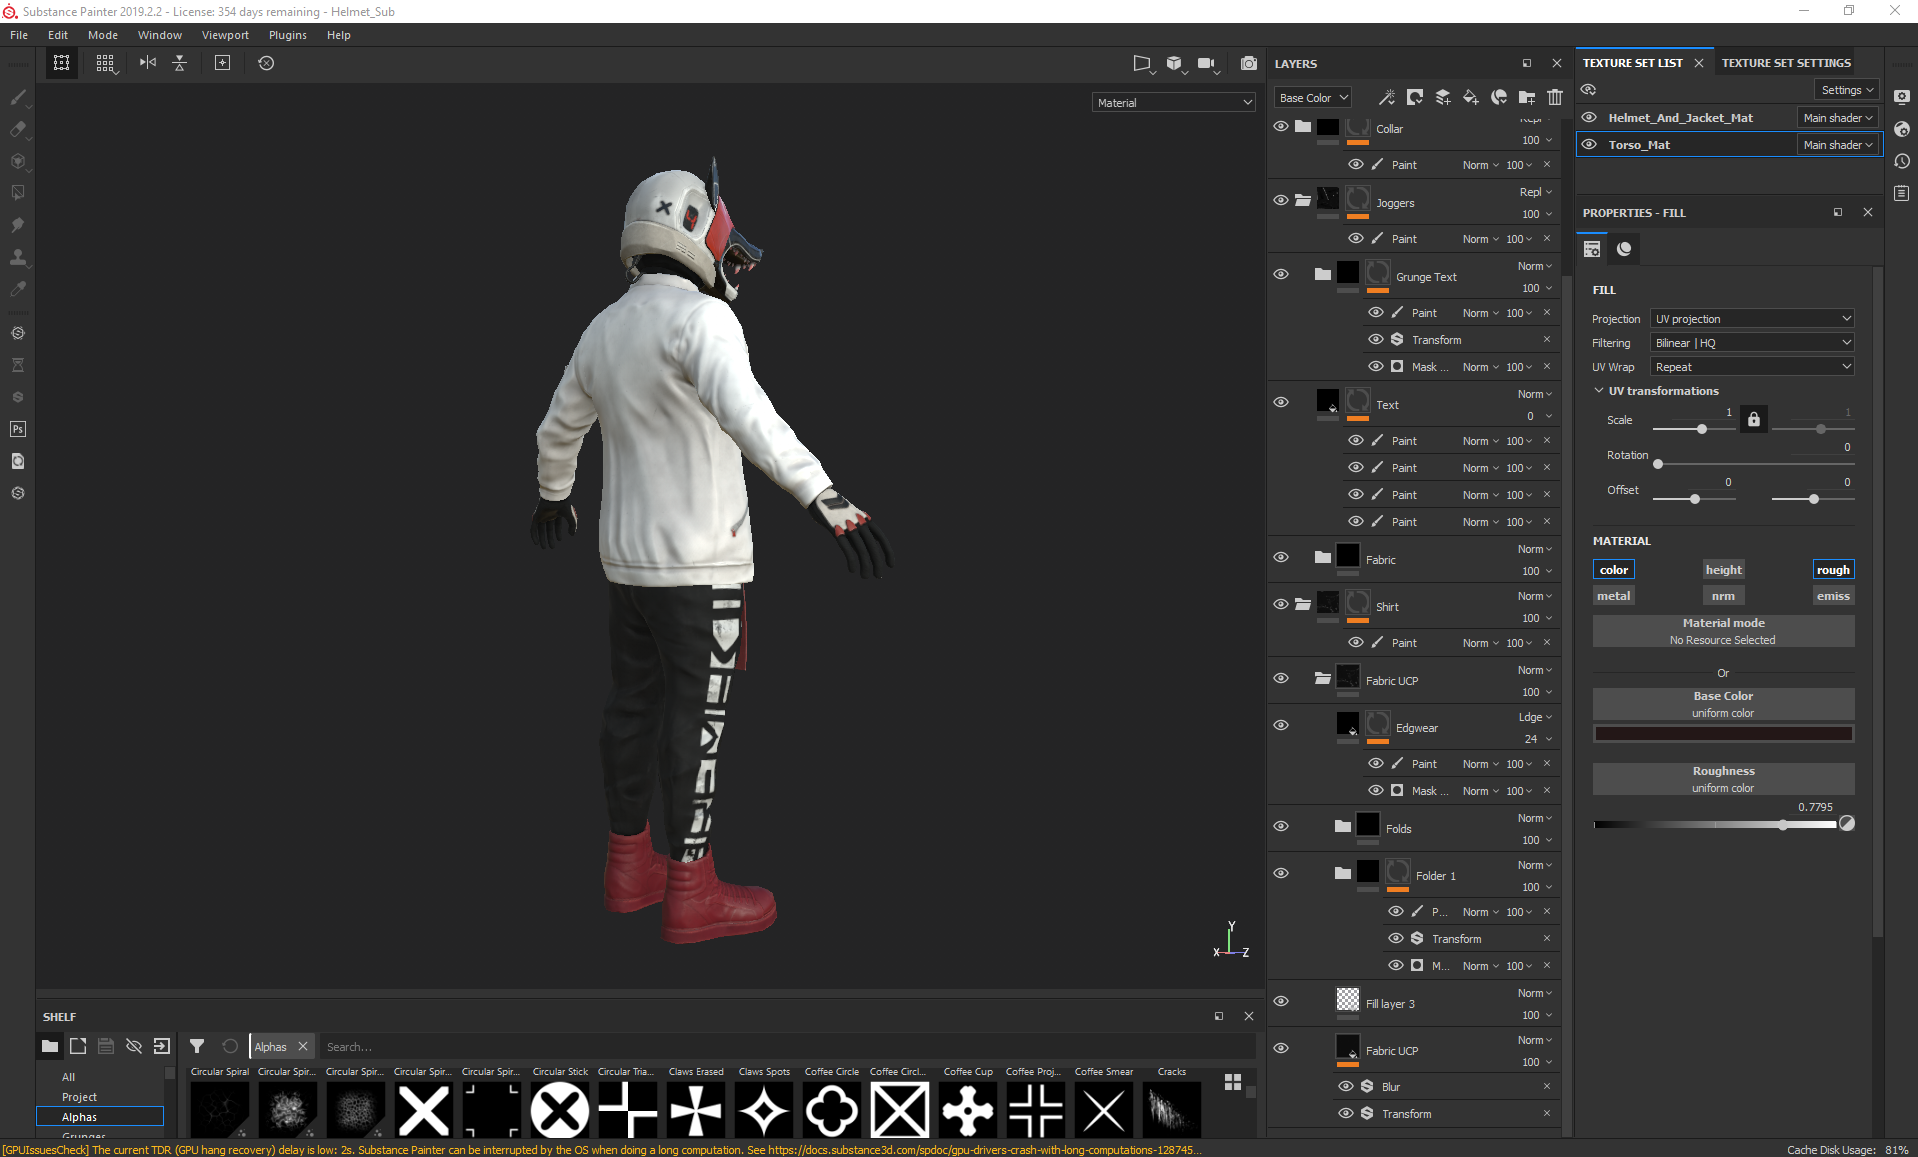
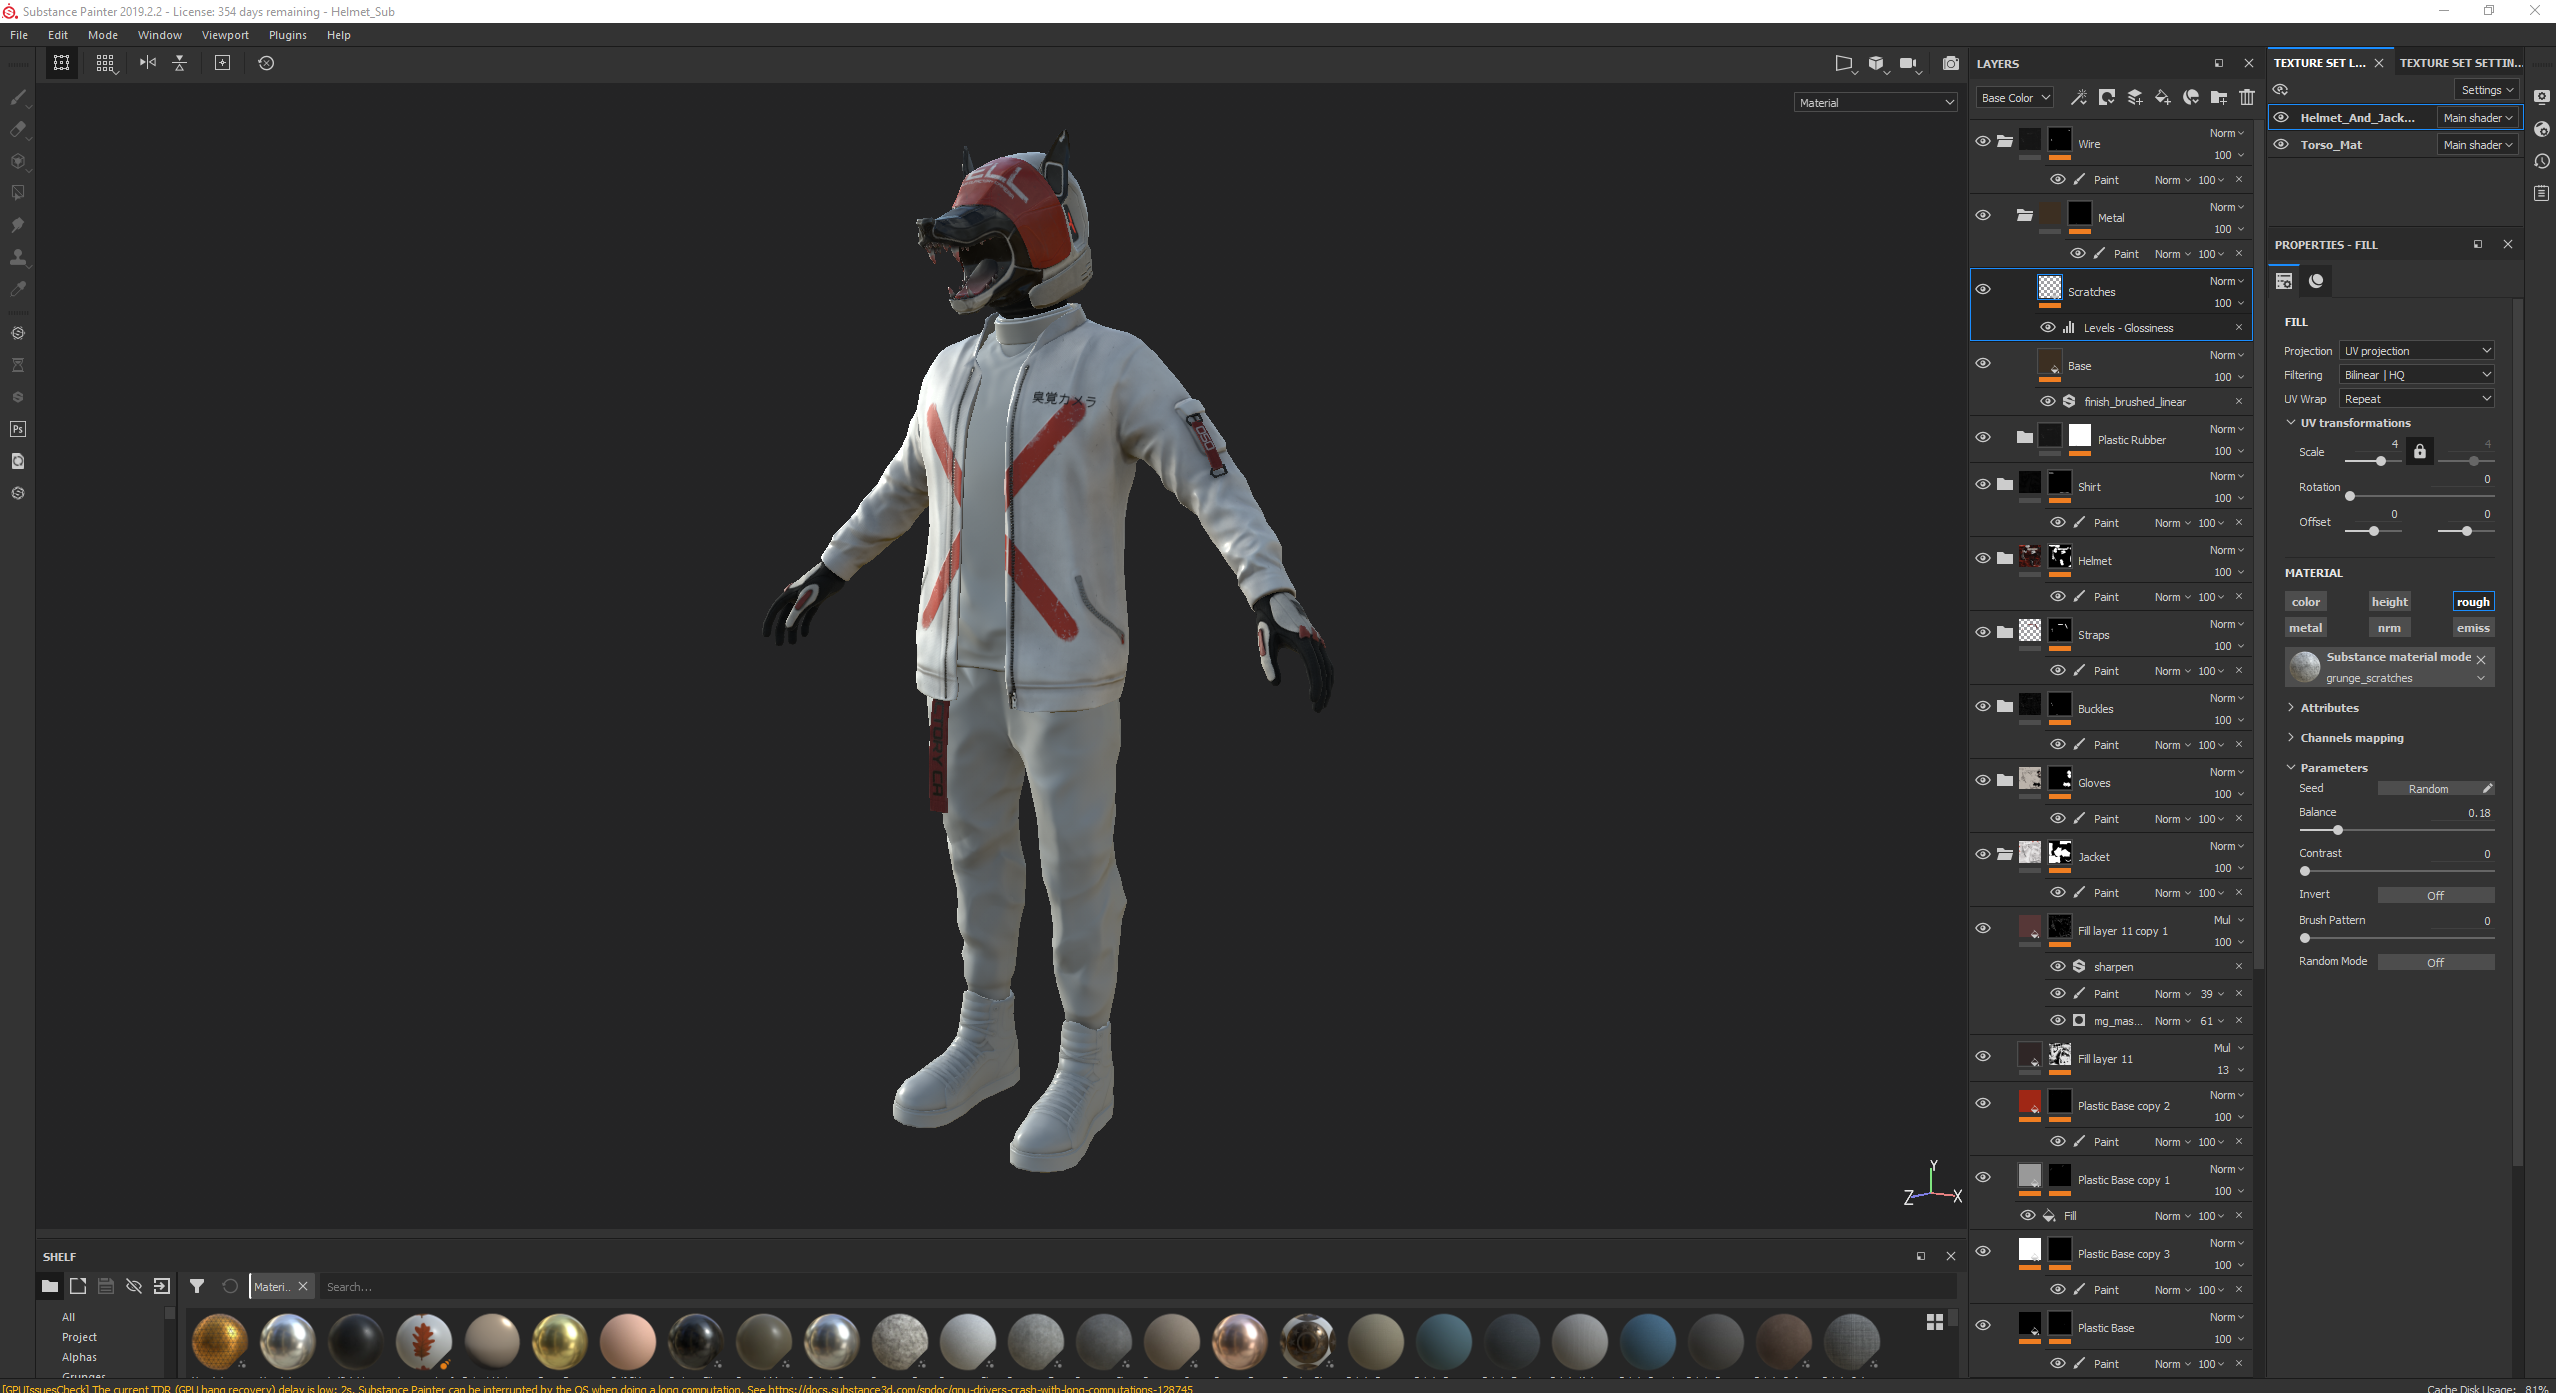
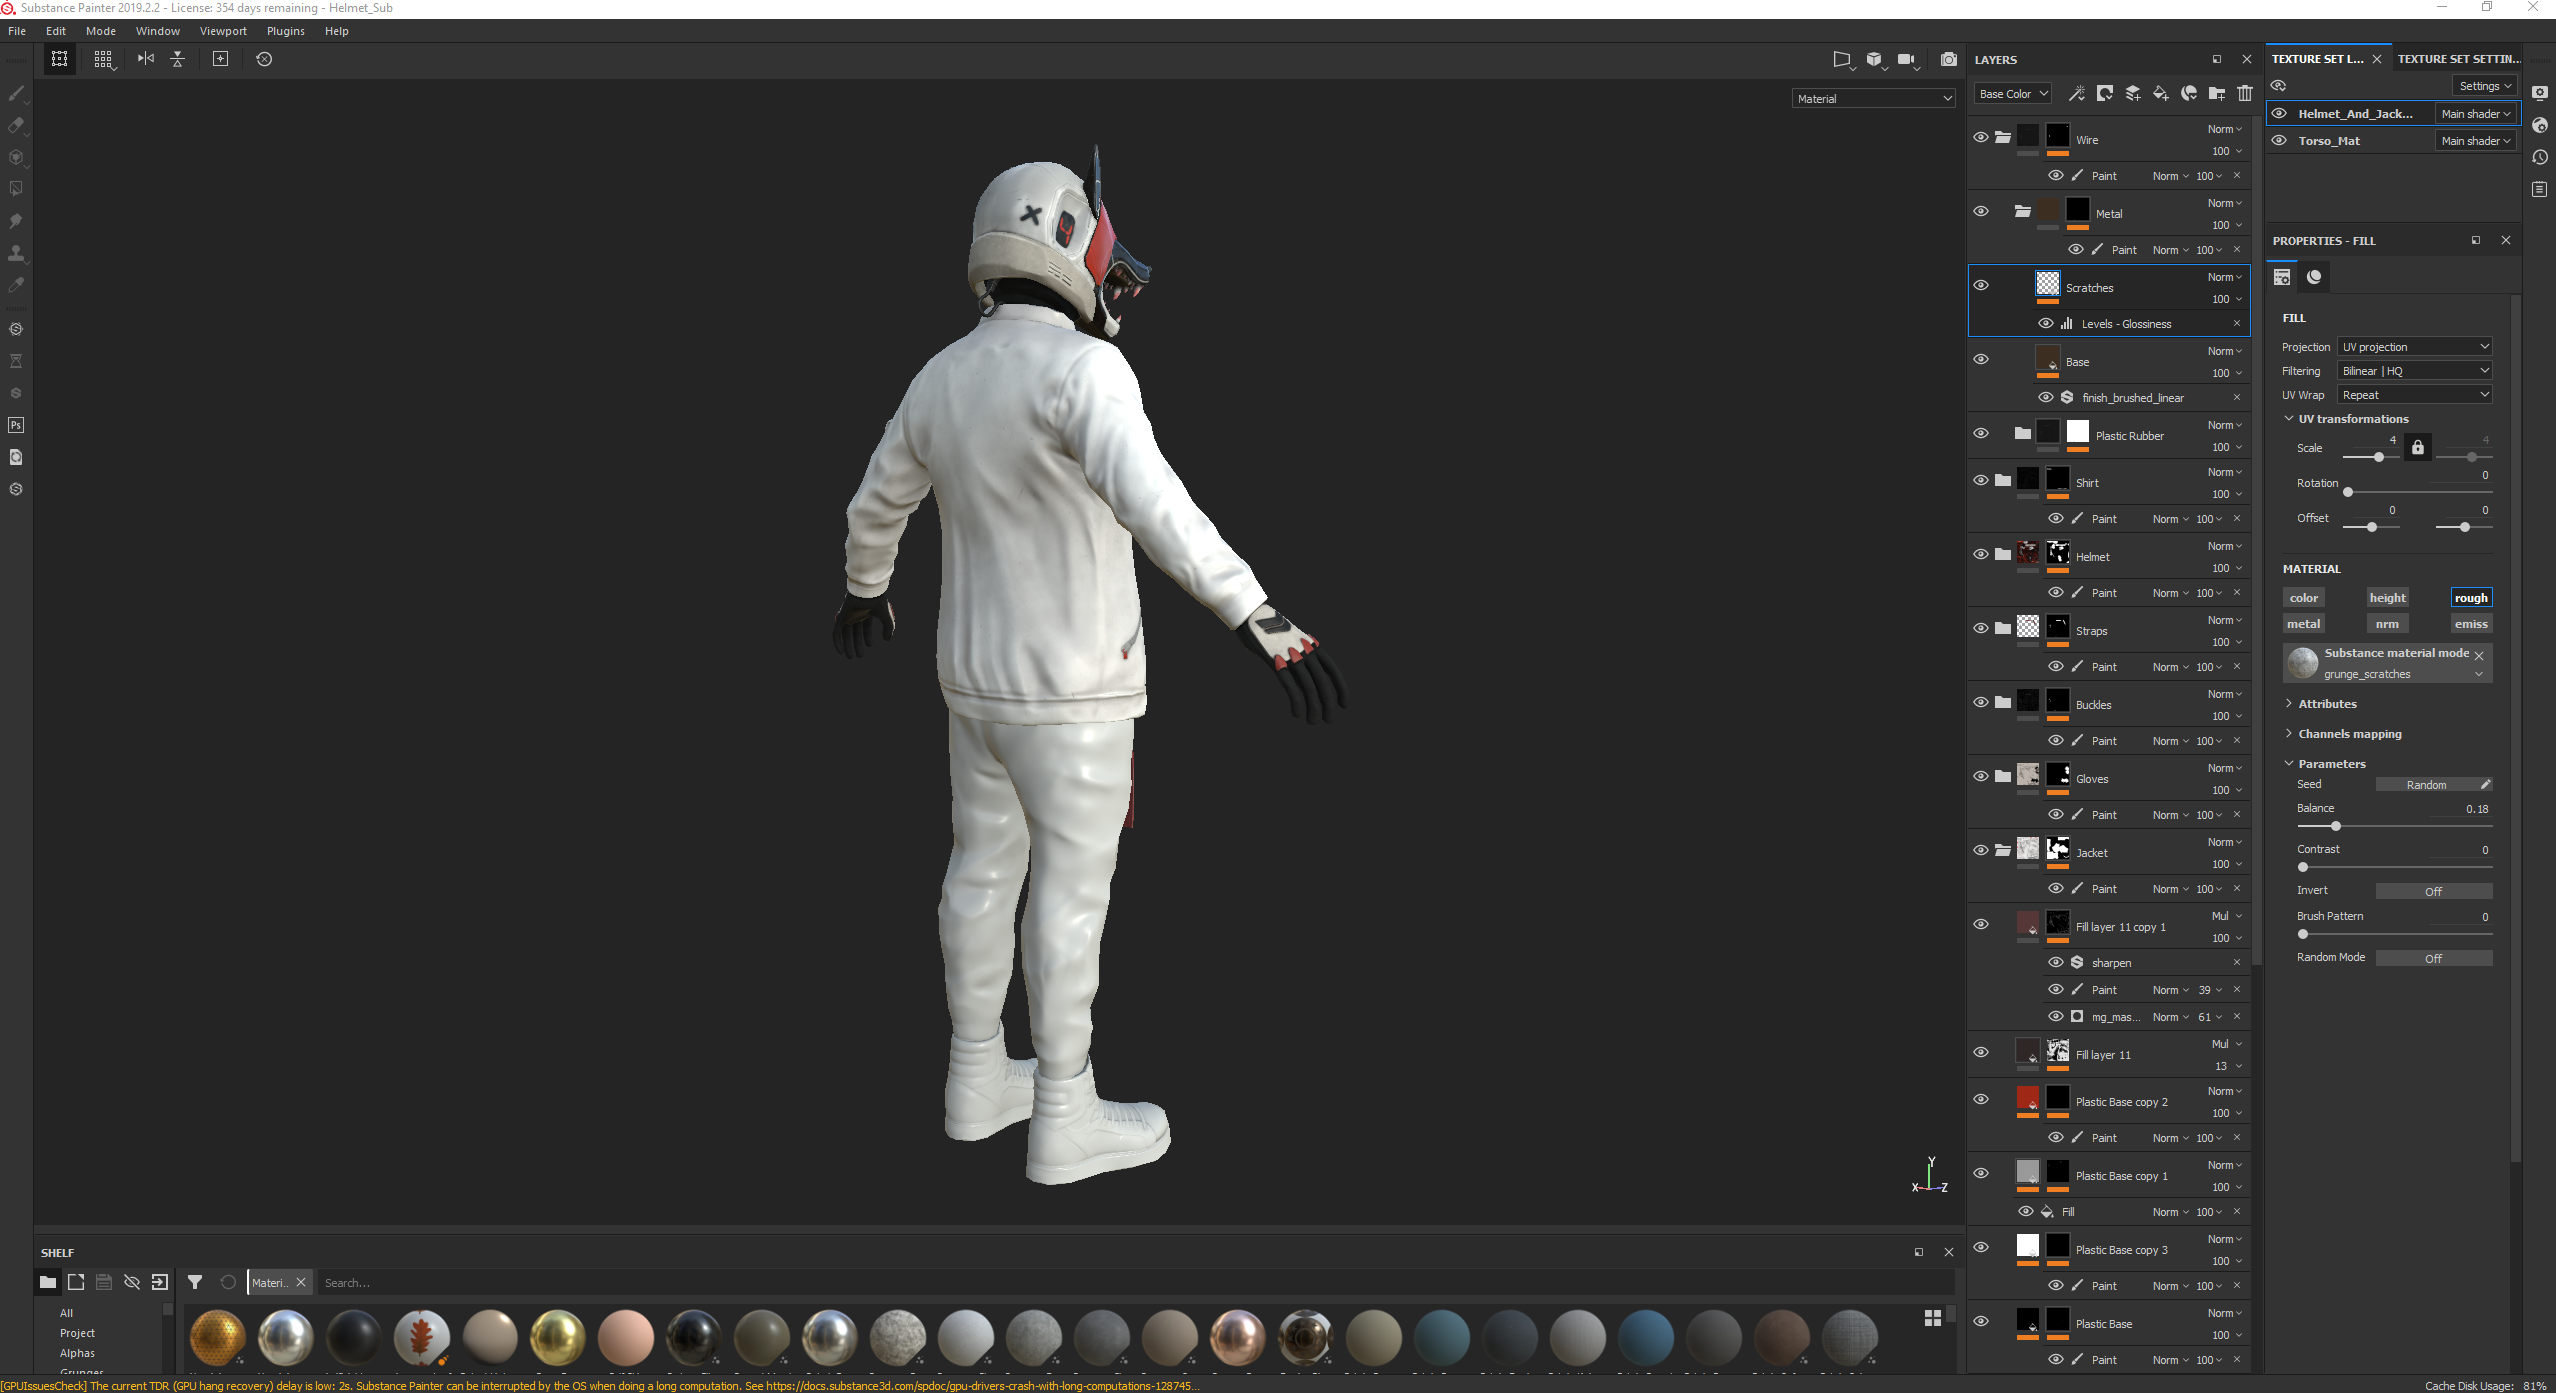
On Tuesday I started texturing the character in Substance Painter. This day consisted of mostly me dragging smart materials into the scene based on which material values I thought would fit best with the material of each piece of clothing, placing them into labelled folders and then masking them to create the base I would be working with. After this, I went through each folder and changed the base colour, roughness and height levels depending on the effect I wanted. I tweaked, added and deleted detail layers to create my own edgewear, highlights, grunge and dirt stains using smart masks such as dirt cavities, dust occlusion, edge damage, edges uber, edges strong, fabric edges, paint damage, paint old and surface worn. I also created my own masks using the bitmap mask function, using the curvature map and levels to identify edges and cavities without the use of smart masks.
When painting the masks, I used both the planar uv painting mode on the 2D view and the tangent|wrap painting mode on the 3d viewport so that I could easily mask whole islands without it wrapping, then covering up any seams by having the paint wrap onto neighbouring islands while painting in the 3d viewport for accuracy.
I used the substance font alphas to write out the text in different font based on whichever matched the concept font the closest, using font Orbitron for 'HELL' and '24-HOUR OLFACTORY CAMERA'. I also used it for the '050' but used the eraser to remove a '/' from the 0s. Finally, I used the Han Sans Japanese Chinese font for the '臭覚カメラ' (olfactory camera), adding some height to it so that it appeared as if it had been printed onto the jacket. I also added some patches of wear to the text on the helmet and the cross on the jacket so that it acted like worn off paint.
Monday, November 11, 2019
Helmeted Character: Week 4 Monday
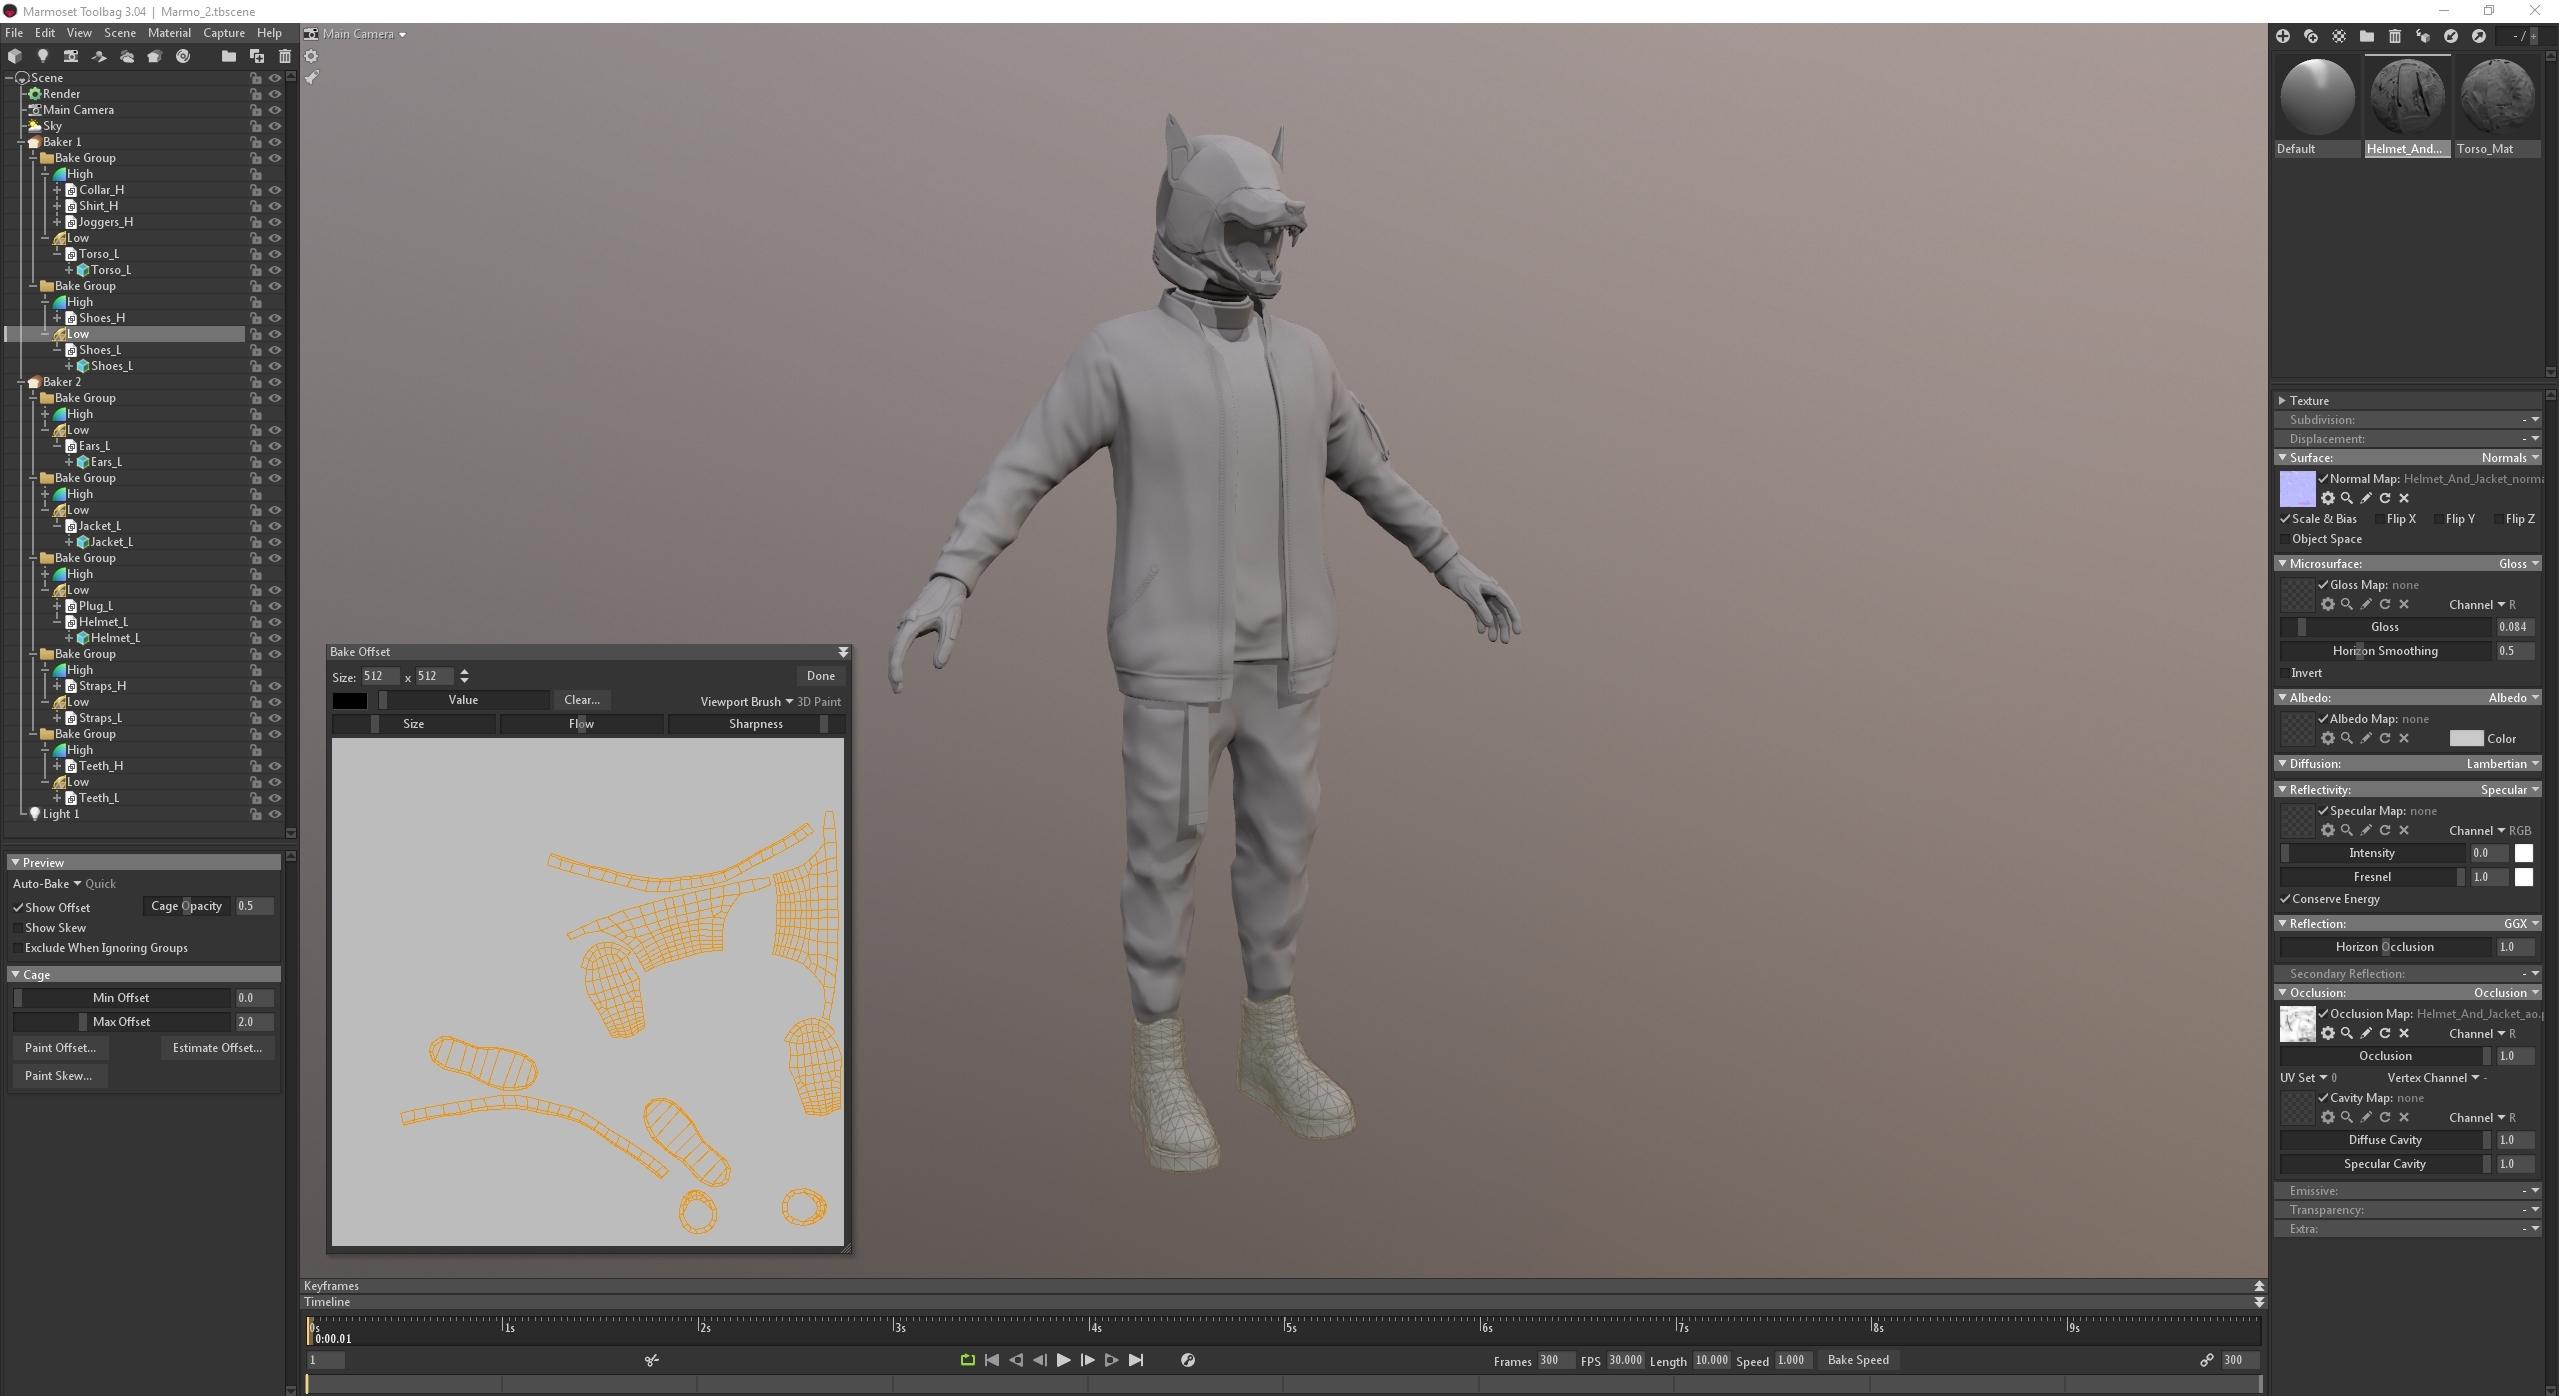
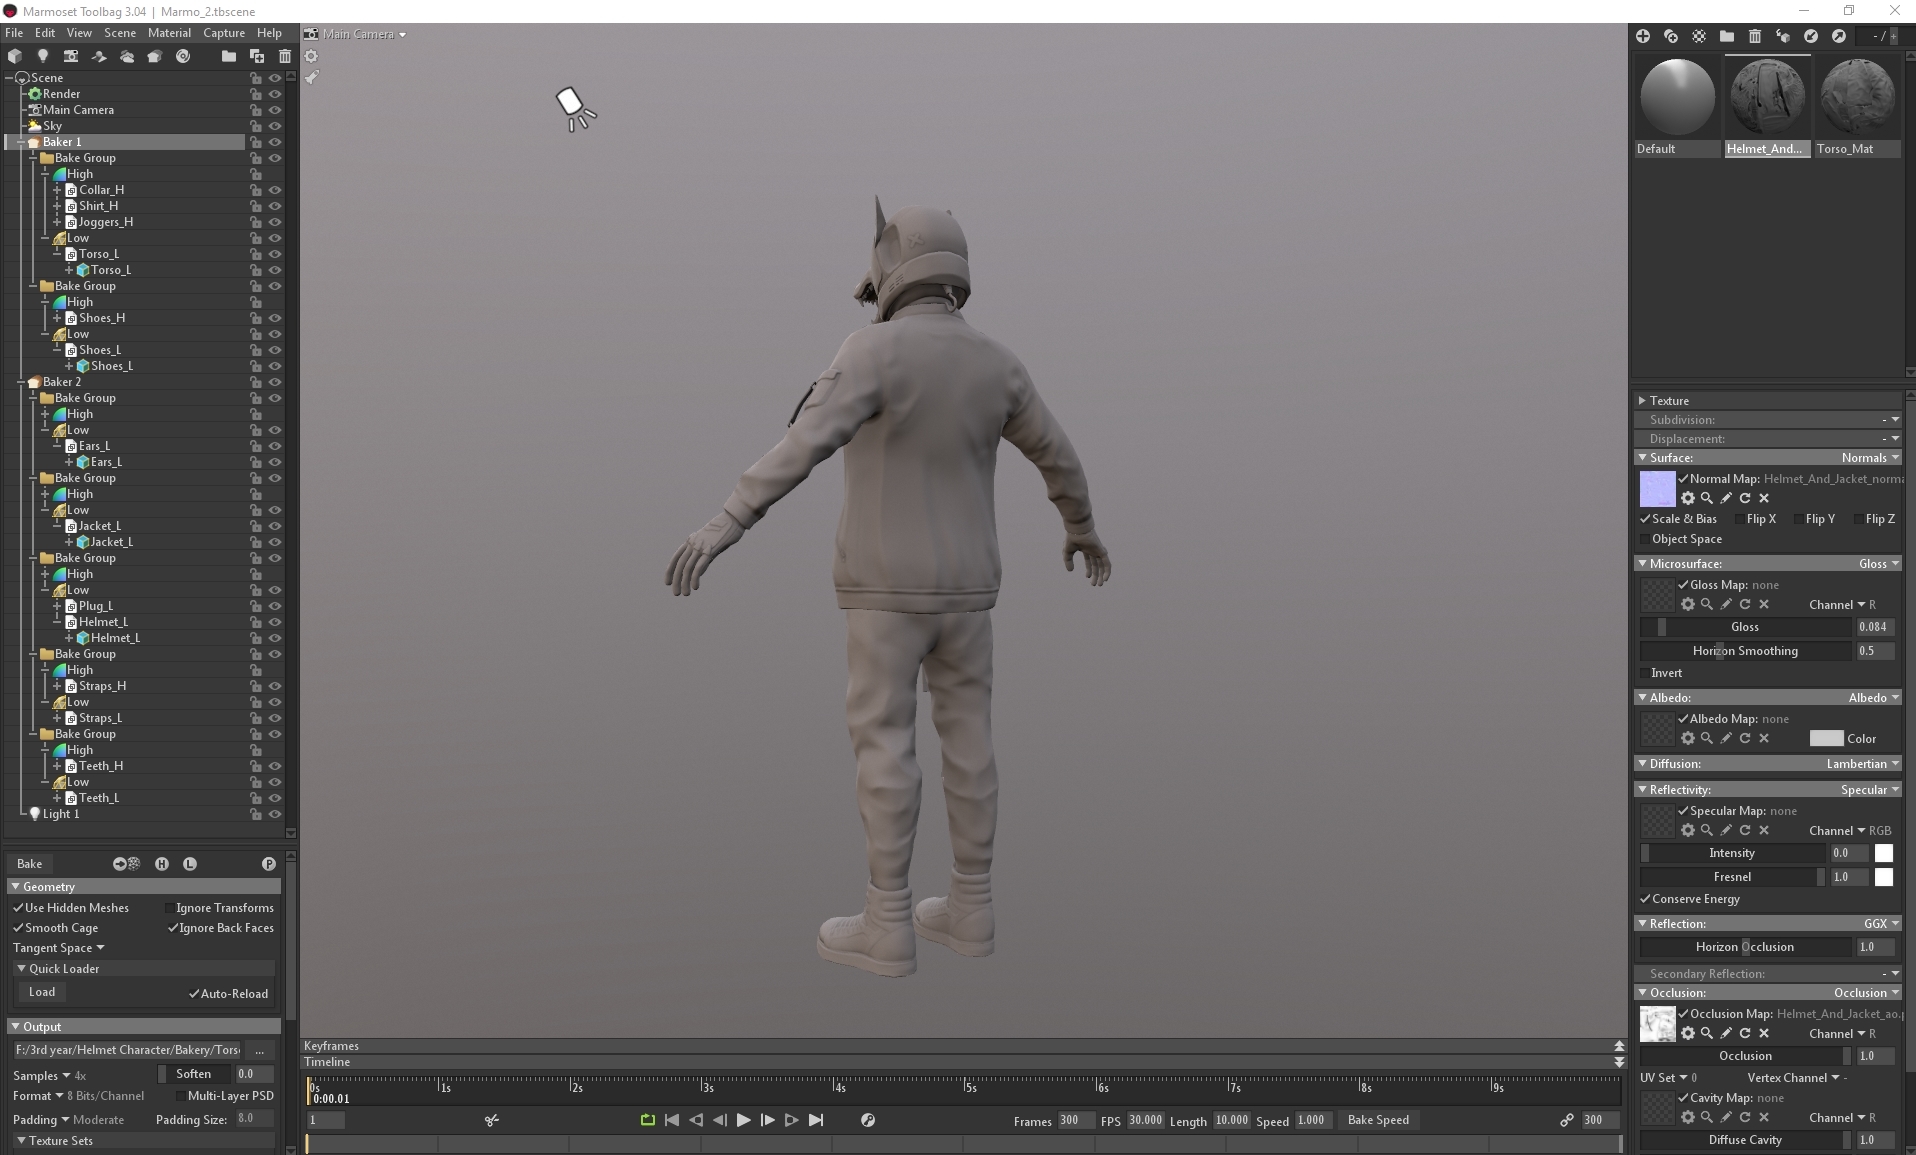
On Monday I baked the character in Marmoset using 2 separate Bakers for the 2 separate maps that I had created:
I separated each asset into individual bake groups to avoid them baking onto each other and creating errors. For any baking errors that did occur, I used the paint offset tool to paint on a larger or smaller cage, and for any errors that couldn't be fixed I went itno photoshop and fixed manually using the spot heal brush. With the baker I produced normal and normal (object) maps, ao maps as well as curve maps to be used later in substance painter.
I separated each asset into individual bake groups to avoid them baking onto each other and creating errors. For any baking errors that did occur, I used the paint offset tool to paint on a larger or smaller cage, and for any errors that couldn't be fixed I went itno photoshop and fixed manually using the spot heal brush. With the baker I produced normal and normal (object) maps, ao maps as well as curve maps to be used later in substance painter.
Sunday, November 10, 2019
Helmeted Character Week 3: Sunday
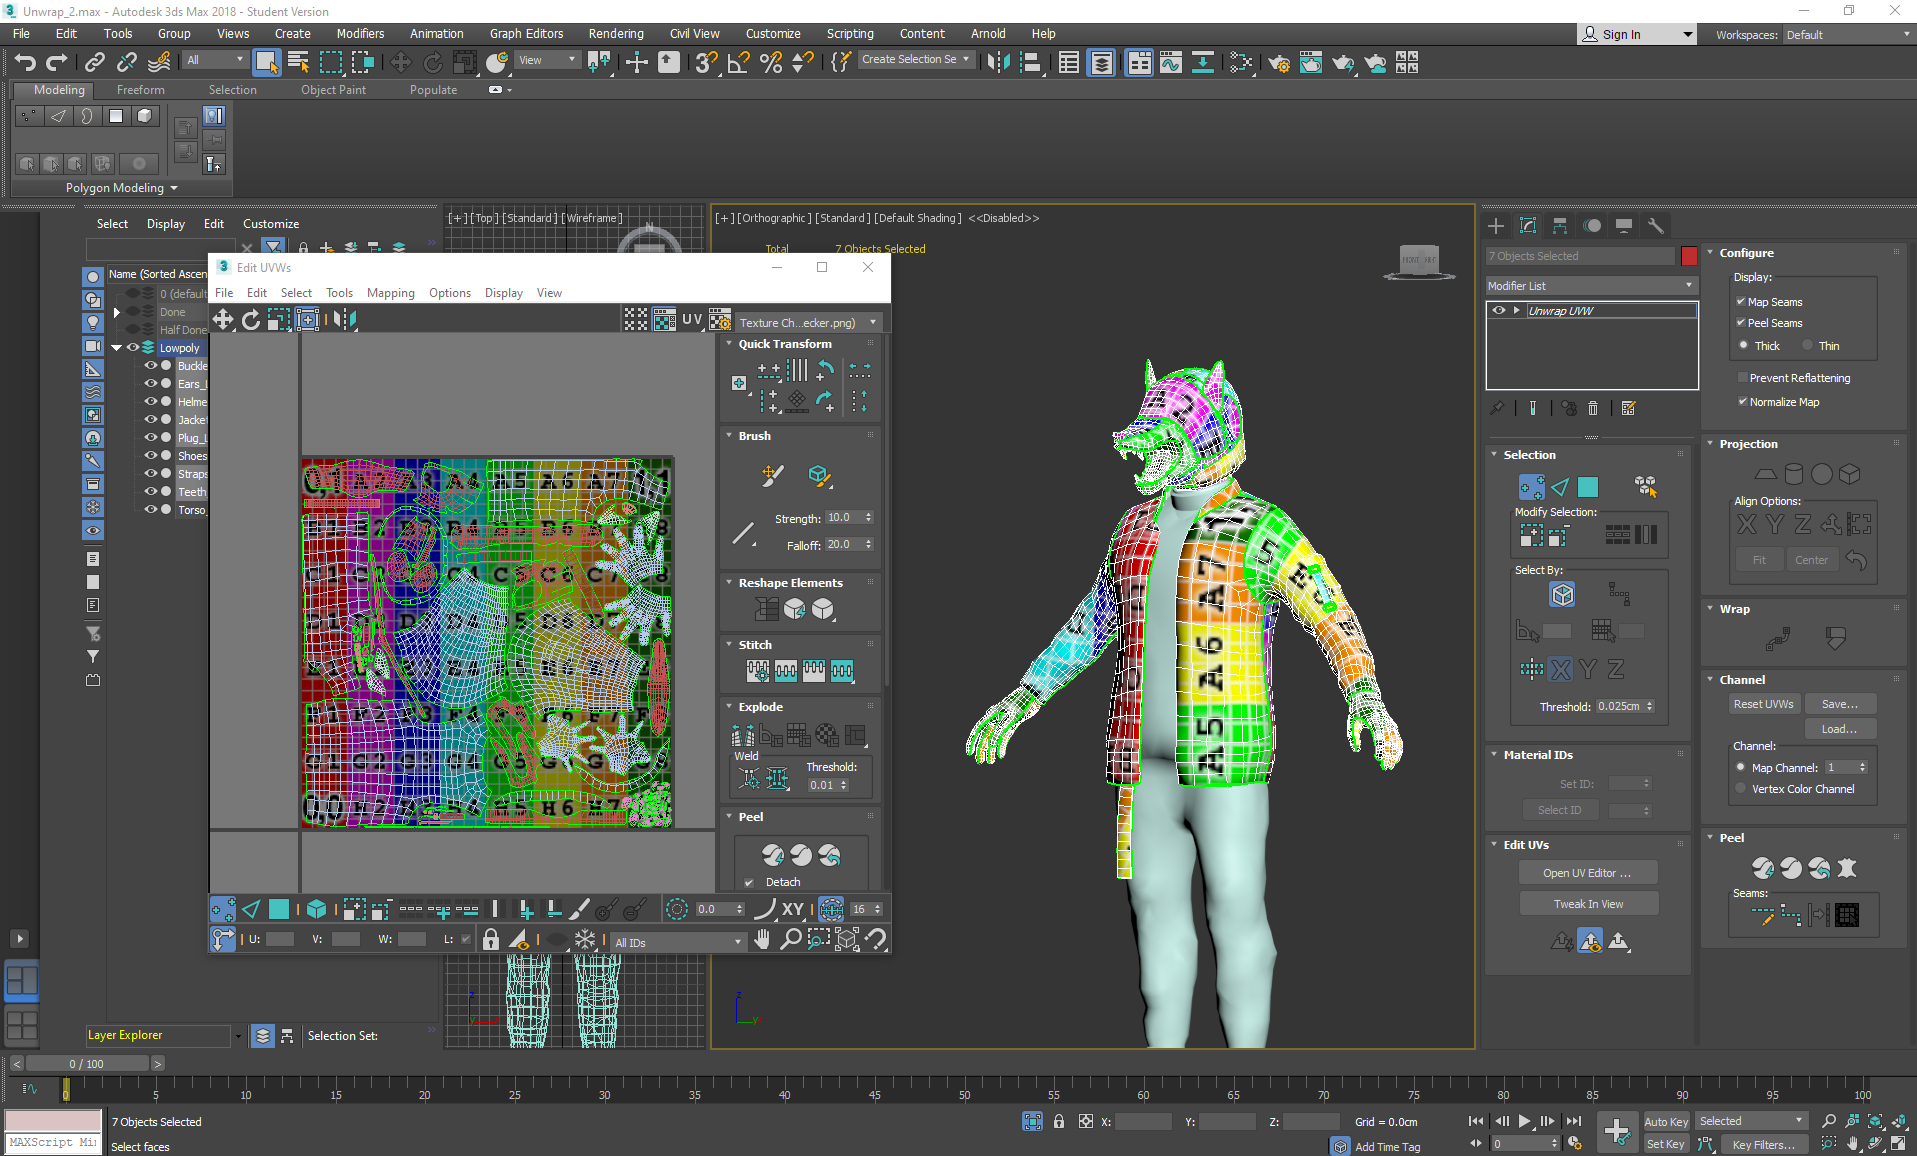
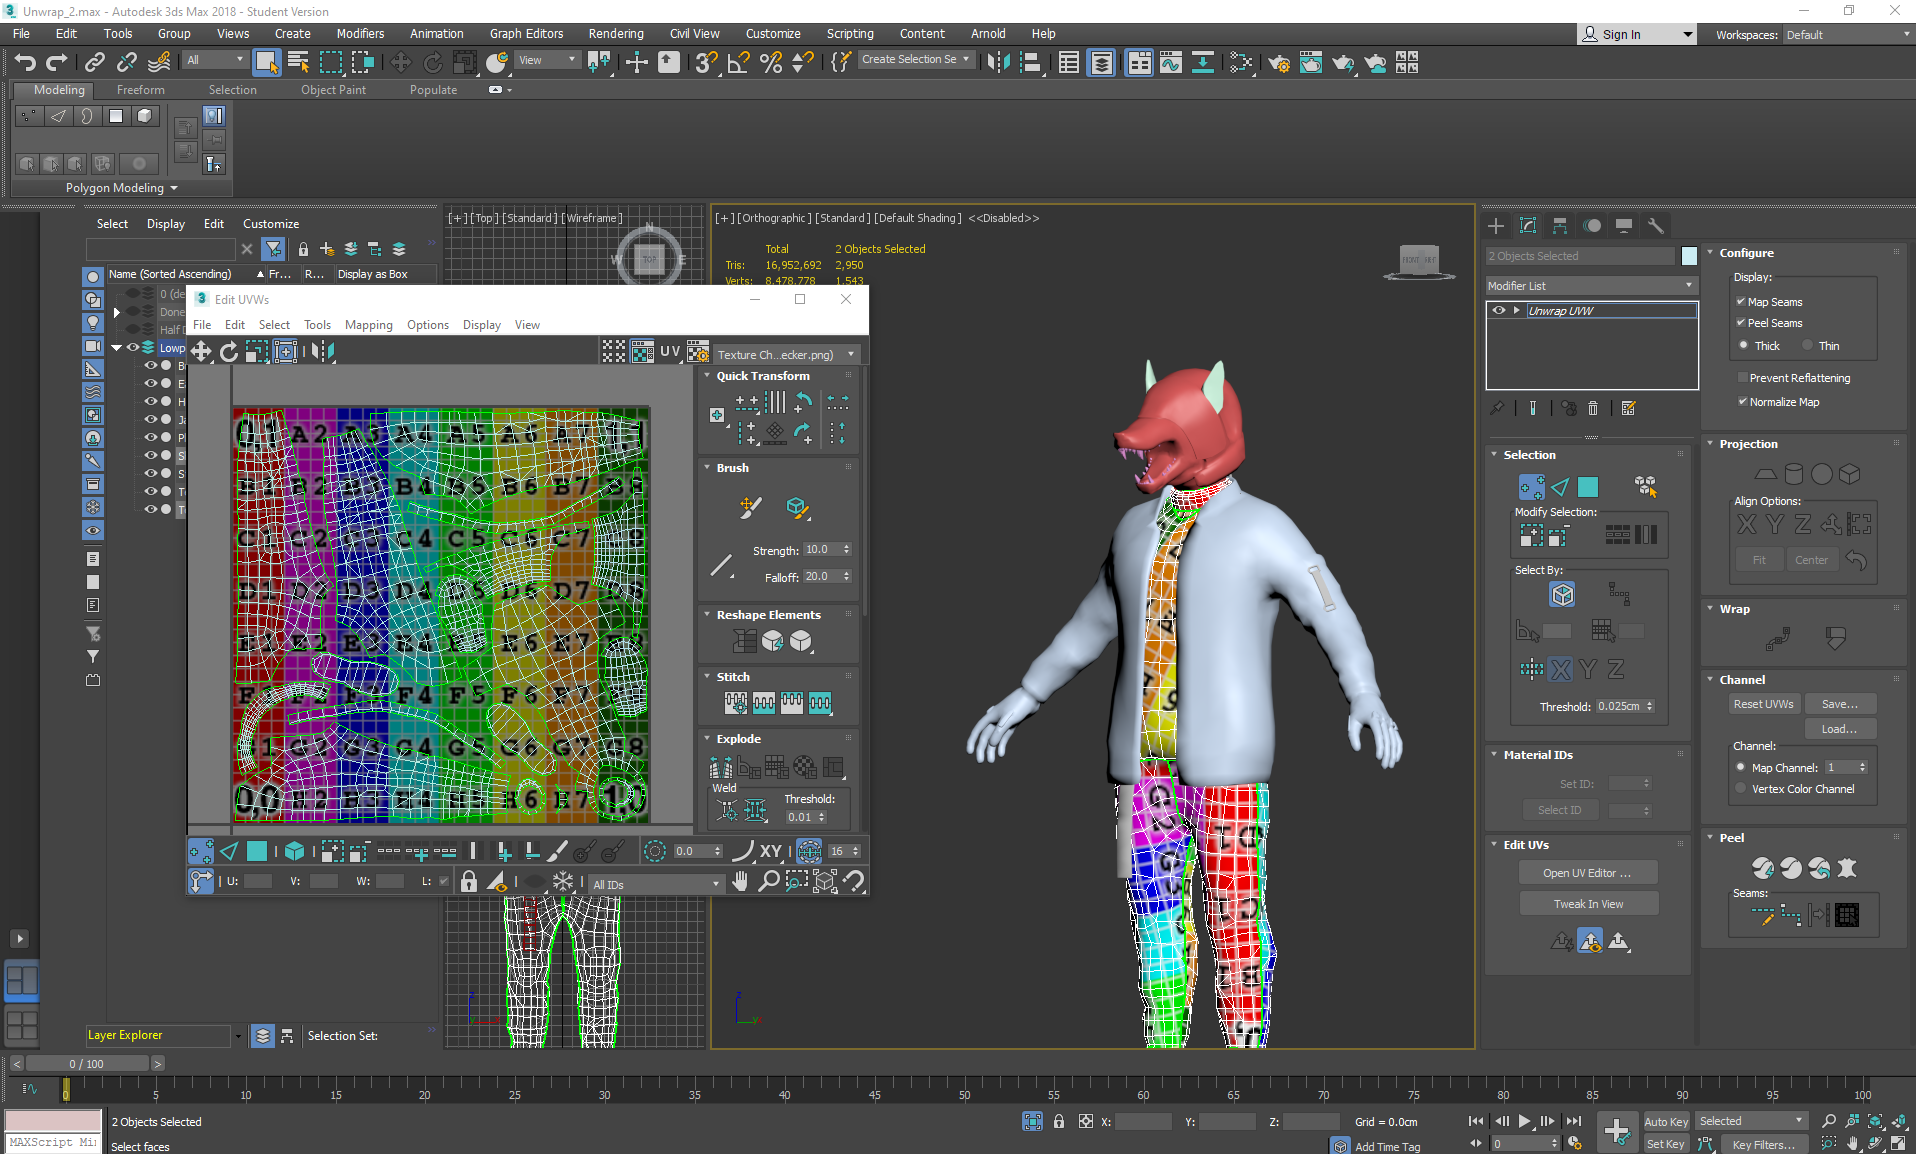
On Sunday I unwrapped the lowpoly ready to be baked in marmoset. I split everything into 2x 2048x2048 maps, one for the torso, which included the shirt, joggers and boots, then one for the rest of the outfit which consisted of the helmet, jacket, gloves and straps.
I neatly organised everything into parts labelled with _L for lowpoly, then exported them as .OBJs, doing the same to their highpoly counterparts marked as _H ready to bake in marmoset.
I neatly organised everything into parts labelled with _L for lowpoly, then exported them as .OBJs, doing the same to their highpoly counterparts marked as _H ready to bake in marmoset.
Saturday, November 9, 2019
Helmeted Character Week 3: Saturday
As I'd wasted some time on marmoset on the previous couple of wednesdays, I decided to work further over the weekend to catch up on lost time.
On Saturday I finished retopping the character, adding final joint loops to the elbows and knees and cutting in some extra topology in the shin area where there are the least deformations to create more creases:
On Saturday I finished retopping the character, adding final joint loops to the elbows and knees and cutting in some extra topology in the shin area where there are the least deformations to create more creases:
Friday, November 8, 2019
Helmeted Character: Week 3 Friday
On Friday I continued retopping:
I started using the conform relax tool and conform move tool to ensure that the topology wasn't too jagged, but was also filling the creases that extrude from the silhouette so that the bake will look more natural. At this point I was paying attention to the loops going around the hipbones towards the crotch area, and the loops then extending down the legs.
I paid extra attention to where I was placing geometery, trying not to add any triangles if possible, and if so not near any deformation areas when adding extra loops. I also added joint specific topology for areas such as the fingers:
Subscribe to:
Comments (Atom)
